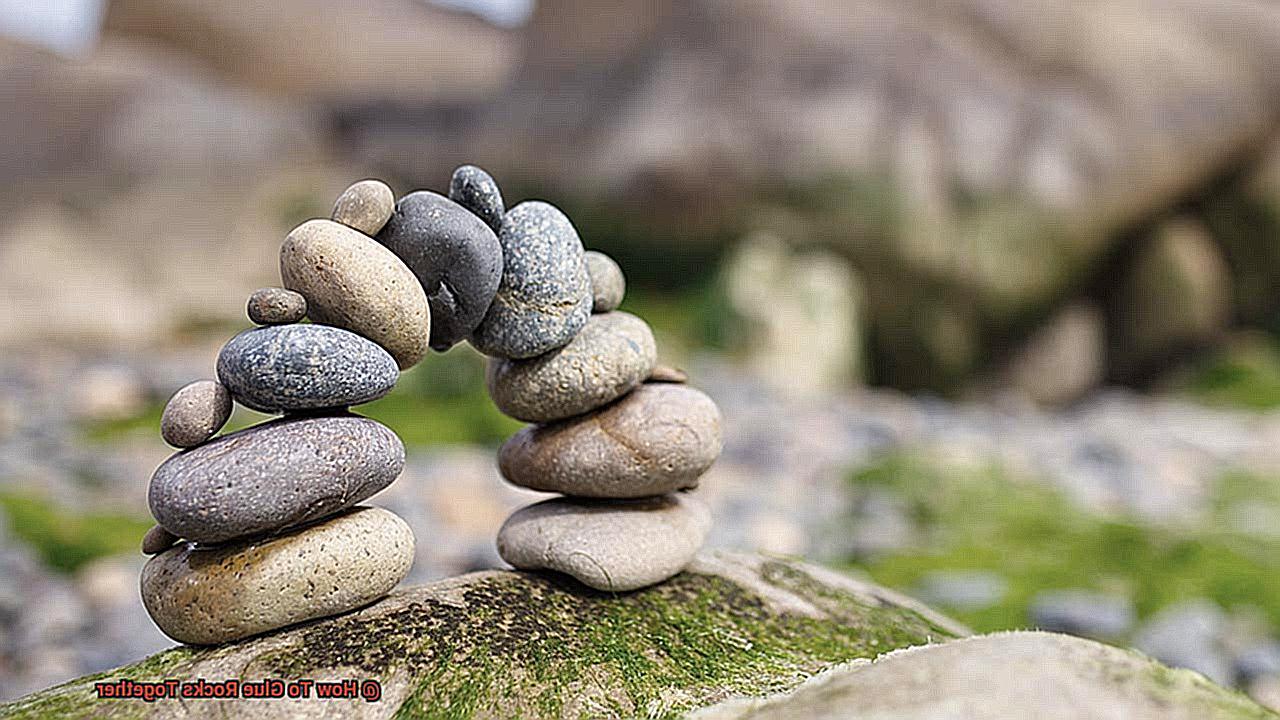
Are you in awe of those beautiful rock arrangements that seem to defy gravity? Do you have a collection of rocks that you’d love to turn into a stunning garden feature or indoor decoration? Well, get ready to channel your inner artist and learn how to glue rocks together like a pro.
In this blog post, we’ll guide you through the essential steps needed to create long-lasting and visually striking designs with rocks. From choosing the right adhesive to preparing the stones, we’ve got you covered.
We’ll explore the different types of rocks that can be glued together, whether it’s for outdoor landscaping or indoor décor. You’ll also discover the various adhesive options available, from traditional epoxy to industrial-grade rock glues. We’ll explain how to use them safely and effectively, including tips on weather conditions suitable for rock bonding.
So, grab your glue and let’s get started on this fascinating journey of rock bonding. With our expert guidance, you’ll soon be creating jaw-dropping structures that will impress your friends and neighbors alike. Let’s unleash your creativity and transform those ordinary stones into works of art.
What Types of Rocks Can Be Glued Together?
Contents
Whether it’s for an art project or a home renovation, it’s crucial to know which rocks are suitable for gluing and what type of adhesive to use. In this guide, we’ll explore the different types of rocks that can be glued together and provide some tips on how to ensure a successful bond.
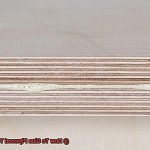
Let’s start with sedimentary rocks. These rocks are formed by layers of sediment that have been compacted over time. Their porous surface makes them easy to glue together because the adhesive can seep into the pores and create a strong bond. Imagine a sponge soaking up water – that’s how the adhesive works on sedimentary rocks.
Metamorphic rocks, on the other hand, are formed from existing rocks due to extreme heat and pressure. They tend to have a more uniform surface than sedimentary rocks, making them slightly more challenging to glue together. However, with the right adhesive, such as epoxy or cyanoacrylate, they can still be bonded effectively.
But what about igneous rocks? Igneous rocks are formed from molten magma or lava and tend to have a smooth and non-porous surface that doesn’t allow adhesives to penetrate effectively. However, some types of igneous rock, such as granite, can be glued together with specialized adhesive designed for this purpose.
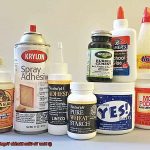
Once you’ve determined the type of rock you want to glue together, it’s essential to choose the right adhesive. Epoxy is a popular choice because it creates a strong bond and can be used on various surfaces. Cyanoacrylate adhesive is quick-drying and works well for smaller projects or attaching small pieces of rock. Silicone adhesive is flexible and water-resistant, making it ideal for outdoor projects.
Before applying the adhesive, make sure to clean the surface of the rocks thoroughly. Any dirt or debris can weaken the bond between the rocks. Use a soft brush or cloth to remove any loose debris and then wipe the surface clean with rubbing alcohol.
In conclusion, gluing rocks together requires some know-how, but it can be done successfully with the right tools and techniques. Remember to choose the appropriate adhesive for your specific project, clean the surfaces thoroughly before applying the adhesive, and follow the manufacturer’s instructions carefully. With patience and attention to detail, you can create a strong and durable bond between your rocks.
What Type of Adhesive Should I Use?
When it comes to bonding rocks together, you need an adhesive that can handle the weight and surface of the rocks. It’s like choosing the right tool for the job – you wouldn’t use a hammer to screw in a nail, would you? That’s why choosing the right adhesive is crucial.
Epoxy is the heavy-duty glue in your toolbox. It’s strong, permanent, and perfect for bonding rocks together. Plus, it can be used on both porous and non-porous surfaces, so you don’t have to worry about it not working on certain types of rocks. However, it can be tricky to work with and requires mixing before use.
If you’re looking for a quick fix, cyanoacrylate might be just what you need. Also known as super glue, this fast-drying adhesive works well on smooth, non-porous rocks. But keep in mind that it may not be suitable for larger or heavier rocks.
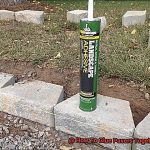
For heavy-duty projects, construction adhesive is the way to go. It can bond a variety of surfaces, including rocks, and creates a strong hold that won’t budge. However, it may not be ideal for smaller or more delicate rocks.
Silicone adhesive is flexible and waterproof, making it ideal for outdoor projects involving rocks. It can be used on both porous and non-porous surfaces, but be aware that it may take longer to dry than other adhesives.
Ultimately, the type of adhesive you choose will depend on the size and weight of the rocks you are bonding, as well as the type of surface they have. Make sure to follow the manufacturer’s instructions carefully and test the adhesive on a small area first before applying it to your entire project.
Whether you’re creating a rock sculpture or repairing a rock wall, choosing the right adhesive will ensure a long-lasting bond that can withstand the elements.
How Do I Prepare the Surface for Gluing?
One of the most important steps in achieving a long-lasting bond between your rocks is to prepare the surface properly. By taking a few simple steps, you can ensure that your rocks stick together like peanut butter and jelly.
First things first – it’s essential to clean the surface thoroughly. Dirt and debris can get in the way of a strong bond, so grab a brush or soft cloth and sweep away any loose particles. If your rocks are particularly dirty, give them a good scrub with soap and water, and then rinse them thoroughly. Think of it as giving your rocks a refreshing spa treatment before their big debut.
Next, roughen up the surface with sandpaper or a wire brush. This step might seem counterintuitive, but creating a rougher surface actually provides better traction for the glue to adhere to. Just like how rougher tires provide better grip on wet roads, rougher surfaces on rocks provide better grip for glue.
After roughening up the surface, make sure to remove any dust or debris left behind. You wouldn’t want any crumbs on your freshly cleaned dinner table, right? So take a soft cloth or compressed air and blow away any remaining dust particles.
Finally, make sure that both surfaces fit together snugly before applying the glue. If there are any gaps between the rocks, don’t worry – simply fill them in with epoxy putty or modeling clay before gluing.
Think of this step like putting together a puzzle – ensuring that all pieces fit perfectly together before gluing them in place.
How Do I Apply the Adhesive?
Gluing rocks together can be a fun and rewarding project, but it’s crucial to follow the right steps to ensure a lasting hold. Let me, as an expert in this field, guide you through the process of applying adhesive to glue rocks together.
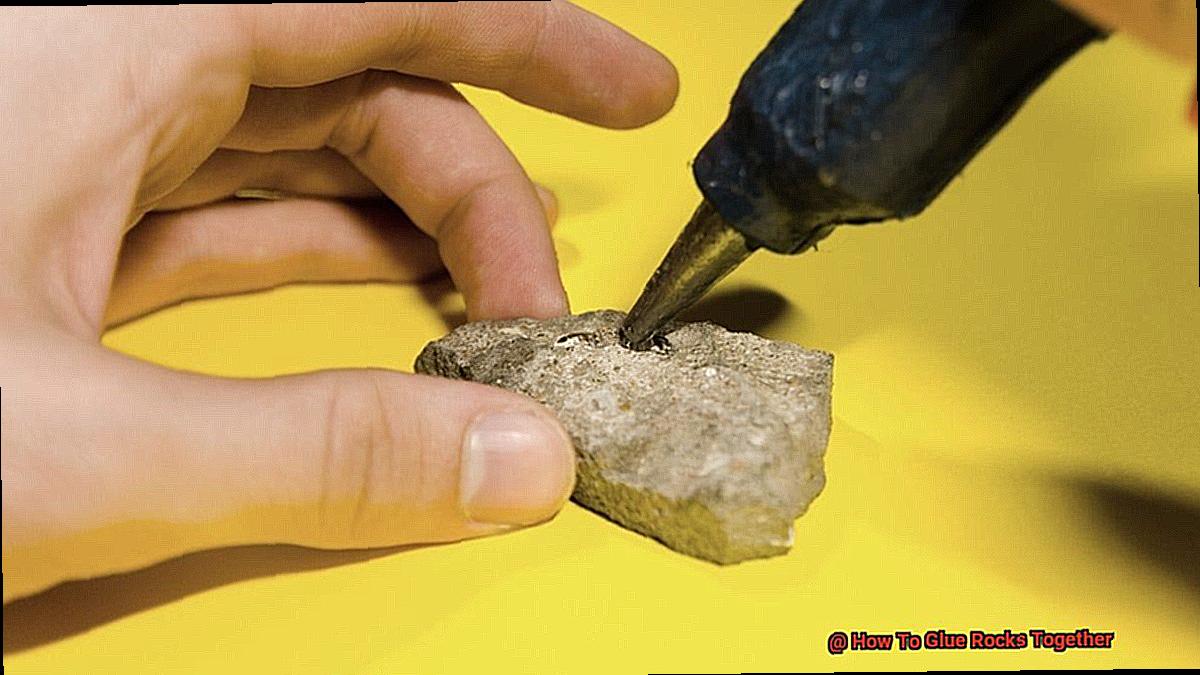
To begin, select the right adhesive for your project. Epoxy or super glue are the top options for most rock gluing projects. Once you have your adhesive, it’s time to prepare your rocks for their bonding moment.
Just like preparing yourself for a big event, start by giving your rocks a thorough cleaning. Remove any loose debris with a clean cloth or brush and wipe down the surface with alcohol to ensure it’s squeaky clean. This will help the adhesive bond properly and create a strong hold.
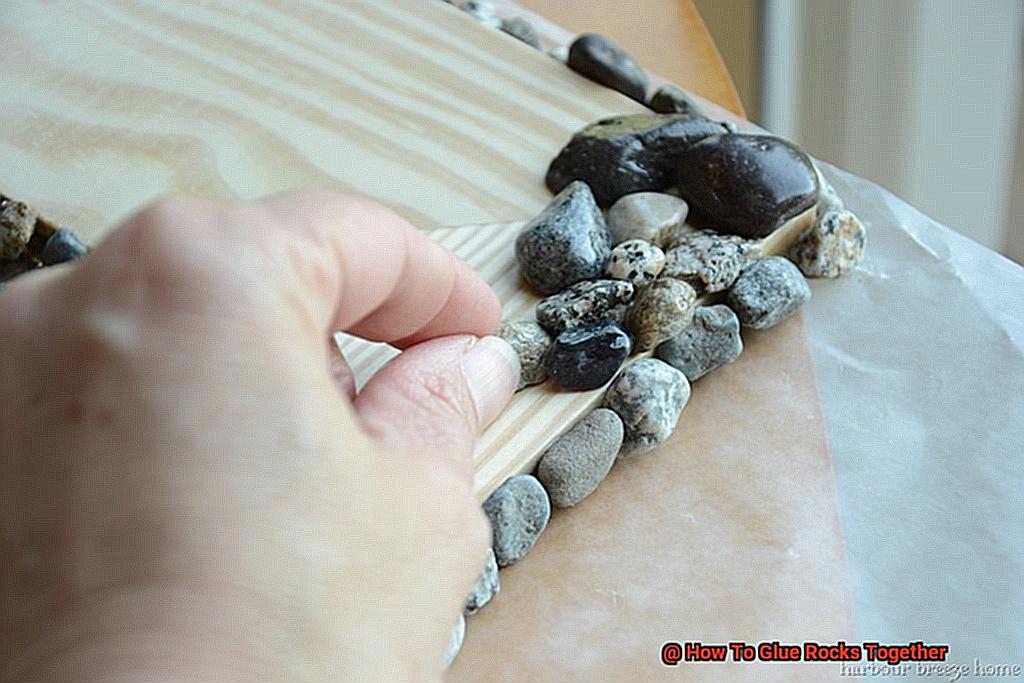
Now it’s time for the adhesive. Use a small amount of glue on one of the rocks and spread it evenly with a toothpick or small brush. Be careful not to use too much, as this can create a mess and weaken the bond.
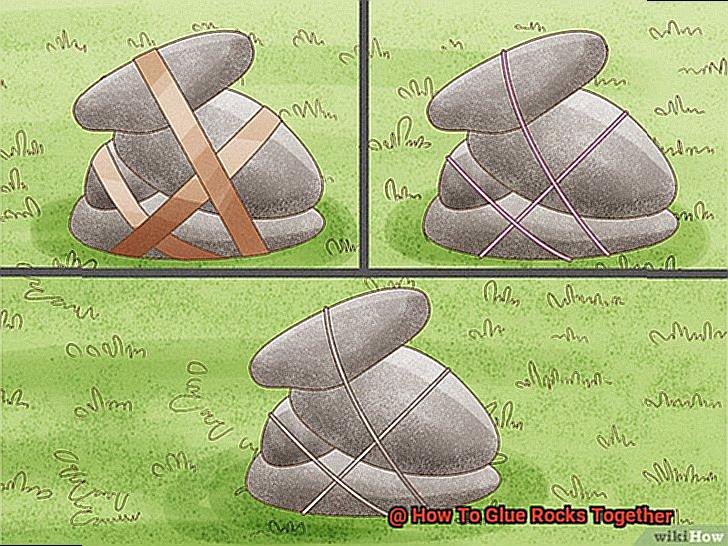
Once you’ve applied the adhesive, press the two rocks together firmly. Hold them in place for several minutes, allowing the adhesive to set and bond properly. Think of it like letting them rest after their spa treatment – don’t move or disturb them during this time.
Once the adhesive has fully cured, it’s time to perfect your rock formation. Sand down any excess glue or rough edges to create a smooth finish. And voila. You now have beautiful and durable rock formations for your garden or home decor projects.
In conclusion, gluing rocks together requires patience and attention to detail. However, with the right adhesive and following these simple steps, you can achieve a strong and lasting bond that will make your rock collection shine.
How Long Does It Take for the Adhesive to Cure?
Today, we’re going to talk about a critical factor in creating durable and beautiful rock formations – the curing time of the adhesive.
The curing time is simply the amount of time it takes for the adhesive to dry completely and reach its maximum strength. However, it’s important to note that the specific curing time will vary depending on the type of adhesive being used. Some adhesives can cure in just a few hours, while others may take several days.
If you’re a stickler for following the rules, make sure to refer to the manufacturer’s instructions for specific curing times. But even if you’re more of a free spirit, it’s essential to give your adhesive enough time to fully cure before handling or putting any weight on the glued rocks. Rushing the process can result in weakened bonds and possible failure of the glue.
Now, let’s talk about some environmental factors that can affect the curing time. Temperature, humidity, and the size and weight of the rocks being glued together can all play a role in how quickly or slowly your adhesive cures. For example, in colder temperatures, your adhesive may take longer to cure, while in warmer temperatures, it may cure faster.
Think of it like waiting for a delicious cake to bake – if you take it out of the oven too soon, you’ll end up with a gooey mess that falls apart. Similarly, if you don’t give your adhesive enough time to cure, your rock formation won’t hold up over time.
AySbHYnUtqk” >
Conclusion
In summary, bonding rocks together can be an enjoyable and fulfilling undertaking, but it requires patience, attention to detail, and the proper tools. By following the steps outlined in this article, you can produce stunning rock formations that will impress your friends and neighbors.
To begin with, selecting the appropriate adhesive for your particular project is critical. Epoxy is a popular option due to its strength and versatility, while cyanoacrylate is ideal for smaller projects or attaching tiny pieces of rock. Silicone adhesive is perfect for outdoor projects because of its flexibility and water resistance.
Secondly, preparing the surface of the rocks is crucial in achieving a strong bond. Clean them thoroughly with soap and water, roughen up their surfaces with sandpaper or a wire brush for better traction, remove any dust or debris left behind, and make sure they fit together snugly before applying glue.
Thirdly, apply the adhesive carefully with a toothpick or small brush and press the rocks together firmly. Allow enough time for the adhesive to cure fully before handling or putting any weight on the glued rocks.
Finally, consider environmental factors such as temperature and humidity that may impact your adhesive’s curing time.
With these pointers in mind and some creativity on your part, you can transform ordinary stones into long-lasting works of art.