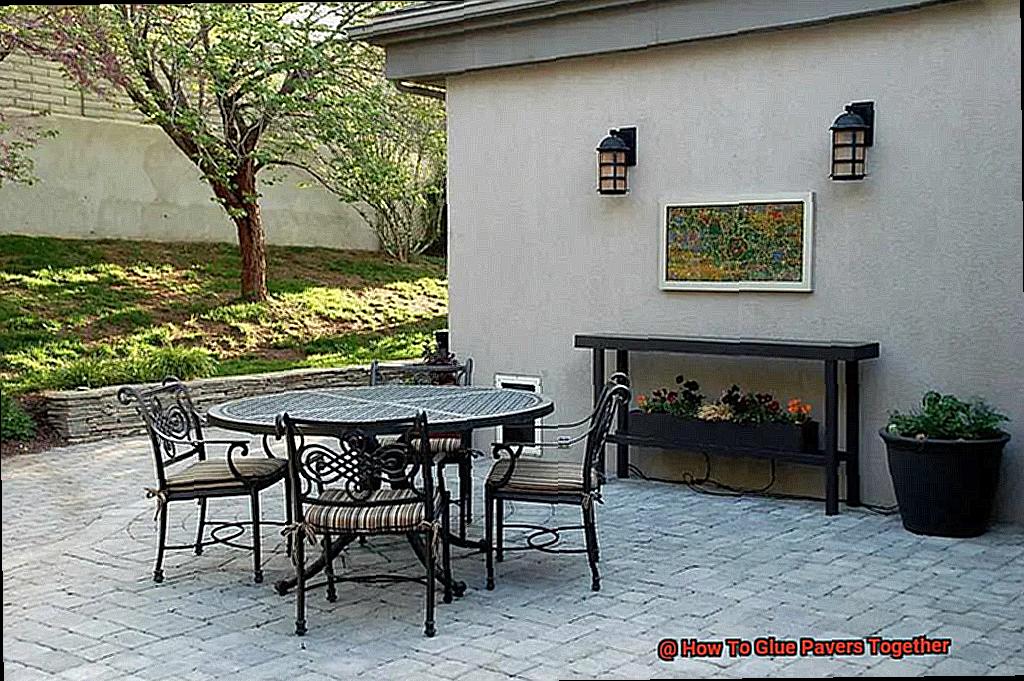
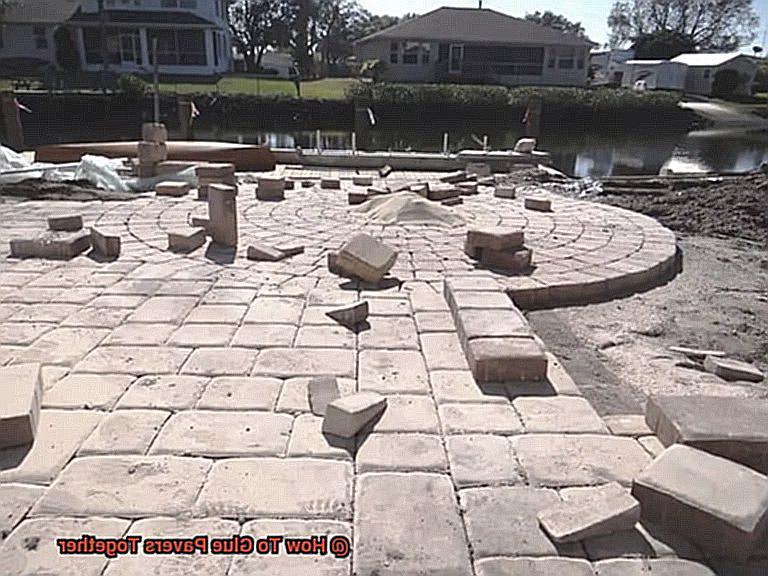
Are you ready to elevate your outdoor space with the beauty of pavers? If so, you may be wondering how to ensure that they stay in place for years to come. Gluing pavers together is a great way to achieve this goal while also enhancing the visual appeal of your patio or walkway.
But don’t be fooled – the process of gluing pavers together is not as simple as slapping some adhesive on and calling it a day. Proper surface preparation, adhesive selection, and alignment are all crucial factors in creating a long-lasting bond that can withstand weather and foot traffic.
In this article, we’ll guide you through everything you need to know about how to glue pavers together like a pro. From preparing the surface to selecting the right adhesive and applying it correctly, we’ve got you covered. Plus, we’ll explore different types of adhesives so you can choose the one that’s best for your project.
Whether you’re a DIY enthusiast or a professional landscaper looking to improve your skills, this article will provide valuable insights into gluing pavers together with ease and confidence. So let’s dive in.
Why Glue Pavers Together?
Contents
If so, gluing them together is a smart choice that can provide many benefits. By using the right adhesive, you can ensure that your pavers remain in place, even in high-traffic areas, and look great for years to come.
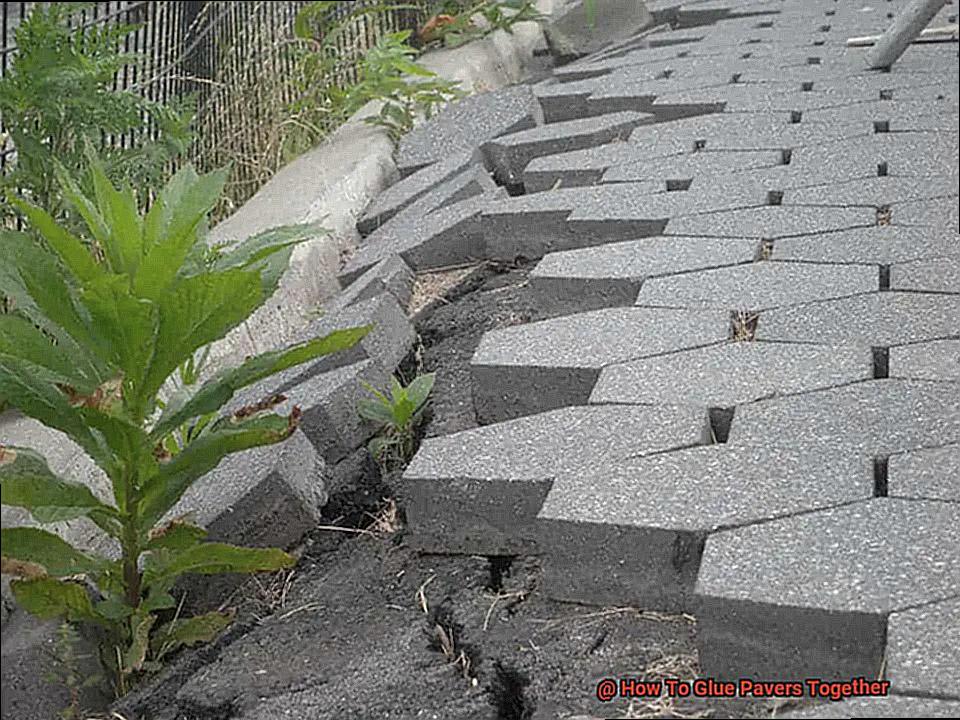
One of the main reasons to glue pavers together is to prevent shifting or movement. Pavers that are simply placed on top of the ground can shift over time due to weather conditions, erosion, or foot traffic. This can create an uneven surface that is not only unsightly but also potentially dangerous. But by gluing them together, you can create a stable and durable surface that can withstand heavy use.
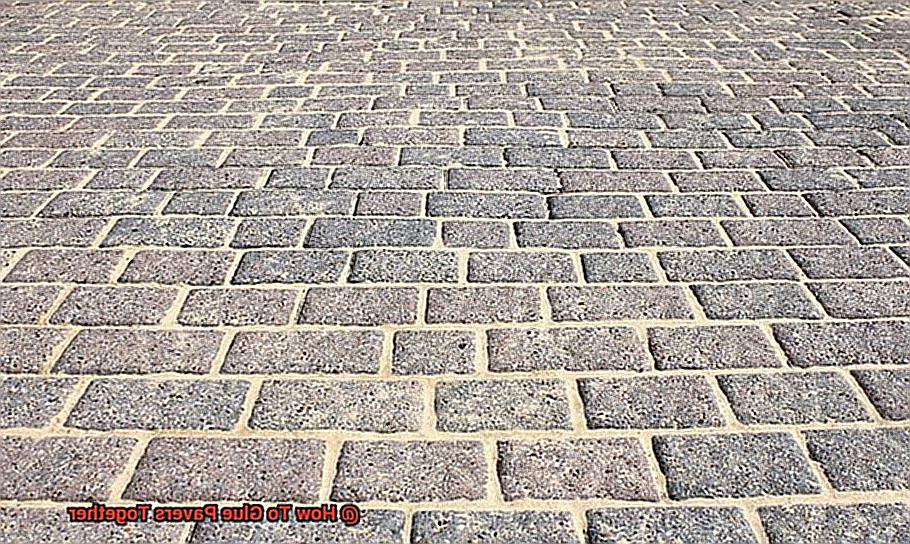
Another benefit of gluing pavers together is that it keeps weeds and other vegetation from growing up between them. This not only makes your paver surface look neat and tidy but also reduces tripping hazards. Moreover, it adds to the overall durability of the surface by forming a cohesive unit that is less likely to crack or break over time.
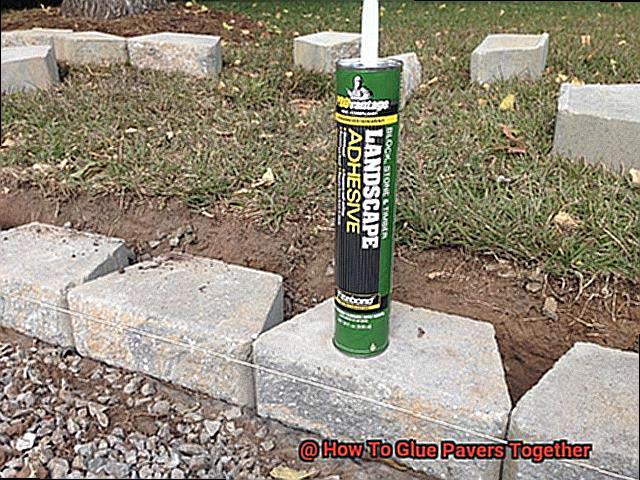
When gluing your pavers together, be sure to clean the surface thoroughly before applying the adhesive. Choose an adhesive that is suitable for your project and weather conditions in your area. Apply a thin layer of adhesive to each paver before placing it on the surface, ensuring that each paver is level and properly aligned with adjacent ones. Finally, allow the adhesive to dry completely before using the surface – this usually takes anywhere from 24 hours to several days.
Overall, gluing pavers together is a smart choice for anyone looking to create a beautiful, durable, and safe surface with pavers. Whether you’re working on a patio, walkway, or driveway, using the right adhesive can help ensure that your pavers stay in place and look great for years to come. So what are you waiting for?
Preparing the Surface for Glue Application
When it comes to gluing pavers together, proper surface preparation is key. It’s not as simple as just slapping some glue down and hoping for the best. In fact, there are several critical steps you need to follow to ensure a strong and long-lasting bond.
First things first – make sure the surface is clean. Use a pressure washer or stiff-bristled broom to remove any dirt, debris, oil, grease, or other contaminants that could affect the bond between your pavers and glue. Don’t skip this step – even the tiniest particle can cause problems down the line.
Next, take a good look at the surface to make sure it’s level and smooth. Uneven spots can cause your pavers to shift or settle over time, which will weaken the bond between them. You can use a level and straightedge to check for any bumps or low spots. If necessary, fill in low spots with additional material and smooth out high spots with a grinder or sander.
Now that your surface is clean and level, give it time to fully dry before applying any glue. Moisture can wreak havoc on adhesive bonds, so wait at least 24 hours after cleaning to ensure that the surface is completely dry. And don’t forget to check the weather forecast – you don’t want any rain or moisture interfering with your glue job.
By following these simple steps, you’ll be able to create a beautiful and durable patio or walkway that will last for years to come. Don’t skimp on surface preparation – it’s an essential part of ensuring a strong bond between your pavers.
Choosing the Right Adhesive for the Job
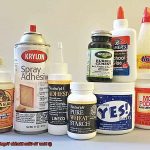
When it comes to gluing pavers together, the right adhesive can make all the difference. Your choice of adhesive determines the strength and durability of your project, just like choosing the right dance partner can make or break your performance. So, what factors should you consider when selecting an adhesive for your paver project?
Firstly, think about the type of pavers you’re using. Different adhesives work better with certain materials. For example, if you’re working with natural stone pavers, you’ll need an adhesive that can handle their porous nature.
Secondly, consider the location of your project. Will it be exposed to water or moisture? If so, choose an adhesive that is water-resistant. And if your project will face extreme temperatures, make sure your adhesive can handle the heat (or cold).
Thirdly, think about the type of joint you want to create between the pavers. Do you need a strong bond or something more flexible? Just like dance partners, some adhesives are firm and sturdy while others are fluid and adaptable.
Lastly, don’t forget to factor in drying time. Some adhesives require longer drying times than others, which could affect your project’s timeline. Like a dance partner who takes forever to get ready, you don’t want an adhesive that takes ages to dry.
In conclusion, selecting the right adhesive for your paver project is essential for creating a durable and long-lasting result. Keep in mind the type of pavers you’re using, the location of your project, the type of joint you need, and drying time.
Applying the Adhesive to the Pavers
This step is like the icing on the cake – it’s crucial for a successful finish. In this section, we’ll guide you through the process of applying adhesive to the pavers in easy-to-follow steps.
Before you begin, it’s essential to choose the right adhesive for your specific project. Just like you wouldn’t wear flip-flops to a black-tie event, not all adhesives are created equal. Consider factors such as the type of pavers, location, joint type, and drying time to ensure that you make the right choice. Once you’ve got your adhesive, be sure to follow the manufacturer’s instructions for best results.
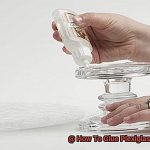
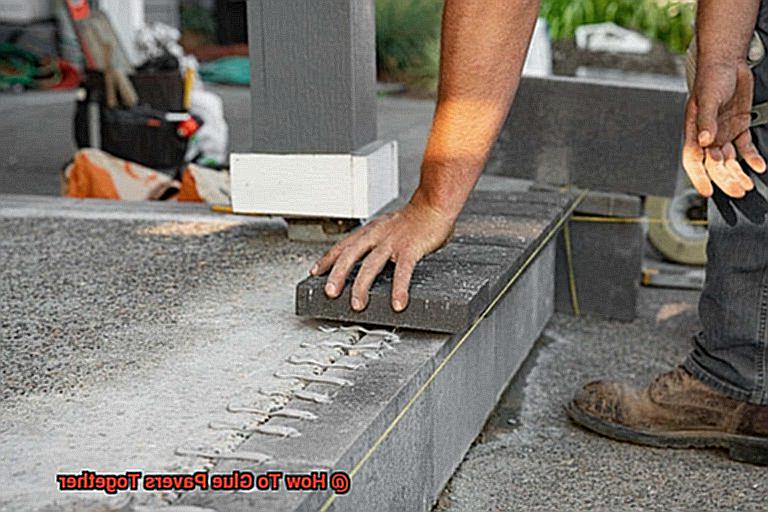
Now that you have the perfect adhesive, it’s time to get down to business. Start by prepping the pavers by cleaning them thoroughly with a broom or compressed air. You want them to be free of any debris or dust before applying the adhesive. Next, use a trowel or brush to apply an even layer of adhesive to the bottom of each paver. Don’t hold back on using enough adhesive – make sure to cover every inch of each paver’s surface area.
The next step is placing the pavers onto the surface. It’s essential to press down firmly on each paver to ensure that they’re securely bonded together. You can even use a rubber mallet to tap them into place if needed. It’s essential to check that each paver is level with its neighbors so that your final result isn’t wonky.
Now comes the waiting game – allow enough time for the adhesive to dry before walking or driving on the surface. Drying times may vary depending on factors such as temperature and humidity and the adhesive used. So be patient and let it dry completely before enjoying your new beautiful and functional space.
Applying adhesive to your pavers is a critical step in creating a long-lasting and beautiful surface. Choosing the right adhesive, preparing the pavers correctly, and following these simple steps will ensure that you’ve got a solid bond between each paver.
Laying the Pavers on the Surface
Laying pavers is an art that requires careful preparation and attention to detail. Just like a painter prepares their canvas, you must ensure that your surface is clean and level before starting your masterpiece. This will allow your pavers to adhere properly and create a strong bond between them and the surface.
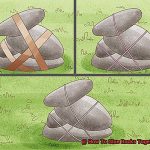
As you begin laying the pavers, think of it like playing a game of Tetris – each piece must fit perfectly together to create a cohesive design. To start, spread a layer of adhesive onto the surface, being mindful not to use too much as this can cause the pavers to sink or shift.
As you place each paver onto the adhesive, press down firmly to ensure a strong bond. Time is of the essence, as the adhesive will begin to set within minutes. Just like frosting a cake, work efficiently to ensure that your creation looks beautiful and stays put.
Maintaining consistent gaps between each paver is crucial. This will ensure that they are evenly spaced and give your finished project a professional look. Think of it like decorating a cake with sprinkles or icing – attention to detail is key.
Once you have laid all of your pavers, it’s time to let them dry and set completely. Patience is key, just like waiting for your cake to cool before cutting into it. Depending on the type of adhesive and weather conditions, this can take anywhere from 24-48 hours.
Laying pavers on a surface can be an enjoyable and rewarding experience when done correctly. By following these steps and using your creativity, you can create a beautiful and functional space that will last for years to come.
Allowing Time for Adhesive to Dry
Just like how a sculptor cannot rush the hardening of their creation, you cannot rush the drying time of your adhesive when gluing pavers together.
Allowing enough time for the adhesive to dry is crucial in ensuring that your pavers are securely bonded and will not shift or move over time. It’s like waiting for a flower to bloom – you wouldn’t force it open before it’s ready, right? Similarly, you wouldn’t step on your freshly glued pavers before they’re fully cured.
Different types of adhesives will have varying drying times, so it’s vital to refer to the manufacturer’s guidelines. As a general rule of thumb, wait at least 24 hours before walking on the pavers and a few more days before driving on them. Remember that weather conditions can also affect drying time, so keep an eye on the forecast and adjust accordingly.
While waiting for the adhesive to dry, avoid disturbing the pavers by refraining from heavy foot traffic or moving heavy objects over the surface. Think of it as letting a baby rest – you wouldn’t want to wake them up before they’re refreshed.
By taking the time to allow sufficient drying time for the adhesive, you can ensure a robust and long-lasting bond between your pavers that will withstand the test of time.
hBtSY854jDw” >
Conclusion
Gluing pavers together can be a fantastic way to add some flair to your outdoor area while ensuring that they stay put for the long haul. But, it’s not as easy as just slapping on some glue and calling it a day. There are several crucial steps you need to take to create a bond that can withstand both weather and foot traffic.
To glue pavers like a pro, start by preparing the surface. Make sure it is clean, level, and smooth before applying any adhesive. Then, select the right adhesive based on factors such as joint type, location, drying time, and paver type.
Apply the adhesive evenly onto each paver using a trowel or brush before placing it onto the surface. Once all your pavers are in place, give them ample time to dry completely before walking or driving over them. Drying times will vary depending on the adhesive used, so be sure to check the manufacturer’s guidelines.
By following these simple steps and unleashing your creativity, you can create an outdoor space with beautiful and functional pavers that will last for years to come.