Are you looking to create a custom-sized piece of plywood for your next DIY project? Gluing two or more pieces together might be the solution you need. While it may seem like a straightforward process, achieving a strong and durable bond requires precision and the right technique.
In this blog post, we’ll guide you through the steps of gluing plywood together. From selecting the appropriate adhesive to preparing the surface and clamping the pieces, each step plays a crucial role in creating a sturdy bond. Whether you’re an experienced DIY enthusiast or just starting, our comprehensive guide will equip you with all the necessary information to achieve perfect results every time.
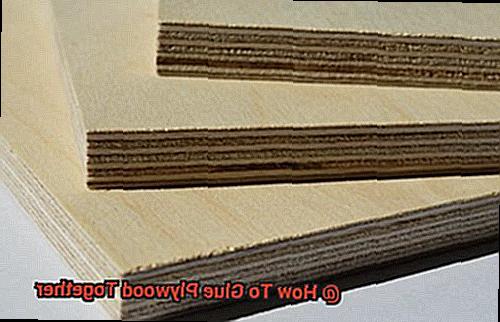
Plywood is an incredibly versatile material that can be used for various home improvement projects. It’s perfect for building furniture, creating decorative pieces, and much more. However, not all plywood comes in the size or shape that’s ideal for your project. That’s where gluing two or more pieces together can come in handy.
To glue plywood effectively, you must choose the right adhesive and follow specific steps carefully. We’ll show you how to prepare the surface correctly, apply glue evenly, and clamp the pieces together securely. With our expert tips and tricks, you’ll be able to achieve a strong bond between your plywood sheets effortlessly.
Whether you’re a seasoned pro or just getting started with home improvement projects, this blog post is for you. So keep reading to discover everything you need to know about successfully gluing plywood together.
Types of Glue
Contents
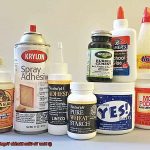
If so, then you must choose the right type of glue to ensure a strong and long-lasting bond. With so many types of glue available in the market, it can be challenging to determine which one is best suited for your needs. Let’s take a closer look at the most commonly used types of glue for plywood.
First up, we have PVA glue, also known as white glue. This water-based adhesive dries clear and is perfect for porous materials like wood. It’s easy to use, non-toxic, and dries quickly. However, it may not be suitable for outdoor use as it can break down when exposed to moisture.
If you’re looking for a strong bond that can withstand high stress and pressure, then Epoxy Resin might be the right choice for you. Epoxy resin is a two-part adhesive consisting of resin and hardener. It cures quickly and creates a robust bond that’s ideal for bonding plywood to metal or other non-porous surfaces. But beware, it can be challenging to work with due to its short pot life.
For those looking for versatility in their glue options, Polyurethane Glue (Gorilla Glue) is an excellent choice. This adhesive can bond almost any material, including wood, metal, and plastic. It expands as it cures, filling gaps and creating a robust bond. However, it can be messy to work with and requires special handling.
Lastly, we have Cyanoacrylate Glue (superglue), which is perfect for small projects or repairs that require a quick-drying adhesive. It bonds quickly and strongly but may not be suitable for larger areas or heavy-duty applications.
When selecting the right type of glue for your plywood project, remember to consider the project’s requirements and the materials involved. Follow the manufacturer’s instructions for proper application and maximum adhesion.
Before applying any glue, it’s essential to prepare the surface of the plywood by sanding both surfaces to remove any dirt or debris. This will ensure a clean and smooth surface for the glue to adhere to. You may also want to use a wood conditioner or pre-stain before gluing to improve the bond and prevent uneven staining.
Preparing the Plywood Surface
Before you start your next plywood project, remember that choosing the right glue is only half the battle. To ensure a strong and successful bond, it is essential to prepare the surface of the plywood first. Think of it like building a house – you need a solid foundation for everything else to stand on.
The surface of the plywood must be clean, dry, and free of any dirt, dust, or debris. Any imperfections or roughness can affect the bonding process, making it crucial to sand the surface until it is smooth and even. Just like how you would clean and prep a canvas before painting on it.
To get started, wipe the surface of the plywood with a damp cloth to remove any surface dirt or dust, which can scratch the surface during sanding. Then, using a fine-grit sandpaper, sand the surface in the direction of the grain until it is smooth to the touch. It’s important to note that sanding too aggressively can create uneven surfaces that affect the bonding process. So take your time and apply even pressure.
Once you have finished sanding, wipe down the surface again with a damp cloth to remove any excess sawdust or debris. Now, your surface is clean and dry and ready for gluing.
For an extra layer of protection, some experts recommend applying a coat of wood conditioner to the plywood surface before gluing. This step helps ensure an even distribution of glue and prevents the wood from absorbing too much glue, which can weaken the bond. However, this step is optional and may not be necessary for all types of plywood and glues.
In conclusion, preparing your plywood surface is an essential step in ensuring a strong and successful glue-up. By taking the time to properly clean and sand the surface, you can increase your chances of creating a strong and durable end product that will stand the test of time.
Applying the Glue
Now, let’s dive into the most crucial step of all – applying the glue. Just like a painter applies color to their canvas, you must apply glue evenly and thoroughly for a successful outcome.
Before applying the glue, ensure that both surfaces are clean and free of any dust or debris. It’s like wiping down your car before giving it a shiny new coat of paint. Use a damp cloth to clean the surface and let it dry completely before applying the glue.
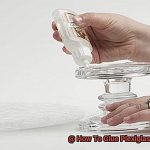
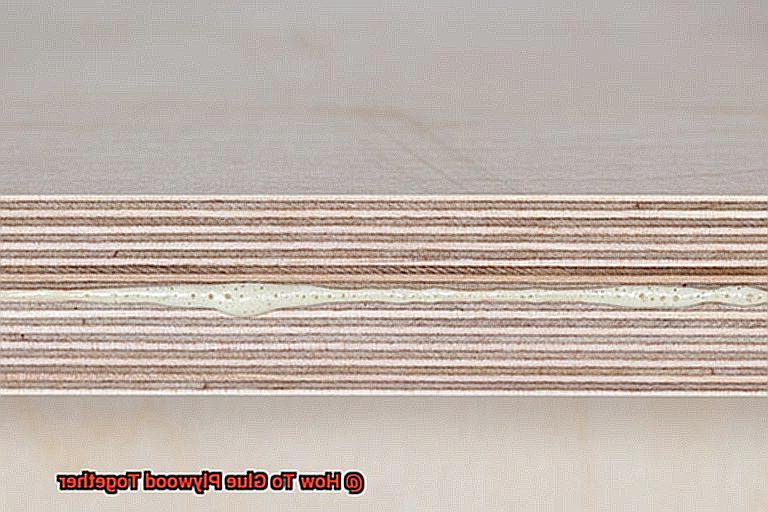
Now comes the fun part – applying the glue. We recommend using wood glue, which is the most common type of adhesive for plywood. Use a brush or roller to spread it evenly over the entire surface, being generous with the amount of glue you use. But make sure not to overdo it as this can weaken the bond. Think of spreading jelly on toast – enough to cover but not too thick.
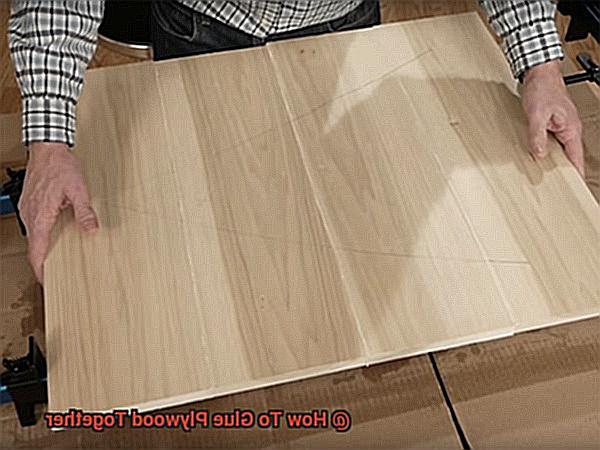
Once you’ve applied the glue, carefully align the plywood sheets and press them firmly together. It’s like putting together a puzzle – make sure all the pieces fit perfectly. Use clamps or weights to keep them in place until the glue dries completely. This can take several hours depending on the type of adhesive used.
Some types of wood glue require additional pressure to create a strong bond. Imagine squeezing a stress ball – in such cases, we recommend using a press or clamp to apply constant pressure while the glue dries.
Applying the glue correctly is essential for creating a long-lasting bond between plywood sheets. With these simple yet effective steps, your project will be a success.
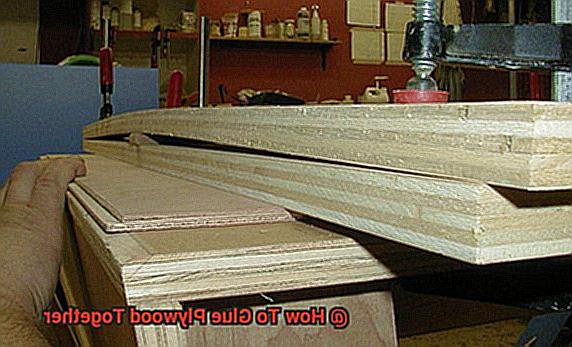
Clamping or Weighting the Plywood
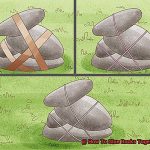
When it comes to gluing plywood together, clamping or weighting the wood is a crucial step. It ensures that the glue dries evenly and there are no gaps or bubbles in the plywood. Think of it like giving your project a big hug. But how do you properly clamp or weight the plywood? Let’s take a closer look.
Before clamping or weighting your plywood, make sure to remove any excess glue from the surface of the wood. This will ensure that the glue dries evenly and there are no bumps or uneven surfaces on your project. Once that’s done, it’s time to choose the right clamp for your project.
There are a variety of clamps available for woodworking, but two popular options for gluing plywood are bar clamps and C-clamps. Bar clamps are long metal arms with adjustable jaws that can be tightened to apply pressure to the wood. C-clamps have a fixed jaw and an adjustable screw to apply pressure. The type of clamp you choose will depend on the size and shape of your project.
If you don’t have access to clamps, don’t worry. You can use weights instead. Heavy objects such as books, bricks, or even bags of sand can be used to apply pressure to the wood. This method works well for smaller projects or when clamps aren’t available.
Regardless of whether you’re using clamps or weights, it’s important to distribute pressure evenly across the wood. This can be achieved by placing blocks of wood between the clamp or weight and the plywood surface. This will prevent any warping or bending of the wood as it dries.
When clamping or weighting your plywood, be careful not to over-tighten. Too much pressure can cause the wood to warp or bend and may cause excess glue to squeeze out from between the layers of plywood. A good rule of thumb is to tighten the clamps or weights until you see a small amount of glue squeeze out from between the layers.
Clamping or weighting your plywood is a crucial step in gluing plywood together. It ensures that the glue dries evenly and there are no gaps or bubbles in the plywood. Choose the right clamp for your project or use weights to apply pressure to the wood. Remember to distribute pressure evenly and not to over-tighten.
Tips for a Successful Bond
Perhaps you’re planning to glue plywood together to create a masterpiece. If so, it’s important to know the key tips for achieving a successful bond that will stand the test of time. Here are some of the most important tips to keep in mind.
Choose the right adhesive
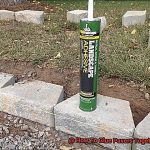
This is the first and most important step. Not all adhesives are created equal, and some are better suited for gluing plywood than others. For example, polyurethane glue is a popular choice for plywood bonding because it creates a strong, waterproof bond that can withstand the elements.
Prepare the surfaces properly
Before applying any adhesive, make sure the surfaces you’ll be gluing together are clean and free of any dust or debris. Sandpaper or a scraper can be used to remove any rough spots or splinters that may hinder the bonding process. This ensures that the adhesive can penetrate the wood fibers and create a stronger bond.
Apply the adhesive evenly
It’s crucial to apply the glue evenly and thinly on both surfaces to be bonded. This ensures that there are no gaps or air bubbles between the two pieces of plywood. A roller or brush can be used to spread the glue evenly over the surface area.
Apply pressure
To create a strong bond, you’ll need to apply pressure to the glued surfaces until the adhesive dries. This can be done using clamps or weights depending on what is available. Using clamps is recommended as they exert equal pressure across the entire surface area of the plywood.
Allow sufficient drying time
Patience is key when it comes to drying time. Depending on the type of adhesive you’re using and the temperature and humidity of your workspace, it may take several hours or even overnight for the glue to dry completely. Be patient and give the adhesive enough time to set before removing any clamps or weights.
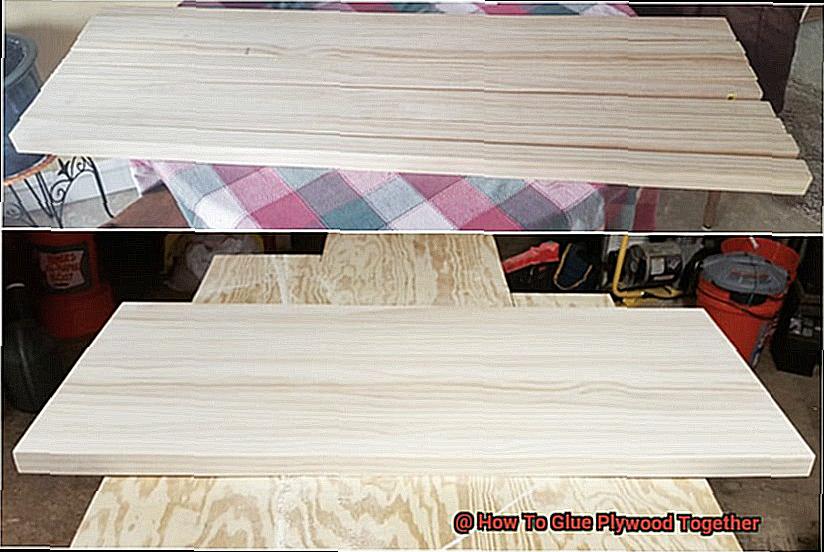
Sand and finish
Once the glue has dried, you can sand down any excess adhesive and finish the surface as desired. This helps to create a smooth and even surface that is ready for painting, staining or any other finishing technique.
By following these tips, you can achieve a strong and durable bond when gluing plywood together for your woodworking projects.
Troubleshooting Common Issues
One of the most prevalent issues is uneven bonding. This happens when the glue is not spread evenly across the plywood surface, which can ruin the final product. To avoid this, take your time and apply an even layer of glue to both surfaces being bonded together. Spread the glue with a brush or roller, ensuring there’s no excess glue. Think of it as spreading jam on toast; you want it to be evenly distributed.
Another issue that might arise is warping. This occurs when the plywood pieces are not clamped together tightly enough while the glue dries. This can be frustrating, but it’s easily preventable. Use clamps or weights to hold the pieces together firmly until the glue has fully dried. It’s like a warm embrace; keep them tight until they’re ready to stand on their own.
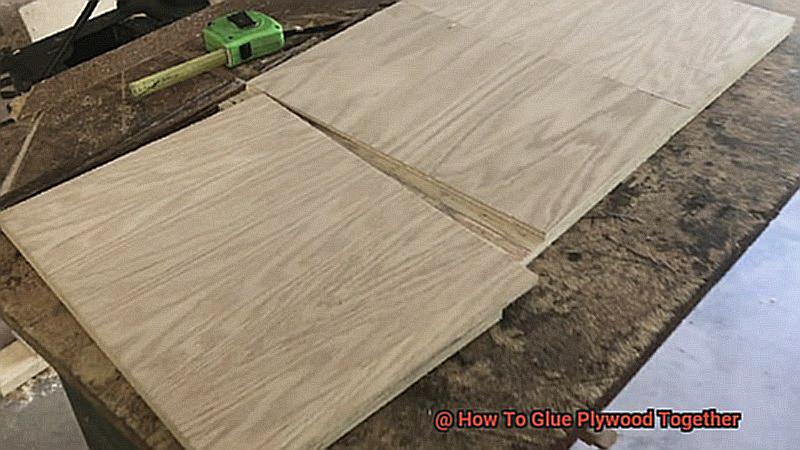
Lastly, gaps between plywood pieces can occur if they are not cut precisely or if there is debris or dust on the surfaces being glued together. This issue can be avoided by ensuring that the edges of the plywood are clean and free of debris before gluing them together. Additionally, using a saw with a fine blade will ensure clean cuts and a tight fit between the pieces. Imagine putting together a puzzle; each piece should fit perfectly.
Gluing plywood together doesn’t have to be daunting. With these simple troubleshooting techniques, you’ll be able to create a masterpiece in no time. Remember to spread your glue evenly, clamp your pieces tightly, and ensure clean cuts for a seamless finish.
bbqQ6lD_IFc” >
Conclusion
In summary, gluing plywood together is a fantastic option for custom-sized wood projects. However, getting a robust and long-lasting bond requires precision and the right technique. To achieve this, you need to select the appropriate adhesive, prepare the surface correctly, apply glue evenly and clamp or weight the plywood.
When choosing the glue for your project, consider the materials involved and follow the manufacturer’s instructions carefully. Preparing the surface of your plywood is crucial to ensure that you create a clean and smooth surface for the glue to stick to. Applying glue evenly is also critical as it can help avoid uneven bonding, warping or gaps between plywood pieces.
By following these tips and addressing common issues such as uneven bonding, warping or gaps between plywood pieces, you can achieve a successful outcome that will stand up over time. Remember to take your time and apply even pressure throughout each step of the process.
Whether you’re an experienced DIY enthusiast or just starting with home improvement projects, this comprehensive guide provides all of the necessary information to deliver perfect results every time.