Are you tired of dealing with the hassle of nails when it comes to hanging a mirror on your wall? We understand the struggle. Not only can nails cause damage to your walls, but they can also be a pain to remove and repair. But fear not. There are alternative methods that will allow you to securely mount your mirror without any unsightly holes.
In this blog post, we’ll dive into some of the best ways to glue a mirror on a wall without nails. Whether you opt for adhesive strips or mounting brackets, we’ve got all the tips and tricks you need to get your mirror up and looking fabulous. Plus, we’ll cover essential safety measures when it comes to mounting heavy objects on your walls.
Adding a mirror to any room can instantly elevate its look and functionality. It’s perfect for creating a focal point in your living room, adding depth to your bedroom or simply checking yourself out before heading out the door. And with our expert advice on how to glue a mirror on a wall without nails, you can do it all with ease and confidence.
So why wait? Let’s get started on transforming your space today.
Why Use Glue Instead of Nails?
Contents
Or perhaps you’re living in a rental and need a damage-free alternative. Fear not, because gluing mirrors onto walls is becoming the latest trend for homeowners and renters alike.
Using glue instead of nails offers a plethora of benefits. Firstly, it eliminates the need for drilling holes, which can be time-consuming, messy, and leave unsightly marks. Secondly, gluing provides a more secure and stable hold, especially for those heavier mirrors that are prone to slipping out of place. Additionally, gluing allows for more flexibility in terms of placement, as you don’t have to worry about finding a stud or applying pressure to certain parts of the wall.
But wait, there’s more. Using glue also provides a cleaner and more streamlined look. Nails tend to stick out from the wall and can be an eyesore, while glue creates a seamless bond between the mirror and the wall, resulting in a chic and modern appearance.
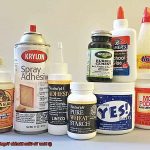
When it comes to choosing the right adhesive for the job, there are many options available. Liquid nails, double-sided tape, and silicone adhesive are just a few examples. Each type of adhesive has its own strengths and weaknesses, so it’s important to choose one that is suitable for your specific needs.
To prepare for gluing your mirror onto the wall, start by cleaning both surfaces with a gentle cleaner and allowing them to dry completely. Then apply the adhesive to the back of the mirror in small dots or lines, depending on the size and weight of the mirror. Make sure to follow the manufacturer’s instructions carefully when applying the adhesive.
Finally, carefully press the mirror onto the wall and hold it in place for a few minutes to allow the adhesive to set. Once fully cured, your mirror will be securely attached to the wall without any visible signs of mounting hardware.
In conclusion, using glue instead of nails is a convenient, secure, flexible, and aesthetically pleasing solution to hanging mirrors. It’s time to bid farewell to unsightly nail holes and hello to sleek and modern decor.
Choosing the Right Adhesive
Mirrors are a fantastic way to brighten up any room, but hanging them can be a daunting task. That’s why gluing mirrors onto walls has become a popular trend. But before you begin, it’s essential to choose the right adhesive that can support the weight of the mirror and withstand changes in temperature and humidity.
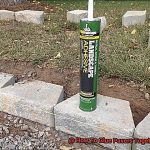
One of the most popular adhesives for this purpose is construction adhesive or liquid nails. This heavy-duty adhesive is designed to bond to a wide range of surfaces such as concrete, wood, and drywall. However, it’s crucial to choose a construction adhesive that is specifically formulated for mirrors to ensure maximum strength and durability.
Another adhesive that works well is silicone adhesive. This powerful adhesive creates a strong and flexible bond that can withstand changes in temperature and humidity. Plus, it’s easy to apply and dries clear, making it perfect for use in areas where the adhesive may be visible.
Double-sided mounting tape is another option for those who want to avoid drilling holes. This tape is specially designed to hold heavy objects and can stick to a variety of surfaces such as glass, metal, and plastic. However, it’s crucial to choose high-quality double-sided mounting tape that can hold the weight of the mirror.
In conclusion, choosing the right adhesive is critical when gluing a mirror on a wall without nails. Take the time to consider factors such as the weight of the mirror and the surface you’ll be mounting it on. By selecting an adhesive that meets these criteria, you can ensure that your mirror stays securely mounted on the wall for years to come.
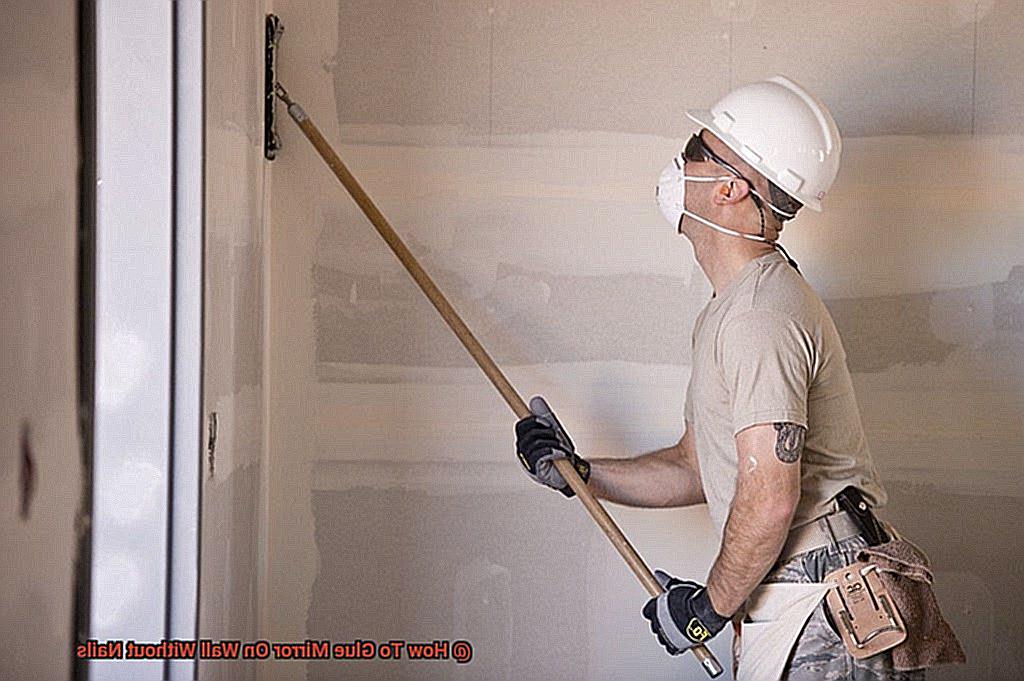
Preparing the Wall and Mirror for Glue Application
Gluing a mirror onto your wall is an excellent way to create a stylish look without the hassle of hanging it with nails. However, before you start applying glue, it’s crucial to prepare both your wall and mirror for optimal results.
First things first, you need to clean both surfaces thoroughly. Dirt, grease, and dust can cause interference in the bonding process which can affect the adhesive’s effectiveness. So, grab a mild detergent solution and clean both the wall and mirror.
After cleaning, give both surfaces enough time to dry completely before proceeding. To achieve better bonding, it’s also necessary to roughen up the wall and mirror surfaces slightly. You can use sandpaper to achieve this effect carefully.
When it comes to applying glue, always use a high-quality adhesive that’s specifically designed for mirrors and walls. Follow the manufacturer’s instructions carefully as different products have varying application methods.
When applying glue to the back of the mirror, ensure that you create an even layer that covers the entire surface area. You can use a trowel or putty knife to spread the glue evenly. Avoid applying too much glue as this will cause it to seep out from behind your mirror and create an unsightly mess.
Once you’ve applied the glue, carefully position the mirror on the wall in your desired location. Press firmly on all areas of the mirror, ensuring that it adheres well to the wall. Allow some time for the glue to dry completely before removing any support brackets or tape holding the mirror in place.
In conclusion, preparing both your wall and mirror for glue application is essential in ensuring a sturdy bond between them. With these simple steps, you’ll be able to create a beautiful focal point in your home effortlessly.
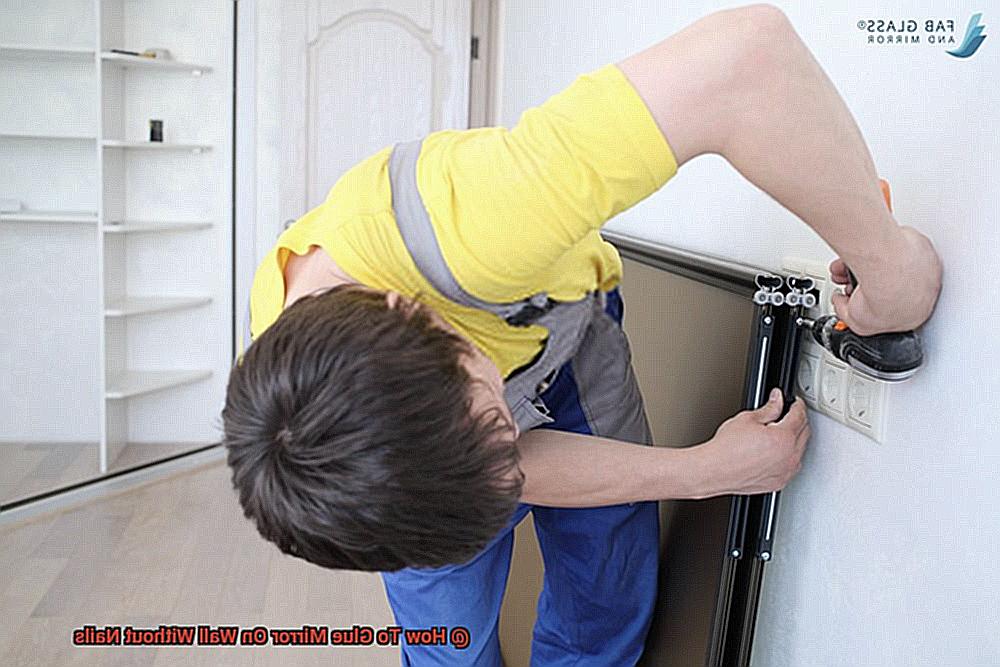
Applying the Adhesive
If you’re looking to create a stunning wall display without visible screws, then you’re in the right place. Let’s dive into the crucial step of applying the adhesive.
Before we get started, it’s important to choose the right adhesive for the job. While there are many options available, the most recommended adhesive for attaching a mirror to a wall is liquid nails mirror adhesive. This type of adhesive is designed specifically for mirrors, providing a strong and long-lasting hold.
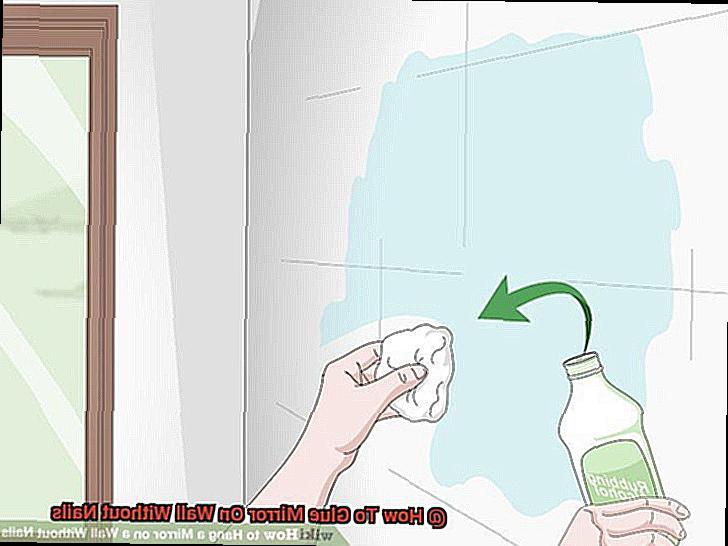
Now that you have your adhesive, it’s time to prep your surfaces. Make sure to clean both the wall and the back of the mirror thoroughly with rubbing alcohol and a clean cloth. This will ensure that the adhesive sticks properly and holds the mirror securely in place.
When applying the adhesive, use a zigzag pattern to apply a thin layer to about 80% of the mirror’s surface area, leaving space around the edges. Don’t overdo it with the adhesive, as too much can seep out and create a mess. Less is more in this case.
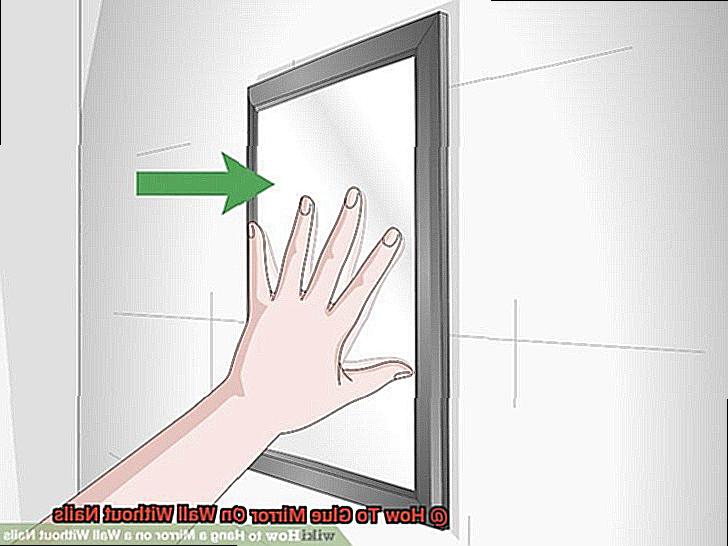
Once you’ve applied the adhesive, press the mirror firmly onto the wall, making sure it’s level and straight before letting go. Hold it in place for a few seconds so that the adhesive can bond with both surfaces. If needed, use masking tape or painter’s tape to hold the mirror in place while it dries.
Remember that some adhesives require curing time before they can hold weight, so refer to the manufacturer’s instructions for specific drying times and weight limitations. It’s better to be safe than sorry, so avoid hanging anything on the mirror until the adhesive has fully cured.
In conclusion, applying adhesive when gluing a mirror to a wall without nails is a simple yet crucial step. With liquid nails mirror adhesive and these expert tips, you can create a beautiful and sturdy wall display without any visible nails or screws.
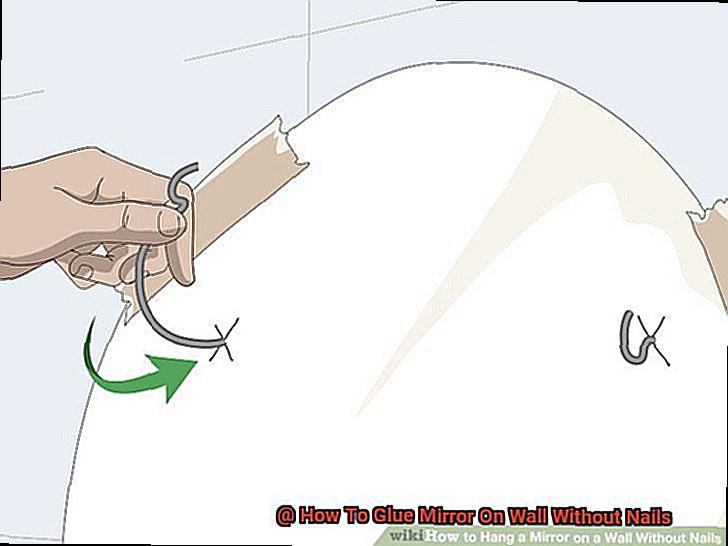
Securing the Mirror to the Wall
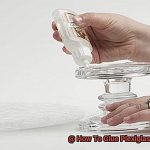
You can now create a clean and modern look by using a strong adhesive to secure your mirror to the wall. As an expert in this field, I can assure you that this method is not only effective but also easy to execute with just a few simple steps.
The first step is to ensure that both the surface of the wall and the back of the mirror are clean and free of dust or debris. Use a clean cloth and some alcohol or vinegar to wipe each surface thoroughly. This is crucial for creating a strong bond between the adhesive and the surfaces.
Once your surfaces are clean, apply a small amount of adhesive to the back of the mirror. It’s important to use an adhesive specifically designed for mirrors and can hold its weight. Silicone adhesive or mirror adhesive are both excellent options.
Apply the adhesive in small dots or lines on the back of the mirror, covering all edges and corners. Then, carefully place the mirror onto the wall, pressing firmly for a few seconds to ensure that it adheres correctly.
It’s best to let the adhesive dry for at least 24 hours before hanging any weight on the mirror or touching it. This will give it ample time to fully cure and provide a strong hold.
In conclusion, securing a mirror to the wall without using nails is easy and effective when done correctly. By following these simple steps, you can create a stunning wall display that will last for years to come.
Curing and Finalizing the Attachment
You’ve successfully attached your mirror to the wall without using any nails. Now it’s time for the most important part – curing and finalizing the attachment. This step is crucial to ensure that your mirror stays securely in place and doesn’t come crashing down unexpectedly.
Think of the curing process like a puzzle. Just like how you need to let the pieces set in place before moving on to the next step, you need to give the glue time to cure and bond with the wall. If you try to move or adjust the mirror too soon, it’s like trying to force a puzzle piece that doesn’t fit – it won’t work.
So, how do you cure and finalize the attachment? Well, first things first, check the packaging of your mirror adhesive for curing times. It’s crucial to follow these instructions carefully. Generally, you will need to wait for at least 24 hours before attempting to hang anything on the mirror or making any adjustments.
During this time, treat your mirror like a fragile treasure. Avoid touching or bumping it too much, and make sure pets and children stay away from the area to prevent any accidental damage.
Once the glue has cured, it’s time for some finishing touches. You can add a bead of caulk around the edges of the mirror for a polished finish, or even add some decorative trim to make it stand out as a statement piece.
LGDcnSZW84Q” >
Conclusion
In conclusion, hanging a mirror without nails has become a popular choice for homeowners and renters looking to avoid drilling holes in their walls. Not only does gluing provide a more secure hold, but it also allows for greater flexibility in placement.
Choosing the right adhesive is key to ensuring your mirror stays put. Consider factors such as weight and surface before making your selection. By taking these steps, you can be confident that your mirror will remain securely mounted for years to come.
Proper preparation is essential when gluing a mirror onto a wall. Both the wall and the mirror should be clean and dry before applying adhesive. Following these simple steps will ensure that your mirror stays put.
Finally, allowing time for the glue to cure is crucial to maintaining the bond between the mirror and the wall. Treat your mirror delicately during this process, avoiding any bumps or touches until the glue has fully set.
By following these expert tips, you can create a stunning display on your wall without nails or drilling.