Are you tired of the same old picture frames and looking for a unique way to display your favorite memories? Look no further than gluing pictures onto wood. Not only does this DIY project add rustic charm, but it’s also a fun and creative way to showcase your photos.
Before diving in, make sure you have all the necessary supplies. You’ll need a piece of wood, your desired pictures, glue (avoid school glue or super glue), and a few other items we’ll cover later. Once you have everything ready, it’s time to get started.
The key to success when gluing pictures onto wood is selecting the right type of glue. Regular school glue or super glue can cause wrinkling or discoloration, so instead opt for a strong and clear adhesive like Mod Podge which is specially designed for use with photos and paper.
Once you’ve chosen your adhesive, prepare the wooden surface by sanding it down and wiping away any dust. Then arrange your pictures in the desired layout before beginning the gluing process.
But don’t stop there. Follow our step-by-step guide to ensure perfect results every time. By using our tips and tricks, you’ll create a stunning piece of personalized art that will be cherished for years to come.
Choosing the Right Glue
Contents
It’s a great way to show off your creativity and achieve a professional-looking finish. However, choosing the right glue is crucial for ensuring that your pictures stay securely in place without any damage.
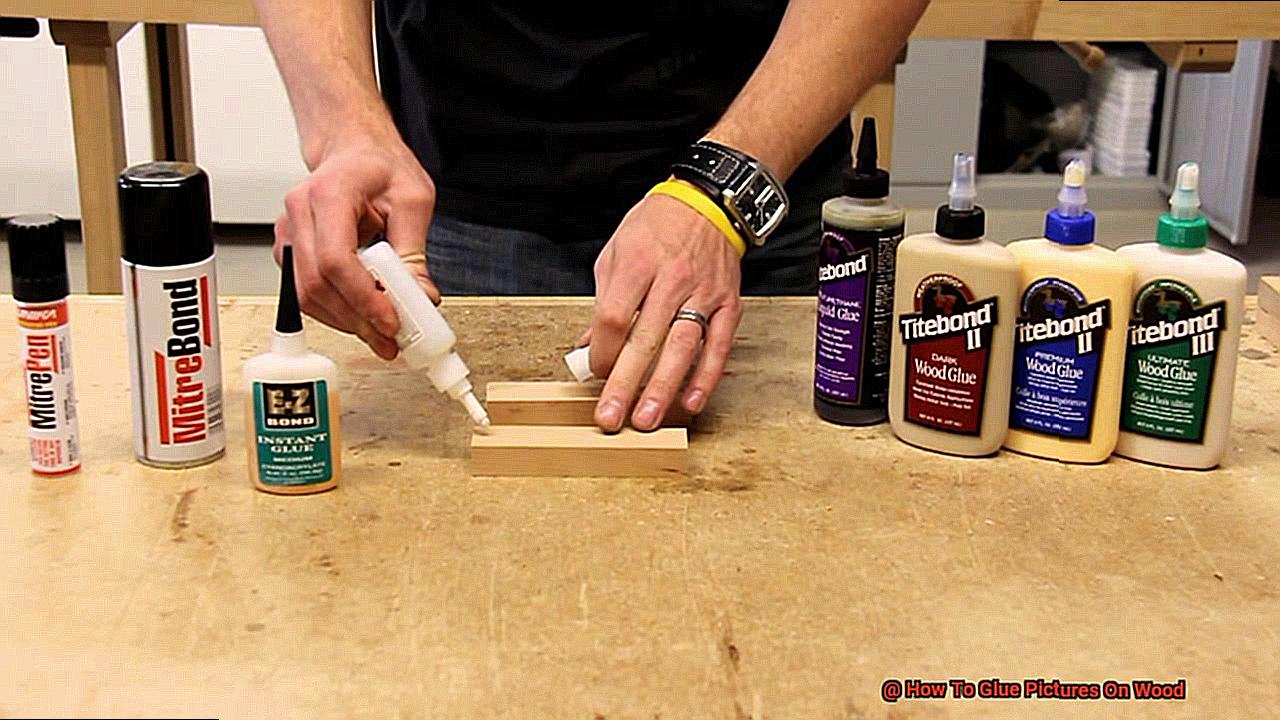
One of the most popular options for gluing pictures on wood is PVA glue. This water-based adhesive dries clear, making it perfect for DIYers who want a clean finish. It’s also non-toxic, dries quickly, and provides a strong bond. However, it may not be suitable for all types of wood surfaces and can struggle with oily or greasy surfaces.
If you’re working with porous woods like oak or mahogany, epoxy glue may be a better choice. This two-part adhesive creates a strong bond that’s resistant to water, heat, and chemicals. It’s ideal for pictures that will be exposed to harsh environments or heavy wear and tear. However, it requires careful handling as it can be messy.
For those who prefer more natural options, animal-based glues such as hide glue or fish glue are excellent choices. Made from animal collagen, these non-toxic glues are easy to clean up with water and provide a strong bond suitable for use on all types of wood surfaces. However, they do require longer drying times and may not be ideal for areas with high humidity.
Before selecting the appropriate glue, consider factors such as the type of wood surface, the environment it will be used in, and personal preference. Prep the surface by cleaning it thoroughly and lightly sanding if necessary. Apply the glue evenly and carefully place the picture onto the glued surface, smoothing out any air bubbles or wrinkles with a clean cloth or roller.
To provide added protection against wear and tear, moisture, and UV damage, consider using a sealant or varnish over the top of the picture.
Preparing the Wood and Picture
Well, before diving in, it’s crucial to prepare both the wood and picture to ensure a successful outcome.
Think of it like cooking a gourmet meal. You wouldn’t just toss everything into a pot and hope for the best, would you? No. You need to prep and measure everything correctly to achieve a delicious result. The same goes for gluing pictures on wood – preparation is key.
The first step is sanding the wood surface with fine-grit sandpaper. This will eliminate any rough spots or imperfections, providing a smooth surface for the glue to adhere to. Once sanded, wipe the wood clean with a dry cloth to remove any sawdust or debris.
Now, let’s turn our attention to the picture. Clean it with a soft, dry cloth to remove any dust or dirt. For any stubborn stains or residue, use a damp cloth to gently clean it. Be sure the picture is entirely dry before proceeding.
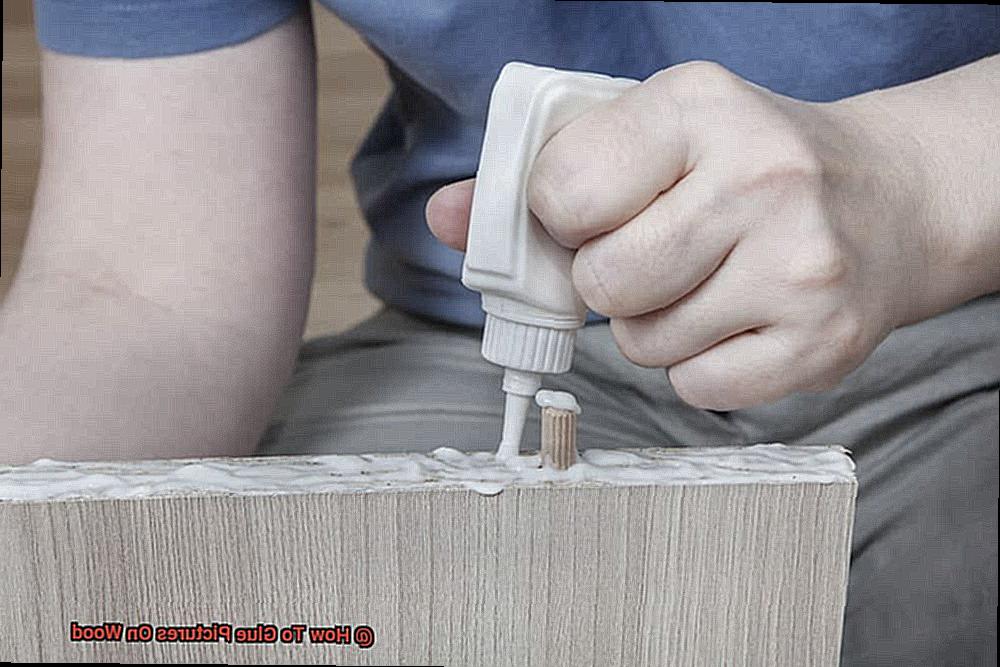
It’s time for the glue. Select a high-quality adhesive specifically designed for bonding wood and paper. Apply a thin, even layer of glue to the wood surface using a brush or roller, covering the entire surface.
Carefully place the picture onto the wood surface, ensuring proper alignment. Use a flat tool such as a credit card or spatula to press down on the picture, starting from the center and working your way outwards towards the edges. This will eliminate any air bubbles between the wood and picture.
Lastly, be patient. Allow the glue to dry completely before moving on to any additional steps. Leaving it overnight will provide optimal results.
By following these simple yet essential steps for preparing the wood and picture before gluing them together, you can ensure a secure bond that will last for years to come.
Applying the Glue
As a skilled professional in this field, I’ve gathered some tips to ensure that your bonding process is seamless and long-lasting. In the previous section, we talked about how to prepare your surfaces properly, use a high-quality adhesive, and apply glue evenly. Now, let’s move on to step number four: applying the glue.
To create a strong and reliable bond between your pictures and wood surface, it’s crucial to follow these simple steps:
Step 1: Clean and Dry
Before applying any glue, make sure that both surfaces are clean and dry. Any dirt, dust or moisture can interfere with the bonding process, leading to a weakened adhesive.
Step 2: Apply a thin layer of glue
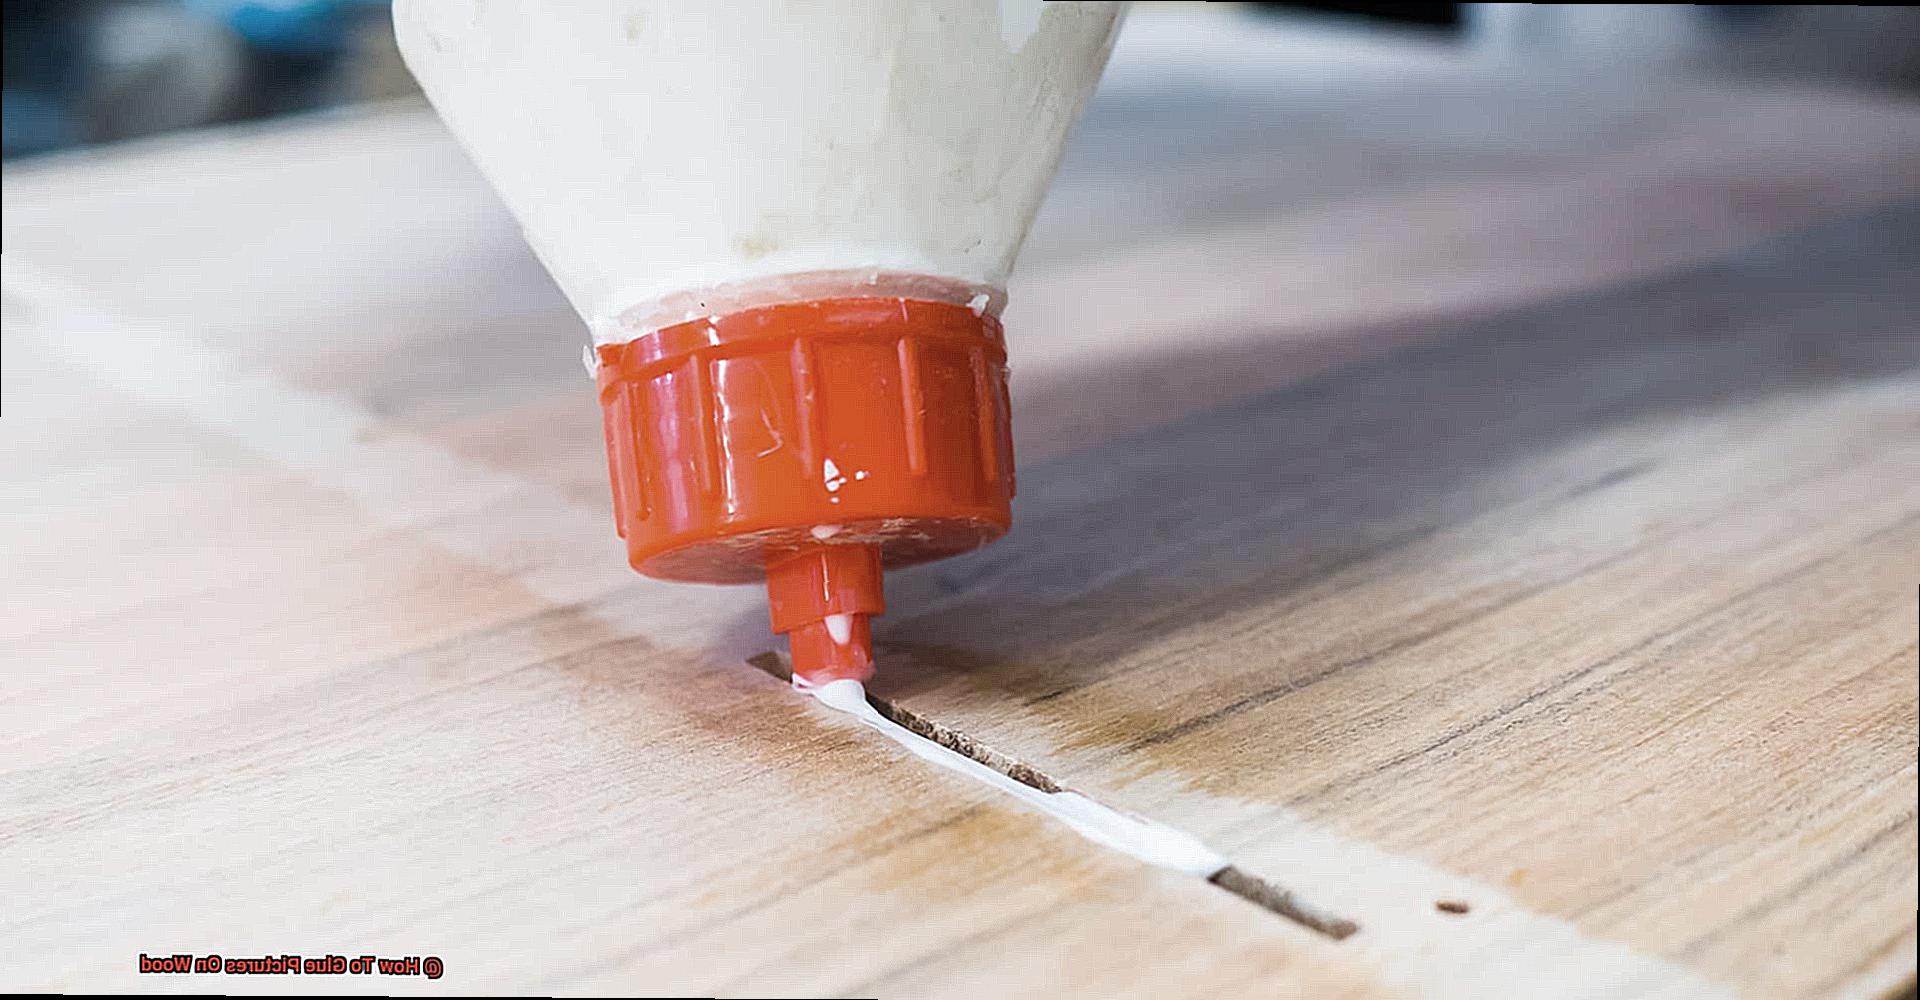
Using a brush, roller or applicator tool, apply a thin layer of glue to the wood surface. It’s essential not to use too much glue as excess can create mess and seep out, ruining your picture. Conversely, too little glue can result in a weak bond.
Step 3: Align and press down
After applying the glue, carefully lay your picture on top of it. Ensure that it’s aligned correctly and press down firmly to remove any air bubbles or pockets. This step is critical as it determines how well your picture will stick to the wood surface.
Step 4: Allow it to dry
Give the glue some time to dry according to the manufacturer’s instructions. Depending on the type of glue you’re using, it could take anywhere from a few hours to overnight. Be patient and avoid touching or moving the picture during this time.
Step 5: Inspect the bond
Finally, once the glue has completely dried, inspect the bond between your picture and wood surface. Check for any areas that seem weak or aren’t sticking correctly. If necessary, reapply glue and let it dry again.
By following these simple steps for applying glue, you can ensure a strong and long-lasting bond between your pictures and wood surface. Remember that proper preparation is key to achieving excellent results when gluing pictures on wood.
Placing the Picture On The Glue
Now that you’ve prepped your wooden surface and applied a thin layer of glue, it’s time for the exciting part – placing your picture on the glue.
When it comes to this step, precision is key. Think of it like a delicate dance – you want to handle your picture with care to make sure it stays beautiful and intact.
Start by making sure that your glue is evenly spread across the wooden surface. You can use a brush or small roller to ensure an even application. This ensures that your picture won’t have any uneven glue spots.
Next, carefully place your picture onto the glue, lining it up exactly where you want it. If you’re worried about getting it straight, don’t hesitate to use a ruler or level to help guide you.
Once your picture is in position, press down gently on the corners and edges to ensure that it’s fully adhered to the wood. This step is crucial to prevent your picture from peeling off later.
If you notice any bubbles or wrinkles in your picture, don’t fret. Simply smooth them out gently with your fingers or a soft cloth. But be careful not to apply too much pressure, as this could damage the picture.
Now comes the hard part – waiting for the glue to dry completely. This can take anywhere from a few hours to overnight, depending on the type of glue you’re using and the humidity level in your environment. It’s best not to touch or move the picture while it’s drying, as this could cause it to shift or become misaligned.
And there you have it. Placing your picture on glue may seem like a small step, but it’s an important one for ensuring that your artwork looks seamless and lasts for years to come.
Smoothing Out Air Bubbles and Wrinkles
As we all know, gluing pictures onto wood can be a tricky process that sometimes results in unsightly air bubbles and wrinkles. But don’t worry – with a few easy steps, you can easily smooth out those imperfections and create a finished product that’s both beautiful and professional-looking.
First things first: let’s tackle those pesky air bubbles. Take your fingers or a soft cloth and gently press down on the picture to remove any large air bubbles that may have formed during the gluing process. This will make it easier to smooth out any smaller bubbles that remain.
Now it’s time to grab a plastic card or squeegee and get to work on those wrinkles. Start from the center of the picture and work your way outwards towards the edges, using gentle pressure to push out any remaining air bubbles and wrinkles. Be careful not to press too hard, as this could damage the picture.
If you encounter a stubborn wrinkle that just won’t smooth out, don’t fret. Simply grab a fine needle or toothpick and carefully lift the edge of the wrinkle. Apply a small amount of glue underneath and press down gently on the lifted edge until the glue dries and the wrinkle disappears.
Last but not least, give your project some time to dry completely before handling it. This will prevent any further damage or imperfections from occurring.
In conclusion, smoothing out air bubbles and wrinkles when gluing pictures onto wood may seem like a daunting task, but with these simple steps, anyone can do it. Remember to take your time, stay gentle, and enjoy the process. Who knows – you might just discover a new hobby in the world of precision crafting.
Allowing Adequate Time for Drying
Fantastic. But, before you dive in, take note of this crucial step – allowing adequate time for drying. Skipping this step can result in a disaster for your project. Imagine cutting into a cake that’s not fully cooked – it falls apart. Rushing the drying process can be just as disastrous for your project.
To ensure your pictures are securely adhered to the wood surface, patience is key. It’s essential to allow the glue to dry completely before proceeding to the next step. Remember that different types of glue require different amounts of time to dry, so always check the manufacturer’s instructions for specific information on drying times. In general, most wood glues require at least 24 hours to dry completely.
Take a moment to consider environmental conditions when allowing for drying time. Humidity and temperature can affect how quickly or slowly glue dries. To ensure proper drying, work in a well-ventilated area with moderate temperature and low humidity. And here’s a tip: avoid touching or moving the glued pictures until they’re fully dried to prevent any potential damage or shifting.
Allowing adequate time for drying is a crucial step in gluing pictures on wood. Patience is key, and by following the manufacturer’s instructions for drying times and considering environmental conditions when allowing for proper drying, you can ensure that your pictures will be securely adhered to the wood surface.
sNUjHB2AYQw” >
Conclusion
To sum up, gluing pictures onto wood is a fantastic way to display your cherished memories in a unique and creative manner. However, it’s crucial to follow the right steps for a successful outcome. Choosing the correct glue is vital to create a long-lasting bond. PVA glue is perfect for clean finishes, while epoxy glue works best for porous woods and harsh environments. For those seeking natural alternatives, animal-based glues are an excellent option.
Proper preparation of both the wood surface and picture is key to achieving optimal results. Sanding down the wood surface and thoroughly cleaning the picture will provide a smooth surface for the glue to adhere to. Applying glue evenly and aligning the picture correctly before pressing it down firmly will eliminate any air bubbles or wrinkles.
Allowing sufficient time for drying is critical in ensuring that your pictures securely adhere to the wood surface. Different types of glue have varying drying times, so always check the manufacturer’s instructions. Environmental conditions such as humidity and temperature can also affect drying times.
By following these simple yet essential steps, you can create an exquisite piece of personalized art that will be cherished for years to come. So why settle for ordinary picture frames when you can add rustic charm with this DIY project?