Marble is a stunning and sophisticated stone that can elevate any space with its timeless beauty. Whether it’s flooring, countertops or decorative pieces, marble is a go-to choice that exudes luxury. But let’s face it – accidents happen, and you may find yourself with a chipped or cracked piece of marble. But don’t fret. With the right tools and techniques, you can glue your marble back together and restore it to its former glory.
When it comes to gluing marble, understanding the unique properties of this natural stone is crucial. Marble is porous, which means it can absorb liquids and stains. It’s also sensitive to scratches and etches if not handled properly. Therefore, selecting the right adhesive is essential for creating a strong bond without damaging the surface.
In this article, we’ll dive into the different types of adhesives used for gluing marble together – epoxy, cyanoacrylate and polyester resin. We’ll also provide tips on preparing the surface of your marble, applying the adhesive correctly and clamping the pieces together effectively. By the end of this read, you’ll have all the knowledge you need to restore your cherished marble pieces with confidence.
So whether you’re dealing with a broken statue or a cracked countertop, grab your tools and get ready to learn how to glue marble back together like a pro.
Choosing the Right Glue for Marble
Contents
Marble is a timeless and exquisite material that can add sophistication to any room. However, when marble pieces break or crack, it’s essential to use the right glue to restore them properly. In this article, we’ll explore the different types of glue available for bonding marble and their unique characteristics.
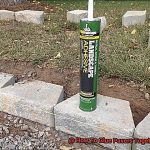
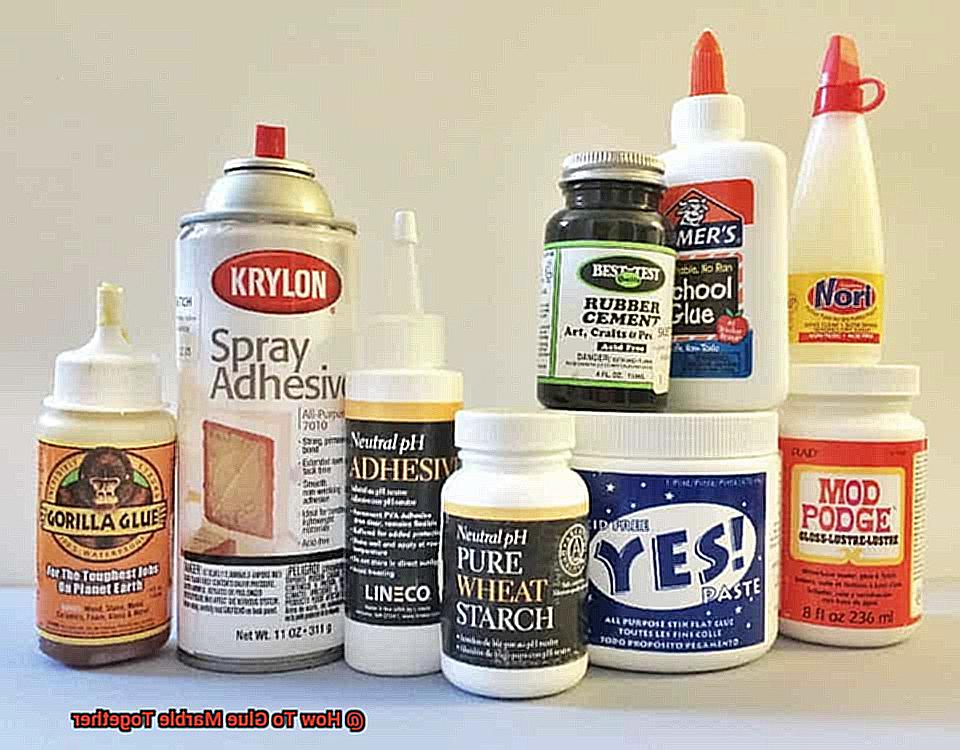
Epoxy glue is the go-to adhesive for bonding rough surfaces or uneven edges of marble pieces. It’s a two-part adhesive that boasts exceptional strength and durability. Epoxy glue is highly resistant to water, chemicals, heat, and impact, making it an ideal option for outdoor or high-traffic areas. Think of it as the superhero of the marble world.
Polyester glue is an excellent option for bonding smooth surfaces or flat edges of marble pieces. It dries quickly, has a high resistance to UV light, and is perfect for indoor projects. Polyester glue is like quick-drying nail polish for your marble.
Cyanoacrylate glue, also known as super glue, forms a strong bond in seconds and is perfect for repairing cracks and chips on the surface of the marble or bonding small marble pieces together. However, it’s not recommended for large pieces of marble or surfaces that will be exposed to water or heat. Cyanoacrylate glue is like a trusty Band-Aid for your precious marble.
When selecting the appropriate glue for your marble project, consider factors such as the size and shape of the marble pieces you want to bond, the location of the project, and the level of exposure to water, chemicals or heat. Following the manufacturer’s instructions carefully and wearing protective gear such as gloves and eye goggles when working with adhesives is crucial.
In conclusion, selecting the right glue for your marble project is vital to ensure a robust bond that will last. Whether you opt for epoxy, polyester or cyanoacrylate glue, always use caution and precision when applying adhesives.
Cleaning the Surfaces to be Glued
When it comes to gluing marble together, the surface preparation can make or break the bonding process. Imagine trying to stick a sticker on a dirty, greasy surface – it just won’t hold up. That’s why it’s crucial to clean the surfaces to be glued beforehand.
Think of it like baking a cake – you wouldn’t want to use expired ingredients or mix your batter in a dirty bowl, right? The same goes for gluing marble. Starting with a clean slate ensures the best possible outcome.
So, what’s the first step in cleaning the surfaces? Simple – remove any dirt or debris using a clean cloth or brush. This will eliminate any loose particles that could interfere with the bonding process.
Next, let’s tackle oily residues. Marble surfaces are often exposed to oils and other substances that can create a barrier for adhesives. We need to use a degreaser or mild detergent to remove these oily residues from the surface.
But wait, there’s more. To create an even better bonding surface for the adhesive, we need to use a fine-grit sandpaper to roughen the area slightly. This will help the adhesive grip onto the surface and create a stronger bond. However, caution is necessary when using sandpaper as over-sanding can damage the marble’s surface.
By taking these steps, we can ensure that our marble project will remain sturdy for years to come. So, if you’re planning on gluing marble together, remember to give your surfaces a thorough cleaning first.
Applying the Glue Evenly
Gluing marble together can be a daunting task, but with the right techniques, it can be done with ease. Applying the glue evenly is one such technique that is crucial for a strong and seamless bond. Think of it as the foundation of a house – it needs to be strong and even to support the weight of the structure.
The first step in applying glue is to ensure that the surfaces to be glued are clean and free of any dirt or debris. This will allow the glue to adhere properly and create a strong bond. Once you’ve cleaned the surfaces, it’s time to apply the glue.
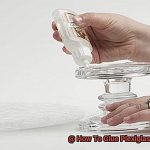
It’s important not to go overboard when applying glue, as too much can cause it to squeeze out of the joint and create a mess. Instead, use a toothpick or small brush to apply a thin layer of glue to both surfaces. This ensures that there is just enough glue for a strong bond.
Once you’ve applied the glue, press the two surfaces together firmly and hold them in place for a few minutes. This will allow the glue to set and create a strong bond between the two surfaces. If any excess glue has squeezed out, wipe it away with a damp cloth before it dries.
Lastly, ensure that the surfaces are level and aligned properly before gluing them together. This will help create a seamless finish that looks professional.
By following these simple tips, you can achieve a strong and seamless bond when gluing marble together. Remember, applying glue evenly is like building a sturdy foundation – it’s essential for creating something that will last for years to come.
Pressing the Surfaces Together
If you want to create a bond that is as strong as the pillars of the Parthenon, pressing the surfaces together is a crucial step in gluing marble together. It’s like piecing together a puzzle until it fits perfectly, creating a seamless and long-lasting bond.
To ensure that your marble surfaces are ready, it’s important to clean them thoroughly and remove any debris or dust. Think of it as preparing a canvas before painting a masterpiece – a clean surface ensures that the adhesive will stick properly.
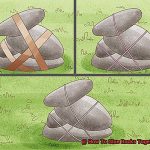
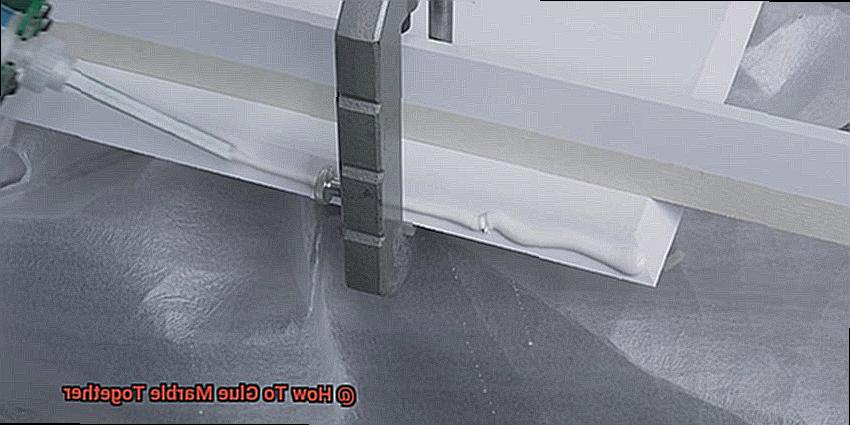
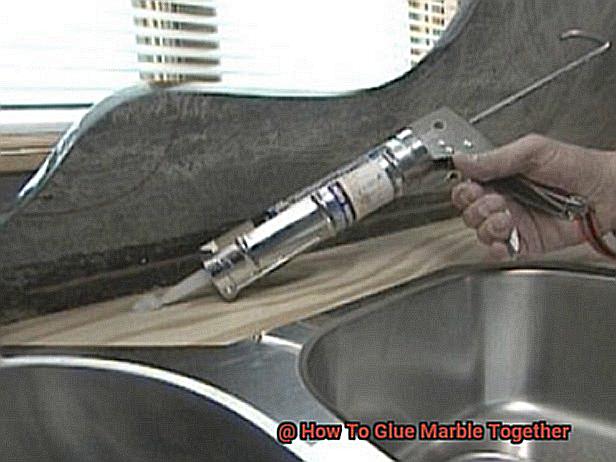
Once your surfaces are clean, carefully apply the adhesive to one of them using a putty knife or other applicator. Then, align the pieces of marble with precision and press them together firmly. Applying even pressure is key to distributing the adhesive evenly and creating a strong bond. You don’t want any weak spots.
To guarantee that your bond sets properly, use clamps or heavy objects to hold the pieces in place while the adhesive dries. It’s like holding two hands together until they finally interlock – giving your bond time to strengthen and solidify.
Finally, remove any excess adhesive before it dries by wiping it away with a clean cloth or using a razor blade to carefully scrape it off. Leaving any extra glue sticking out will only detract from the beauty of your finished product.
By following these steps and pressing your marble surfaces together with care, you can create a bond that will last for years to come.
Curing the Glue
Creating beautiful marble surfaces is a work of art. And like any masterpiece, it takes time, skill, and patience. When it comes to gluing marble together, curing the glue is an essential step that cannot be rushed. It involves allowing the glue to dry and harden completely before using the marble surface. This step may seem tedious, but it’s crucial for creating a strong and durable bond between the marble pieces.
The curing time can vary depending on the type of glue used and the environment in which it’s curing. That’s why it’s important to follow the manufacturer’s instructions for curing times to ensure that your bond is as strong as possible. For example, one popular type of glue for marble is epoxy. Epoxy has a longer cure time than other types of glue, but it provides an incredibly strong bond. To use epoxy effectively, you must mix it thoroughly and apply it evenly to both surfaces being glued together. Once applied, clamp the marble pieces tightly together and leave them undisturbed for at least 24 hours to allow for complete curing.
Another commonly used glue for marble is superglue. Superglue dries quickly, but it may not provide as strong a bond as epoxy. When using superglue, apply it sparingly to avoid excess glue seeping out from between the marble pieces. Also, clamp the pieces together tightly and leave them undisturbed for at least an hour for complete curing.
Temperature and humidity can also affect the curing time of your glue. Lower temperatures or higher humidity can lengthen curing times, while higher temperatures or lower humidity can speed up curing times. Therefore, choosing a dry, well-ventilated area with a moderate temperature for curing your glue is ideal.
Taking the time to properly cure the glue when gluing marble together is crucial for creating a strong and long-lasting bond. It may require a bit of patience, but the end result will be worth it. So, next time you’re working on a marble project, don’t rush the curing process.
Practicing Before Gluing Large Pieces Together
Similarly, gluing marble pieces together requires dedication, patience, and skill.
To start, it’s best to select small pieces of marble that can be easily glued together. This will allow you to get a feel for the adhesive and how it works with the marble. Think of it as a warm-up before the real workout. Apply a small amount of adhesive to one of the pieces and press the two pieces together. Hold them in place for a few minutes to allow the adhesive to set.
Once the adhesive has set, inspect the bond between the two pieces of marble. Look for any gaps or areas where the adhesive did not bond properly. Detecting these issues at this stage is essential as it allows you to adjust your technique and try again.
Practice this process with several small pieces of marble until you feel comfortable with the adhesive and your technique. Remember, this is an opportunity to refine your skills and build your confidence before moving on to larger pieces of marble.
It is also important to note that different types of adhesives may work better on certain types of marble. Be sure to test different adhesives on small pieces of marble before attempting to glue larger pieces together. This will help ensure that you select the right adhesive for your specific project.
Practicing before gluing large pieces of marble together is crucial to achieving optimal results. It allows you to get a feel for the adhesive and your technique while also ensuring that you select the right adhesive for your specific project. So, take your time, practice, and don’t rush into gluing large pieces together without proper preparation. With these tips in mind, you are now set to embark on your marble crafting journey.
KSAGWLHbJt8″ >
Conclusion
To sum up, gluing marble may seem like a challenging task, but it can be accomplished with ease by following the right steps. It’s essential to understand the unique properties of marble to choose the appropriate adhesive that creates a strong bond without damaging the surface.
Epoxy glue is best suited for rough surfaces or uneven edges, while polyester glue is perfect for bonding smooth surfaces or flat edges of marble pieces. If you need to repair cracks or chips on the surface of your marble, then cyanoacrylate glue forms a strong bond in seconds.
Before applying any adhesive, make sure to clean the surfaces thoroughly to avoid any dirt or debris that could interfere with the bonding process. You can use a toothpick or small brush to apply glue evenly and press the surfaces together firmly while holding them in place for a few minutes. This ensures a seamless finish that looks professional.
It’s crucial to allow enough time for curing by letting the glue dry and harden completely before using your marble surface. Finally, practicing beforehand allows you to get familiar with your adhesive and technique while also ensuring that you select the right adhesive for your specific project.