Acrylic is a wonder material that has taken the world by storm, finding its way into everything from jewelry to aircraft windshields. It’s easy to see why – with its exceptional clarity and durability, it’s incredibly versatile. But with increased usage comes an increased need for the know-how to fix or bond acrylic. That’s where knowing how to glue acrylic together can be a lifesaver, especially if it’s used in your hobbies, projects, or small business.
However, unlike other conventional plastics like PVC, bonding acrylic requires specific technical skills, adhesive selections, and preparation techniques to achieve a durable and strong bond. One wrong move can result in weak joints, craze cracking or even melting the acrylic. That’s why it’s critically important to use the right adhesive and follow proper preparation procedures. Failure to do so could damage the acrylic and create a safety hazard.
In this post, we’ll take you through all the technicalities of gluing acrylic together step-by-step. From selecting the right glue and preparing surfaces for bonding to applying adhesive correctly – we’ve got you covered. By the end of this post, you’ll have all the knowledge you need to repair or bond your own acrylic masterpiece with confidence. No more costly repairs or replacements – just strong bonds that will last for years to come.
What is Acrylic?
Contents
Acrylic, or polymethyl methacrylate (PMMA), is a true chameleon material. Transparent, lightweight, and impact-resistant, it’s the perfect stand-in for glass in a myriad of applications. From lighting fixtures to windows, aquariums to furniture, acrylic is everywhere you look. But what makes it so special?
Well, for starters, acrylic is incredibly versatile. It’s made from petroleum-based chemicals that are processed into a clear liquid. This liquid can be molded into any form imaginable – from sheets to intricate shapes – making it a favorite among manufacturers. And the best part? It comes out crystal-clear every time.
But acrylic’s beauty isn’t just skin deep. It also boasts some impressive physical properties. For one, it has excellent optical clarity. That means light can pass through it with ease, making it ideal for use in anything that needs to be seen through. Plus, it can withstand exposure to UV light without yellowing or degrading over time.
Another perk of acrylic is its low water absorption rate. That makes it a top choice for use in humid or wet environments like aquariums or even outdoor signs. And because it’s impact-resistant, it’s much harder to break than traditional glass.
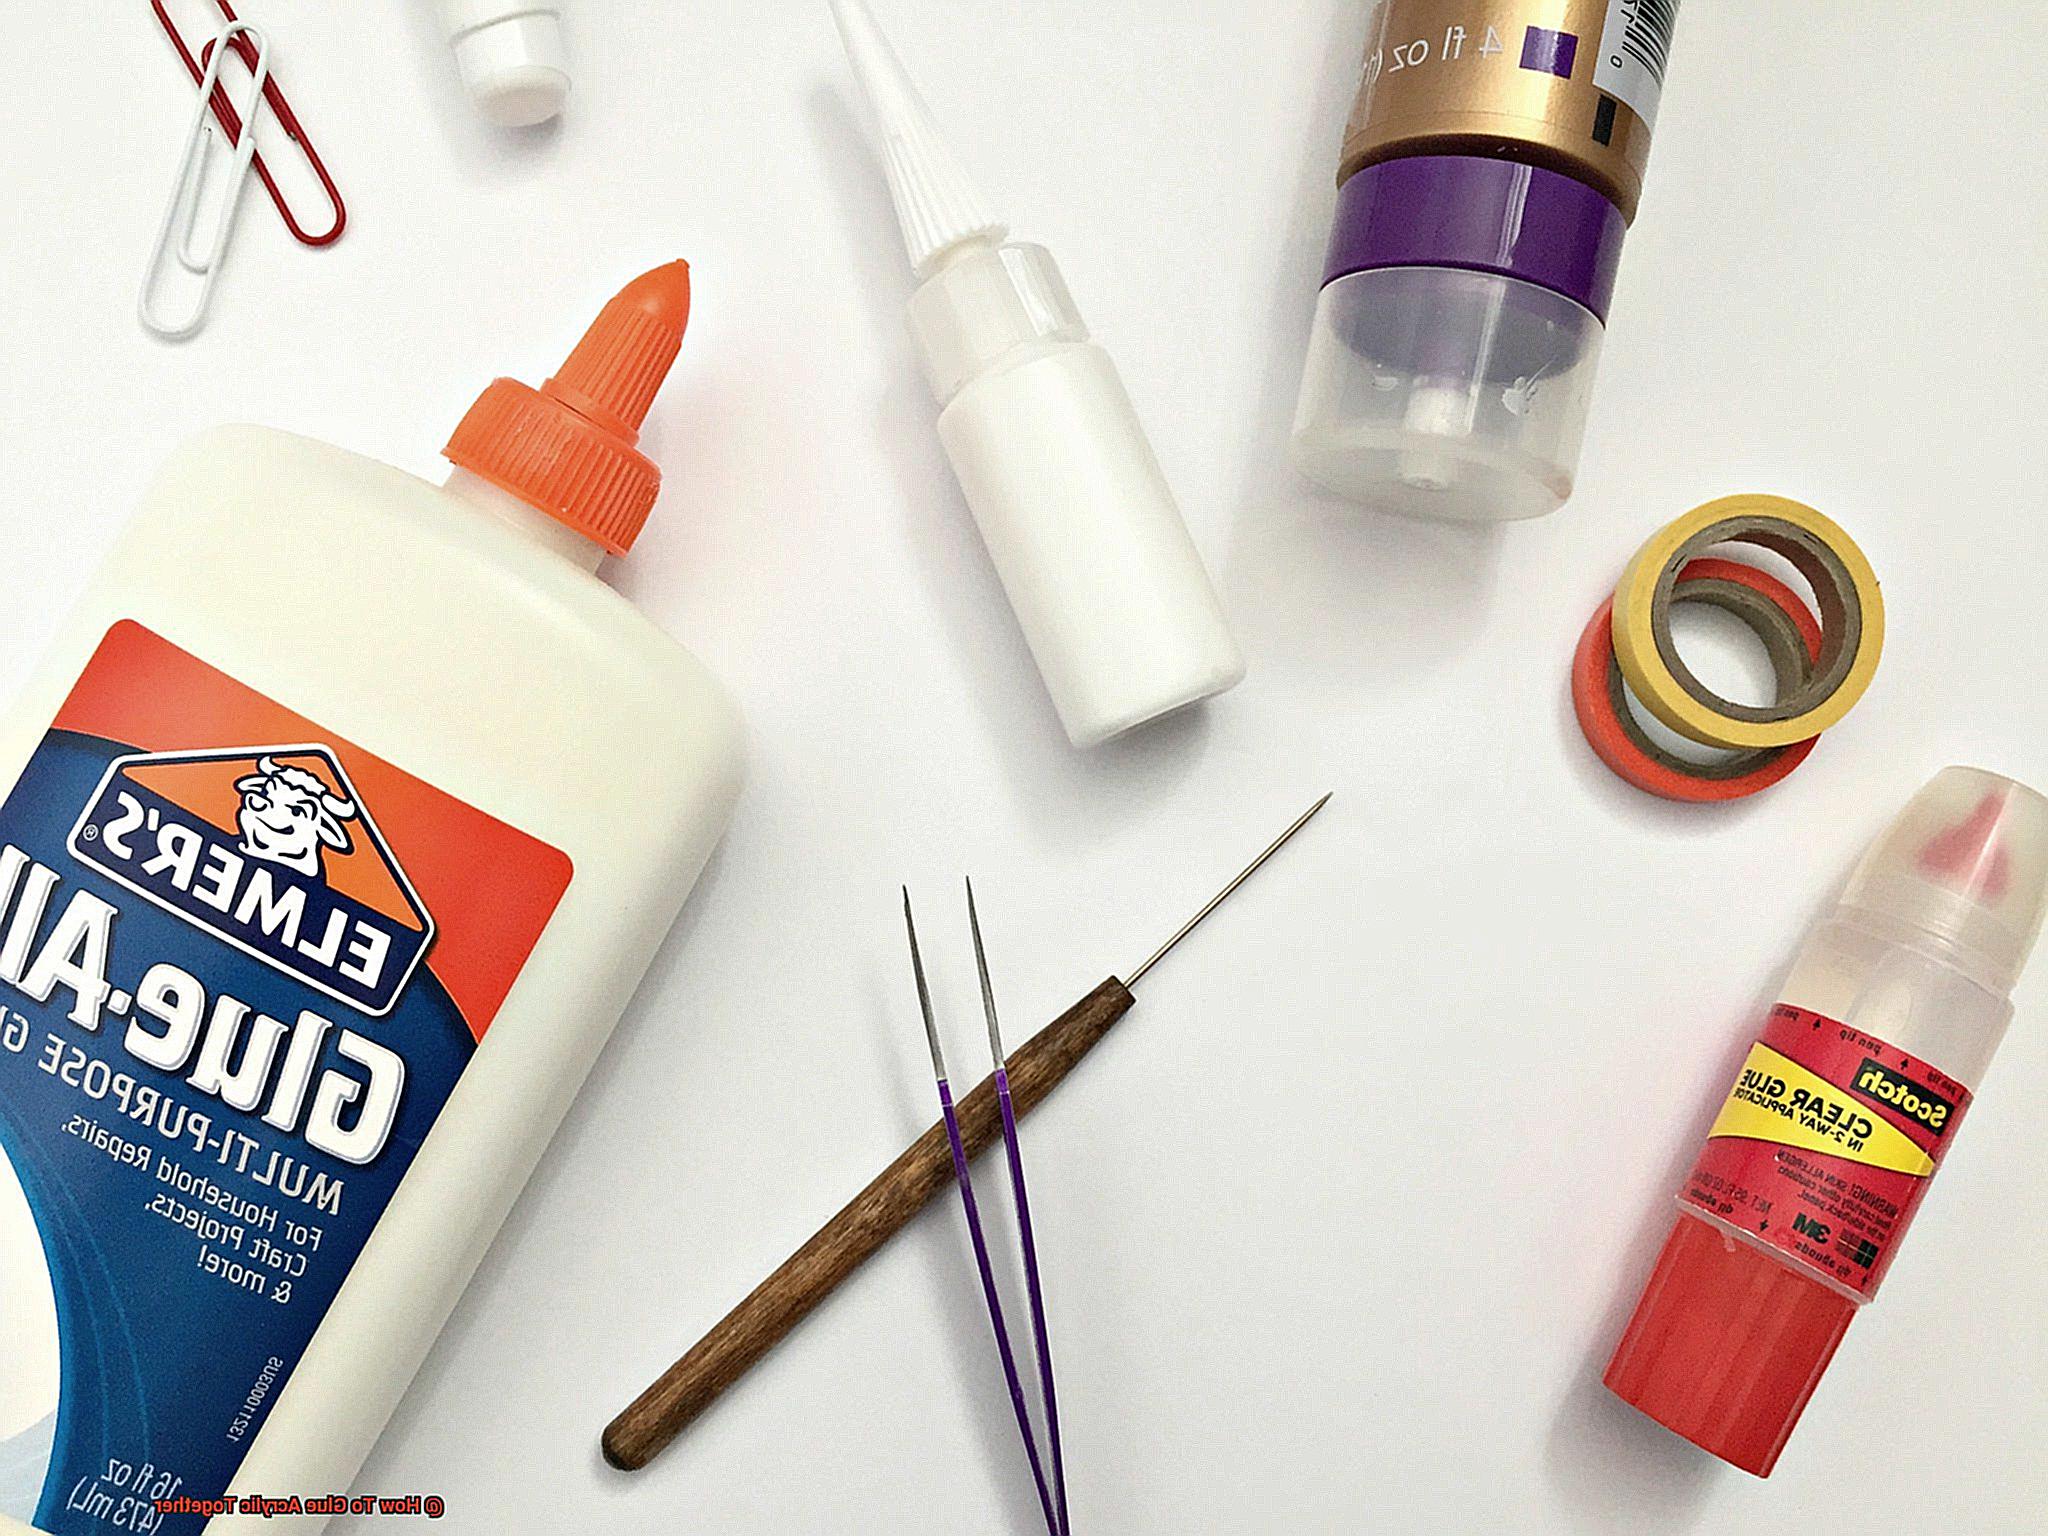
So how do you work with acrylic? Well, choosing the right adhesive is key. Acrylic is non-porous, so not all adhesives will work well with it. Cyanoacrylate glue (aka superglue) is a popular choice for small projects because it creates a strong bond quickly. But for larger projects or high-stress applications, two-part epoxy is best.
Before gluing acrylic together, be sure to clean the surfaces thoroughly with mild soap and water to remove any dust or debris. Then follow the adhesive manufacturer’s instructions and press the surfaces together until the adhesive has fully cured.
Why Glue Acrylic Together?
Acrylic is a true wonder material, with its countless applications ranging from sleek furniture to stunning aquariums. However, creating complex structures often requires joining multiple pieces together, which is where the process of gluing comes in.
But why glue acrylic together? One of the main reasons is to achieve a seamless joint. Unlike other plastics, acrylic can be easily shaped and sanded, allowing it to be joined together without leaving any visible seams or gaps. This makes it perfect for creating clear displays or enclosures that need to maintain a clean and professional appearance.
Acrylic is also known for its strength and durability, making it ideal for use in industries such as construction and manufacturing. When properly bonded, acrylic can withstand high levels of pressure and impact, providing added protection against moisture and other environmental factors that could potentially damage the material over time.
However, gluing acrylic together isn’t just about aesthetics or strength. In some cases, it may also be necessary to repair or restore an existing piece. For example, if an acrylic display case becomes cracked or damaged, gluing the pieces back together can help restore its structural integrity and prevent further damage.
In short, whether you’re seeking visual appeal or extra strength and durability, gluing acrylic together is a crucial process that can help you achieve your desired results. With the right adhesive and technique, you can create a seamless bond between two or more pieces of this versatile plastic material, ensuring a long-lasting and beautiful finished product.
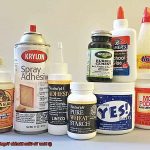
Types of Adhesives for Gluing Acrylic
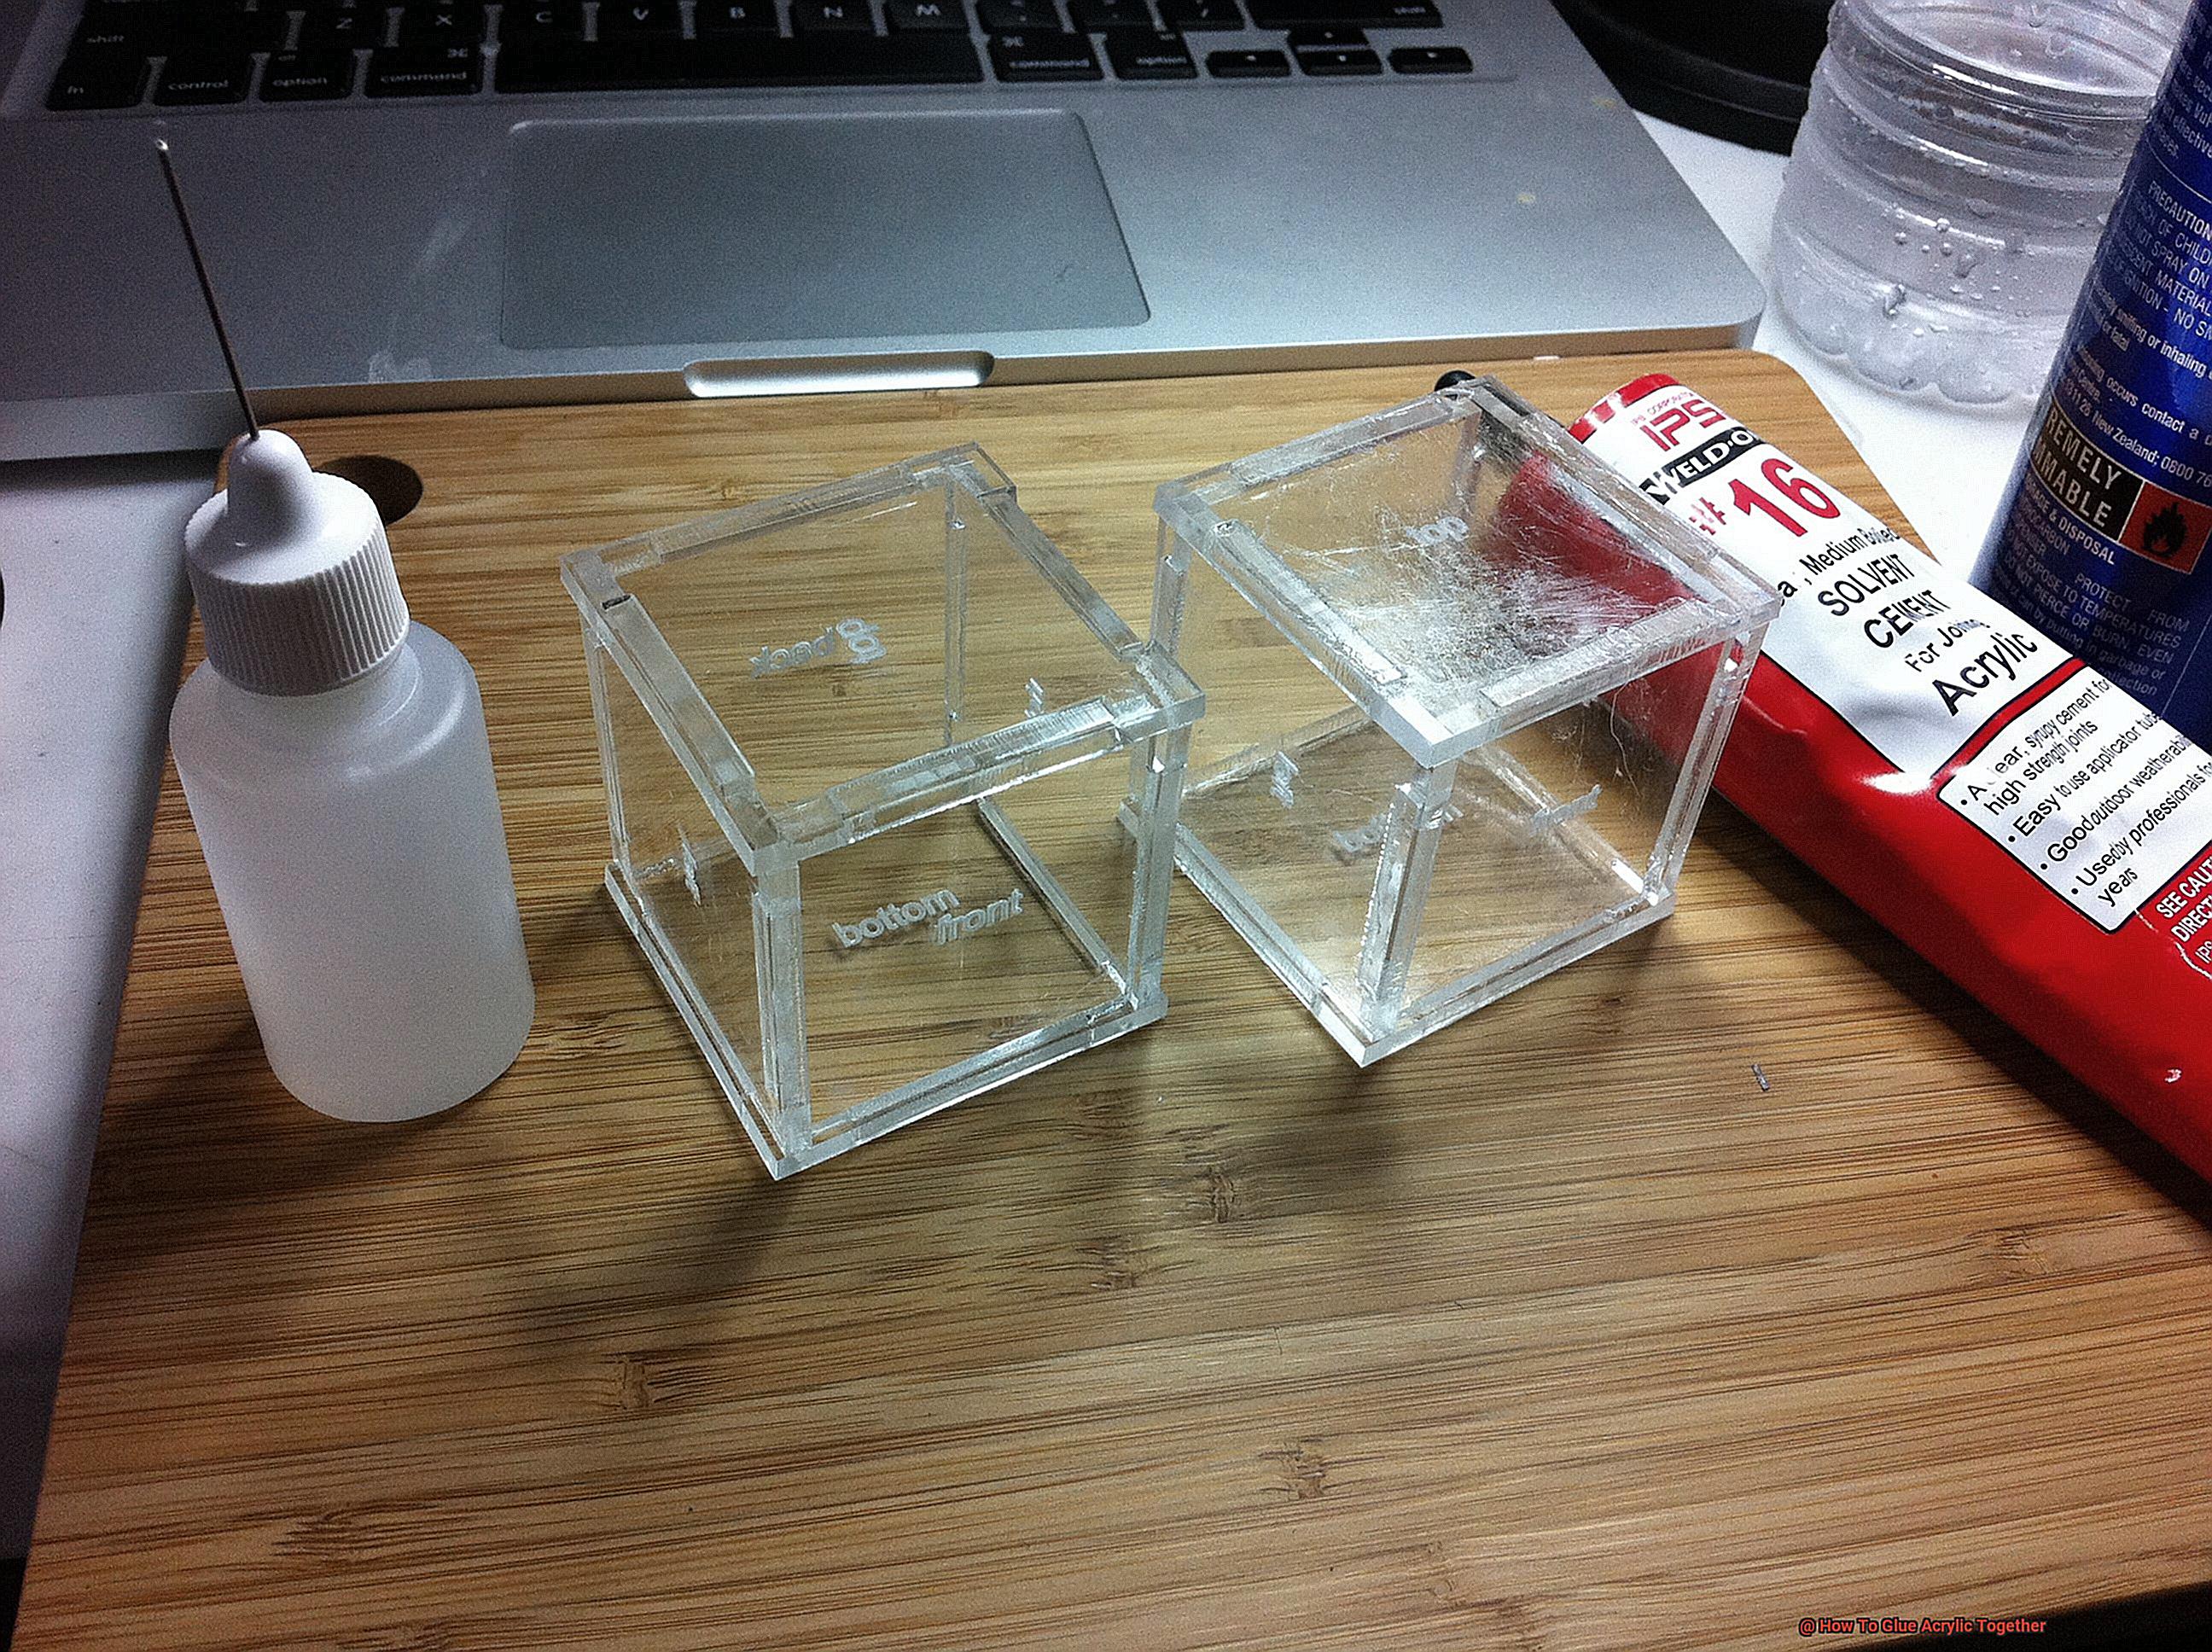
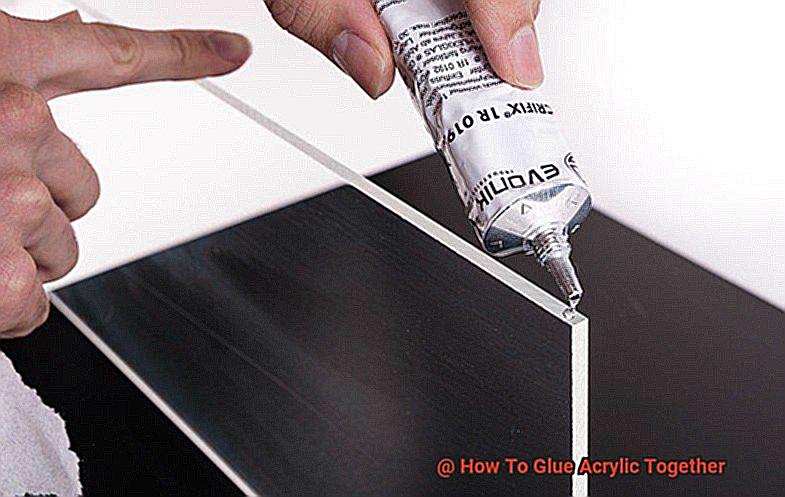
First up, we have solvent cement – a popular choice for its ability to chemically melt the surfaces of the acrylic pieces being joined, causing them to fuse together. Available in both one-part and two-part forms, solvent cement offers versatility to suit your specific project needs. One-part is easier to use but takes longer to set, while two-part sets more quickly but requires more precise mixing.
Cyanoacrylate (Superglue)
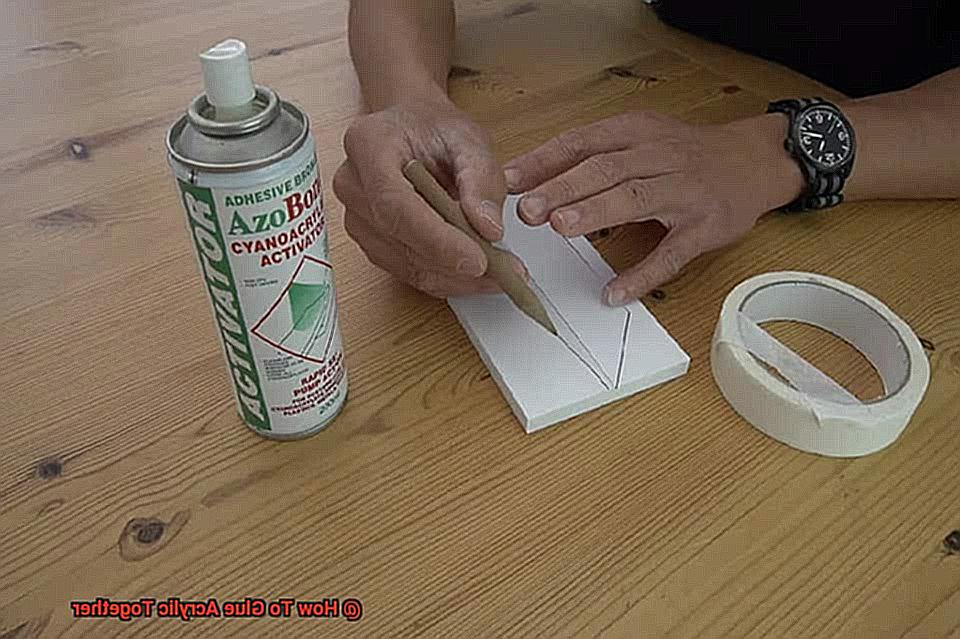
When it comes to gluing acrylics together, there are many adhesive options available. But if you’re looking for a quick and reliable choice, cyanoacrylate, or superglue, is a popular go-to. As an expert on this topic, I’m here to guide you through the process of using cyanoacrylate to bond acrylic and create a strong, permanent bond.
However, before we begin, it’s crucial to handle cyanoacrylate with care as it is a powerful adhesive that can cause skin irritation. Therefore, make sure you have your protective gloves on and take all necessary precautions.
Once you’re set up, the first step is to ensure that the surfaces you’re bonding are clean and dry. Any grease or dirt can weaken the bond. So, use a mild detergent and warm water to clean the surfaces thoroughly before proceeding. Once they’re clean and dry, you’re ready to apply the glue.
Use only a small amount of cyanoacrylate on one of the surfaces and press the two pieces together firmly. Hold them in place for around 30 seconds to allow the glue to dry. This fast-drying glue creates a strong and permanent bond but remember to take your time as it sets quickly.
It’s important to note that when cyanoacrylate dries, it can create a white haze that isn’t ideal for clear or transparent acrylic. To avoid this, use only a minimal amount of glue and apply it carefully to prevent any excess spreading out.
Although cyanoacrylate is perfect for small projects that require a strong bond quickly, it may not be suitable for larger projects. The flow of the glue can be challenging to control during application, which may not provide enough coverage for larger surface areas.
Overall, cyanoacrylate is an excellent choice for bonding acrylics together. With proper care and attention, you’ll achieve a secure and professional-looking bond.
Two-Part Epoxy

This powerful adhesive solution is a combination of a resin and a hardener that, when mixed in equal proportions, creates an incredibly strong chemical bond that can securely join acrylic surfaces.
But how do you use this wonder adhesive for gluing acrylic surfaces together? Well, first things first- ensure that the surfaces you want to glue are clean and dry. Any debris or moisture on the surface can compromise the strength of the bond. So, take your time and clean the surfaces thoroughly before proceeding.
Next, mix the two parts of the epoxy according to the manufacturer’s instructions. Remember to follow the instructions carefully as improper mixing can result in a weak bond that may not hold up over time. Once you’ve mixed the two parts thoroughly, apply the adhesive to one of the surfaces and then press the two pieces together firmly. But be careful not to apply too much pressure as this can cause the acrylic to crack or break.
One of the most significant advantages of using two-part epoxy for gluing acrylic is its ability to dry clear, which is perfect for projects where aesthetics are important. In addition, it has excellent resistance to water, chemicals, and UV light, making it ideal for outdoor applications or items that will be exposed to harsh conditions.
However, it’s crucial to keep in mind that two-part epoxy can take a long time to cure fully, sometimes up to 24 hours or more depending on temperature and humidity levels.
So, be patient and follow the manufacturer’s instructions carefully. Allow enough time for the adhesive to dry completely before handling the glued item.
If you’re looking for a reliable adhesive solution for gluing acrylic together, two-part epoxy is an excellent choice. Just remember always to prepare your surfaces correctly and allow enough time for your adhesive to dry fully before using your glued item.
Preparing the Surfaces for Gluing Acrylic
It’s important to know that proper preparation is crucial to achieving a strong and long-lasting bond. Just like building a house, a sturdy foundation is needed for your acrylic pieces to hold together with ease.
Cleaning the Surfaces
When it comes to bonding acrylic pieces together, cleaning the surfaces is a vital step that can’t be skipped. A strong and long-lasting bond is dependent on a clean foundation, free from any dirt, dust, or residue.
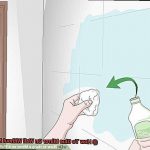
To begin the cleaning process, use a soft cloth or sponge and a mild soap solution to wipe away any dirt or grime on the surface. Rinse thoroughly with clean water and dry completely with a clean cloth. This step alone will remove most surface contaminants.
But that’s not all – to ensure that the surfaces are completely clean and ready for bonding, it’s essential to use a solvent such as isopropyl alcohol or acetone. Apply the solvent to a clean cloth and wipe down the surface, making sure to avoid touching it with bare hands as this can transfer oils from your skin.
Using a lint-free cloth or paper towel is key in preventing any fibers or particles from being left behind on the surface. And don’t forget to double-check that the surfaces are completely dry before proceeding with gluing.
Buffing with Microfiber Cloth
When it comes to gluing acrylic together, achieving a clean and polished finish is crucial. And that’s where buffing with a microfiber cloth comes into play. This step is essential in ensuring your project looks its best and is securely bonded for long-lasting durability.
First things first: before buffing, it’s vital to ensure your acrylic surfaces are clean and free of any dust or debris. To achieve this, simply wipe them down with a mild soap solution and a clean cloth. Once they’re pristine, it’s time to buff.
Microfiber cloths are the gold standard for buffing acrylic surfaces. They’re soft, gentle, and won’t leave any scratches or marks. That means you can achieve a gleaming finish without worrying about damaging your material.
The reason microfiber cloths are so effective is that they’re designed to attract dust and dirt particles. This makes them ideal for removing any stubborn residues left on your acrylic surface. Plus, they’re reusable and washable so that you can use them over and over again.
To buff with a microfiber cloth, simply apply a small amount of polishing compound onto the cloth and start buffing in circular motions. But be careful not to apply too much pressure – this could create heat or friction that could damage the acrylic.
After buffing, it’s essential to wipe down the surface with a clean microfiber cloth to remove any excess polishing compound. Doing so will help ensure that your surface remains clean and ready for gluing.
Applying Adhesive to Gluing Acrylic Together
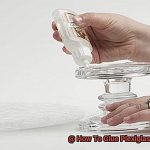
When it comes to gluing acrylic together, applying adhesive is a crucial step in creating a strong and durable bond. The adhesive acts like the glue that holds all the pieces together, just like building a puzzle.
One popular adhesive choice for gluing acrylic is the solvent-based adhesive. This type of adhesive works by dissolving the acrylic’s surface, creating a fused joint. To apply this adhesive, start by thoroughly cleaning the surfaces to be bonded. Then, apply the adhesive to one surface and join it with the other surface. Hold the two pieces together for several minutes until the adhesive sets. It’s important to work in a well-ventilated area and wear protective gloves and eyewear for safety.
Another option is the two-part epoxy adhesive, which forms a strong mechanical bond between the two surfaces. This adhesive doesn’t dissolve the surface but creates a powerful connection between them. To use this adhesive, mix equal parts of the resin and hardener, apply it to one surface, and join it with the other surface. Hold the two pieces together until the epoxy sets.
For those looking for a chemical bond, acrylic cement might be ideal. This adhesive fuses the surfaces together chemically, creating a robust connection. Apply it to both surfaces and press them firmly together. Hold them for several minutes until the cement sets.
No matter which adhesive you choose, it’s crucial to follow the manufacturer’s instructions carefully. Applying too much or too little adhesive can weaken the bond or damage the acrylic surfaces. And don’t put any pressure on the joint until the adhesive has fully cured – it can take up to 48 hours.
Pressing and Holding the Pieces in Place
Just like putting together a puzzle, gluing acrylic pieces together requires patience, precision, and care. Selecting the right adhesive for your project is only half the battle. Pressing and holding the pieces in place is equally important to ensure a strong and long-lasting bond.
After applying the adhesive to the acrylic pieces, align them carefully in the desired position. Apply gentle pressure to press the pieces together, making sure they are flush against each other. Avoid using too much pressure as it can cause the adhesive to squeeze out and create unsightly marks on the surface of the acrylic.
After pressing the pieces together, hold them in place for several minutes until the adhesive has set. A general rule of thumb is to hold them for at least 10-15 minutes. However, this may vary depending on the type of adhesive used. Avoid moving or disturbing the pieces during this time, as it can weaken the bond and cause them to shift out of alignment.
In some cases, clamps or weights may be necessary to hold the pieces in place while the adhesive sets. If using clamps, use protective padding to prevent damage to the acrylic surface. If using weights, make sure they are evenly distributed and do not apply too much pressure to any one area.
Remember, pressing and holding the pieces in place is crucial when gluing acrylic together. It allows the adhesive to dry and create a strong bond between the pieces. Just like waiting for glue to dry on a craft project, patience is key.
Curing Time and Tips For Ensuring Proper Adhesion
You need to consider two critical factors: curing time and proper adhesion. These factors play a crucial role in creating a seamless joint that looks great and lasts long.
Curing time refers to the amount of time required for the adhesive to fully set and harden. Depending on the type of adhesive used and the size of the acrylic pieces being joined, curing time can vary from several hours to a few days.
It’s important to note that even if the adhesive appears dry on the surface, it may not be fully cured yet. Therefore, it’s recommended to wait at least 24 hours before handling the glued acrylic pieces.
To ensure proper adhesion, start by cleaning both surfaces being joined thoroughly. Use rubbing alcohol or a specialized cleaner designed for acrylic surfaces to remove any dirt, debris, or oils that may interfere with bonding.
Next, apply the adhesive evenly to both surfaces being joined. Avoid over-applying the adhesive as this can result in unsightly bumps or drips that can mar the appearance of the joint.
Finally, clamp the pieces together firmly while the adhesive cures. This helps ensure even pressure and minimize any gaps between the pieces. If clamps aren’t available or practical, weights can be used instead.
Remember that curing time and proper adhesion are critical factors when gluing acrylic together. Too little curing time can result in weak bonding, while too much time can cause the adhesive to become brittle and prone to cracking. By following these tips for curing time and proper adhesion, you can achieve strong and durable bonds when gluing acrylic together.
When gluing acrylic together, you need to consider curing time carefully. You also need to prepare the surfaces by cleaning them thoroughly and applying the adhesive evenly. Finally, clamp or hold the parts together until the adhesive has fully cured to ensure that the joint remains tight and secure. With these tips in mind, you can create a seamless joint that looks great and lasts long.
hT6Ow_cBTps” >
Conclusion
In conclusion, gluing acrylic together can be a simple and effective process if you have the right tools and techniques.
By following the steps outlined in this guide, you can achieve strong and long-lasting bonds between your acrylic pieces. Remember to choose the right adhesive for your project, prepare your surfaces properly, and apply the glue evenly.
With a little patience and practice, you’ll be able to create beautiful acrylic projects that will last for years to come.