Imagine the sheer enchantment of turning a plain piece of wood into a captivating masterpiece. Picture the seamless fusion of cozy fabric and sturdy timber, bringing warmth and luxury to any space. Intrigued? Get ready to unlock the secrets behind expertly gluing fabric to wood.
Whether you’re a DIY enthusiast yearning to revive a tired chair or a seasoned craftsperson looking to add elegance to your wooden decor, bonding fabric to wood is an art that holds infinite possibilities. But where do you begin?
In this captivating blog post, we embark on an exciting journey into the world of fabric-to-wood bonding. We’ll unravel tried-and-true techniques and trade secrets that empower you to transform any wooden surface into a work of art. Whether you’re taking your first steps in DIY or venturing into uncharted creative territories, this guide equips you with all the knowledge and skills needed for flawless fabric-to-wood adhesive applications.
Key Points:
- The Magic Glue Choice: Discover the ideal adhesives designed specifically for bonding fabric to wood, ensuring long-lasting durability.
- Proper Surface Preparation: Unveil essential steps for creating the perfect canvas for gluing fabric to wood, including cleaning, sanding, and priming techniques.
- Mastering Application Technique: Explore a step-by-step process for flawlessly affixing fabric to wood, complete with helpful tips and tricks for achieving professional results.
- Upholstery Unleashed: Delve into an exciting world of endless possibilities as we showcase creative ideas and engaging projects where this skill can be applied.
- Troubleshooting: Learn how to tackle common challenges like bubbling, wrinkling, or fabric discoloration, ensuring your creations withstand the test of time.
Ready for this transformative journey? Brace yourself as we dive deep into the art of fabric-to-wood bonding, revealing the secrets that will elevate your creative endeavors to unprecedented heights. Whether you’re unleashing your inner artist or crafting with purpose, mastering the skill of gluing fabric to wood opens doors to limitless possibilities.
Types of Adhesives for Gluing Fabric to Wood
Contents
Look no further because we have all the information you need to choose the best adhesive for your project. From versatile fabric glue to quick-drying spray adhesives, let’s dive into the world of adhesives and find the perfect match for your fabric and wood bonding needs.
Fabric Glue: The Ultimate All-Rounder
Fabric glue is the unsung hero when it comes to bonding fabric to wood. This adhesive is specifically designed to create a flexible and durable bond between different surfaces, including wood. With its liquid form, it’s easy to apply directly onto the fabric or wood surface. The beauty of fabric glue lies in its ability to dry clear, allowing your fabric to shine without any visible traces of adhesive. Plus, its flexibility ensures that your fabric remains intact, even with movement or stretching.
Spray Adhesive: Quick and Even Application
When time is of the essence, spray adhesive comes to the rescue. This adhesive offers a fast and even application, making it ideal for larger projects like upholstering furniture or creating fabric wall art. By spraying a thin, even layer onto both the fabric and wood surface, you can achieve a strong bond with minimal drying time. Before you know it, your fabric will be securely adhered to the wood, ready to impress.
Craft Glue: The Tried-and-True Solution
For those who appreciate tradition, craft glue is a reliable choice for gluing fabric to wood. Craft glues are versatile and can bond various materials, including fabric and wood. However, be sure to select a craft glue that is compatible with both the fabric and wood surface. This ensures a secure bond that can withstand the test of time, no matter what creative project you tackle.
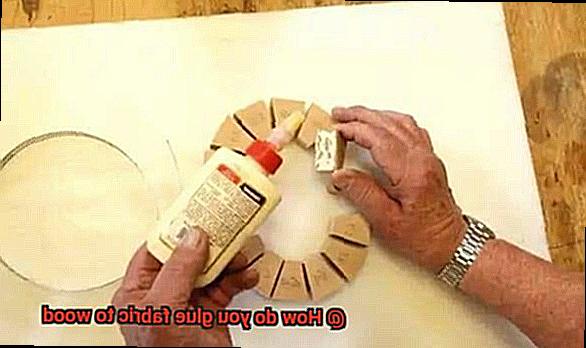
Hot Glue Gun: Swift and Sturdy Bonds
When working on small or intricate projects, a hot glue gun can be your secret weapon. Offering quick and sturdy bonds, hot glue guns allow for precise application of adhesive between fabric and wood. However, it’s important to exercise caution when using hot glue guns, as the high temperature can cause damage or melting to certain fabrics. With careful handling, a hot glue gun can be an invaluable tool for your fabric and wood endeavors.
Epoxy Adhesives: Unyielding Strength and Durability
For projects that demand unparalleled strength and durability, epoxy adhesives are a top choice. These adhesives are known for their ability to create long-lasting bonds, making them perfect for projects that require maximum reliability. However, it’s worth noting that working with epoxy adhesives can be a messy affair, as they often require mixing before application. If you’re up for the challenge, grab some epoxy adhesive and experience the power of unyielding bonding.
Preparing the Wood Surface
Don’t overlook the crucial step of preparing the wood surface. A strong and durable bond between fabric and wood hinges on proper preparation. Join me as we delve into the key points to consider when preparing that wooden canvas.
Step 1: Cleanse and Rejuvenate
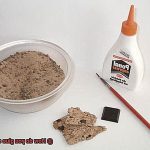
Before we kickstart our creative journey, let’s give that wood a spa treatment. Armed with a soft brush or cloth, banish every speck of dust, dirt, or debris that may have nestled on the surface. This initial cleanse is no trivial matter – it safeguards against any interference with the adhesive’s grip. Let’s ensure our foundation is squeaky clean.
Step 2: Sanding – The Magic Touch
Now, prepare to unleash the enchanting power of sanding. With delicate strokes and fine-grit sandpaper, we create a tantalizing texture on the wood surface. This textured embrace provides the perfect grip for our glue. Remember, gentle strokes following the wood grain are key – no aggressive sanding mishaps allowed.
Step 3: Unleashing Perfection
Time to bid farewell to rough spots and imperfections on our wooden stage. Fear not. Specialized fillers and putties designed solely for wood come to our rescue. Smooth out those problematic areas, ensuring a flawlessly even surface. Patience is our ally here; let those fillers dry completely before proceeding.
Step 4: Priming Brilliance
Let’s add a touch of brilliance to our masterpiece by considering priming. Depending on the unique characteristics of our chosen wood and fabric, priming can be a game-changer. This protective shield shields both surfaces from potential damage or unwanted discoloration. Select a top-notch primer suitable for both wood and fabric, coat evenly, and follow the manufacturer’s instructions for drying. With this shield in place, nothing can stop us.
Step 5: The Compatibility Dance
Before we embark on our fabric fusion adventure, let’s indulge in a compatibility test. Seek out a discreet corner of the wood surface and apply a small amount of adhesive. This dance will reveal whether our glue interacts harmoniously with the wood, avoiding any unsightly discoloration. Remember to follow the adhesive manufacturer’s instructions for this essential compatibility test.
Applying the Adhesive
Prepare to embark on a mesmerizing journey where ordinary materials unite to create extraordinary works of art. But before we delve into this adhesive adventure, let us arm ourselves with the knowledge and techniques needed to ensure a seamless bond between fabric and wood. Grab your favorite glue gun or fabric adhesive, for we are about to unlock the secrets of applying the perfect adhesive.
Choosing the Perfect Adhesive:
Just as finding the perfect match is essential, selecting the right adhesive is crucial for a successful fabric-to-wood connection. Let us explore our options:
- Fabric Glue: A masterful creation designed specifically for this purpose, fabric glue is a clear, flexible adhesive that dries swiftly and forms an unbreakable bond. Find this magical concoction at your local craft store. To wield its power, apply a thin layer to the back of your fabric and press it firmly onto the wood surface. Smooth out any wrinkles or bubbles before the glue sets, and watch as your creation comes to life.
- Epoxy: Renowned for its exceptional strength, epoxy reigns supreme in the realm of woodworking projects. This two-part adhesive, consisting of resin and hardener, combines forces to create an unyielding bond. Unleash its power by meticulously following the instructions on the packaging. Apply a thin layer of the epoxy mixture to both fabric and wood surfaces, then press them together with unwavering force. Allow this mighty adhesive to dry completely before handling your masterpiece.
- Hot Glue: While not as formidable as its counterparts, hot glue still possesses enough magic to secure fabric to wood. Armed with a trusty hot glue gun, insert a glue stick and let it bask in the heat until melted. Gently apply a thin line of hot glue to the wood surface, and with utmost care, press the fabric onto it. Beware the molten adhesive, for it bears the power to burn.
Fabric Glue
Say goodbye to cumbersome sewing techniques and unsuitable adhesives – with fabric glue, you can achieve extraordinary results effortlessly. So, grab your favorite fabric glue, prepare your surfaces, and embark on this adhesive adventure with us.
Choosing the Perfect Fabric Glue:
Before delving into the intricacies of using fabric glue, it’s crucial to select the ideal type for your project. Available in liquid, gel, or stick form, fabric glues can be readily found at your local craft store or online. Consider the specific materials involved in your project and choose a fabric glue that perfectly aligns with your creative vision.
Preparing the Wood Surface:
To ensure a flawless bond between fabric and wood, it’s imperative to commence with a pristine surface. Take a moment to meticulously clean the wood, banishing any dust or debris that might hinder the adhesive’s effectiveness. By providing a smooth canvas, you lay the foundation for a bond that will endure the test of time.
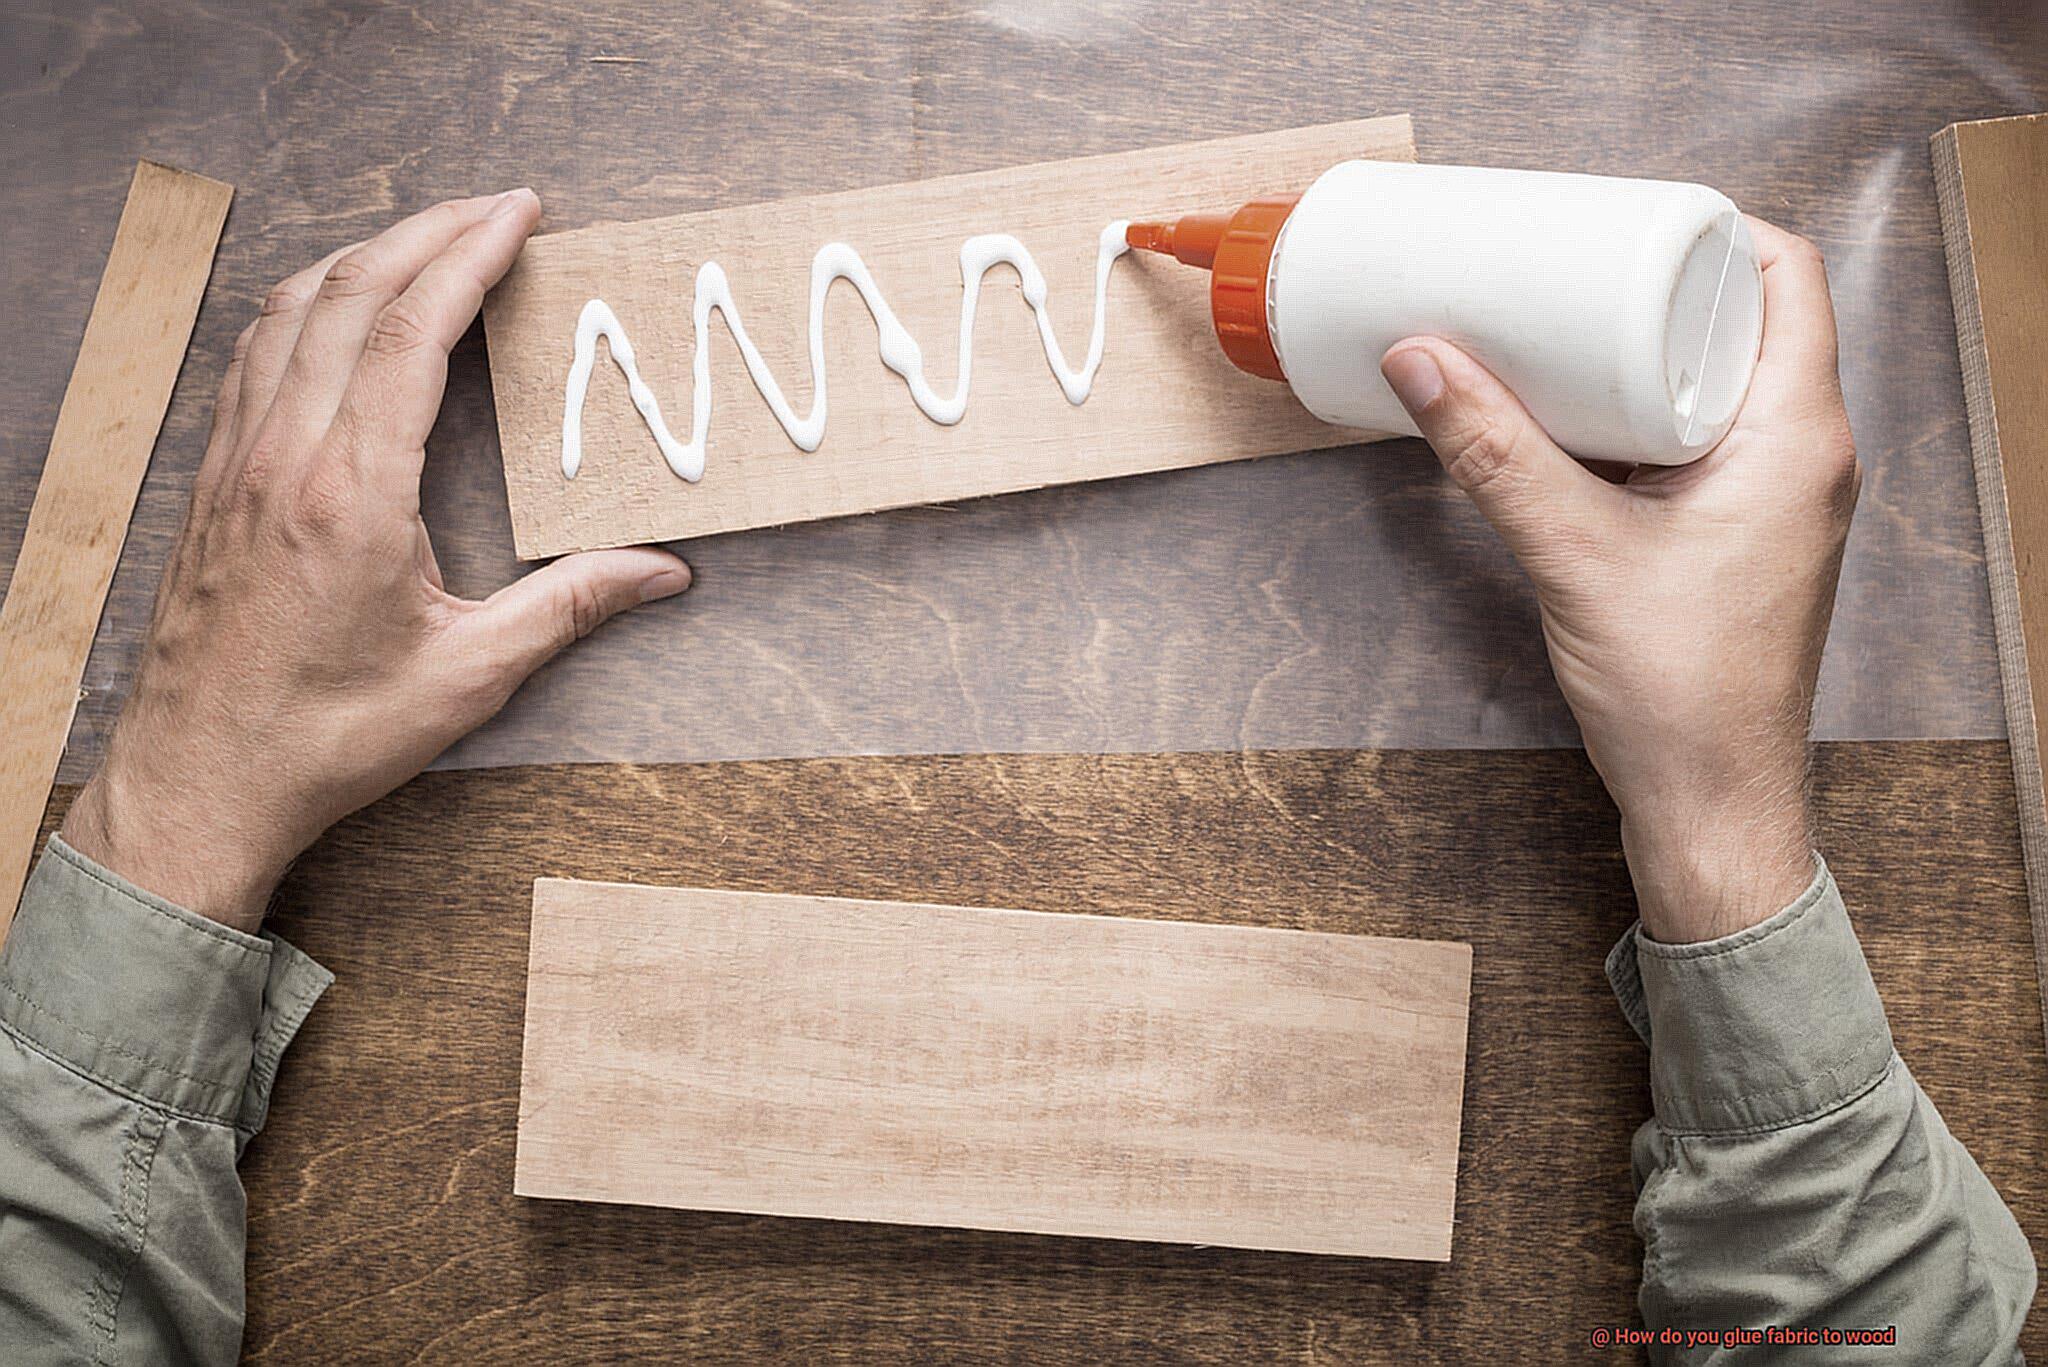
Applying the Fabric Glue:
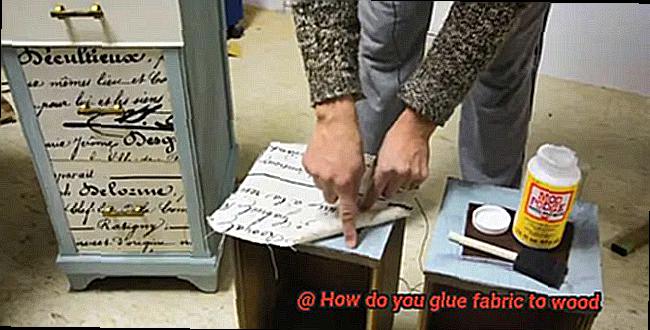
Now comes the exhilarating part – applying the fabric glue. There are two techniques at your disposal: directly onto the wood or onto the fabric itself. Regardless of your chosen method, ensure a judicious amount of glue is applied evenly over the area where the fabric will be affixed. Employ a brush or even your fingertips to spread the adhesive gracefully.
Press and Hold:
With bated breath, it’s time to bring together fabric and wood in perfect harmony. Gently press the fabric onto the glued area, securing a steadfast adherence. Hold it in place for a few tantalizing seconds, allowing the adhesive to weave its magic and forge an unbreakable bond. This pivotal step guarantees the longevity of your artistic endeavor, so savor the moment without haste.
Spray Adhesive
Today, we’re delving into the art of using this versatile adhesive to effortlessly bond fabric to wood. If you’re on the hunt for a seamless and reliable way to join these materials together, then look no further.
Spray adhesive is the superhero of gluing fabric to wood. Its adaptability and convenience make it a go-to choice for crafters and DIY enthusiasts alike. Designed specifically for porous surfaces like fabric and wood, spray adhesive creates a strong and enduring hold that will stand the test of time.
Now, let’s get down to the nitty-gritty of how to harness the power of spray adhesive for this magical bonding process. First things first, preparation is key. Ensure both your fabric and wood surface are in pristine condition. Give your wood a thorough cleaning, making sure it’s dry and free from any pesky dust or debris. A light sanding will create a slightly roughened surface, enhancing the bond’s strength. Don’t neglect your fabric – ensure it’s spotless and free from any dirt or oils that could hinder adhesion.
Now, let’s dive into the exciting part. Lay your fabric flat on a clean surface, with the desired side facing up. Grab that trusty aerosol can of spray adhesive and give it a vigorous shake. This ensures all the adhesive components are perfectly blended. Hold the can about 6-8 inches away from the fabric and wood surface, then apply an even coat of adhesive across the entire area. Pro tip: be sure to follow the manufacturer’s instructions for specific application techniques and drying times.
Once you’ve applied the adhesive, allow it some time to tack up or become slightly sticky before pressing the fabric onto the wood. This crucial step ensures a robust bond between the two materials. Starting from one end, gently press down and work your way across the surface. Keep a keen eye out for any wrinkles or air bubbles – we want this bond to be flawlessly smooth. Applying pressure evenly with your hands or a roller will lock in a secure connection.
But wait, there’s more. If you need to reposition the fabric or make adjustments, time is of the essence. Spray adhesives often have a short open time, meaning they stay tacky for only a limited period before fully drying. So, act swiftly. Gently lift the fabric off the wood and make your desired changes. Be careful not to stretch or distort the fabric during this process.
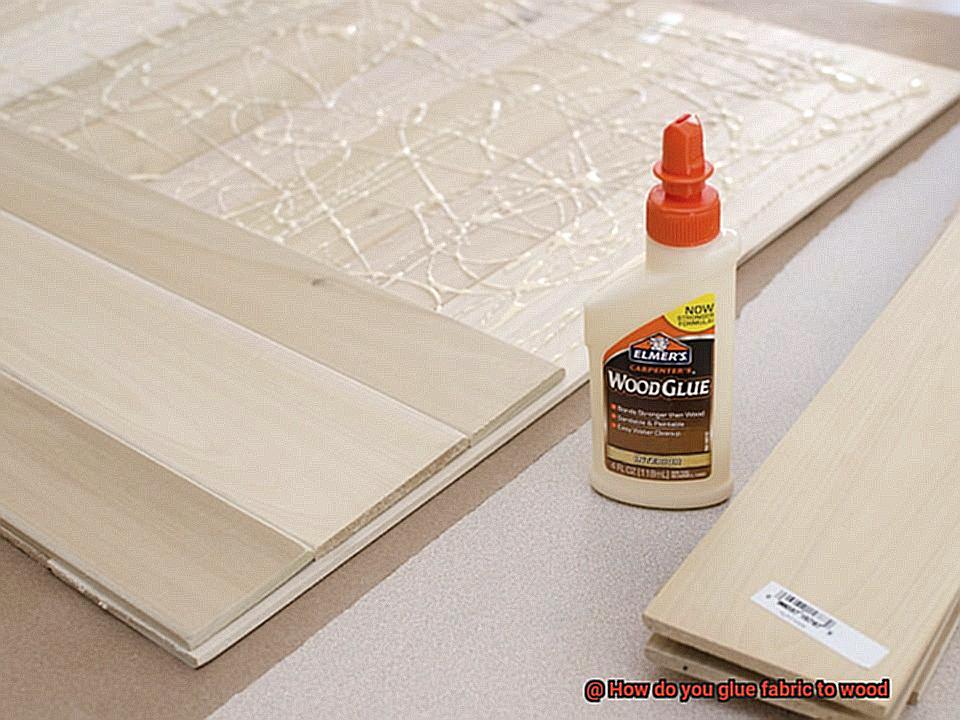
Craft Glue or Wood Glue

Imagine the excitement of embarking on a project that involves bonding fabric to wood. It’s a creative endeavor that requires careful consideration when it comes to choosing the right adhesive. Should you opt for craft glue or wood glue? Let’s delve into the world of adhesives and uncover the secrets to making the perfect choice for your project.
Craft glue, also known as all-purpose adhesive, is a popular option for gluing fabric to wood. This versatile glue is designed to bond various materials, including fabric and wood. Its flexibility is a standout feature, capable of accommodating fabric’s tendency to expand and contract with changes in temperature and humidity. From upholstered furniture to fabric-covered wooden boxes, craft glue is the go-to adhesive for projects that require a touch of flexibility.
Ease of use and accessibility are additional advantages of craft glue. Its water-based formula dries clear, ensuring a seamless finish that enhances the visual appeal of your project. You’ll find craft glue readily available at craft stores and online, making it a convenient choice for all your fabric-to-wood bonding needs.
However, it’s important to acknowledge that craft glue may not possess the same strength as wood glue when it comes to bonding fabric to wood. While it can handle most projects admirably, heavy-duty applications or items subjected to significant stress or movement may require the robustness offered by wood glue.
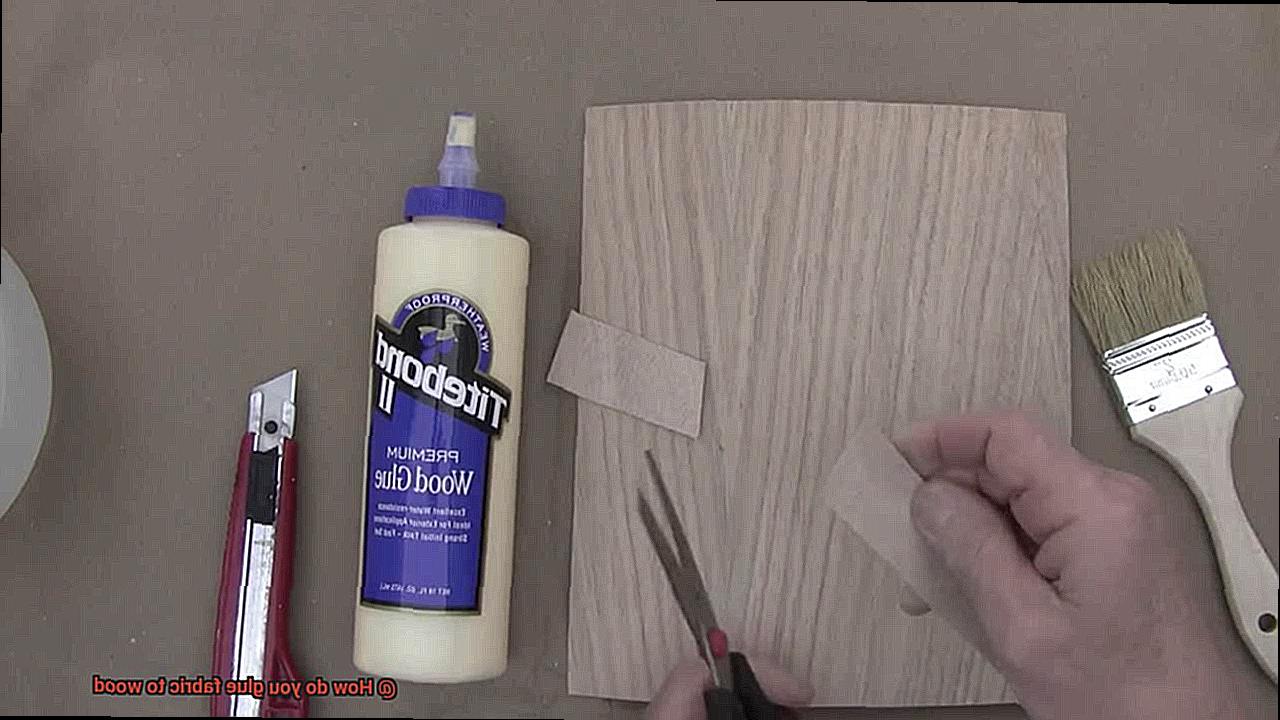
Enter wood glue, also known as carpenter’s glue or PVA glue. This adhesive superhero is specifically formulated for bonding wood surfaces, making it an ideal choice for projects that demand a long-lasting bond. Its superior strength and durability set it apart from craft glue, ensuring your fabric stays securely adhered to the wood surface.
Wood glue offers different types, including waterproof or exterior-grade versions that excel in withstanding moisture and outdoor conditions. If you’re venturing into gluing fabric onto wooden outdoor furniture or decor items, these specialized wood glues become invaluable allies in your creative journey. However, before proceeding with wood glue on fabric, it’s crucial to note that it may not dry clear like craft glue. Instead, expect a yellowish or beige hue upon drying, which could be visible on lighter-colored fabrics. To avoid any unwelcome surprises, conduct a small patch test on an inconspicuous area of the fabric before committing to the entire surface.
Drying and Curing Times
Today, we’re diving deep into the fascinating world of gluing fabric to wood. We’ve already covered the importance of choosing the right adhesive for your project, but now let’s talk about a crucial aspect that can make or break your fabric-to-wood adventure: drying and curing times. Get ready to unlock the secrets of creating a strong and long-lasting bond.
Let’s start by understanding the difference between drying and curing. Drying is when solvents or water content in the glue evaporate, while curing is the chemical bonding and hardening process. Both steps are essential for a successful bond between fabric and wood.
Now, let’s dive into drying times. Depending on the type of glue you’re using, drying can be a quick breeze or a more patient waiting game. Fabric glue or spray adhesives typically dry within minutes or hours, perfect for smaller projects or when time is of the essence. Just remember to consult the manufacturer’s instructions for specific drying times as they may vary across brands.
On the other hand, stronger adhesives like epoxy or wood glue require more time to dry completely. We’re talking several hours here, my friends. It’s crucial to allow sufficient drying time before moving forward or applying any pressure. Rushing this process could result in a weaker bond or even failure.
But that’s not all—curing times are equally important for achieving a strong and durable bond. While drying times focus on evaporation, curing times involve a chemical reaction that solidifies the bond. Brace yourself for a bit more waiting.
Again, different adhesives have different curing times. Some may fully cure within 24 hours, while others may take several days or even weeks. Following the manufacturer’s recommendations is key to achieving optimal results. Trust me, the wait will be worth it.
Now, let’s talk about some factors that can affect both drying and curing times. Temperature and humidity play a significant role here. Higher temperatures speed up the process, while lower temperatures slow it down. Similarly, high humidity levels can prolong drying and curing times.
To ensure a successful bond, it’s crucial to create the right conditions for both drying and curing. Find a well-ventilated area with controlled temperature and humidity. Avoid excessive moisture or exposure to extreme temperatures during the process. These conditions will give your fabric and wood the best chance of forming a strong and long-lasting bond.
Tips for Stronger Bonds
Achieving a strong bond between fabric and wood is crucial for various projects, from upholstery to crafting. By following these tips and tricks, you can ensure that your fabric stays securely attached to the wood surface. In this article, we will explore effective techniques and recommendations to help you create a stronger bond.
Prepare the surfaces:
To promote better adhesion, it is essential to prepare both the fabric and wood surfaces. Clean them thoroughly by removing dust and debris with a soft cloth or brush. This step ensures a smooth and clean surface, creating an optimal foundation for the adhesive.
Choose the right adhesive:
Selecting the appropriate adhesive is key to achieving a strong bond. Consider factors such as the type of fabric and the intended use of the project when choosing an adhesive. Options like fabric glue, epoxy glue, or contact adhesive are commonly used. Test the adhesive on a small, inconspicuous area to ensure compatibility and desired bond strength.
Apply adhesive evenly:
Even distribution of adhesive on both fabric and wood surfaces is crucial for creating a strong bond. Use a brush or a small spatula to spread the glue smoothly, ensuring complete coverage. This uniform application will result in a secure bond across the entire surface.
Press firmly and allow proper drying time:
After applying the adhesive, firmly press the fabric onto the wood surface. Apply consistent pressure to maximize contact between the two materials, promoting a stronger bond. To ensure optimal bonding strength, allow sufficient time for the adhesive to dry completely. Follow the manufacturer’s instructions regarding specific drying times.
Consider additional reinforcement:
For projects requiring extra strength, consider reinforcing the bond between fabric and wood. Stitching or stapling along the edges of the fabric can provide additional support and durability, particularly for heavy-duty applications or fabrics subjected to significant stress or tension.
x0XTqLN4hKQ” >
Also Read: How can I attach fabric to wood? – Glue Things
Conclusion
When it comes to gluing fabric to wood, there are a few key steps you need to follow for a successful bond.
First, make sure the wood surface is clean and free of any dust or debris. Next, choose the right adhesive for the job – a high-quality fabric glue or a strong adhesive like epoxy can work well.
Apply the glue evenly onto the wood surface using a brush or applicator, making sure to cover the entire area where the fabric will be attached. Press the fabric firmly onto the glued surface, smoothing out any wrinkles or bubbles as you go.
With these simple steps and a little patience, you can achieve a durable and long-lasting bond between fabric and wood.