Ever found yourself in the midst of a craft project, desperately trying to figure out how to glue sand to a base? Whether you’re a crafty beginner or an experienced DIY enthusiast, mastering this technique can take your creations to a whole new level. But let’s be real, it’s not as easy as slapping some glue on and hoping for the best.
In this ultimate guide, we’re going to spill all the secrets on how to successfully glue sand to a base. From choosing the right adhesive to getting that perfect sand-to-glue ratio, every step is crucial in achieving a durable and visually stunning final product. So grab your gear and get ready for some serious sand gluing action.
Gather Your Gear:
Contents
- 1 What Materials are Needed to Glue Sand to a Base?
- 2 Preparing the Surface of the Base for Adhesion
- 3 Applying the Adhesive
- 4 Sprinkling or Pouring on the Sand
- 5 Pressing Down on the Sand to Bond with Adhesive
- 6 Allowing Sufficient Time for Adhesive to Dry
- 7 Removing Excess Sand After Drying
- 8 Considerations for Different Types of Sand
- 9 Conclusion
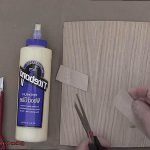
Before we dive in, let’s make sure you’ve got everything you need. You’ll want a base object, your choice of sand (the more variety, the better), an adhesive that suits your project, a mixing container (a cup or bowl will do), something to stir with (a popsicle stick works wonders), a brush or spatula for spreading the glue, and don’t forget those protective gloves.
Prep That Base:
To ensure your sand stays put, start by giving your base object a thorough cleaning. Dust bunnies and dirt have no place in our sand gluing masterpiece. Once it’s squeaky clean, make sure it’s bone dry before moving on. We want that surface nice and smooth for maximum adhesion.
Adhesive Adventures:
Choosing the right adhesive is like finding your crafting soulmate – it’s gotta be just right. Consider what materials you’re working with and the overall look you’re going for. Clear-drying glues are great for transparent projects, while epoxy resin can handle heavy-duty bonding. And if you really want to go pro, there are even specialized sand glues available at your local craft store.
Spread the Love (aka Adhesive):
Now it’s time to get down and dirty with the glue. Work in small sections to prevent it from drying out before you can add the sand. Use your trusty brush or spatula to spread the adhesive evenly over the area you’re working on. If your project is on the larger side, take it one manageable chunk at a time.
What Materials are Needed to Glue Sand to a Base?
Creating a strong bond between sand and a base requires the right materials and techniques. Whether you’re crafting a beautiful beach-themed art piece or constructing a sturdy sandcastle, understanding the materials involved is crucial. In this article, we will explore the necessary materials and provide step-by-step instructions for successfully gluing sand to a base.
Materials Needed:
- Glue: For a robust bond, opt for epoxy resin or two-part epoxy glue. Alternatively, construction adhesive, polyurethane glue, or super glue can work for smaller projects.
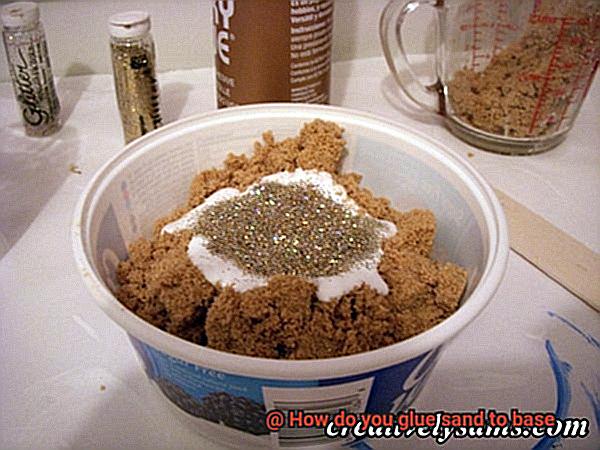
- Sand: Choose the sand type based on texture and color preferences. Options include play sand, fine sand, coarse sand, colored sand, or decorative sand.
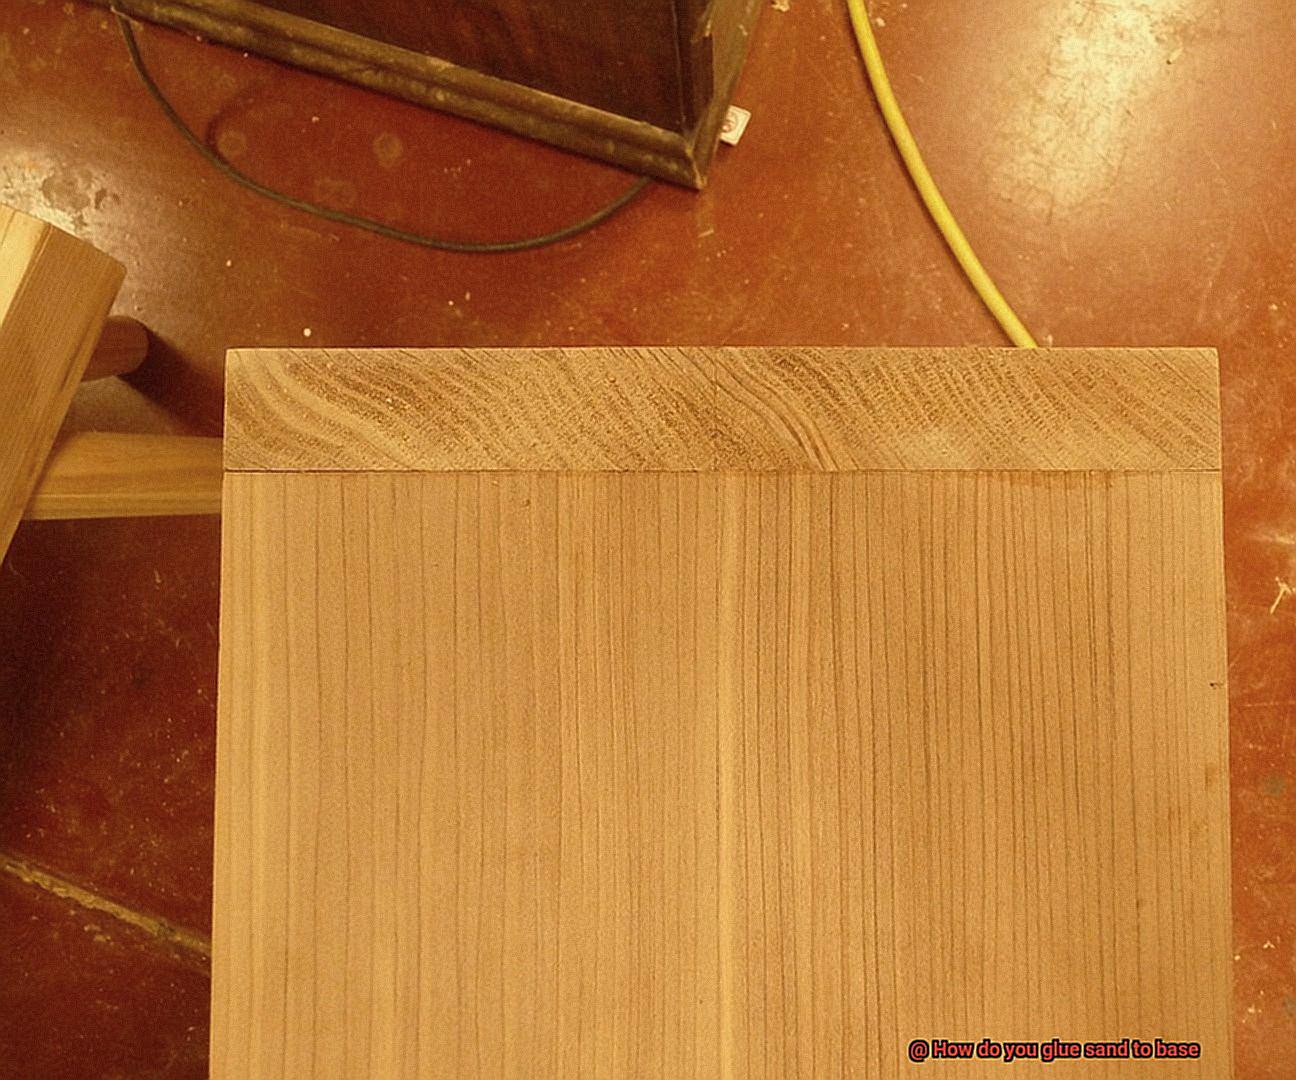
- Base Material: Wood, concrete, plastic, glass, or metal can serve as suitable base materials. Ensure the surface is clean and free from debris or oils for proper adhesion.
- Mixing Container: Use a disposable plastic cup or glass container to mix epoxy resin or two-part epoxy glue.
- Mixing Tools: Stir sticks or small spatulas are necessary for proper adhesive mixing.
- Protective Gear: Depending on the glue type, wear gloves, goggles, or a face mask for safety during application.
- Optional Additives: Enhance adhesive properties or appearance by adding pigments or dyes for colored sand effects. Apply a sealant or clear coat for added protection and a glossy finish.
Techniques:
- Prepare the base surface by cleaning it thoroughly and lightly roughening it with sandpaper if needed.
- Apply an even layer of adhesive to the base.
- Sprinkle or pour the sand onto the adhesive while working quickly for proper adhesion.
- Gently press down on the sand to promote bonding.
- Allow sufficient drying time for the adhesive to set completely.
- Remove excess sand by tapping or brushing it off carefully.
Preparing the Surface of the Base for Adhesion
Today, we delve deep into the secrets of preparing the surface of the base for adhesion when gluing sand. This crucial step holds the key to crafting jaw-dropping masterpieces that withstand the test of time. So, gather your materials, roll up your sleeves, and let’s embark on this exciting journey.
Step 1: Cleanliness is Paramount
Before you begin gluing sand, ensure that your base is spotless. Rid it of any loose particles, dust, or stubborn debris that may hinder the bond. A brush or cloth works wonders in this regard. For those pesky stains or residue, a mild detergent solution will do the trick.
Step 2: Banish Moisture
Moisture and gluing sand are not compatible. Thus, it’s crucial to dry the surface completely before proceeding. Allow ample air-drying time, or if you’re as excited as I am (always eager to create.), a low-heat hairdryer can expedite the process.
Step 3: Embrace Texture
To achieve an iron grip between the sand and the base, it’s time to add some texture. Gently roughen the surface using sandpaper or a wire brush. We’re seeking microscopic grooves and irregularities here, not to obliterate the poor thing.
Step 4: Harness the Power of Primer
Elevate your adhesion game by applying a primer or bonding agent. This magical layer enhances the bond between the sand and the base. Be sure to select a primer compatible with your materials. Seek expert advice or follow manufacturer guidelines for optimal results.
Step 5: Dust Off for Perfection
Before applying glue, ensure that your surface is free from any loose particles or dust generated during the previous steps. A clean cloth or a burst of compressed air will restore the pristine nature of your surface. Trust me, a clean canvas is the secret sauce to an unyielding bond.
Applying the Adhesive
Applying the adhesive to glue sand to a base is a fascinating process that requires careful attention to detail. The first step in this sandy adventure is ensuring that both the sand and the base are clean and free from any dust or debris. Imagine wiping down both surfaces with a damp cloth or using compressed air to blow away any loose particles. Ah, now we’re ready for the magic to happen.
Now comes the crucial decision of selecting the right adhesive for this task. We’re talking about an adhesive that can bond both surfaces effectively and withstand any environmental challenges. One popular option is epoxy resin, a superhero of adhesives that provides a strong bond and is resistant to water and other pesky factors that could compromise your masterpiece.
Once you’ve got your adhesive of choice, it’s time to mix things up. In general, epoxy resin is mixed in equal parts of resin and hardener. Think of it like a dance party where these two components groove together until they form a harmonious mixture.
Now, grab your brush or spatula and get ready to unleash your inner artist. Apply an even layer of the mixed epoxy resin onto the base. Smooth strokes, even distribution – this is your chance to shine. Make sure every nook and cranny is covered for optimum bonding.
And now, drumroll please…it’s time to bring in the star of the show – the sand. Sprinkle or pour it onto the wet surface like a gentle rain shower. Cover every inch evenly, ensuring a uniform appearance. Remember, balance is key.
To seal the deal, press down gently on the sand to ensure it has good contact with the adhesive. It’s like giving your masterpiece a warm hug. Use a flat object like a trowel or even a piece of cardboard to do the job.
Now, here comes the hard part – patience. Allow the adhesive to cure according to the manufacturer’s instructions. This usually involves letting it dry for around 24 hours. Trust us, good things come to those who wait.
Once the adhesive has fully cured, it’s time to sweep away any excess sand. Grab your trusty brush or vacuum and gently remove any loose particles. Voila. Your glued sand masterpiece is complete.
But wait, there’s more. If you’re planning on showcasing your creation in a wet or harsh environment, consider applying a protective coating on top of the glued surface. This extra layer of armor will ensure your masterpiece stands strong against the elements.
Sprinkling or Pouring on the Sand
Today, we embark on a journey into the captivating realm of gluing sand to a base. Whether you’re unleashing your creativity in a beach-themed masterpiece, crafting a mesmerizing mosaic, or simply seeking to add texture to your artwork, sprinkling or pouring sand can infuse your project with an artistic touch that truly captivates. Let’s dive in and explore this technique together.
To begin, gather your materials and ensure that your base is clean and free from any dirt or debris. This crucial step guarantees better adhesion and a secure bond between the sand and the base.
Next, let’s discuss glue options. The choice of glue depends on your desired outcome and the materials you’re working with. Consider using craft glue, white school glue, or specialized adhesives designed for outdoor use.
Once your base is prepped and you have the perfect glue in hand, it’s time to get started. Apply a thin layer of glue onto the surface using a brush or sponge, ensuring even coverage across the entire area where you want the sand to adhere.
Now comes the exciting part – sprinkling or pouring the sand. You have two methods at your disposal. For a delicate touch, lightly sprinkle the sand over the glued surface. Alternatively, pour the sand in a controlled manner for a bolder effect. Work in manageable sections to prevent the glue from drying before you apply the sand.
After sprinkling or pouring the sand, gently press it down using your hands or a flat tool like a spatula. This action embeds the sand into the glue, forging a stronger bond between the two surfaces and enhancing the overall texture of your creation.
Allow ample time for your project to dry completely before handling or moving it. Drying times may vary depending on factors such as the type of glue used and environmental conditions.
For added protection and longevity, consider applying a sealant. A clear craft sealant spray or a mixture of clear glue and water can be brushed on, creating a protective layer that safeguards your masterpiece.
It is vital to note that while sprinkling or pouring sand is an effective method, it may not suit all projects. Before deciding on the best approach for gluing sand to your base, carefully consider the specific requirements of your project and the materials being used.
Pressing Down on the Sand to Bond with Adhesive
Creating a strong and secure bond between sand and a base material requires more than just applying adhesive. Pressing down on the sand is a crucial step that should not be overlooked. By compacting the sand and removing any air pockets, pressing down ensures that there are no gaps or spaces between the sand particles, allowing for maximum adhesion with the adhesive.
To press down on the sand effectively, there are a few techniques that can be employed. One method is to use a flat object like a trowel or a piece of wood. Gently pushing down on the sand with even pressure across the entire surface helps to evenly distribute the adhesive, ensuring it makes contact with all the sand particles. Care should be taken to avoid excessive force, as this can cause the sand to shift or become unevenly distributed.
Another effective technique is using a roller or tamper. These tools are specifically designed to compact and flatten surfaces, making them ideal for pressing down on the sand. Starting from one end of the surface and slowly working towards the other, consistent pressure is applied. This creates a smooth and uniform surface for the adhesive to bond with.
In addition to pressing down on the sand, it is crucial to apply the adhesive evenly and in the correct amount. Following the manufacturer’s instructions for mixing and applying the adhesive ensures proper coverage of all areas where sand will be applied. Furthermore, allowing ample time for drying and curing according to the manufacturer’s recommendations is essential for achieving a strong and durable bond.
It is worth noting that different types of adhesives may have specific instructions or requirements for bonding sand to a base. Always refer to the product’s instructions and follow them carefully to achieve optimal results. Additionally, considering the type of base material being used is important, as certain materials may require specific techniques or adhesives.
Allowing Sufficient Time for Adhesive to Dry
The process of gluing sand to a base may seem deceptively simple, but achieving a strong and durable bond requires more than just applying adhesive. One often underestimated step is allowing sufficient time for the adhesive to dry. In this article, we will explore the significance of this crucial stage, delving into the factors that influence drying time and providing valuable tips for achieving optimal results.
Understanding the Drying Process:
When you glue sand to a base, the adhesive initiates a chemical reaction with both surfaces, creating an unyielding connection. However, this bonding process requires adequate time to reach its full potential. While certain adhesives may dry rapidly, others necessitate longer periods to cure effectively.
Factors Influencing Drying Time:
- Adhesive type: Different adhesives exhibit varying drying times. It is imperative to consult the manufacturer’s instructions for precise guidelines.
- Base porosity: Porous surfaces like wood or concrete absorb moisture from the adhesive, leading to prolonged drying times. Patience becomes paramount when working with such materials.
- Environmental conditions: Temperature and humidity play pivotal roles in determining drying time. Higher temperatures and lower humidity levels expedite the process, whereas colder temperatures and higher humidity may extend it.
Tips for Optimal Drying:
- Adhere to manufacturer’s instructions: Always refer to the guidelines provided by the adhesive manufacturer for recommended drying times.
- Minimize disturbance: To ensure an impeccable bond, refrain from touching or moving the glued object until the adhesive has completely dried. Even slight movements can disrupt the adhesion process and compromise the bond.
- Account for environmental factors: If you find yourself in a humid or cold environment, consider implementing additional measures such as using fans or dehumidifiers to accelerate the drying process.
- Allow for curing time: Even after the adhesive has dried, it may still require additional time to reach its maximum strength. Avoid applying excessive stress or weight until the adhesive has fully cured.
Removing Excess Sand After Drying
Today, we will explore the secrets to removing excess sand after drying. Building upon our previous discussion on gluing sand, we will dive into various techniques that will help you achieve a flawless finish for your project. Get ready to brush away the sands of time and say goodbye to unwanted grains.
Sweeping Away the Sands of Time:
Gently brush the surface of the base where the sand is glued. This technique effectively removes loose grains without disturbing the securely glued sand. Remember, a gentle touch is key to preserving your hard work.
The Vacuum Cleaner – Your Best Friend:
For those stubborn fine sand particles that refuse to budge, rely on your trusty vacuum cleaner with a brush attachment. This powerful tool loosens and picks up the tenacious grains, leaving your base pristine and ready for the next step.
Wiping Away Residue:
If lingering patches of sand remain, grab a damp cloth or sponge to gently wipe away the last traces of grains. But beware. Excessive water can weaken or dissolve the glue, so exercise caution and use a delicate touch. A little moisture goes a long way in removing those final remnants.
Battling Stubborn Glue:
In some cases, certain types of glue may prove more resistant to removal. Fear not. There are solvents or adhesive removers specifically designed for such situations. Test these products on a small, inconspicuous area first to avoid any unwanted surprises. With their help, you can conquer even the most stubborn glue and achieve a clean canvas.
Considerations for Different Types of Sand
When it comes to gluing different types of sand to a base, there are several considerations to keep in mind. Each type of sand has its own unique properties that can affect how well it adheres to the base. In this article, we will delve into some helpful tips and tricks to ensure a strong and visually appealing bond between the sand and the base.
Choosing the Right Sand:
The size and texture of the sand particles play a crucial role in determining its adhesive properties. Finer sands, like silica sand, are easier to glue due to their small particles that create a smooth and even surface for bonding. Coarser sands, on the other hand, may require a stronger adhesive or additional techniques to achieve a secure bond.
Moisture Content Matters:
The moisture content of the sand is an important factor to consider when gluing. Dry sand may not bond as effectively as slightly moist sand. It is recommended to slightly dampen the sand before applying the adhesive. This moisture helps the adhesive penetrate the sand particles and create a stronger bond.
Consider Sand Composition:
Different sands have varying compositions that can impact their adhesion properties. Sands with higher clay content tend to be stickier and easier to glue, while those high in silica can be more challenging. It’s essential to choose an adhesive that suits the specific composition of your sand to ensure optimal adhesion.
Color Coordination:
If aesthetics are important, consider the color of the sand and how it complements the adhesive. Some glues dry clear or translucent, while others may have visible colors. Choosing a glue that enhances the color of the sand can result in a more visually appealing final product.
Environmental Factors:
Think about where your glued sand will be placed and how it will be used. If it will be exposed to water or high humidity, opt for a water-resistant or waterproof adhesive. Similarly, if the glued sand will undergo heavy use or external forces, choose a strong adhesive for durability.
Experiment and Test:
It’s always a good idea to experiment with different glues and application techniques before committing to the entire project. Test a small area to ensure satisfactory results and make any necessary adjustments to achieve the desired bond.
oizcY6B6mvU” >
Conclusion
When it comes to gluing sand to a base, there are a few key steps you’ll want to follow. First and foremost, it’s important to choose the right type of glue for the job. Look for an adhesive that is specifically designed for bonding porous materials like sand and base materials.
Once you have your glue selected, make sure to thoroughly clean and prepare the surface of the base. Any dirt or debris can interfere with the bonding process, so take the time to remove any loose particles.
Next, apply a thin layer of glue onto the base using a brush or applicator tool. Be sure to spread it evenly across the surface, ensuring full coverage.
Now comes the tricky part – adding the sand. Sprinkle a generous amount of sand onto the glued surface, making sure to cover all areas evenly. Press down gently on the sand to ensure good contact with the glue.
Allow ample time for the glue to dry and cure according to the manufacturer’s instructions. This can vary depending on the type of glue used, so be patient and give it enough time.
Once fully dried, gently tap or shake off any excess sand that did not adhere properly. You may need to repeat this step if there are any bare spots or uneven areas.
And there you have it – a securely glued sand base. Whether you’re working on a craft project or creating a decorative display, following these steps will help ensure a strong bond between your sand and base materials.