Picture yourself strolling along a mesmerizing sandy beach, relishing the sensation of those cool grains dancing beneath your feet, as if whispering secrets from the sea. Now, imagine being able to capture this moment of serenity and preserve it forever. Intriguing, isn’t it? Well, my fellow curious souls, today we are about to unravel the enigma behind the captivating art of gluing sand.
You might think it’s impossible to “glue” something as delicate and loose as sand. Yet, this remarkable technique has been mastered by only a select few. So, how does one actually glue sand? Hold onto your hats because we’re about to embark on an exhilarating journey that will quench your thirst for knowledge and ignite your creative spirit.
Gluing sand is an intricate dance between creativity, chemistry, and precision. It allows ordinary sand to transcend its humble nature and transform into breathtaking art pieces, intricate mosaics, or even whimsical yet functional items. Whether you dream of crafting awe-inspiring decorations, personalized gifts straight from the heart, or captivating tabletops that spark conversations at dinner parties – gluing sand opens up a world of endless possibilities limited only by your imagination.
But here’s the million-dollar question: What’s the secret behind achieving a lasting bond with something as stubborn as sand? Get ready because we’re about to dive headfirst into the meticulous process. We’ll explore diverse techniques and unveil an array of glues that seamlessly adhere sand to various surfaces. From classic traditional methods passed down through generations to cutting-edge modern approaches pushing boundaries – we won’t rest until we’ve uncovered every hidden technique behind perfecting the art of gluing sand.
So brace yourselves for inspiration like never before as we reveal the secrets of gluing sand like seasoned pros. Whether you’re a beach lover yearning to bring the seaside into your home, a DIY enthusiast seeking new creative outlets, or simply someone captivated by nature’s delicate offerings – this captivating journey will leave you itching to embark on your own sand-gluing adventures. Let’s dive in and discover the magical art of transforming humble sand into timeless works of art that transport us back to those blissful beach moments, forever etched in our hearts.
What is Glue and Sand?
Contents
- 1 What is Glue and Sand?
- 2 How to Prepare the Sand Surface for Glue Application
- 3 Using Epoxy Adhesive to Glue Sand
- 4 Curing the Epoxy Adhesive
- 5 Alternative Methods of Gluing Sand – Specialized Glues/Binders
- 6 Applying the Specialized Glue/Binder
- 7 Curing the Specialized Glue/Binder
- 8 Factors to Consider When Gluing Sand
- 9 Conclusion
Glue and sand, when brought together, spark a world of boundless creativity. Whether you’re an art aficionado, a DIY enthusiast, or a construction connoisseur, understanding the properties and applications of glue and sand can elevate your projects to new levels. In this blog post, we will embark on an exploration of the mesmerizing realm of glue and sand, delving into their unique characteristics, diverse uses, and the captivating possibilities that arise when they intertwine.
Properties of Glue:
- Adhesive Power: Glue possesses an extraordinary ability to unite objects, forming bonds that range from sturdy and enduring to flexible and temporary connections.
- Chemical Composition: Available in liquid, gel, or solid forms, glues boast varying chemical compositions. Epoxy-based glues tackle heavy-duty tasks, craft glue offers flexibility, while silicone-based adhesives resist moisture with finesse.
Properties of Sand:
- Texture and Color: Sand, a granular material comprising finely divided rock and mineral particles, tantalizes with its assortment of textures – from coarse to fine – and an array of colors like serene white, earthy beige, or even daring shades like vibrant pink or mysterious black.
- Natural Origin: Embracing its natural origins found in beaches, deserts, riverbeds, and other environments, sand lends an authentic touch to any project, heightening its visual allure.
Applications of Glue:
- Art Projects: For artists seeking to incorporate diverse materials into their masterpieces, glue emerges as an indispensable tool. It effortlessly fuses various elements together in stunning collages and captivating mixed-media artworks.
- Craft Making: DIY crafts such as scrapbooking, card making, and model building flourish with the aid of glue. It securely attaches decorative elements, birthing visually striking and personalized pieces.
- Construction and Repair: In the realm of construction and repair, glue reigns supreme. It bonds materials like wood, metal, plastic, and ceramics, lending strength and durability to structures or resurrecting broken objects from the shadows of disrepair.
Applications of Sand:
- Textured Surfaces: Sand breathes life into paintings, sculptures, and other art forms by creating textured surfaces. By applying glue to adhere sand onto a canvas or sculpture, artists can infuse their works with depth, dimension, and tantalizing tactile appeal.
- Decorative Elements: Sand shines as a decorative element in an array of projects. From filling vases or jars with its mesmerizing grains to crafting sand art bottles or enchanting terrariums, its natural beauty adds elegance and sophistication to any space.
- Landscaping and Gardening: In the realm of landscaping and gardening, sand emerges as a versatile tool. It levels surfaces with grace, improves drainage systems effortlessly, and creates enchanting pathways. Its texture and color lend an aesthetic appeal while enhancing functionality.
How to Prepare the Sand Surface for Glue Application
Before you dive in, it’s crucial to prepare the sand surface properly to ensure a strong and durable bond. Follow these steps to ensure your glue sticks like magic and your project turns out beautifully.
Step 1: Clean the surface
Sweeping away the dirt and dust from the sand surface is essential for optimal adhesion. Grab a broom or brush and remove any loose particles. This not only helps the glue stick better but also gives your project a clean and polished look.
Step 2: Sand it smooth
If the sand surface is rough or bumpy, gently sand it down using fine-grit sandpaper or a sanding block. Employ circular motions to create a smoother texture. Be careful not to apply excessive pressure or over-sand, as we only want to add a touch of roughness, not transform the beach.
Step 3: Let it dry
Moisture can interfere with the adhesive properties of glue, so it’s crucial to ensure that the sand surface is completely dry before applying any adhesive. If there is any moisture present, allow the surface ample time to dry completely. Remember, patience is key.
Step 4: Prime time.
Applying a primer creates a bonding layer that enhances the grip between the glue and the sand surface. Choose a primer that is compatible with both the sand material and the type of glue you will be using. Follow the manufacturer’s instructions for application and drying times to achieve optimum results.
Step 5: Protect your space
Before applying glue, take precautions to protect any nearby surfaces or objects that you don’t want to get stuck together. Use plastic sheets or masking tape to cover and safeguard them from accidental spills or drips. Safety should always come first.
Step 6: Glue it up.
Finally, it’s time to apply the glue. Use a spatula or another suitable tool to spread a thin layer of glue evenly over the sand surface. Press the sand firmly into the glue, ensuring they adhere together seamlessly like best buddies.
Using Epoxy Adhesive to Glue Sand
Look no further than epoxy adhesive, the remarkable substance that can turn ordinary sand into a stunning work of art. In this article, we will delve into the mesmerizing process of using epoxy adhesive to glue sand, unlocking the secrets of creating beautiful and durable designs. So, grab your tools and let’s embark on this magical journey.
Step 1: Prepare the Surface:
Before we dive into the enchanting world of epoxy adhesive and sand, it’s important to prepare the surface with precision. Clear away any dirt, debris, or loose particles that may hinder the bonding process. A clean and smooth surface acts as a blank canvas for your masterpiece, allowing for optimal results and a strong bond between the sand and adhesive.
Step 2: Mix the Epoxy Adhesive:
Now it’s time to mix your epoxy adhesive and unleash its full potential. Follow the manufacturer’s instructions carefully, ensuring you combine the resin and hardener in precise proportions. This chemical reaction is what gives epoxy its incredible strength and durability. Pay attention to the mixing ratios – it’s like finding the perfect recipe for your glue, an essential step in achieving exceptional results.
Step 3: Apply the Epoxy Adhesive:
With your mixed epoxy adhesive in hand, it’s time to apply it like a true artisan. Using a brush or spatula, evenly spread the adhesive onto the prepared surface. Ensure that every inch is coated with this magical potion, creating a sticky surface ready to embrace the sand. As you spread the epoxy adhesive, envision yourself as a wizard casting a spell, infusing every stroke with intention and artistry.
Step 4: Sprinkle or Pour on the Sand:
Now comes the moment of pure delight – sprinkle or pour your chosen sand onto the sticky surface. Let your imagination soar as you create patterns or designs with different colors and textures of sand. Gently press the sand into the adhesive to ensure a strong bond, as if giving a gentle pat on the back to your masterpiece. Feel the satisfaction of merging art and science, as the sand becomes one with the epoxy adhesive.
Step 5: Remove Excess Sand:
Once you’ve created your sand design, it’s time to remove any excess sand. Shake off or gently brush away the extra grains, leaving behind only the perfectly bonded sand. This step is akin to dusting away the excess magic, revealing the true beauty of your creation.
Curing the Epoxy Adhesive
The process of curing epoxy adhesive is a vital step in creating a strong and durable bond between sand particles. Epoxy adhesives are renowned for their exceptional bonding strength and longevity, making them an ideal choice for gluing sand together. To achieve successful curing, several key factors must be considered.
Firstly, the application of the epoxy adhesive is crucial. It is essential to mix the two components of the adhesive according to the manufacturer’s instructions. This ensures a homogeneous mixture that can be evenly applied to the sand particles. Just like an artist carefully blending colors on their palette, thorough mixing is essential for optimal bonding.
Once the adhesive has been applied, it is time for the curing process to work its magic. Curing times can vary depending on factors such as temperature and humidity, so it is important to consult the manufacturer’s guidelines for specific recommendations. Patience is key during this stage, as rushing the process can compromise the strength and durability of the bond.
To ensure that the sand particles are securely held together during curing, pressure must be applied. This can be achieved using clamps or weights that gently press down on the glued area. Imagine a sculptor delicately molding clay with their hands – applying just the right amount of pressure to shape their creation.
Creating optimal curing conditions is also essential. Epoxy adhesives typically cure best at room temperature, around 70-75°F (21-24°C), but it is important to refer to the specific product guidelines for accurate information. By providing the right environment, you create a nurturing atmosphere for the adhesive to work its magic.
After the epoxy adhesive has fully cured, it is time to assess the strength of your glued sand artwork. A gentle pull test or application of pressure can reveal any weak spots or areas of concern. If needed, additional adhesive can be applied and allowed to cure again, ensuring a flawless masterpiece.
Alternative Methods of Gluing Sand – Specialized Glues/Binders
No longer will your sandcastles crumble at the slightest touch. Today, we dive into the world of specialized glues and binders that create rock-solid bonds between sand particles. Let’s explore the fascinating options available to you.
- Epoxy Resin: This two-part adhesive is the superhero of the glue world. When the resin and hardener unite, a magical chemical reaction occurs, forming an unbreakable bond. Ideal for arts and crafts projects and industrial applications, epoxy resin requires clean, dry sand particles. Follow the manufacturer’s instructions for mixing and application to achieve a strong and durable bond.
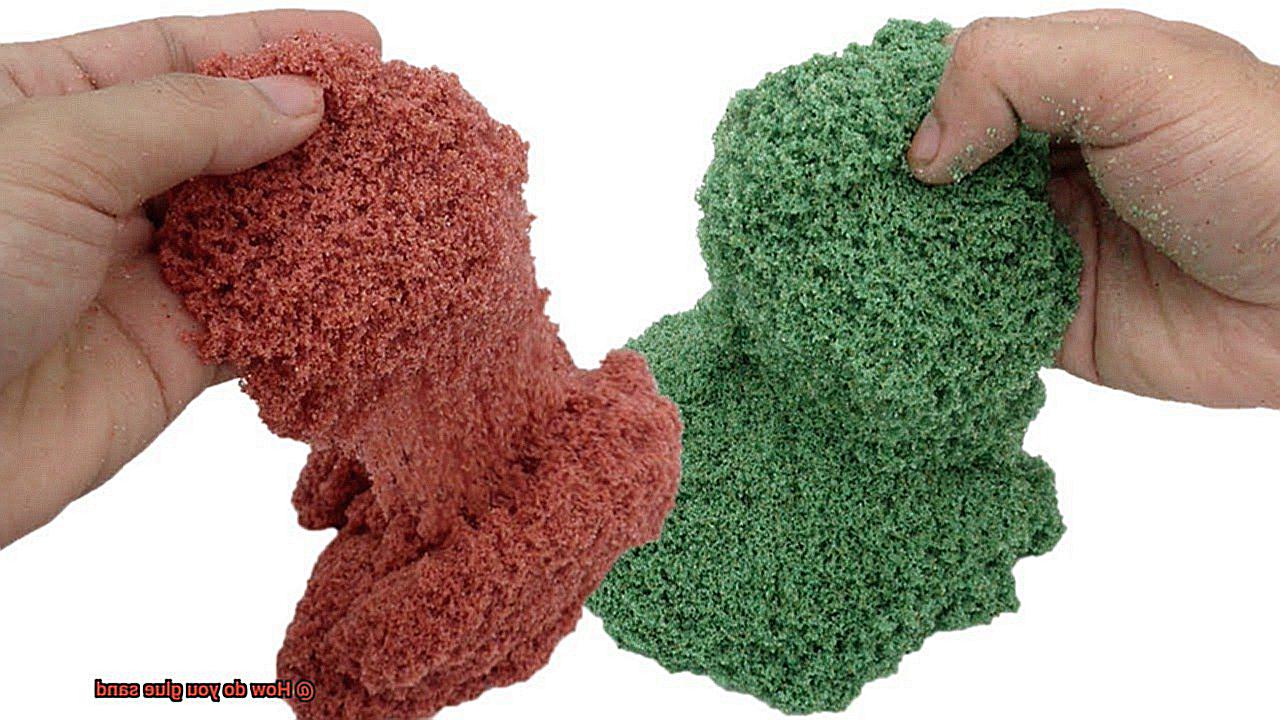
- Polymeric Sand: A nifty little product containing a binder that acts as glue, polymeric sand locks those sand particles together. It finds popular use in paver installations, preventing weed growth while filling in gaps. Applying polymeric sand is a breeze – simply sprinkle it over your desired area and mist with water. The water activates the binder, causing it to harden and create a solid bond. Easy peasy.
- Outdoor Durability: When choosing specialized glues or binders for outdoor projects, select products capable of withstanding Mother Nature’s wrath. Look for options specifically formulated for outdoor use, resilient against rain, sunlight, and temperature changes. Ensure your creations stand the test of time.
Remember to read instructions carefully when using these specialized glues and binders. Properly prepare the surface, apply the adhesive evenly, and allow sufficient curing or drying time. Consider the specific requirements of your project – different surfaces, intended uses, and environmental conditions may necessitate different adhesives.
Applying the Specialized Glue/Binder
Today, we’re diving into the fascinating world of specialized glues and binders that will transform your sand into an unbreakable force.
Let’s start with the superhero of sand-binding, epoxy resin. This magical potion combines resin and hardener to create an unbreakable bond. Whether you’re crafting arts and crafts or tackling industrial projects, epoxy resin is the go-to choice. Just ensure your sand particles are clean and dry, mix the epoxy resin following the manufacturer’s instructions, and apply it evenly over the desired area. Use a brush or spreader for a smooth and uniform distribution. Then sit back and watch as the epoxy resin works its magic, forming a strong and durable bond.
But wait, there’s more. Introducing polyurethane adhesive, a versatile glue known for its strong bond. Perfect for outdoor projects like paver installations, polyurethane adhesive not only locks those pesky sand particles together but also prevents weed growth. Simply prepare the surface of the sand, apply a thin layer of polyurethane adhesive using a brush or spreader, and let it dry according to the manufacturer’s instructions. It’s as easy as pie.
When selecting specialized glues or binders, durability is crucial. Look for options specifically formulated for outdoor use to ensure your creations survive rain, sunlight, and temperature changes.
And here’s a pro tip: consider using a primer or sealer before applying the glue or binder. These magical substances enhance adhesion and improve overall bond strength between sand particles and glue.
Now armed with these incredible gluing methods for sand, unleash your creativity. Let your imagination run wild as you create gravity-defying masterpieces that stand the test of time. Just remember to read instructions carefully, prepare the surface properly, apply the glue or binder evenly, and allow sufficient drying or curing time. Each project may have unique requirements, so choose wisely.
Curing the Specialized Glue/Binder
But before you embark on your sand gluing adventure, there’s a crucial step that should never be overlooked – curing the specialized glue or binder. In this comprehensive guide, we will delve into the importance of following manufacturer’s instructions during the curing process to achieve remarkable and enduring bonds with your sand creations.
Epoxy Resin – A Magical Adhesive:
Epoxy resin reigns supreme as a popular choice for gluing sand due to its exceptional bonding capabilities. To ensure success, it is imperative to abide by the manufacturer’s instructions regarding mixing ratios and curing time, as these factors directly impact the bond’s strength and durability. Thoroughly mix the resin and hardener to activate the curing process effectively, and allow the epoxy resin to cure undisturbed in a well-ventilated area at room temperature.
Polyurethane Adhesive – Flexibility and Strength:
Polyurethane adhesive, renowned for its impressive bonding strength and flexibility, is another excellent option for sand gluing. Pay meticulous attention to the manufacturer’s instructions concerning mixing ratios and curing times for optimal results. Environmental factors such as temperature and humidity should be considered during the curing process, while caution must be exercised when applying heat to accelerate curing, adhering strictly to manufacturer guidelines.
Unique Curing Requirements:
It’s crucial to remember that other specialized glues and binders may have their own unique curing requirements. Devote ample time to thoroughly read and comprehend the manufacturer’s instructions to obtain optimal results. Additionally, take into account environmental factors that are specific to the particular glue or binder being used.
Factors to Consider When Gluing Sand
Gluing sand may seem like an unconventional idea, but it can actually be a fascinating way to create art or fix broken items. However, there are several factors that should be taken into consideration when embarking on this unique glue job. So, let’s delve into the world of gluing sand together and explore what you need to know.
First and foremost, the type of sand you’re working with is crucial. Different sands have varying textures and compositions that can impact how well they adhere to glue. Fine-grained sand, for example, may require a different glue than coarse-grained sand. So, it’s important to choose a glue that is compatible with your specific type of sand.
Surface preparation is key. Cleaning the surface thoroughly to remove any dirt, dust, or debris that could hinder adhesion is vital. Additionally, roughening the surface slightly can increase the surface area for the glue to bond to, enhancing its effectiveness.
Now comes the critical task of selecting the right glue. Some glues may not be suitable for sand or may not provide a strong enough bond. Look for glues specifically designed for porous materials or with a strong adhesive strength.
When applying the glue, ensure an even and thin layer to cover all areas without excess glue seeping through the gaps between grains of sand and creating a messy appearance.
Consider drying time. Different glues have varying drying times, so follow the manufacturer’s instructions carefully. This will ensure that the glue fully cures and creates a robust bond.
Lastly, think about durability. If the glued sand will be exposed to water or other elements, opt for a waterproof or moisture-resistant glue. Similarly, if the glued sand will endure heavy use or frequent handling, choose a strong and durable adhesive.
Gkjte0w78zY” >
Conclusion
Gluing sand may seem like an impossible task, but with the right techniques, it can be accomplished.
One method is to use a strong adhesive specifically designed for bonding porous materials like sand. These adhesives penetrate the sand particles and create a solid bond that can withstand various forces.
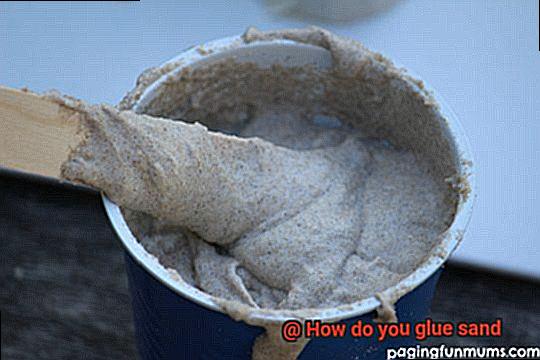
Another approach is to mix the sand with a binding agent such as epoxy resin or polyurethane. This mixture creates a paste-like substance that can be applied to surfaces and hardens over time, effectively gluing the sand together.
Additionally, using pressure or clamping during the curing process can enhance the bond between the sand particles. It’s important to note that proper surface preparation and cleaning are crucial for successful sand gluing.
By removing any contaminants or loose particles from the sand, you ensure better adhesion and a stronger bond.