Have you ever stumbled upon a stash of gorgeous felt fabric while rummaging through your crafting supplies? If so, you might be wondering how to incorporate it into your wooden projects. Well, fear not. Gluing felt to wood is an easy-peasy process that requires just a few materials and minimal effort.
In this blog post, we’ll walk you through a step-by-step guide on how to glue felt to wood, along with some handy tips and tricks for a strong and durable bond.
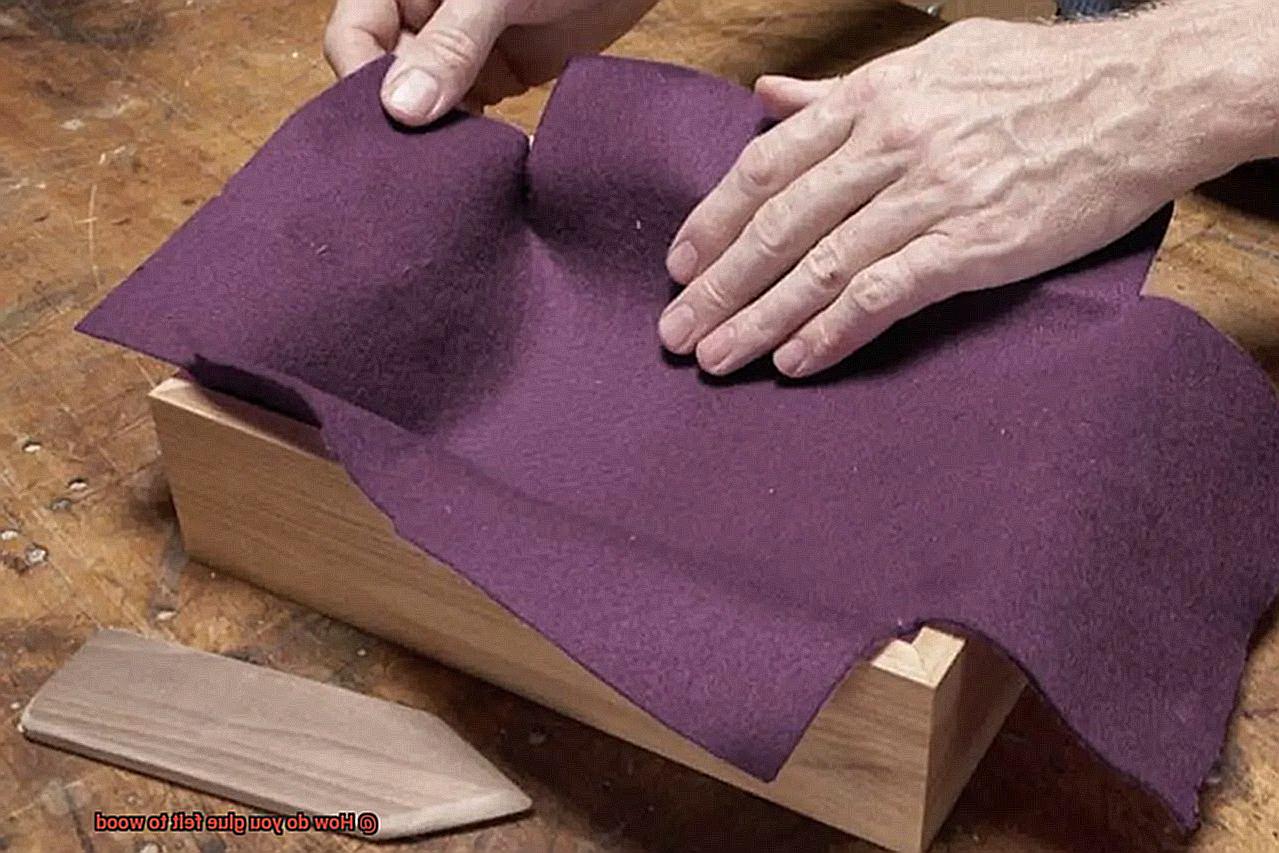
How do you glue felt to wood?
Contents
- 1 How do you glue felt to wood?
- 2 Preparing the Wood Surface
- 3 Choosing the Right Adhesive
- 4 Applying the Adhesive
- 5 Placing the Felt on the Wood Surface
- 6 Smoothing Out Any Wrinkles or Bubbles
- 7 Allowing the Glue to Dry Completely
- 8 Inspecting The Bonded Felt and Wood
- 9 Additional Tips for Successful Glue Application
- 10 Conclusion
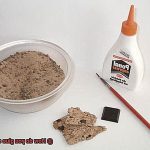
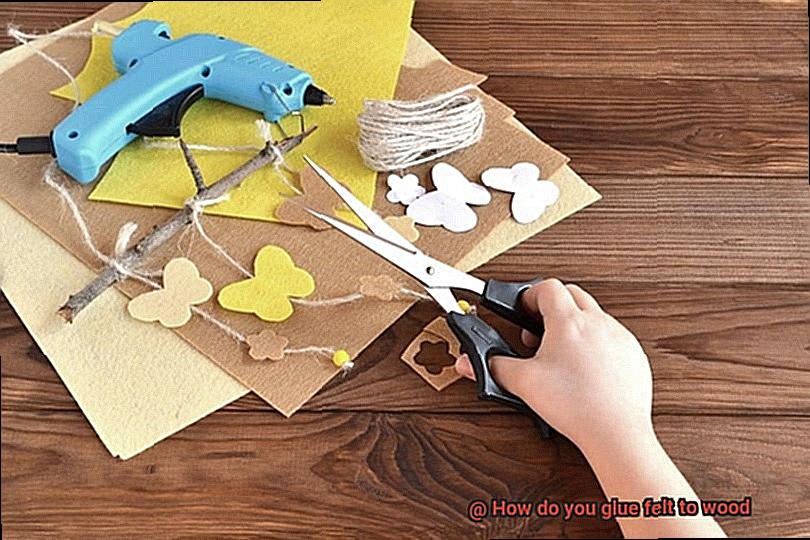
Step 1: Gather your goodies
Step 2: Prep that wood
Before diving into the gluing fun, make sure your wooden surface is squeaky clean and free from any pesky dust or debris. If needed, give it a light sanding for an even better adhesive grip.
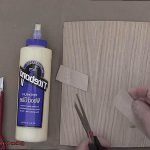
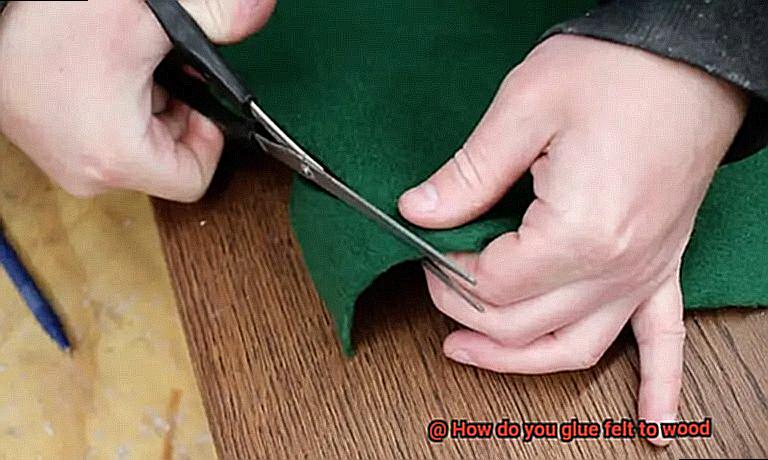
Step 3: Cut like a pro
Measure the size of your wooden surface and cut the felt fabric accordingly. Leave some extra on each side so you can wrap it around the edges like a snug little blanket. And remember, precision is key – grab those craft scissors for clean cuts.
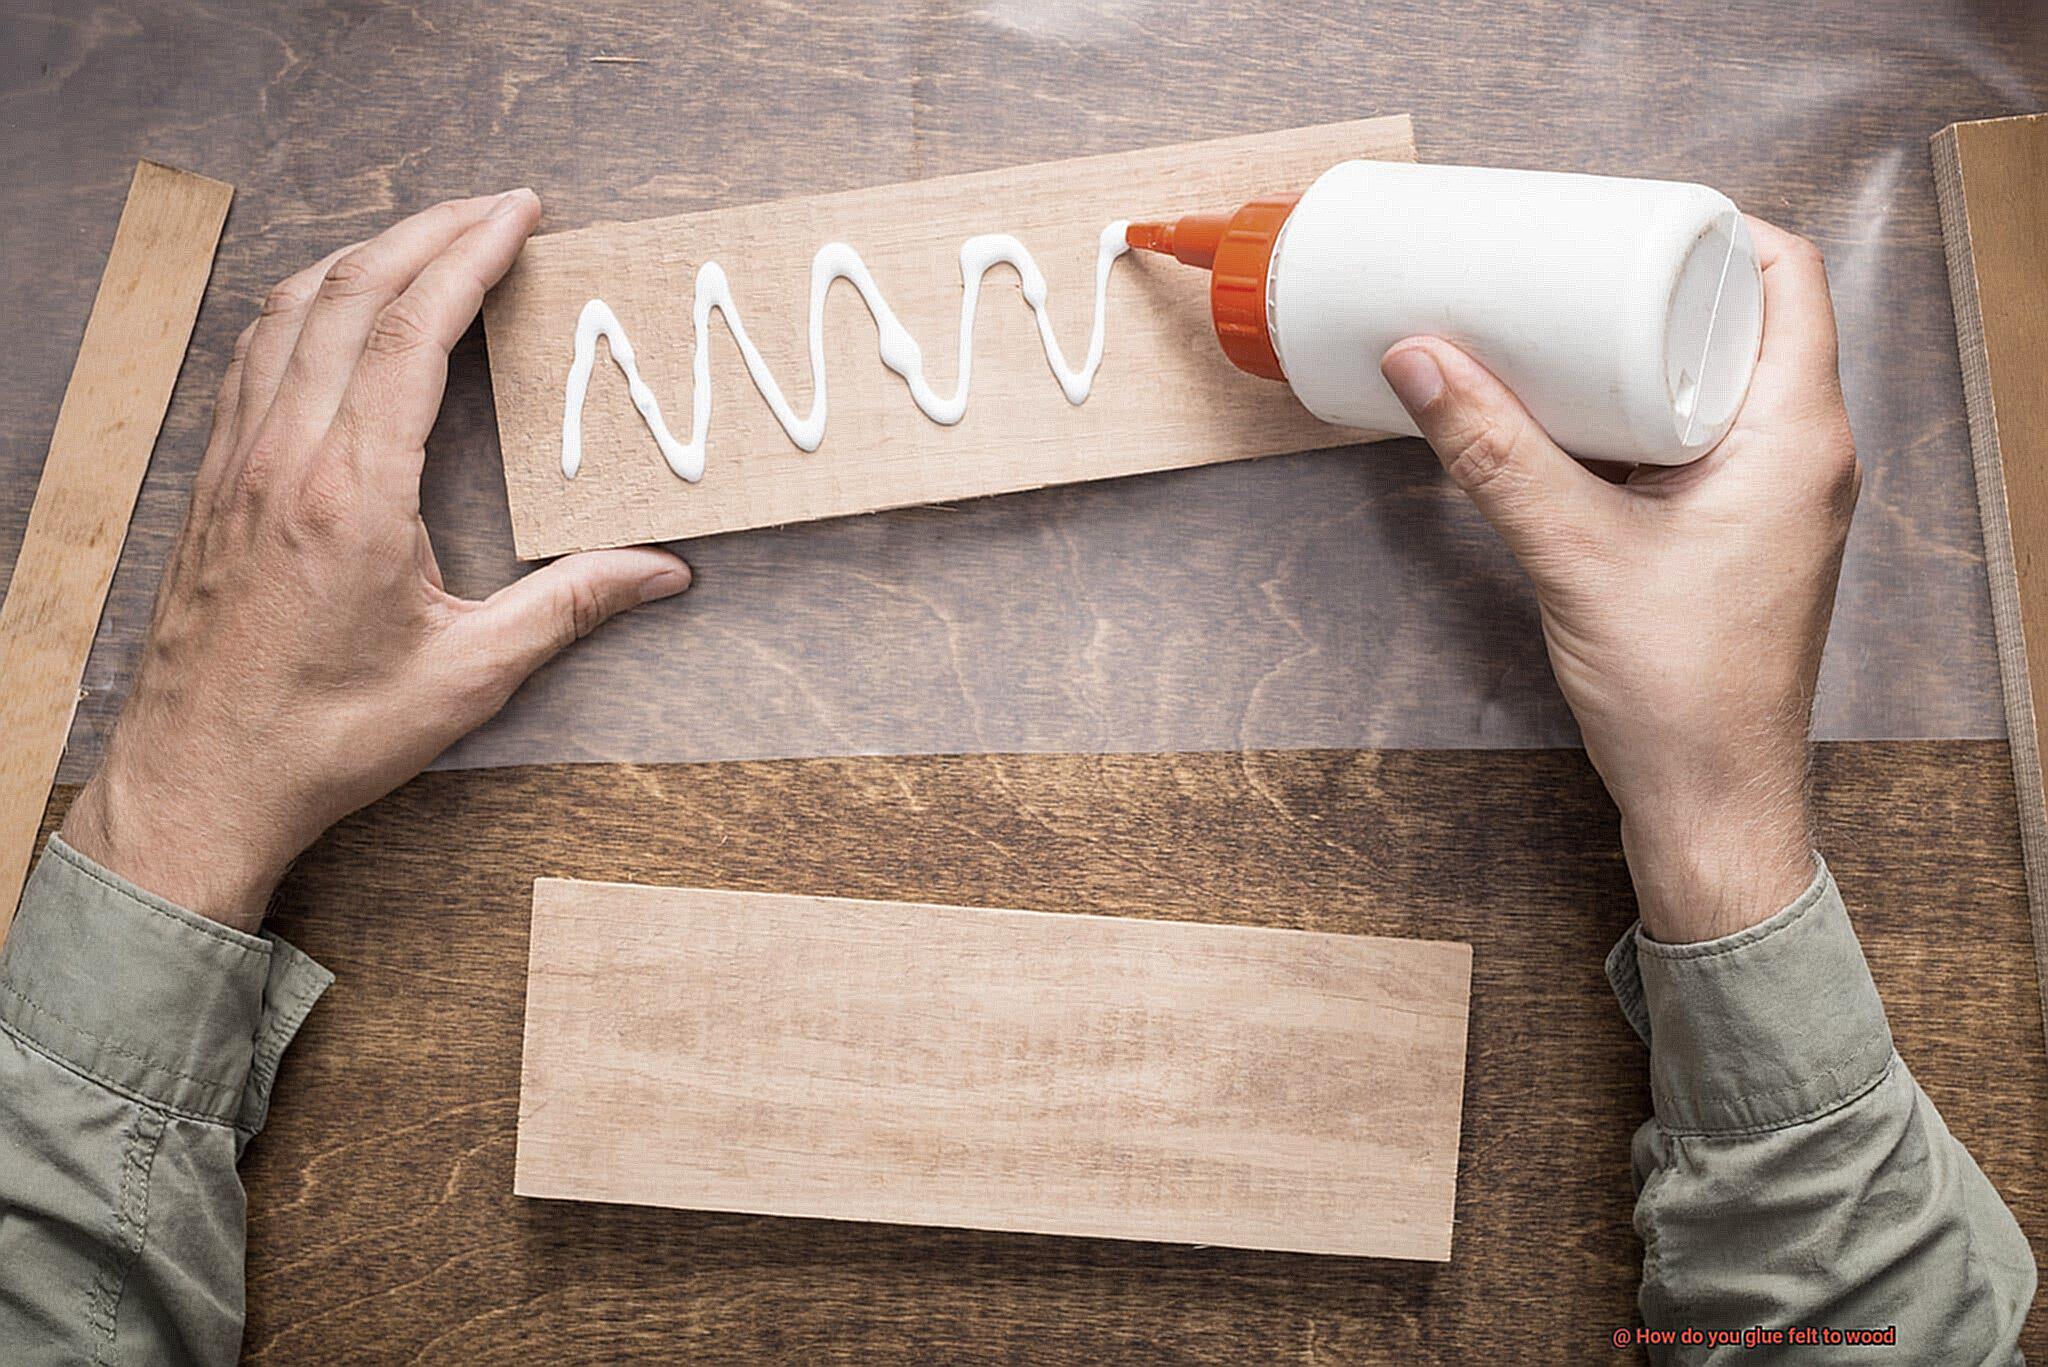
Step 4: Stick it real good
Time to bring out the big guns – aka fabric glue. Apply a thin and even layer of this magical adhesive onto every nook and cranny of that wooden surface. Don’t forget to pay extra attention to those sneaky corners and edges.
Step 5: Press with finesse
Gently place the cut felt fabric over the glued wooden surface, making sure everything lines up perfectly. Starting from one end, press down gently while smoothing out any wrinkles or air bubbles along the way. Apply some firm pressure for that extra secure bond.
Step 6: Wrap it up

Now it’s time to give your project that finishing touch. Wrap the excess felt fabric around the edges of the wooden surface, trimming any excess if necessary. Add a little more glue if needed to keep everything in place.
Step 7: Patience is a virtue
Take a deep breath and let your masterpiece rest. Allow the glue to dry for the recommended time specified by the fabric glue manufacturer. This usually takes several hours to ensure a bond that’s as strong as Hercules.
Tips
Preparing the Wood Surface
Gluing felt to wood is a popular technique that can elevate the durability and aesthetics of your wood projects. However, to achieve a secure bond between these materials, proper preparation of the wood surface is essential. In this comprehensive guide, we will take you through the step-by-step process of preparing a wood surface for gluing felt, ensuring a successful and long-lasting result.
Step 1: Cleanse the Surface
Begin by wiping the wood surface with a clean cloth or sponge, eliminating any loose dirt or dust. For sticky residues or stains, delicately scrub the surface using a mild detergent solution. Thoroughly rinse and allow it to dry completely before proceeding.
Step 2: Sanding for Smoothness
To attain a smooth and even texture, sanding may be necessary depending on the condition of the wood surface. Utilize fine-grit sandpaper, moving in the direction of the wood grain. This method eradicates rough spots, imperfections, and previous coatings that could obstruct the adhesive bond.
Step 3: Banishing Sawdust
After sanding, it becomes crucial to eliminate all sawdust from the wood surface. Employ a tack cloth or utilize a vacuum cleaner with a brush attachment, leaving no particles behind. Sawdust can impede the adhesive’s ability to bond adequately with both the wood and felt.
Step 4: Prime or Seal (optional)
For specific wood types and project requirements, priming or sealing the wood surface before gluing felt may be beneficial. Priming enhances adhesion while preventing moisture absorption from the glue into the wood, which could lead to warping or damage over time. Seek advice from your local hardware store or consult manufacturer instructions for suitable primers or sealers.
Step 5: Test Adhesive Compatibility
Before applying glue directly onto the entire surface, it is prudent to test its compatibility with both the wood and felt materials. Apply a small amount of glue in a discreet area and follow the manufacturer’s instructions for drying. Check for any discoloration, warping, or poor adhesion. If the glue is unsuitable, consider using an adhesive specifically recommended for bonding wood and fabric materials.
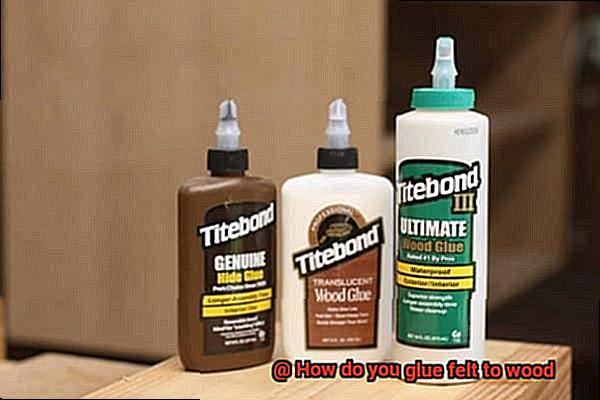
Choosing the Right Adhesive
Choosing the right adhesive is a crucial step in any project involving gluing felt to wood. The adhesive you choose can make or break the success of your project, so it’s important to consider the specific requirements and factors at play.
There are several adhesive options available for gluing felt to wood. Fabric glue is a popular choice, as it is specifically designed for bonding fabrics together. Its liquid form allows for easy application directly onto the felt and wood surfaces, creating a strong bond.
Another option is contact adhesive. This type of adhesive provides a durable and long-lasting bond. Both surfaces need to be coated with the adhesive and allowed to dry before being pressed together. Although it requires a bit more time and effort, the result is worth it.
Hot glue guns are often favored for their quick and easy application. However, they may not provide the strongest bond, especially for projects that will be subjected to heavy use or frequent handling. It’s important to consider the durability required for your specific project.
Spray adhesives offer convenience and ease of use. They are applied by spraying a thin, even layer onto both surfaces and then pressing them together. Just be sure to follow the instructions carefully to achieve the best results.
Before you start gluing, always read the instructions provided by the manufacturer of your chosen adhesive. This will ensure that you use it correctly and create a strong and long-lasting bond.
It’s also a good idea to test the adhesive on a small, inconspicuous area of both the felt and wood before applying it to the entire surface. This way, you can check for any potential discoloration or damage that may occur.
Lastly, consider the intended use of your project. If it will be exposed to moisture or extreme temperatures, make sure to choose an adhesive that is waterproof or heat-resistant respectively.
Applying the Adhesive
Get ready to dive into the world of adhesive and discover the secrets to perfectly bonding felt to wood. Whether you’re creating a cozy cushion or adding a touch of elegance to a wooden frame, we’ve got you covered with all the tips and tricks you need.
First things first, let’s talk adhesive options. When it comes to gluing felt to wood, you have a few fantastic choices. Fabric glue, craft glue, and hot glue are all excellent options, each with its own unique strengths. Consider factors like the type of wood you’re working with and how you plan on using the finished project to select the perfect adhesive for your needs.
Now that you have your adhesive soulmate in hand, it’s time to prepare the wood surface. Grab a damp cloth or mild detergent and give that wood a thorough cleaning. We want it sparkling clean and free from any dirt or dust that could interfere with the bonding process. Just be sure to let it dry completely before moving on.
With clean and dry wood in front of you, it’s time for the exciting part – applying the adhesive. If you’ve chosen fabric glue or craft glue, grab a brush or spatula and spread a thin, even layer onto the wood surface. Make sure to cover the entire area where the felt will be placed, ensuring a strong bond from edge to edge.
For those who prefer the thrill of hot glue, get that trusty glue gun warmed up according to the manufacturer’s instructions. Once it’s ready for action, carefully apply a line of hot glue along the edge of the felt that will be attached to the wood. Press the felt firmly onto the glued area, ensuring perfect alignment and a secure hold. Hold it in place for a few seconds until the glue sets.
Working with hot glue requires some speed since it dries rapidly. Take it one small section at a time if needed, applying the adhesive and attaching the felt before moving on to the next section.
After attaching the felt, it’s time to show it some love and attention. Apply even pressure across the entire surface using a roller or by placing heavy objects on top. This step ensures a strong bond between the felt and wood, keeping your project intact for years to come.
Now, the waiting game begins. Allow the adhesive to dry completely according to its specific instructions. This could take a few hours or even overnight, depending on the type of adhesive you chose. Remember, patience is key here.
Once everything is dry and ready to go, it’s time for the finishing touches. Clean up any excess adhesive from the wood and your tools using a damp cloth or following the cleaning instructions provided with the adhesive. This final step ensures a clean and polished look for your masterpiece.
Placing the Felt on the Wood Surface
Elevate your woodworking projects to new heights by adding a touch of elegance and protection with felt on the wood surface. Whether you’re crafting a cozy cushion or a stunning wooden frame, securely gluing felt to wood is essential for a long-lasting bond. Today, we’ll delve into the world of adhesive and unveil the secrets to successfully placing felt on a wood surface.
Prepare the wood surface by removing any dirt, dust, or debris that could hinder the bonding process. A clean cloth or soft brush will do the trick, ensuring that your adhesive can work its magic without interference.
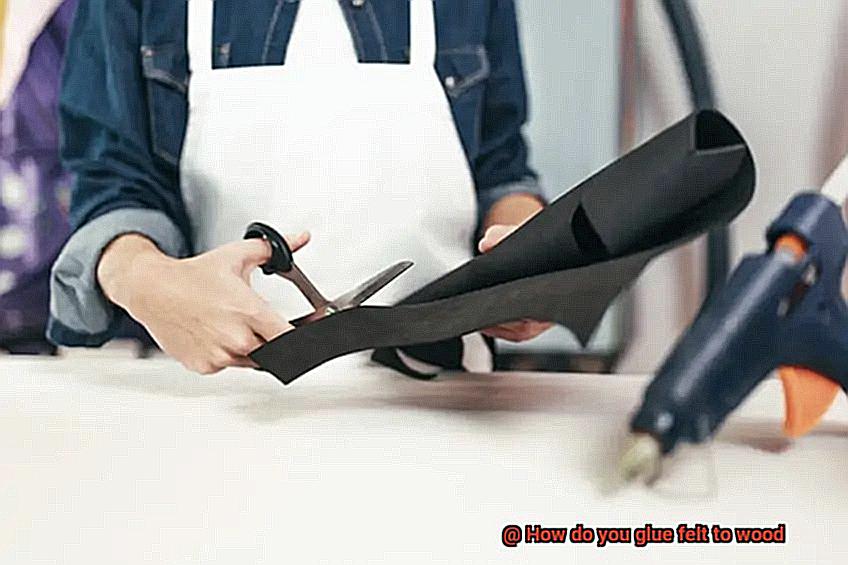
Measure and cut the felt with precision to achieve optimal coverage without excess material. Use sharp scissors or a utility knife for accurate trimming.
Choosing the right adhesive is crucial. Test fabric glue, craft glue, or hot glue on a small, inconspicuous area of both the wood and felt to check for compatibility and undesirable reactions.
Once you’ve found your perfect adhesive match, apply it to the wood surface using a brush, roller, or spatula. Spread a thin and even layer for full coverage where the felt will be placed.
Now comes the exciting part – placing the felt onto the wood surface. Align one edge or corner of the felt with the corresponding edge or corner of the wood. Gently press down on one side, smoothing it out as you go along. Avoid applying too much pressure initially to prevent wrinkles and bubbles.
Securely press down on the rest of the felt, ensuring there are no wrinkles or air pockets. Use a clean cloth or roller to enhance contact with the adhesive and wood surface.
Exercise patience as you allow the adhesive to dry completely according to the manufacturer’s instructions. This step is vital for a strong and durable bond between the felt and wood.
Smoothing Out Any Wrinkles or Bubbles
You’ve decided to add a touch of elegance to your woodworking project by gluing felt to wood. But wait, what’s this? Wrinkles and bubbles have appeared, threatening to ruin your beautiful creation. Don’t panic. I’m here to guide you through the process of effectively smoothing out any wrinkles or bubbles, ensuring a professional and seamless finish.
First and foremost, apply the glue evenly and smoothly onto the wood surface. This prevents the formation of large wrinkles or bubbles right from the start. Take your time and be meticulous in spreading the glue.
Now, if wrinkles or bubbles do occur, don’t fret. Grab a hairdryer or a heat gun and gently heat the felt. This will make it more pliable and easier to manipulate. The heat will relax the fabric and allow you to smooth out any imperfections.
With a hard, flat object like a credit card or plastic scraper, gently press down on the felt starting from the center and working your way towards the edges. This technique helps push out trapped air and smooths out any wrinkles or bubbles that may have formed. Remember to apply even pressure to avoid creating new wrinkles or stretching the fabric excessively.
While applying heat, be cautious not to overheat the felt or wood. Keep the heat source at a safe distance and monitor the temperature to avoid damage or discoloration. We want a flawless finish, not a singed disaster.
If stubborn wrinkles or bubbles persist, consider using an adhesive spray specifically designed for fabric. This spray will secure the felt in place while minimizing imperfections. It’s like a magic potion for perfection.
Before gluing, ensure both the wood surface and the felt are clean and free from dust or debris. A little cleanliness goes a long way in creating a strong bond between the two materials and preventing peeling or lifting.
Lastly, be patient and allow sufficient drying time for the glue to fully set and cure. Rushing this step can lead to disappointing results. Give your creation the time it needs to solidify, minimizing the chances of wrinkles or bubbles reappearing.
Allowing the Glue to Dry Completely
Gluing felt to wood is an art that requires attention to detail, and one often overlooked step is allowing the glue to dry completely. In this comprehensive guide, we will delve into the significance of this crucial stage and provide you with expert tips and techniques to ensure a robust and enduring bond between your felt and wood surfaces.
The Importance of Drying Time:
- Unyielding Strength: Allowing the glue to dry completely guarantees an unyielding bond between the felt and wood. This means your felt will stay firmly in place, even under pressure or constant movement.
- Longevity: A thoroughly dried glue creates a bond that can withstand the test of time. You don’t want your hard work to unravel after just a few uses or applications.
Tips for Allowing Glue to Dry Completely:
- Respect Manufacturer’s Instructions: Different glues have varying drying times, so it is vital to carefully read and adhere to the instructions provided by the manufacturer. Rushing this process may compromise the integrity of the bond.
- Apply Uniform Pressure: Prior to allowing the glue to dry, apply even pressure across the entire area using your hands or a roller. This ensures optimal contact between the felt and wood, minimizing any gaps or irregularities in the bond.
- Keep it Flat: To prevent any shifting or sliding while drying, place a substantial object on top of the felt. This weight facilitates an even distribution of pressure, ensuring a secure and uniform bond.
- Exercise Patience: Avoid handling or subjecting stress to the glued area until the glue has completely dried. Hasty actions may result in a weak bond that won’t withstand daily wear and tear.
- Mind Environmental Factors: Be mindful of environmental conditions such as high humidity or low temperatures, as they can prolong drying time. If necessary, allow extra drying time to compensate for these factors.
Inspecting The Bonded Felt and Wood
Gluing felt to wood may seem like a simple task, but there is one step that is often overlooked and yet crucial for a successful bond – inspecting the surfaces before gluing them together. This inspection is necessary to ensure a strong and durable bond between the two materials. Let’s dive into why this step is so important and explore some possible issues that could arise from neglecting it.
First and foremost, when inspecting the felt, it is vital to check for any tears, holes, or frayed edges. These imperfections can compromise the overall quality of the bond and result in an uneven or weak adhesion. It’s essential to choose high-quality felt that is free from any visible defects. Smoothness and integrity are key.
Similarly, when examining the wood surface, it’s crucial to be on the lookout for cracks, splinters, or unevenness. These flaws can hinder the bonding process and compromise the longevity of the bond. Take some time to sand down any rough areas on the wood surface to create a smooth and even base for gluing. It’s all about creating a perfect canvas for adhesion.
But it doesn’t stop there – cleanliness is also key. Any dirt, dust, or debris on either the felt or wood can interfere with the adhesive properties of the glue. Before applying any glue, make sure to clean both surfaces thoroughly. This will ensure maximum adhesion and a strong bond that will stand the test of time.
Fit and alignment matter too. Inspect for proper fit and alignment before gluing felt to wood. The felt should be cut to the desired size and shape, allowing for an even distribution of adhesive across its surface. Similarly, ensure that the wood surface is appropriately sized and positioned for a seamless bond. It’s all about precision and attention to detail.
And don’t forget to consider the environment. Factors such as temperature, humidity, and exposure to moisture can influence the effectiveness of the adhesive bond. Inspecting for these environmental factors will help ensure that the bond remains strong and durable over time. It’s about anticipating the challenges that may come and preparing for them.
Additional Tips for Successful Glue Application
Gluing felt to wood can be a transformative process, but it requires careful attention to detail and proper technique. In this article, we will explore the importance of proper preparation, glue application, firm pressure, and adequate drying time when attaching felt to wood. These tips will help you achieve flawless results and create crafts that truly shine.
Choose the Perfect Glue:
The right glue is the foundation of a successful felt-to-wood bond. Opt for a multipurpose adhesive like craft or fabric glue specifically formulated to bond different materials, including fabric and wood. These glues offer a strong and lasting bond, ensuring your felt stays firmly attached over time.
Prepare Surfaces for Optimal Adhesion:
Properly preparing the surfaces is crucial for achieving stellar adhesion. Before applying any glue, meticulously clean both the felt and wood surfaces to remove dust, dirt, or oils that could hinder bonding. A gentle wipe with mild detergent or rubbing alcohol will do the trick. Additionally, lightly sanding the wood surface creates a better grip for the glue, resulting in a stronger bond.
Apply Glue with Precision:
When it comes to applying the glue, precision is key. Remember: less is more. Use a brush or small roller to spread a thin and even layer of glue on both the felt and wood surfaces. Applying an excessive amount can cause seepage or make your project appear messy. Conversely, too little glue may result in a weak bond. Find that perfect balance for flawless results.
Exert Firm Pressure for Success:
After applying the glue, exert firm pressure when attaching the felt to the wood surface. This step guarantees optimal adhesion between the two materials. Utilize a roller or the pressure of your hands to apply even force across the entire surface area. By doing so, you create a bond that withstands the test of time, ensuring your felt remains securely attached to the wood.
Allow for Ample Drying Time:
Patience is key. Allow the glue to dry completely before handling or moving your glued objects. Follow the manufacturer’s instructions regarding drying time, as different glues may have varying requirements. Rushing this step may compromise the bond and leave you with a less-than-perfect finished product. Take the time to let the glue set and dry thoroughly for a flawless result.
EkGPGVF1hGg” >
Also Read: Is there a Mod Podge Alternative? – Glue Things
Conclusion
Gluing felt to wood may seem like a simple task, but getting it right requires attention to detail. To ensure a secure bond between the two materials, follow these steps:
- Prepare the surface: Start by cleaning the wood thoroughly to remove any dust or debris. A clean surface will allow the glue to adhere better.
- Choose the right adhesive: Not all glues are suitable for bonding felt to wood. Look for an adhesive specifically designed for fabric and wood bonding. A strong craft glue or a multipurpose adhesive should work well.
- Apply the glue: Using a small brush or applicator, spread a thin layer of glue onto the wood surface where you want to attach the felt. Be sure to cover the entire area evenly.
- Press firmly: Carefully place the felt onto the glued area and press down firmly with your hands or a roller tool. Applying even pressure will help create a strong bond between the two materials.
- Allow drying time: Give the glue enough time to dry completely before handling or moving the project. Follow the manufacturer’s instructions regarding drying time, as it can vary depending on the type of adhesive used.
- Trim excess felt: Once the glue has dried, trim any excess felt using sharp scissors or a craft knife for clean edges.
Remember, precision and patience are key when gluing felt to wood.