Are you itching to start a new DIY project that involves attaching fabric to wood? Look no further. It’s a common challenge, but with the right approach, you can ensure your fabric stays put and your project turns out beautifully.
One of the most popular methods for attaching fabric to wood is using adhesive. But not all adhesives are created equal. Choosing the right adhesive for your specific materials is key. Keep in mind that different fabrics may require additional reinforcement or pre-treatment before they can effectively adhere to wood.
If you’re looking for a more secure hold, consider stapling or tacking the fabric in place. Though these techniques might require extra tools and expertise, they offer greater durability and stability over time.
No matter which method you choose, it’s important to take your time and plan your project carefully before diving in. By doing so, you’ll ensure that your end result is both aesthetically pleasing and built to last.
Ready to get started? Let’s explore some of the different ways you can attach fabric to wood, weighing up the pros and cons of each technique along the way.
What is Fabric Attachment?
Contents
Look no further than fabric attachment. This versatile technique is an ideal choice for various DIY projects such as furniture upholstery, decorative items, and wall art. In this post, we’ll guide you through the process of securely attaching fabric to a wooden surface using glue.
To ensure a successful project, it is important to prepare both the wood surface and the fabric. Start by cleaning the wood surface, making sure it is dry and free from any dust or debris. Sand down any porous surfaces or use alcohol or a degreaser for non-porous surfaces. Next, cut your fabric to the size and shape needed for your project. If you’re working with lightweight fabrics, consider using an iron-on adhesive to reinforce edges and prevent fraying.
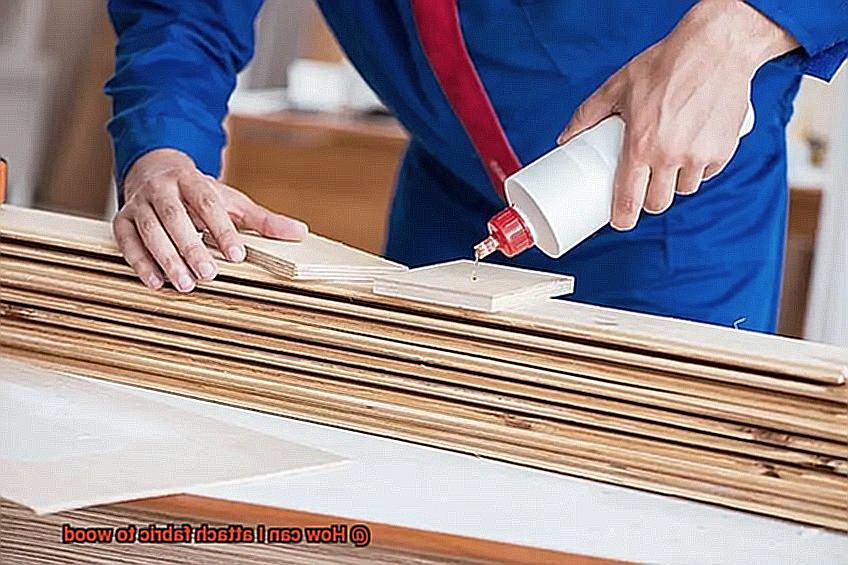
When it comes to glue selection, there are various types available such as wood glue, fabric glue, or spray adhesive. To achieve the best results, choose glue that is suitable for your project. For example, wood glue is ideal for attaching fabric to porous woods while fabric glue is perfect for non-porous woods. On the other hand, spray adhesive is great for attaching lightweight fabrics to wood surfaces.
Once you’ve chosen the right type of glue, apply an even layer to the wood surface using a brush or roller. Avoid applying too much glue as this can cause unsightly wrinkles or bubbles in the fabric. Carefully lay your fabric onto the wood surface and gently press it down to ensure that it’s evenly attached.
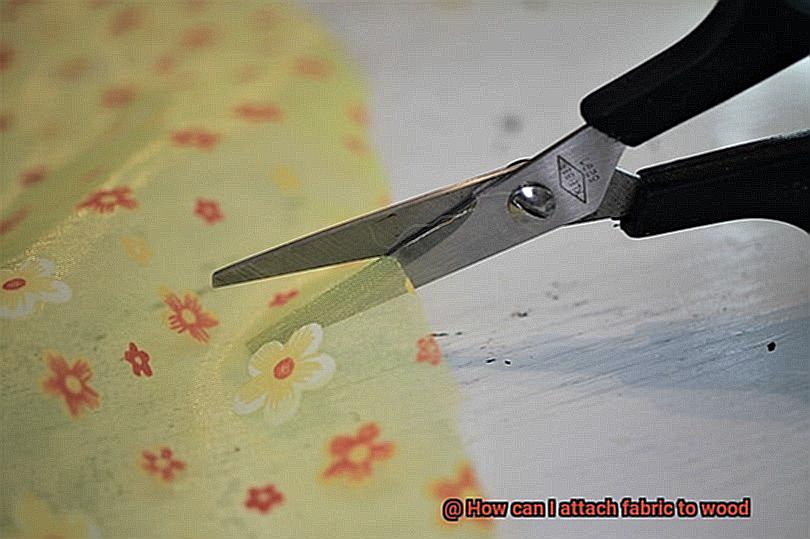
Allow time for the glue to dry completely before handling your project. Depending on the type of glue you used, this can take anywhere from a few hours to overnight. Once dried, trim off any excess fabric using a sharp pair of scissors or craft knife.
Why is it Important to attach fabric to wood?
Why not consider attaching fabric to wood. It’s a versatile and reliable technique that can elevate your furniture and decor items in countless ways. But why is it so important?
Firstly, attaching fabric to wood can enhance the aesthetics of your project. Whether you’re adding a pop of color or pattern, or matching fabrics with other design elements, fabric can help create a cohesive and put-together look in any space.
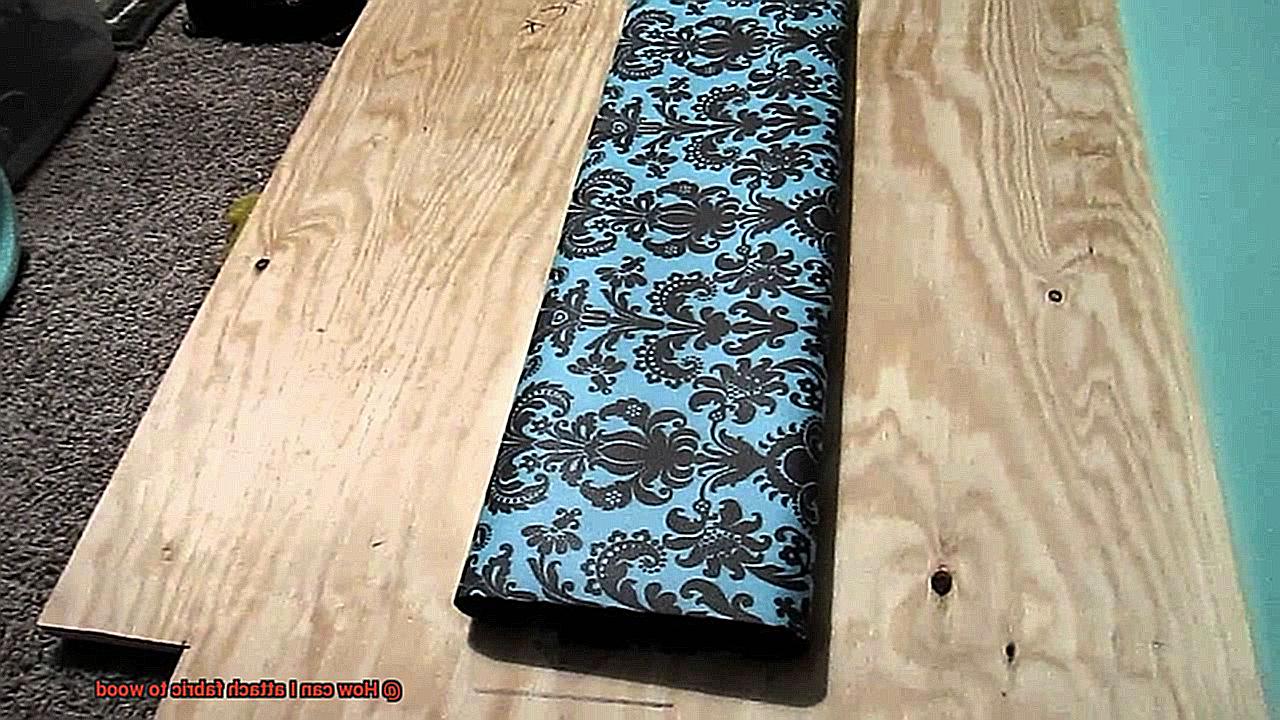
But that’s not all – attaching fabric to wood can also make your furniture more functional. By adding a cushioned fabric seat to a wooden chair or bench, for example, you can provide additional support and comfort for sitting. This is especially important for high-use items like dining chairs or sofas.
And let’s not forget about durability. Properly attached fabric can withstand wear and tear from regular use and exposure to elements like sunlight or moisture. This is especially important for furniture pieces that are used regularly.
Types of Wood and Fabric to Consider
Attaching fabric to wood can be a challenging task, but selecting the right materials can make all the difference. As an expert in this field, I’m here to help guide you through the factors to consider when selecting wood and fabric for your project.
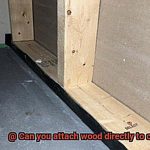
One of the first things to consider is the type of wood you’ll be using. Some woods, like pine or poplar, are more porous than others and may require a different type of adhesive to ensure a secure attachment. Harder woods like oak or cherry, on the other hand, may require a different technique altogether. It’s essential to do your research and select the appropriate adhesive for your chosen wood to ensure a lasting attachment.
Another critical factor to consider is the moisture content of the wood. Using green or freshly cut wood can cause the adhesive to break down over time, leading to a flawed attachment that won’t stand the test of time. For optimal results, it’s crucial to use properly dried and acclimated wood for your project.
When it comes to choosing the right fabric, texture plays a significant role in how well it will adhere to wood. While smooth fabrics like cotton or polyester blends may adhere well with a standard adhesive, textured fabrics like velvet or corduroy may require a stronger adhesive or a different application method altogether.
It’s also important to think about the color and pattern of your fabric when selecting wood. Darker colors or bold patterns may show through lighter colored woods, so it may be necessary to use a darker or more opaque adhesive. However, if you want to showcase your beautiful wood grain, lighter-colored fabrics may be your best bet.
Preparing the Wood Surface
It’s a crucial step that is often overlooked, but it makes all the difference in ensuring a lasting and beautiful attachment. So, let’s take a closer look at how to prepare your wood surface before attaching fabric.
Step 1: Clean and wipe
The first step is to clean the surface thoroughly. You can use a damp cloth to wipe away any dust, dirt, or debris from the surface. If there are any stubborn stains, use a mild detergent solution to clean the surface, and then wipe it dry with a clean cloth. A clean surface ensures that your adhesive will stick better and prevent any bubbles or wrinkles from forming.
Step 2: Sand and smooth
Sanding is essential to roughen up the surface of the wood, creating a better gripping surface for the adhesive. Use a fine-grit sandpaper and sand in the direction of the wood grain. Be sure to sand evenly and avoid over-sanding in one area, as this can create an uneven surface. The smoother the surface is, the better your fabric will adhere.
Step 3: Fill in imperfections
After sanding, inspect the surface for any imperfections or rough spots. If there are any, use wood filler to fill them in. Apply the wood filler with a putty knife, and then smooth it out with a damp cloth. Wait for the wood filler to dry completely before sanding it down again. This step ensures that your final product looks flawless.
Step 4: Apply primer
Finally, apply a coat of primer to the wood surface. This will help the adhesive bond better to the wood and prevent any staining from bleeding through the fabric. Allow the primer to dry completely before applying any adhesive. The primer provides an excellent base for your fabric attachment and ensures that it adheres well.
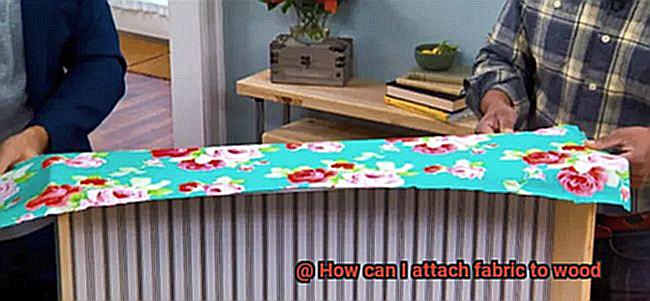
Preparing the Fabric
Before you get started, it’s essential to prepare your fabric properly to ensure a perfect result. In this post, we’ll walk you through the four vital steps in preparing fabric before attaching it to wood.
First, cleanliness is key. Begin by washing and drying the fabric to remove any dirt or chemicals that may interfere with the adhesive. Once clean, iron the fabric to get rid of any wrinkles or creases.
Next, it’s time to apply a stabilizer or backing to the fabric. This step is crucial in preventing the fabric from fraying or stretching. You can use a fusible interfacing or a spray adhesive for this purpose. Cut the interfacing slightly smaller than the fabric and iron it onto the back of the fabric. If using a spray adhesive, be sure to apply it in a well-ventilated area and allow it to dry completely before attaching the fabric to the wood.
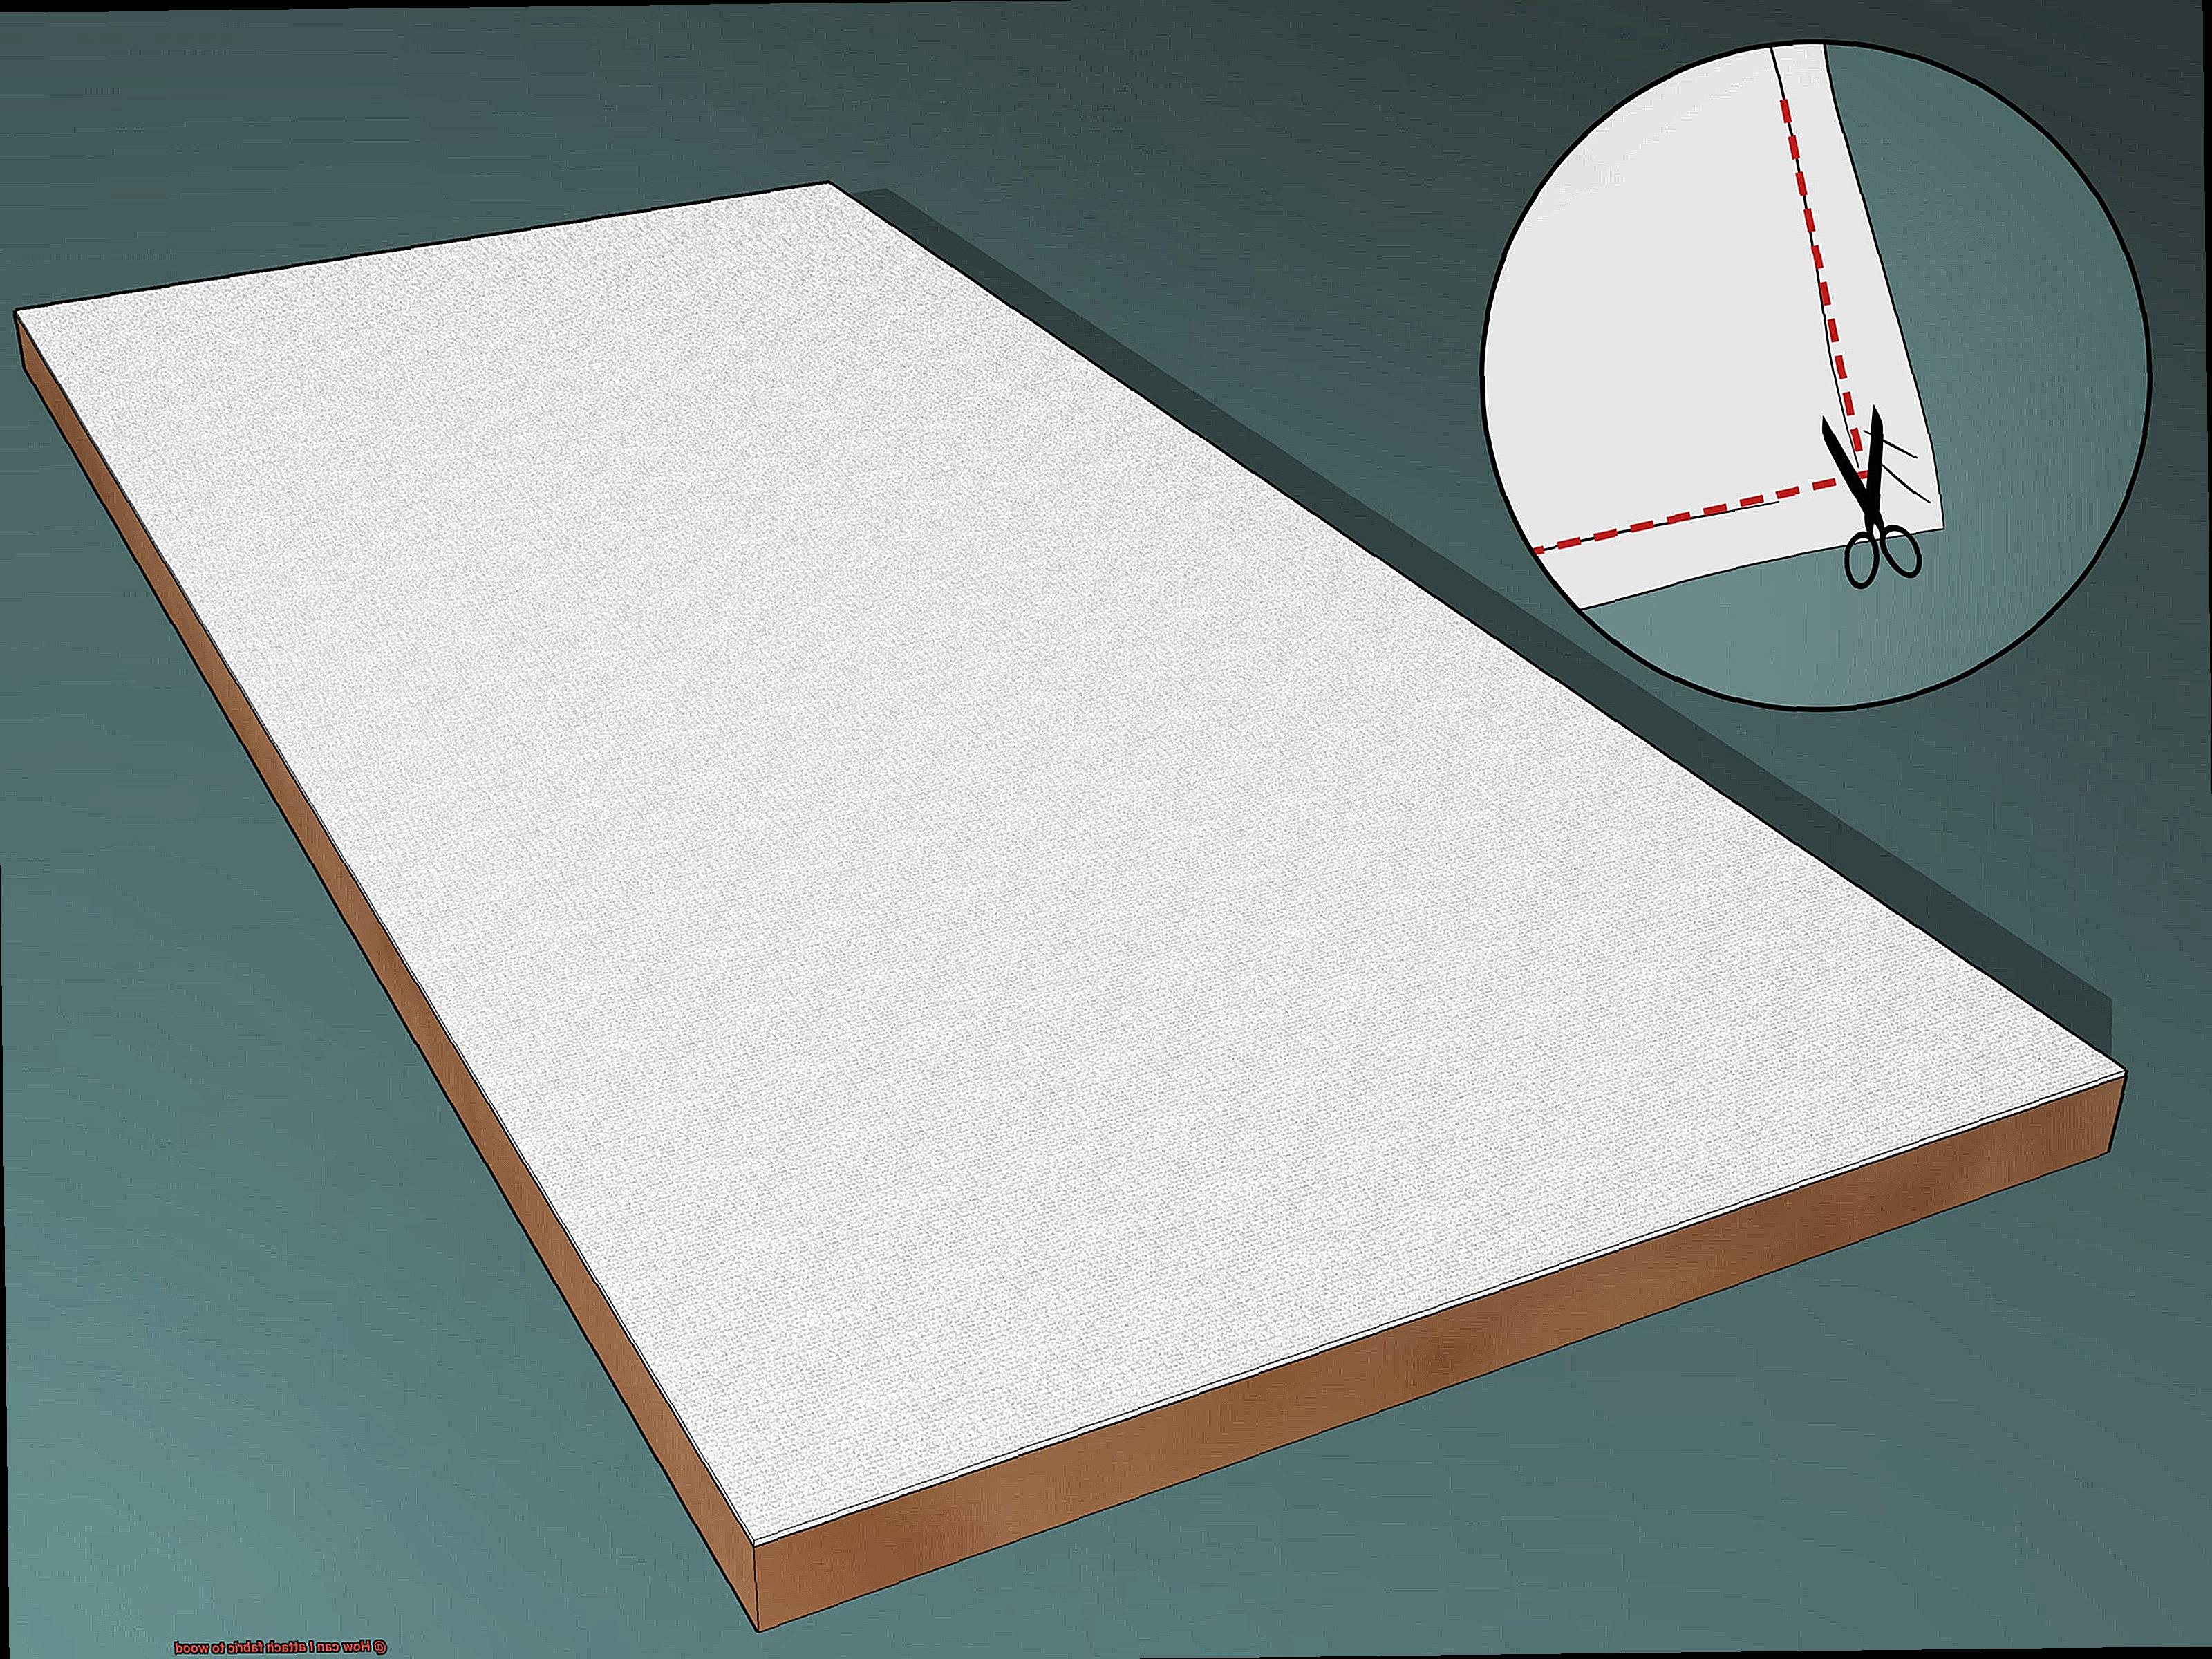
After this, measure and cut your fabric to the desired size and shape using a rotary cutter, scissors, or a straightedge and craft knife. Ensure that the edges are straight and even to avoid any gaps or wrinkles when attaching the fabric to the wood.
Last but not least, before attaching your fabric to the wood, do a test run on a small piece of scrap wood. This will help you confirm that the adhesive works correctly and that there are no issues with either the fabric or wood.
By following these preparation steps, you can be confident that your fabric will adhere correctly to your wood surface, resulting in an exquisite and long-lasting finished product.
Different Glue Options for Attaching Fabric to Wood
When it comes to attaching fabric to wood, choosing the right glue is crucial. With so many options available in the market, it can be challenging to determine which one will work best for your project. Let’s explore some of the different glue options and their unique properties.
White glue, also known as PVA glue, is a popular and cost-effective choice for attaching fabric to wood. It creates a strong bond between the two materials, but keep in mind that it’s water-soluble and may not be suitable for projects exposed to moisture.
Epoxy glue, on the other hand, is a two-part adhesive that creates an incredibly strong and waterproof bond. It’s perfect for outdoor projects or items exposed to high temperatures. However, working with epoxy can be tricky since it requires precise measurements and has a short working time.
If you’re using delicate fabrics or require a flexible bond, fabric glue may be the best option. These glues dry clear and quickly, creating a flexible bond that won’t crack or break over time. Although they may not be as strong as other types of glue, they are ideal for rough or porous surfaces.
Other options include spray adhesive, contact cement, and hot glue. Spray adhesive is easy to use and creates a temporary bond that can be repositioned before drying completely. Contact cement creates an instant bond between the fabric and wood but requires careful application since it cannot be repositioned once applied. Hot glue is another quick and easy option but may not be ideal for projects exposed to high temperatures or moisture.
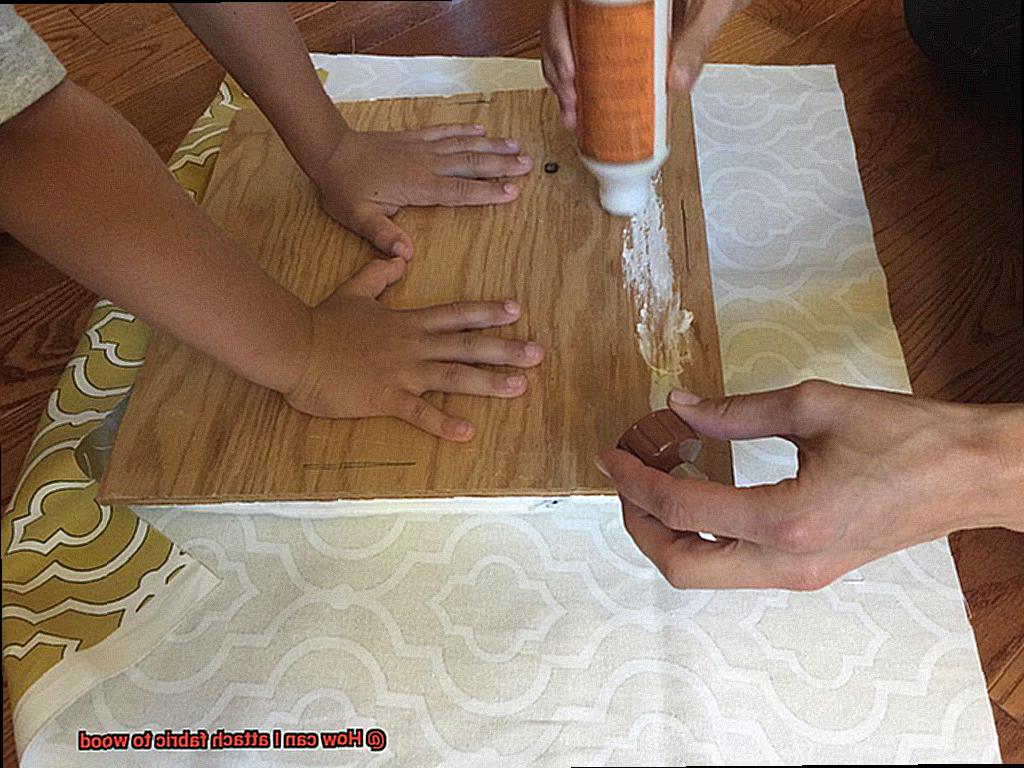
Applying the Glue
You’ll need to know how to apply glue when attaching fabric to wood. Luckily, we’ve got you covered with this comprehensive guide.
First, let’s talk about your options. Hot glue, fabric glue, and spray adhesive are all great choices for attaching fabric to wood. Hot glue is a fan favorite, drying quickly and creating a strong bond. Fabric glue is specially formulated for use with fabric and creates a durable bond. Spray adhesive is easy to apply and also creates a strong bond.
Once you’ve chosen your glue, it’s time to start applying it. For hot glue, heat up your glue gun and apply a small amount of glue to the surface of the wood. Then, quickly press the fabric onto the glued area and hold it in place until the glue cools and hardens.
If you’re using fabric glue, apply a thin layer onto the surface of the wood using a paintbrush or roller. Then, press the fabric onto the glued area and hold it in place until the glue dries. This may take a bit longer than hot glue but is worth the wait for the added durability.
Spray adhesive is super easy to use – simply spray a thin layer onto the surface of the wood and then press the fabric onto the glued area. Hold the fabric in place until the adhesive dries completely.
It’s important to keep a steady hand when applying glue and spread it evenly across the surface of the wood. This will ensure that your fabric is properly attached and won’t come loose over time.
Finishing Touches
You’ve successfully attached fabric to wood, and now it’s time to give your project the perfect finishing touches. These small details can make a big difference in the final outcome.
One great way to add a decorative touch and prevent fraying is to use trim or ribbon along the edges of your fabric. Not only does this make your project look more professional, but it also protects your fabric from wear and tear. Simply apply fabric glue or hot glue to the back of the trim or ribbon and carefully attach it to the edges of your fabric.
Another important finishing touch is adding a clear sealant over your fabric once it’s attached to the wood. This step will help protect your fabric from moisture, dirt, and other potential damage. Use a brush or spray bottle to apply the sealant and make sure it dries completely before handling.
If you want to add a personal touch to your project, consider embellishing it with buttons, beads, or sequins. You can attach these using glue or by sewing them onto the fabric for an extra-special touch.
dYJ-Wyv8ALc” >
Conclusion
Transforming your furniture and decor items with fabric can add a touch of elegance and personality to any space. However, attaching fabric to wood can be a tricky task that requires the right materials and techniques. Luckily, there are several ways to attach fabric to wood, including adhesive, stapling or tacking.
The key to success is selecting the appropriate adhesive for your specific materials. Some fabrics may require pre-treatment or additional reinforcement before they can effectively adhere to wood. It’s also important to prepare both the wood surface and the fabric by considering factors such as texture, type of wood, washing, sanding, filling imperfections, applying primer or backing and measuring and cutting.
Choosing the right glue is crucial in ensuring a lasting attachment. You have multiple options such as white glue, epoxy glue, fabric glue, spray adhesive, contact cement or hot glue depending on your project’s requirements. Applying it evenly across the surface of the wood will help you achieve better results.
To give your project an extra-special touch of creativity and style, consider adding finishing touches like trim or ribbon along edges or embellishments like buttons or beads.
By following these steps carefully and planning ahead of time, you’ll be able to attach fabric to wood like a pro.