Want to give your stairs a makeover that not only looks amazing but also keeps you safe? Gluing down carpet on steps is the way to go. No more slipping and sliding on loose surfaces. But how do you tackle this project? Don’t worry, we’ve got you covered.
Grab your durable carpet, specialized adhesive, utility knife, measuring tape, and straightedge ruler. With these tools in hand, we’ll walk you through the entire process step-by-step.
We’ll show you how to prepare your steps properly, measure and cut the carpet precisely, and apply the adhesive evenly for a secure hold. And that’s not all. We’ll share some insider tips too. For example, did you know that cleaning the steps thoroughly before applying the adhesive is crucial? Or that smoothing out the carpet is essential to avoid unsightly wrinkles or bubbles?
By the time you finish reading this blog post, gluing down carpet on steps will be a piece of cake for you. So let’s dive right in and transform your stairs into a stylish and safe feature of your home.
What You Need for Gluing Down Carpet on Steps
Contents
- 1 What You Need for Gluing Down Carpet on Steps
- 2 Preparing the Steps for Gluing
- 3 Cutting and Applying the Carpet Strips
- 4 Securing the Carpet to the Steps
- 5 Finishing Touches and Trimming Excess Carpet
- 6 Allowing Adhesive to Dry Completely
- 7 Maintenance Tips for Glued-Down Carpet on Steps
- 8 Common Mistakes to Avoid When Gluing Down Carpet on Steps
- 9 Conclusion
Gluing down carpet on steps is a practical and visually appealing solution to secure carpeting while preventing slipping or shifting. This comprehensive guide will provide you with the necessary tools and materials needed to successfully complete this task, whether you’re looking to update your staircase or enhance safety in your home.
Materials:
- Durable Carpet: Choose a low-pile carpet that can withstand heavy foot traffic and is suitable for stairs.
- High-Quality Carpet Adhesive: Opt for an adhesive specifically designed for stair installation, following the manufacturer’s instructions.
- Utility Knife or Carpet Cutting Tool: Essential for cutting the carpet to the correct size and shape.
- Measuring Tape or Ruler: Accurately measure the dimensions of each step for a precise fit.
- Straight Edge or Chalk Line: Use to mark guidelines on the steps before applying the adhesive.
- Trowel or Notched Spreader: Apply the adhesive evenly to the steps using one of these tools.
- Roller: Ensure proper bonding by pressing down on the carpet after applying the adhesive.
- Cloth or Sponge and Warm Water: Quickly clean up any excess adhesive.
Safety Precautions:
- Gloves: Protect hands from potential skin irritation caused by the adhesive.
- Well-Ventilated Area or Respiratory Mask: Ensure proper ventilation when working with adhesives that release fumes during application.
Installation Steps:
- Thoroughly clean the steps, removing dust, dirt, or debris.
- Cut the carpet into strips slightly wider than each step’s width.
- Generously apply adhesive to the backside of each carpet strip, ensuring even coverage.
- Firmly press the carpet strip onto each step, aligning it properly and smoothing out wrinkles or air bubbles.
- Use a roller or heavy object to firmly press down on each step after applying the carpet strip.
- Trim any excess carpet using a sharp utility knife for a neat and professional finish.
- Allow the adhesive to dry completely before using the newly carpeted steps.
Preparing the Steps for Gluing
Gluing down carpet on each step is not just a way to add safety but also a chance to transform your stairs into a stunning masterpiece. However, before you dive into the gluing process, it’s crucial to prepare the steps properly for a successful installation. Let’s walk through the necessary steps to ensure your carpet adheres securely and looks absolutely amazing.
Step 1: Clear the Debris
First things first, grab your trusty broom or vacuum cleaner and sweep away any loose debris that might interfere with the gluing process. Say goodbye to dirt, dust, or even those pesky little rocks. Remember, the cleaner the steps, the better the adhesive will bond.
Step 2: Inspect and Repair
Take a closer look at your steps. Are there any cracks, holes, or loose boards? If so, it’s crucial to repair them before proceeding with gluing. Fill in those cracks, patch up those holes, and tighten any loose boards. This will ensure a smooth and stable surface for your carpet to shine.
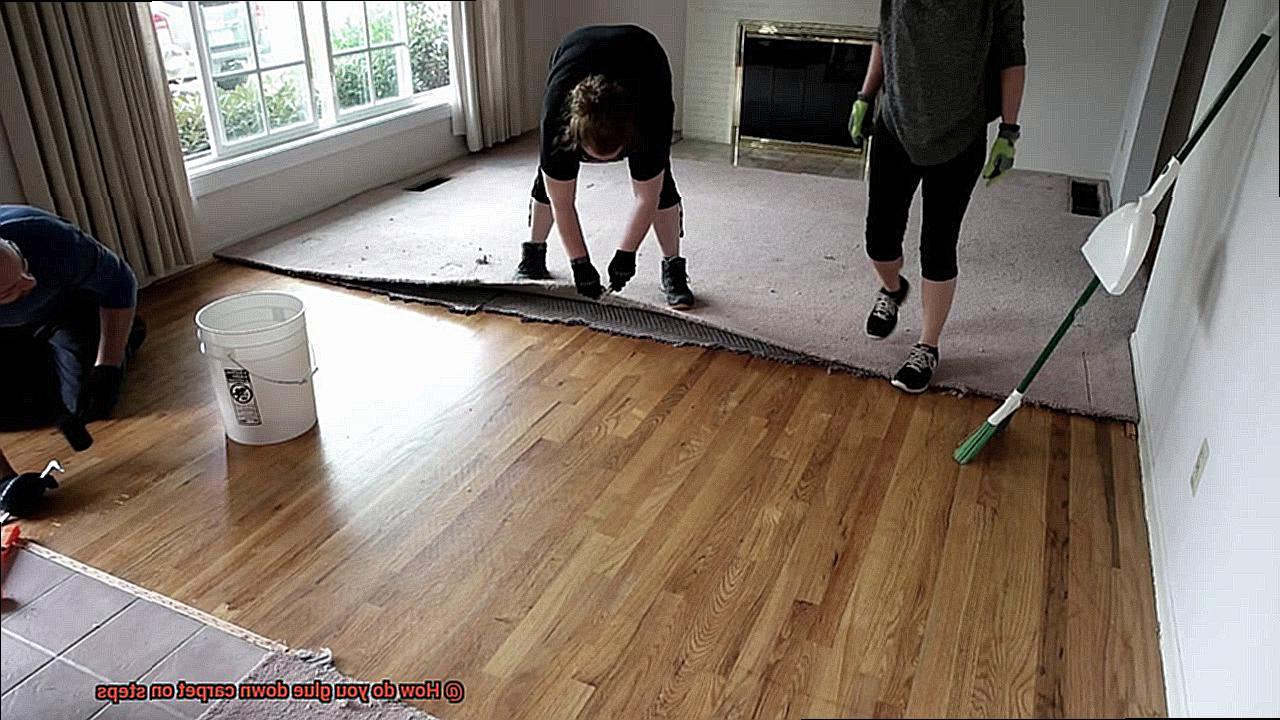
Step 3: Remove Existing Carpet
If there’s already carpet on your steps, it’s time to bid it farewell. Start by grabbing a corner of the carpet and pulling it up carefully. For those stubborn sections, use pliers or a carpet knife to loosen them up. Make sure you remove all the old carpet and adhesive residue completely.
Step 4: Say Goodbye to Adhesive Residue
Now that the past is gone, it’s time to tackle any leftover adhesive residue. This step is crucial for achieving a seamless and flawless installation. Grab your trusty putty knife or scraper and gently remove any remnants of adhesive from the steps.
Step 5: Let It Dry
Before you can start gluing, you need to ensure that your steps are dry as a bone. Moisture can mess with the adhesion of the glue and compromise your installation. Give your steps ample time to dry completely before moving on to the next step.
Step 6: Smooth Out the Surface
To achieve a carpet installation that’s as smooth as silk, it’s crucial to have a flawless surface. If you notice any rough or uneven areas on the steps, grab some sandpaper and gently sand them down. This step will provide better adhesion and prevent any unsightly bumps or wrinkles in your carpet.
Cutting and Applying the Carpet Strips
Gluing down carpet on your steps can add elegance and comfort to your home. But before you dive into this project, it’s crucial to understand the process of cutting and applying carpet strips. In this comprehensive guide, we’ll walk you through each step, ensuring a professional and durable finish that will leave your staircase looking flawless.
Step 1: Measure Twice, Cut Once
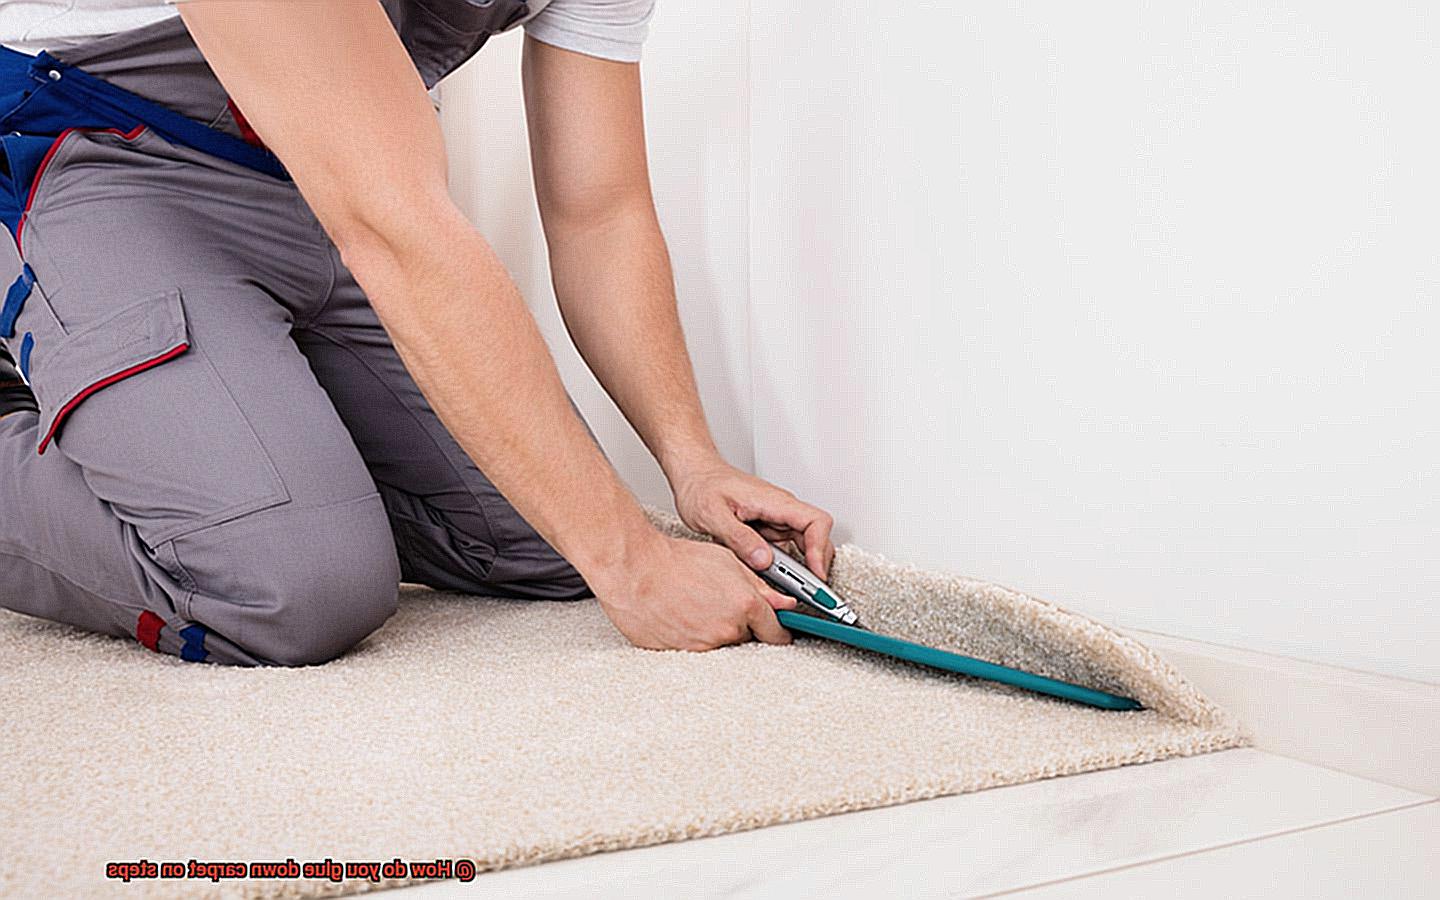
To start, grab your trusty tape measure and accurately measure the dimensions of each step. Pay attention to any nosing or overhang on the steps. Once you have the measurements, mark them on the backside of the carpet using a straight edge. Make sure to use a sharp utility knife or carpet cutter for a clean and precise cut.
Step 2: Give Yourself Some Wiggle Room
When cutting the carpet strips, it’s wise to add an extra inch or two to your measurements. This additional allowance will come in handy during installation, allowing you to properly stretch and secure the carpet without any gaps or wrinkles. Remember, precision is key.
Step 3: Stick it Down
Now it’s time to apply the carpet strips. Begin from the bottom step and work your way up. Apply a thin layer of carpet adhesive evenly on each step, being careful not to go overboard. Too much adhesive can create unsightly lumps or bumps that will ruin the finished look of your staircase.
Step 4: Perfect Placement
Place the cut carpet strip onto the adhesive, ensuring that it aligns perfectly with the edges of the step. Take a moment to admire how effortlessly it transforms the look of your staircase. Then, use a carpet tucker or a smooth-edged tool to firmly press down along the edges and corners of the strip. This will eliminate any air bubbles and ensure a snug fit that will withstand the test of time.
Step 5: Repeat and Relish
Repeat this process for each step, carefully aligning each carpet strip with the edges of the steps. Keep in mind that curved or irregularly shaped steps may require additional trimming and adjustments for a seamless installation. Take your time with each step, relishing in the progress you’re making towards a beautifully carpeted staircase.
Step 6: Patience is a Virtue
Once all the carpet strips are applied, it’s essential to resist the temptation to walk on them right away. Allow the adhesive to dry completely according to the manufacturer’s instructions. This drying period is crucial to ensure a secure bond and prevent any premature lifting or shifting. Remember, patience is a virtue when it comes to achieving a flawless finish.
Securing the Carpet to the Steps
Securing carpet to steps not only enhances safety and reduces noise, but it also adds an element of elegance and comfort. In this comprehensive guide, we will walk you through the process of securely gluing carpet to your steps for a professional finish. Get ready to transform your staircase into a work of art.
Step 1: Prepare the Steps
Begin by preparing the steps for carpet installation. Remove any existing carpet or flooring and thoroughly clean the steps. This step ensures a smooth surface for the adhesive to bond to, resulting in a long-lasting finish.
Step 2: Measure and Cut the Carpet Pieces
Accurate measurements are essential for a flawless installation. Measure each step carefully and cut the carpet pieces accordingly. Remember to leave extra material on each side for trimming and adjustments during the installation process.
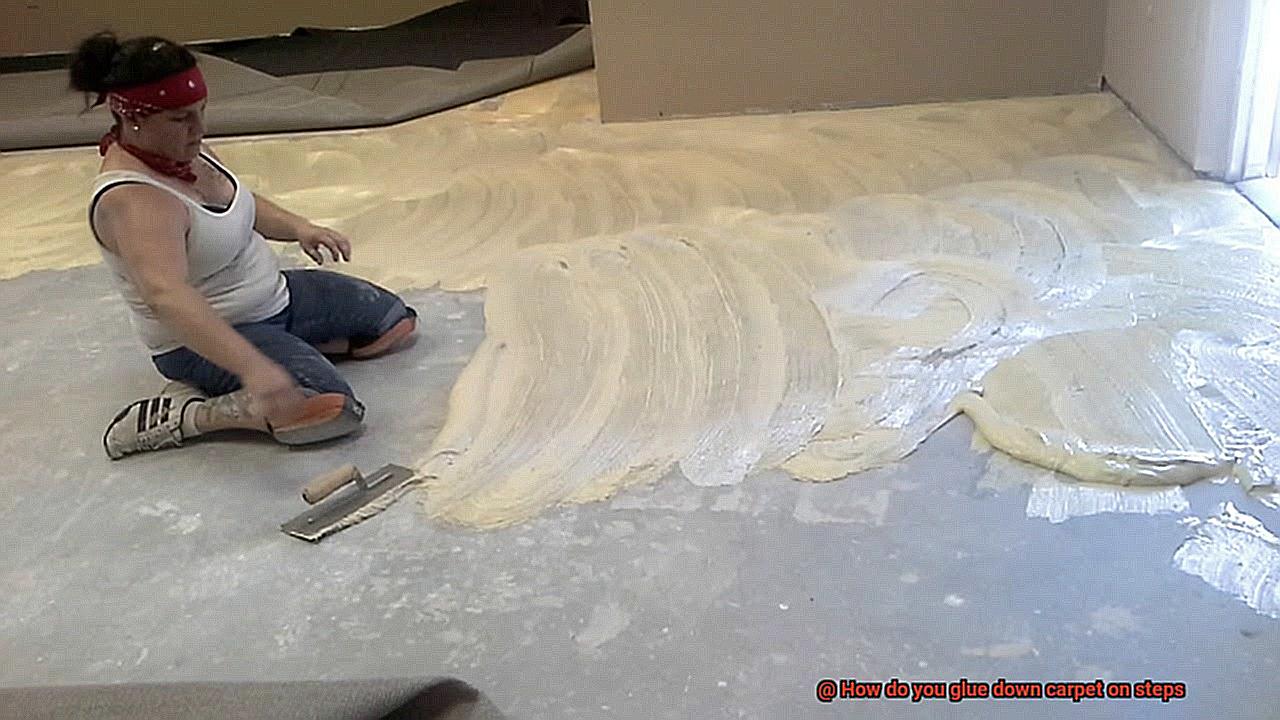
Step 3: Apply Adhesive
Choose a high-quality carpet adhesive and follow the manufacturer’s instructions for application and drying time. Use a trowel or adhesive spreader to evenly apply the adhesive to the back of each carpet piece.
Step 4: Press Firmly and Eliminate Air Bubbles
Starting from the bottom step, press the carpet firmly onto the step, ensuring it is centered and aligned correctly. To eliminate air bubbles, use a carpet roller or a rolling pin to smooth out the surface. This step guarantees proper adhesion and a seamless finish.
Step 5: Repeat for Each Step
Repeat the process for each step, taking your time to smooth out any wrinkles or uneven areas as you go along. Patience is key here; a meticulous installation will result in a professional-looking staircase.
Step 6: Trim Excess Material
Once all steps are covered with carpet, trim any excess material using a sharp utility knife. Be cautious not to cut too close to the edge of the steps, as it may cause fraying or loosening of the carpet.
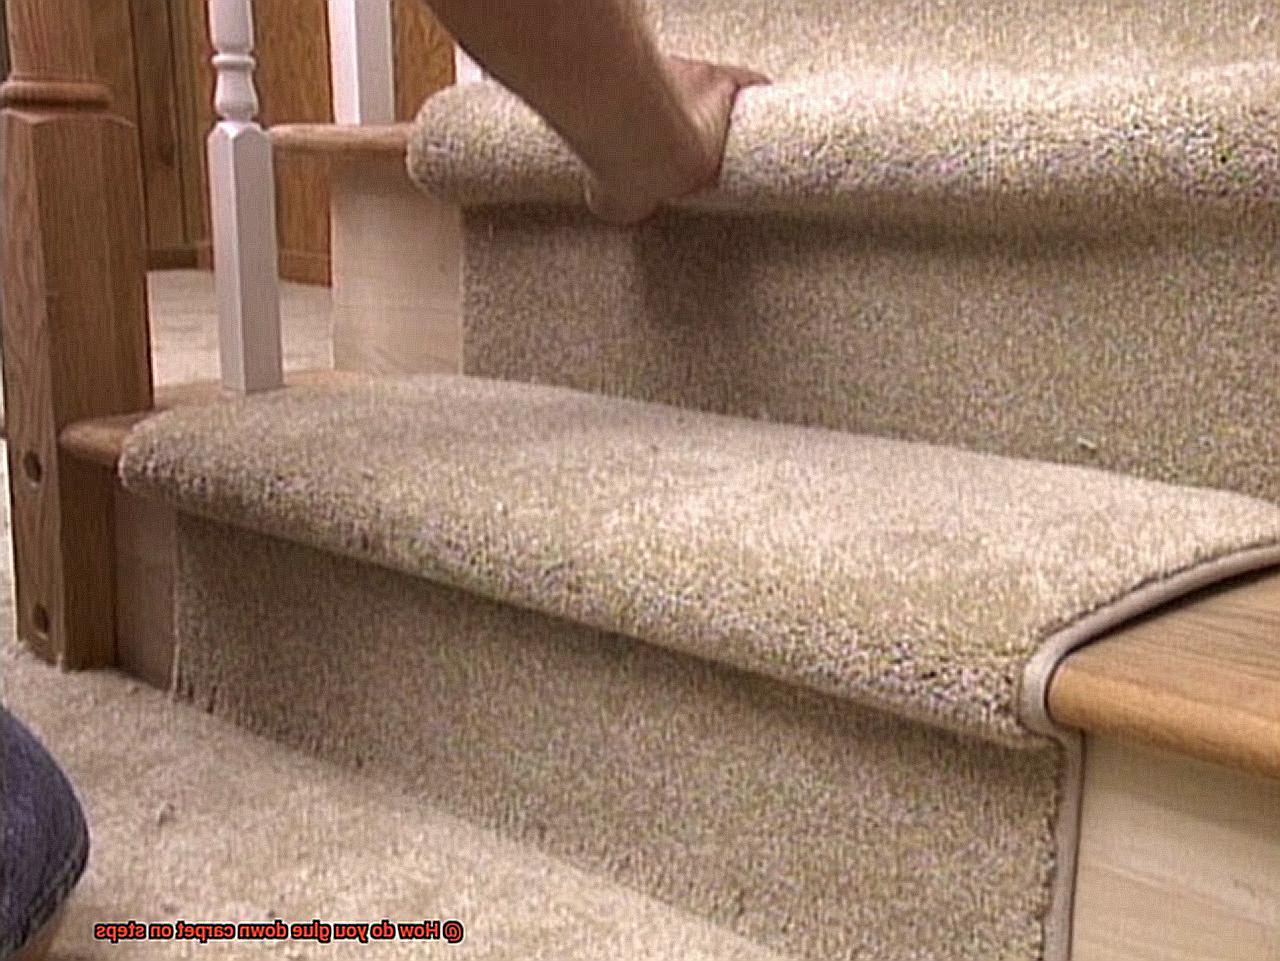
Step 7: Tuck in the Edges
To secure the edges and prevent lifting, use a carpet tool such as a stair tool or knee kicker. Tuck in the edges of the carpet tightly against the riser and tread of each step. This step provides a neat and finished look to your staircase.
Step 8: Allow Ample Drying Time
Allow the adhesive to dry completely before using the stairs. The drying time may vary depending on the adhesive used, so be sure to follow the manufacturer’s instructions. Giving it sufficient time to dry will ensure a strong bond between the carpet and the steps.
Finishing Touches and Trimming Excess Carpet
In our previous post, we explored the art of gluing down carpet on steps to transform your staircase into a masterpiece. Now, it’s time to add the finishing touches and achieve that clean and polished look by trimming excess carpet. So grab your tools and let’s dive into the world of precise cutting and professional finishing.
Step 1: Exercise Patience:
Before we begin trimming, it’s crucial to exercise patience. Allow the glue sufficient time to dry completely, typically at least 24 hours. This ensures that you won’t accidentally damage or unravel the carpet during the trimming process.
Step 2: Arm Yourself with the Right Tools:
To achieve precise and straight cuts, arm yourself with the necessary tools. Grab your trusty carpet knife or utility knife, a straightedge or ruler, and don’t forget a cutting mat or board to protect your surface underneath.
Step 3: Unveil and Mark:
Fold back the excess carpet towards the riser of each step. Behold. Now you can clearly see which part needs trimming. Take your straightedge or ruler and create a clean and straight line along the edge of the folded carpet. This line will serve as your cutting guide.
Step 4: Trim with Care:
Position your straightedge firmly along the marked line. With steady hands, apply just enough pressure with your carpet knife or utility knife to slice through the carpet fibers without damaging the underlying surface. Remember to keep your fingers away from the blade and maintain a secure grip on the knife.
Step 5: One Step at a Time:
Repeat this trimming process for each step, tackling one at a time. Take your time with each cut, ensuring accuracy to avoid any unevenness in appearance. Remember, precision is key.
Step 6: Inspect and Add Finishing Touches:
After trimming, take a moment to inspect each step. Ensure that all excess carpet has been removed, leaving behind clean and well-finished edges. Any loose fibers or frayed edges can be carefully trimmed with scissors for that extra touch of perfection.
Allowing Adhesive to Dry Completely
Before you dive into gluing down that beautiful carpet, there’s one crucial step that you can’t afford to overlook: allowing the adhesive to dry completely. Trust me, it may seem like a small detail, but it can make a world of difference in the longevity and durability of your carpeted steps.
So why is it so important to let that adhesive dry completely? Well, let me break it down for you:
- Prevents Damage: Rushing the drying process by not allowing the adhesive to dry completely can lead to premature wear and tear of the carpet. Nobody wants their newly installed carpet to start showing signs of damage after just a few months, right?
- Minimizes Shifting and Loosening: Properly dried adhesive ensures that your carpet is securely attached to the steps. By letting the adhesive dry completely, you minimize the risk of any shifting or loosening over time. Imagine stepping on your stairs, only to feel the carpet move beneath your feet. Not only is it annoying, but it’s also a safety hazard.
- Improves Longevity: By giving the adhesive enough time to dry completely, you’re setting a solid foundation for a long-lasting installation. It’s like building a house on a rock-solid foundation instead of quicksand.
Now that you understand why allowing adhesive to dry completely is so important, let’s talk about how to do it right:
- Follow Manufacturer’s Instructions: Read and follow the manufacturer’s instructions carefully to ensure you give the adhesive enough time to dry properly.
- Keep Foot Traffic Minimal: Put up caution signs or barriers to prevent any accidental foot traffic on the newly installed carpet before it has dried completely.
- Control Temperature and Humidity: Keep the room at a moderate temperature with low humidity levels for optimal drying conditions.
- Test for Dryness: Gently press your hand against the carpeted steps. If there’s no sticky residue or movement, it means the adhesive has cured properly. However, if you feel stickiness or notice the carpet feels loose, it’s a sign that the adhesive needs more drying time.
Maintenance Tips for Glued-Down Carpet on Steps
In this article, we will discuss the importance of regular cleaning and preventative measures to ensure your carpeted stairs remain beautiful and securely in place. Let’s dive right in and discover the secrets to maintaining your carpeted steps.
Regular Vacuuming to Keep Your Carpet Clean:
Regular vacuuming is crucial for maintaining the cleanliness of your glued-down carpet on steps. The steps are prone to accumulating dirt, dust, and debris from daily foot traffic. To effectively remove these particles, use a handheld vacuum or a brush attachment on your regular vacuum cleaner.
Glide the vacuum over each step, ensuring thorough coverage of the carpet fibers. Aim to vacuum at least once a week or more frequently if there is heavy foot traffic in your home. By doing so, you’ll keep your carpet looking fresh and prevent dirt from settling deep into the fibers.
Prompt Spot Cleaning for Spills and Stains:
Accidents happen, and spills or stains on your carpeted steps are inevitable. It’s essential to address these issues promptly to prevent them from setting in and becoming difficult to remove. When a spill occurs, immediately blot the affected area with a clean cloth or paper towel.
Avoid rubbing the stain, as it can spread and embed it deeper into the carpet fibers. Instead, gently blot the spill until most of the liquid is absorbed.
For stubborn stains, use a mild detergent or a carpet spot cleaner specifically designed for use on glued-down carpet. Follow the instructions carefully to effectively remove the stain without damaging the carpet fibers.
Take Preventative Measures for High Traffic Areas:
The steps of your home experience more wear and tear compared to other areas of the carpet. To protect these high traffic areas, consider using carpet runners or stair treads. These protective coverings can be easily attached to the steps and provide an extra layer of cushioning and durability.
Not only do they protect your carpet from excessive wear, but they also add a decorative touch to your stairs. If these protective coverings show signs of wear, simply replace them to ensure the longevity of your glued-down carpet.
Implement a No-Shoes Policy:
One effective preventative measure for maintaining glued-down carpet on steps is implementing a no-shoes policy in your home. Shoes can track in dirt, debris, and even moisture, which can damage the carpet fibers and weaken the adhesive holding the carpet in place.
Encourage family members and visitors to remove their shoes before walking on the carpeted steps, especially if they have been outdoors or in dirty environments. By doing so, you minimize the amount of dirt and debris that gets tracked onto the carpet, reducing the need for frequent cleaning and extending the lifespan of your glued-down carpet.
Common Mistakes to Avoid When Gluing Down Carpet on Steps
Transform them with the elegance of carpeting. However, before diving into the gluing process, it’s crucial to avoid common mistakes that could lead to a less-than-desirable installation. Let’s explore these pitfalls and learn how to sidestep them.
First and foremost, proper surface preparation is essential. Rid your steps of debris, dust, and loose materials. Imagine gluing your carpet onto a foundation of dirt and grime – it won’t stick properly, resulting in a lumpy mess.
Speaking of sticking properly, don’t grab any random glue from your craft drawer. Use an adhesive specifically designed for carpet installation on stairs. Using the wrong adhesive can lead to poor bonding, causing the carpet to come loose over time. So read those labels carefully.
Another mistake many DIY-ers make is not allowing ample drying time for the adhesive. Patience is key here. After applying the adhesive, let it dry and cure sufficiently before installing the carpet. Rushing this step can result in inadequate bonding and future frustration.
Proper carpet stretching is crucial for a secure and professional-looking result. Stretch the carpet tightly across each step during installation. This ensures a tight fit without wrinkles or looseness that can develop over time.
Trimming excess carpet is another critical step. Once the carpet is glued down, use a sharp utility knife or carpet trimmer to remove any extra material. Leaving excess carpet creates tripping hazards and detracts from the overall appearance.
Lastly, safety should never be overlooked. Wear gloves and safety goggles to protect yourself during the gluing process. Adequate ventilation is also vital to prevent discomfort from adhesive fumes.
vCyH1WZUDpE” >
Also Read: How to Glue Carpet to Stairs?
Conclusion
To ensure a secure and long-lasting bond between your carpet and steps, proper glue-down installation is crucial. Follow these steps to achieve professional results:
- Prepare the surface: Start by thoroughly cleaning the steps, removing any dirt, dust, or debris. A clean surface will allow the adhesive to adhere better.
- Measure and cut the carpet: Measure each step individually and add a few inches for overhang. Cut the carpet to size using a sharp utility knife or carpet cutter.
- Apply adhesive: Choose a high-quality carpet adhesive specifically designed for stairs. Apply a generous amount of adhesive to the back of the carpet, ensuring full coverage.
- Press down firmly: Carefully position the carpet on the step, aligning it with the edges. Press down firmly on all areas of the carpet to ensure good contact with the adhesive.
- Smooth out wrinkles: Use a knee kicker or stair tool to stretch and smooth out any wrinkles or bubbles in the carpet. This will help prevent tripping hazards and create a neater appearance.
- Repeat for each step: Repeat steps 3-5 for each subsequent step until all are covered with glued-down carpet.
- Allow drying time: Give ample time for the adhesive to dry according to manufacturer instructions before walking on or using the stairs.
Remember, precision and attention to detail are key when gluing down carpet on steps.