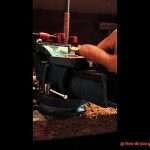
Welcome to our expert guide on gluing brass to metal. Whether you’re a DIY enthusiast or a pro craftsman, we’ve got your back when it comes to achieving a strong and long-lasting bond. In this article, we’ll take you through the step-by-step process of sticking brass to metal surfaces, giving you the knowledge and confidence to tackle any project.
But before we dive in, let’s get one thing straight – gluing brass to metal isn’t as simple as slapping some glue on and hoping for the best. Brass has its quirks, like being resistant to corrosion and conducting heat like a champ. So, you need an adhesive that can handle these challenges like a boss.
Join us as we break down the necessary prep work, adhesive selection, and application techniques for successful bonding. By the end of this guide, you’ll have all the skills you need to create rock-solid connections between brass and different metals – whether it’s for sprucing up your home or fixing something that’s seen better days.
So, buckle up, my friend. We’re about to embark on an adhesive adventure that will make your brass-to-metal dreams come true. Let’s get started.
What Adhesive Should You Use?
Contents
When it comes to bonding brass to metal, selecting the right adhesive is crucial for a strong and durable bond. With various adhesive options available, it’s important to consider factors such as the type of metal, strength requirements, and environmental conditions. In this blog post, we’ll explore the different adhesives suitable for this application and provide tips for successful bonding.
Consider the Metal:
Different metals have different surface properties that can affect adhesive performance. Brass, an alloy of copper and zinc, requires an adhesive compatible with both metals. To ensure a reliable bond, choose an adhesive specifically designed for bonding brass and metal surfaces.
Strength and Durability:
Assess the strength and durability requirements of your project. Epoxy adhesives are renowned for their exceptional bonding strength and versatility, making them a popular choice for brass-to-metal bonding. Their ability to withstand various environmental conditions ensures long-lasting bonds that can handle tough situations.
Flexibility:
If your application involves movement or vibration, opt for a flexible adhesive like cyanoacrylate (super glue). These adhesives bond quickly to various materials, including brass and metal, and provide flexibility to accommodate any potential shifts in the bonded components. Don’t let movement compromise the integrity of your bond.
Specialized Adhesives:
For challenging surfaces or low surface energy materials, specialized adhesives like polyurethane-based adhesives or structural acrylics may be necessary. These adhesives are designed specifically to provide excellent adhesion even on difficult-to-bond surfaces. Don’t let stubborn materials hinder your bonding success.
Surface Preparation:
Proper surface preparation is vital for a successful bond. Clean and roughen the surfaces to be bonded using sandpaper or a wire brush to remove dirt, oil, or corrosion. This enhances the adhesive’s effectiveness by providing a clean and roughened surface for better adhesion. Don’t skip this crucial step.
Application Techniques:
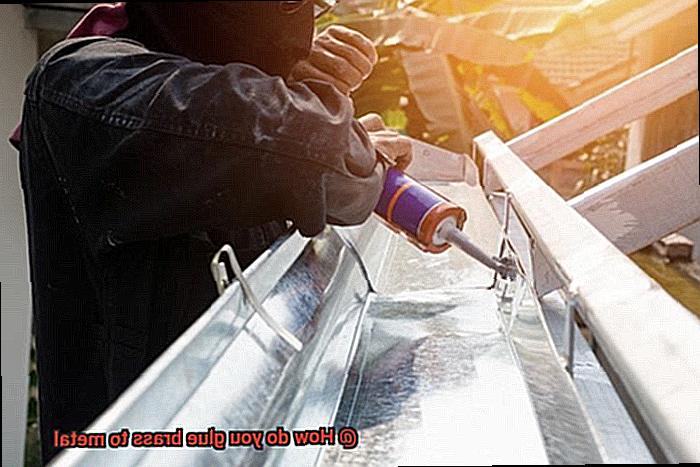
Follow the manufacturer’s instructions when using any adhesive. Apply the adhesive evenly to both the brass and metal surfaces, ensuring proper coverage without excess mess. Align the surfaces carefully and apply firm, even pressure to ensure good contact. Don’t rush the application process – take your time for a strong bond.
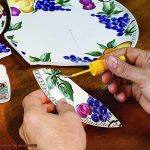
Preparing the Surfaces
Well, buckle up and get ready for the exciting process of preparing the surfaces for a bond that’s as strong as a superhero’s grip. Whether you’re a DIY enthusiast or a seasoned professional, these tips will help you achieve the perfect glue job.
First things first, let’s talk cleanliness. We can’t have any party poopers when it comes to bonding, so make sure both the brass and metal surfaces are squeaky clean. We’re talking dirt, grease, and oil – they need to be banished. Grab a mild detergent or solvent, scrub those surfaces with gusto, and rinse them off like a pro. But here’s the key – be patient. Let them dry completely before moving on to the next step.
Now that our surfaces are clean as a whistle, it’s time to roughen things up a bit. Smooth surfaces don’t really like sticking together, so let’s give them some texture. Get your hands on some sandpaper or a sanding block with around 120-180 grit and lightly sand both the brass and metal surfaces in a back-and-forth motion. We’re not aiming for a major makeover here, just enough roughness for our adhesive to sink its teeth into.
Ah yes, oxidation – the nemesis of adhesion. Brass has a tendency to develop an annoying layer of oxidation over time that can really put a damper on our gluing party. But fear not. We’ve got some tricks up our sleeves. Whip out some vinegar and salt mixture or grab a specialized brass cleaner. Gently remove that pesky oxidation from the brass surface, rinse it well, and dry it thoroughly.
Now, before we get too excited and start sticking things together, let’s talk about primers. Some adhesives require a little extra love in the form of a primer before bonding brass to metal. This magical substance creates a strong foundation for our adhesive to work its magic. Check the instructions provided by the adhesive manufacturer to see if you need a primer and how to apply it. Oh, and don’t forget to let it dry according to the recommended time. Patience is a virtue, my friend.
Last but not least, we have the important step of test fitting and aligning. Take a moment to make sure that the brass and metal surfaces fit together like a match made in glue heaven. This is your chance to make any adjustments before things get sticky – once that adhesive is applied, there’s no turning back. So take your time, be meticulous, and ensure that everything is aligned just right.
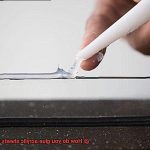
Applying the Epoxy
When it comes to applying epoxy for a strong and durable bond between brass and metal surfaces, there are a few key steps to follow. First and foremost, cleanliness is crucial. Before diving into the gluing process, make sure to thoroughly clean both surfaces. A mild detergent or degreaser will help remove any dirt, grease, or oil that might hinder the adhesive power of the epoxy. Think of it as creating a pristine canvas for your masterpiece.
Once the surfaces are squeaky clean, it’s time to rough things up a bit. Grab some fine-grit sandpaper and lightly sand both the brass and metal surfaces. This step creates a rough texture, providing extra grip for the epoxy to adhere to. It’s like putting on your trusty hiking boots before embarking on a challenging trek – you want that extra traction for a secure bond.
Now that your surfaces are prepped and primed, it’s time to mix up the epoxy. Following the instructions provided by the manufacturer, combine equal parts of resin and hardener. These two components need to be thoroughly mixed together until they become one harmonious blend. Think of it as creating a perfect symphony of adhesive power.
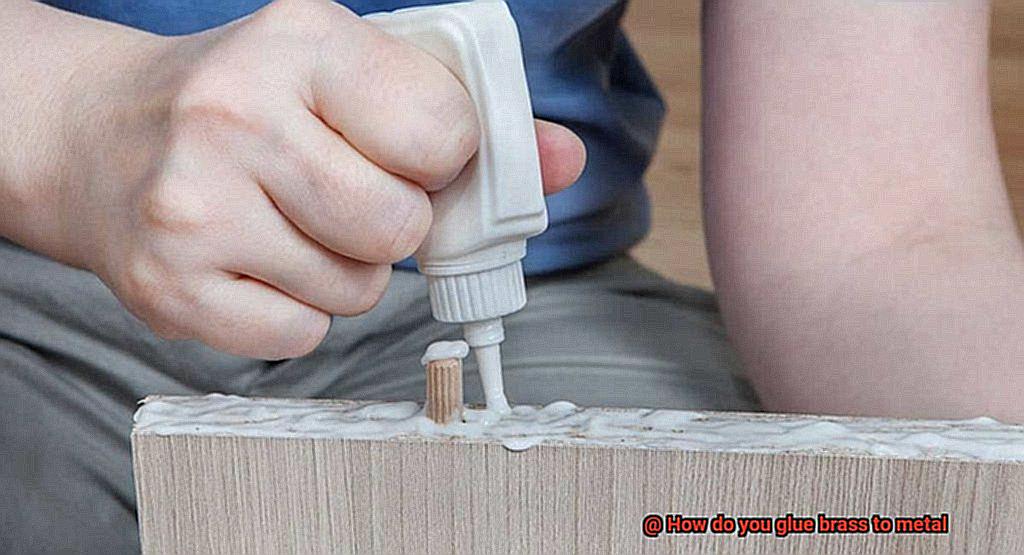
With your epoxy mixture ready, it’s time for the fun part – applying the adhesive. You can use a brush or spatula to spread an even layer of epoxy onto one of the surfaces. The key here is to achieve an even distribution, ensuring that every nook and cranny is covered with this sticky solution. This is where the magic happens – the moment when two separate entities start their journey towards becoming one.
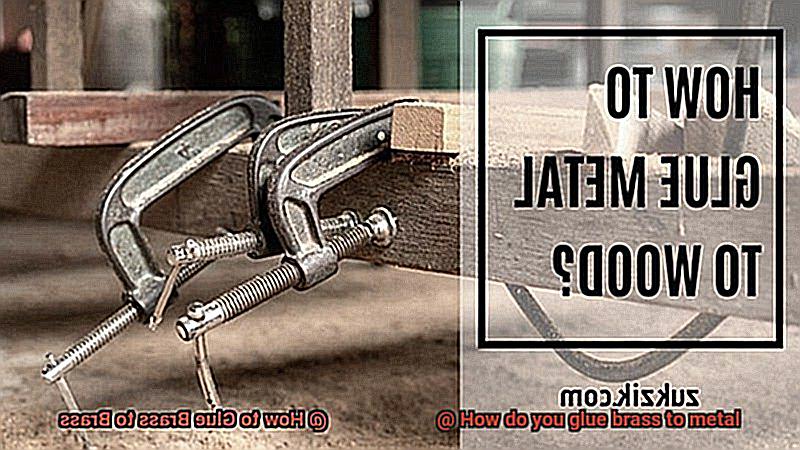
Once you’ve applied the epoxy, it’s time to bring the brass and metal surfaces together. Press them firmly, using clamps or weights to hold them in place while the epoxy cures. It’s like performing a delicate balancing act – finding that sweet spot where everything aligns perfectly.
Speaking of curing, patience is essential. The length of time required for the epoxy to fully cure can vary depending on the specific product you’re using. It’s generally recommended to allow at least 24 hours for the adhesive to reach its maximum strength. During this time, it’s important to follow any additional instructions provided by the manufacturer regarding temperature and humidity conditions. Think of it as giving your bond the perfect environment to flourish.
After the epoxy has cured, it’s time for the finishing touches. Remove any excess adhesive using a scraper or sandpaper, revealing the clean lines of your project. And if you’re feeling particularly creative, go ahead and paint over the bonded area to add that extra touch of personalization. It’s like adding a splash of color to an already beautiful masterpiece.
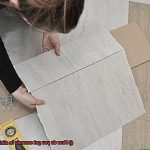
Aligning the Brass and Metal
Creating a strong and durable bond between brass and metal requires precision in aligning the two surfaces. In this blog post, we will explore the significance of proper alignment, delve into effective techniques, and provide valuable tips for successful adhesion. Let’s dive in and uncover the essential steps to aligning brass and metal when gluing them together.
Prepare the Surfaces:
Thoroughly cleaning both the brass and metal surfaces is essential before alignment. Rid them of dirt, grease, or oxidation using a mild detergent or rubbing alcohol. This meticulous step eliminates potential contaminants that could compromise the adhesive’s effectiveness.
Roughen the Surfaces:
Enhance adhesion by gently roughening both surfaces using sandpaper or steel wool. This creates a textured grip that strengthens the bond, ensuring its longevity and resilience.
Apply Adhesive Evenly:
Achieving an impeccable bond requires applying adhesive evenly across both surfaces. Follow the manufacturer’s instructions, selecting the appropriate adhesive and using the recommended amount. Avoid compromising the bond’s integrity by applying too little or too much adhesive.
Eliminate Gaps:
To attain a seamless bond, ensure there are no gaps or spaces between the brass and metal surfaces during alignment. Apply even pressure across the glued area, eradicating any gaps and enhancing adhesion.
Consider Adhesive Requirements:
Different adhesives have specific requirements and limitations. Consider temperature restrictions and compatibility with both brass and metal types when choosing an adhesive. Understanding these factors guarantees a successful bond.
Allow Sufficient Curing Time:
Give ample time for the adhesive to fully cure after alignment before subjecting it to stress or load. Adhere to the manufacturer’s instructions regarding curing times to maximize the bond’s strength and durability.
Inspect and Address Defects:
After curing, inspect the bond for any defects or weaknesses. Promptly address any areas of concern to maintain the bond’s integrity and ensure long-term durability.
Curing the Bond
Creating a strong and durable bond between brass and metal is crucial when it comes to adhesive applications. To achieve optimal results, it is essential to follow the manufacturer’s instructions on curing time, conditions, surface preparation, and more. Join us on this adhesive adventure as we explore the secrets to a successful bond.
Understanding Curing:
Curing is the process of allowing the adhesive or glue to fully set and reach its maximum strength. It plays a vital role in creating a long-lasting bond between brass and metal. Different adhesives have varying curing times, influenced by factors like temperature and humidity.
Choosing the Right Adhesive:
Epoxy adhesives are widely used for bonding brass to metal due to their excellent bonding capabilities. However, it is crucial to select an epoxy adhesive specifically designed for this purpose. By using the recommended adhesive, you ensure compatibility with both brass and metal surfaces.
Curing Time and Conditions:
Curing time is critical, so follow the manufacturer’s instructions carefully. Typically, epoxy adhesives require a minimum curing time of 24 hours for optimal strength. During this period, keep the bonded surfaces undisturbed in a controlled environment. Don’t expose them to excessive heat or cold that could interfere with the curing process.
Special Curing Requirements:
Some epoxy adhesives may have additional curing requirements, such as UV light exposure or the use of a curing agent. Read and follow the instructions provided by the adhesive manufacturer diligently. Ignoring these requirements can compromise bond strength.
Surface Preparation:
Proper surface preparation is key to a successful bond. Thoroughly clean and degrease both brass and metal surfaces using a suitable solvent or cleaning agent recommended by the adhesive manufacturer. Lightly sanding or abrading the surfaces can enhance bond strength, but avoid excessive damage or scratching.
Using Super Glue
Super glue, also known as cyanoacrylate adhesive, is a popular choice for bonding brass to metal due to its fast-drying and strong adhesive properties. However, before diving into the world of super glue, it is important to understand both the advantages and disadvantages of using this adhesive for such applications.
Advantages:
- Fast-Drying: One of the key advantages of super glue is its rapid drying time. It forms a bond within seconds, allowing for quick and efficient assembly of brass and metal parts.
- Strong Adhesion: Super glue creates a strong bond between brass and metal surfaces, ensuring a durable connection. It can withstand moderate stress and load, making it suitable for various bonding applications.
- Easy Application: Super glue is easy to apply, thanks to its user-friendly packaging and precise dispensing mechanisms. Its liquid consistency allows for smooth spreading and even coverage on the bonding surfaces.
- Compatibility with Various Materials: Super glue exhibits good compatibility with a wide range of materials, including different types of brass and metals. This versatility makes it a go-to adhesive for bonding various combinations of these materials.
- Minimal Equipment Needed: Unlike other bonding methods that require specialized equipment or tools, super glue can be applied with just a tube or bottle of adhesive and basic surface preparation materials like sandpaper or cleaning agents.
Disadvantages:
- Lack of Flexibility: Super glue is known for its rigid bond once cured. This lack of flexibility can be a disadvantage in applications where movement or joint flexibility is required, as the bond may become brittle and prone to breaking.
- Limited Gap Filling Ability: Super glue works best when the bonding surfaces fit tightly together. It has limited gap filling capabilities, meaning it may not provide optimal bonding strength in situations where there are gaps or uneven surfaces.
- Sensitivity to Temperature and Humidity: Extreme temperature and humidity conditions can affect the adhesive properties of super glue. It is important to store and use the glue within the recommended temperature range to ensure optimal bonding performance.
- Potential Health Risks: While super glue is generally safe to use, it can cause skin irritation or allergic reactions in some individuals. It is important to handle the adhesive with care, use it in a well-ventilated area, and avoid contact with skin or eyes.
Other Adhesive Options
In this blog post, we will explore some alternative adhesive options that you may not have considered before. So grab your capes and let’s dive into the world of adhesives.
First on our list is cyanoacrylate adhesive, also known as CA glue or instant glue. This adhesive is like the Flash of the glue world – it bonds materials in a flash. Its fast-drying properties make it an excellent choice for those who need instant results. Just remember to clean and dry your surfaces before applying this superhero adhesive.
Next up is polyurethane adhesive. This adhesive is like Iron Man – tough, resistant to water, heat, and chemicals, and can fill gaps like nobody’s business. It’s perfect for those projects where you need a reliable bond that can withstand anything life throws at it.
If flexibility is what you’re after, then a flexible epoxy adhesive is your go-to hero. This adhesive possesses the elasticity of Spider-Man, allowing it to handle vibrations and movements without breaking a sweat. It’s ideal for applications where there might be slight movement or expansion between brass and metal.
But wait, there’s more. We also have specialty metal adhesives designed specifically for bonding metals. These adhesives are like the Avengers of the adhesive world – they come in two-component formulas that provide high-strength bonds and can handle extreme temperature variations. Talk about a powerful bond.
Now, before you go off saving the world with your newfound adhesive knowledge, remember that proper surface preparation is crucial for achieving a strong and durable bond. Clean those surfaces thoroughly, remove any dirt or grease, and consider roughening them up a bit for better grip.
sMrY7_V0I5A” >
Also Read: How to Glue Brass to Brass? – Glue Things
Conclusion
In conclusion, the process of gluing brass to metal demands careful consideration of adhesive selection, surface preparation, and application techniques. By following the expert guidelines provided in this blog post, you can achieve an unyielding and enduring bond between brass and metal surfaces.
When it comes to choosing an adhesive, take into account various factors such as the type of metal involved, the required strength, and the prevailing environmental conditions. For exceptional bonding strength and versatility, epoxy adhesives often come highly recommended. However, if your application involves movement or vibration, you may find that flexible adhesives like cyanoacrylate (super glue) are more fitting.
Properly preparing the surfaces is a pivotal step towards achieving a successful bond. Thoroughly cleanse the surfaces of any dirt, grease, or oxidation that might hinder adhesion. Enhance adhesion by roughening the surfaces with sandpaper or a sanding block to create texture. If necessary according to the adhesive manufacturer’s instructions, consider using primers.
During application, ensure that you apply the adhesive evenly to both surfaces and align them meticulously. Apply firm pressure and utilize clamps or weights to secure the bonded components in place while allowing ample time for the adhesive to cure.
Curing time plays a vital role in attaining maximum bond strength. Adhere strictly to the manufacturer’s instructions regarding curing time and adhere to specific conditions such as temperature and humidity.
Overall, gluing brass to metal calls for unwavering attention to detail and steadfast patience. By adhering faithfully to these guidelines and selecting an appropriate adhesive for your needs, you can forge connections that will withstand even the harshest tests of time.