Picture this: it’s the dead of night, and you’re startled awake by the sound of water dripping from a copper pipe. Panic sets in as you realize your soldering skills are nonexistent, and you don’t have a torch within reach. But fear not. There’s a secret technique that allows you to join copper pipes without soldering.
In this captivating blog post, we’ll unveil an ingenious method that will save you from the headache of soldering and the need for fancy tools. Whether you’re a DIY enthusiast, homeowner, or professional plumber, this knowledge is essential for your arsenal.
First up, let’s dive into the world of compression fittings – versatile solutions that require no heat or solder. These fittings consist of compression rings and nuts that create a tight, leak-proof seal. Need to disassemble and reassemble? No problem. It’s as easy as pie.
Next on our journey is the realm of epoxy or adhesive compounds specially designed for copper pipes. These remarkable substances boast incredible bonding strength, ensuring your pipes stay secure with unmatched durability. We’ll spill all the secrets on how to use these adhesives effectively for long-lasting results.
But wait, there’s more. We’ll also explore push-fit fittings known for their simplicity and ease of use. With these innovative fittings, no tools are necessary – just give them a gentle push, and voila. You’ve got yourself a robust connection without any pesky soldering.
So whether you’re embarking on a small plumbing project as a DIY enthusiast or facing an unexpected plumbing emergency at home, this blog post has got your back. Get ready to uncover simple yet effective techniques that will save you time, effort, and endless frustration. The mystery behind gluing copper pipes without soldering is about to be unraveled – let’s dive right in.
What is Soldering?
Contents
- 1 What is Soldering?
- 2 Alternatives to Soldering Copper Pipes
- 3 Preparing the Surfaces for Bonding
- 4 Applying Adhesive Compounds
- 5 Securing the Pipes with Clamps or Tape
- 6 Using Compression Fittings
- 7 Cutting and Sliding the Fittings onto the Pipe
- 8 Tightening the Nuts with an Adjustable Wrench
- 9 Conclusion
Soldering is a remarkable technique used in both plumbing and electronics to securely join metal components together. By melting a metal alloy called solder, a bond is formed between the parts being joined. Typically, solder is a combination of tin and lead, although there are lead-free alternatives available.
To begin the soldering process, the metal surfaces to be joined are heated using a soldering iron or torch. This heat melts the solder, which is then carefully applied to the joint. As the solder cools, it solidifies and creates an exceptionally strong bond between the two metal pieces.
The reason soldering is widely used is because it establishes a reliable electrical and thermal pathway between the joined parts. This enables the smooth flow of electricity or heat, making it particularly valuable in applications like circuit boards where precise electrical connections are necessary.
However, achieving a successful soldering connection requires meticulous preparation. It is crucial to thoroughly clean and prepare the metal surfaces before soldering. This involves removing any dirt, grease, or oxidation using sandpaper or a wire brush. Additionally, flux, a chemical agent, is often used to eliminate oxides and contaminants from the metal surfaces, enabling the solder to flow effortlessly.
There are various techniques for soldering depending on the specific application. Through-hole soldering, for instance, is commonly used in electronics assembly where components are inserted into pre-drilled holes on a circuit board and then soldered in place. On the other hand, surface mount technology (SMT) soldering involves directly soldering components onto the surface of a circuit board.
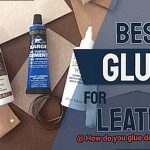
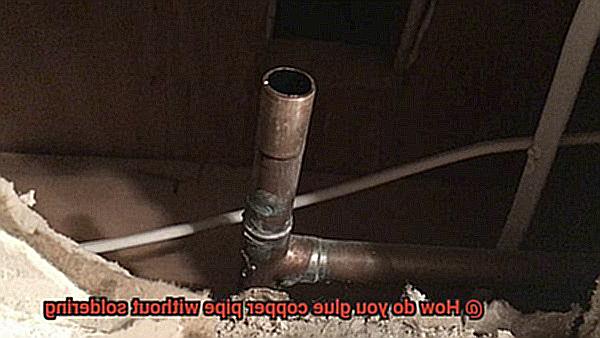
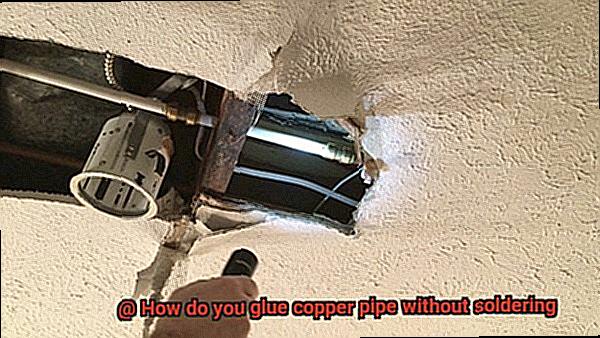
While soldering is undoubtedly effective for joining metal components, there are instances where alternative methods may be preferred. One such example is gluing copper pipes without soldering. This technique allows for a quick and hassle-free connection without requiring specialized tools or equipment.
One option for gluing copper pipes without soldering includes using epoxy or adhesive compounds specifically designed for bonding copper pipes. These compounds typically consist of two parts – a resin and a hardener – which are mixed together to create a robust and durable bond. It is important to thoroughly clean and prepare the surfaces of the copper pipes before applying the adhesive, ensuring optimal performance.
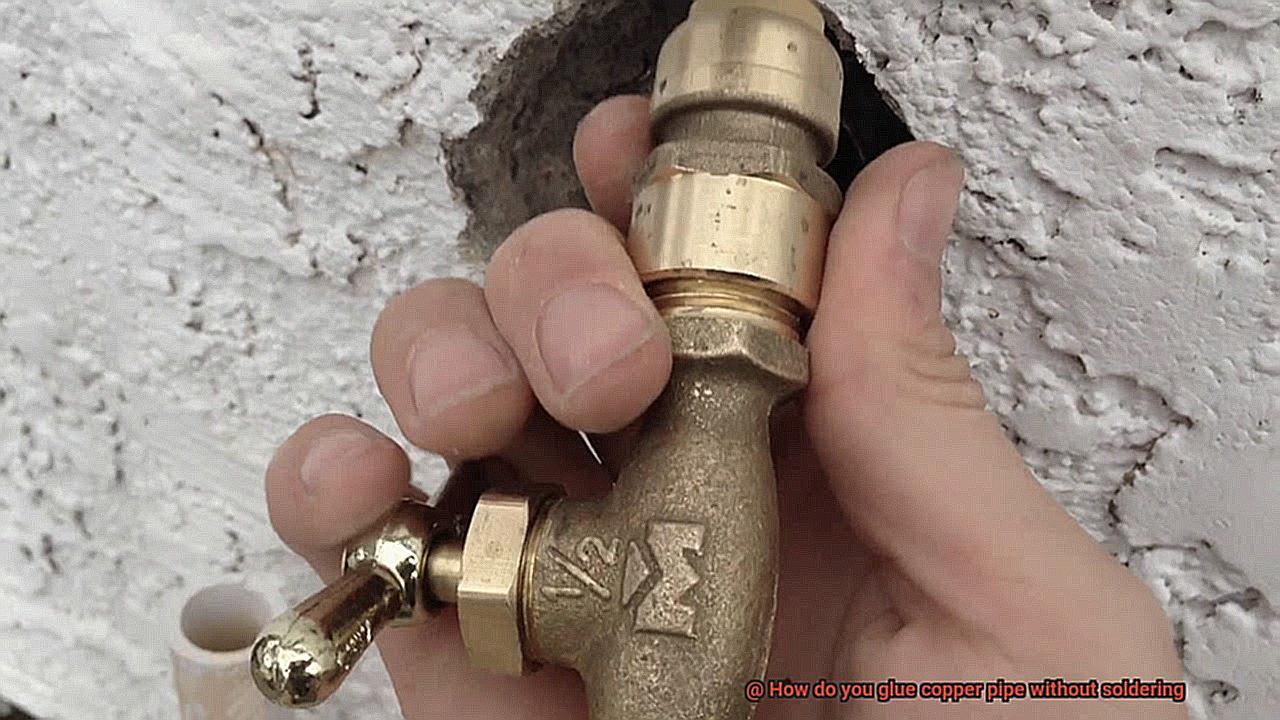
Another method involves using compression fittings, which consist of a brass ring and a nut that are tightened around the pipe to create a watertight seal. Compression fittings provide a secure connection that can withstand high pressure and temperature variations. They are commonly used in plumbing applications where soldering may not be feasible or preferred.
Alternatives to Soldering Copper Pipes
In this section, we’re going to explore some alternative methods that will make joining those pipes a breeze. So, grab your favorite beverage and get ready to discover some innovative ways to connect copper pipes without soldering.
First on our list are compression fittings. These little wonders consist of a compression nut and a compression ring. Simply insert your pipe into the fitting and tighten the nut to create a watertight seal. No need for heat or special tools – just a secure connection in no time. And the best part? Compression fittings are perfect for both water supply and heating systems, so they’ve got you covered on all fronts.
Next up, we have push-fit connectors. These connectors are like the superheroes of the plumbing world – quick, easy, and oh-so-convenient. With push-fit connectors, all you have to do is push your pipe into the fitting, and voila. The rubber O-ring inside creates a tight seal, making it perfect for DIY projects or situations where soldering just isn’t feasible. Whether you’re working with hot or cold water systems or even heating systems, push-fit connectors have got your back.
Now let’s talk about SharkBite fittings. These little gems have taken the plumbing community by storm in recent years. With their unique push-to-connect mechanism, you can say goodbye to tools and soldering. Just insert your pipe into the fitting, and let the stainless steel teeth work their magic to create a secure connection. And here’s the best part – SharkBite fittings can be used with both copper and PEX pipes, giving you the versatility you need for any plumbing project.
If you’re looking for a more adhesive solution, epoxy adhesive is your go-to option. By applying this powerful adhesive to the outside of your pipe and inserting it into the fitting, you can create a leak-proof connection without any soldering involved. Epoxy adhesive is heat-resistant, making it suitable for both hot and cold water systems. Just make sure to clean those surfaces before applying the adhesive for optimal bonding power.
Preparing the Surfaces for Bonding
Get ready to take your plumbing game to the next level as we delve into the art of preparing surfaces for bonding. It’s time to achieve the perfect connection.
Step one: cleanliness is key. Say goodbye to dirt, grease, and debris. Arm yourself with a wire brush or sandpaper and scrub those copper pipes until they shine. Leave no residue behind – we’re aiming for pristine surfaces that will guarantee a strong bond.
Moisture is the enemy here, so we need bone-dry pipes. Grab a clean cloth or paper towel and wipe down those pipes until they are as dry as the Sahara Desert. We want the adhesive to have the best chance at creating an unbreakable connection, so don’t skip this crucial step.
Now, let’s introduce a hero in a bottle – a primer or cleaner specially formulated for copper pipes. This magical elixir will eliminate any remaining contaminants and prepare the surface for optimal bonding. Simply follow the instructions on the bottle and allow it to dry completely before proceeding.
But wait, there’s more. Sometimes, we need to roughen things up to enhance adhesion. It’s like giving the adhesive an added grip. Grab some fine-grit sandpaper and delicately sand the surface of the pipe. We’re aiming for a slightly rough texture that will provide more surface area for the adhesive to cling onto.
Remember, different adhesives may have their own set of rules when it comes to surface preparation. Always consult the manufacturer’s guidelines for best results. And safety first. Don’t forget to protect yourself with gloves and work in a well-ventilated area when handling adhesives. We want you to be a DIY superhero, not a chemistry experiment gone wrong.
By meticulously preparing the surfaces of your copper pipes, you are ensuring a connection that is not only strong but also built to last. Say goodbye to soldering and hello to a plumbing system that can withstand the toughest challenges.
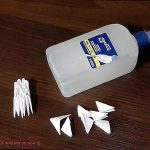
Applying Adhesive Compounds
In our previous section, we learned the importance of preparing surfaces for bonding when it comes to plumbing. Now, get ready to level up your skills even further as we dive into the exciting world of applying adhesive compounds to join copper pipes. Get your gloves on and let’s embark on this adhesive adventure.
Preparing the Copper Pipe Surface:
Before we can embark on our adhesive journey, we must ensure our copper pipe surface is pristine. Grab your wire brushes and sandpaper, and unleash your inner cleaning guru. Scrub those pipes until they gleam like polished gems, banishing any dirt, grease, or oxidation that could impede the bonding process.
Drying the Pipes:
Moisture is the enemy of adhesive bonding. So, after your vigorous cleaning session, make sure those pipes are drier than the Sahara Desert. With a clean cloth in hand, wipe them down until not a single drop of moisture remains. This will create the perfect environment for our adhesive to work its magic.
Introducing Our Hero in a Bottle:
Now it’s time to bring in our secret weapon – a primer or cleaner specially formulated for copper pipes. This superhero in a bottle will eradicate any remaining contaminants and prepare the surface for optimal bonding. Follow the manufacturer’s instructions on how to apply this miraculous solution and let it perform its magic.
Roughening Things Up:
Sometimes, even superheroes need an extra grip, just like Spider-Man clinging to walls. Gently sand the pipe’s surface with fine-grit sandpaper, creating a slightly rough texture that provides more area for the adhesive to latch onto. This additional step will enhance adhesion and guarantee a stronger bond.
Applying the Adhesive:
Now for the main event – applying the adhesive compound itself. Each adhesive compound comes with its own unique set of instructions, so be sure to consult the manufacturer’s guidelines for optimal results. Typically, the adhesive is spread evenly along the joint area of the copper pipe. Utilize a brush or applicator tool for precise application, ensuring full coverage.
Securing the Pipes with Clamps or Tape
When it comes to plumbing emergencies or situations where soldering is not an option, clamps and tape can be your saving grace. These reliable methods provide temporary solutions and ensure that your copper pipes stay secure. In this article, we will explore the world of securing copper pipes without soldering, diving into the fascinating techniques of clamps and tape. Get ready to discover quick fixes that can save the day.
Clamp It Down:
Choosing the right clamp is crucial for securing your copper pipes effectively. Here are the main types to consider:
- Split ring clamps: Perfect for attaching pipes to walls or surfaces, these clamps provide sturdy support. To install one, determine the optimal location on the pipe, slide the split ring around it, and secure it with screws or bolts. Strike a balance between tightness and pipe protection – snug but not too tight.
- Pipe hangers and straps: Designed to support pipes from above, these options prevent sagging and movement. Attach them to a surface using screws or nails, then slide the pipe into the hanger or strap. Remember to choose the right size and type based on your pipe’s diameter.
Tape It Up:
If you prefer a flexible solution, tape is your go-to option. Self-fusing silicone tape, also known as rescue tape, offers incredible versatility for sealing leaks and providing temporary pipe support.
- Prepare the surface: Start by cleaning the pipe’s surface to ensure a strong bond. Remove any dirt or debris that may hinder adhesion.
- Wrap it tightly: Stretch the tape and wrap it securely around the area that requires securing. As you wrap, the tape will bond with itself, creating a watertight seal. Ensure complete coverage of the area and wrap it tightly for maximum effectiveness.
The Long Haul:
While clamps and tape can work wonders in temporary situations, it’s essential to acknowledge their limitations. If you’re dealing with high-pressure pipes or seeking a permanent solution, consult a professional plumber who can employ the appropriate techniques and materials. Remember, durability and longevity are key when it comes to securing your copper pipes for the long haul.
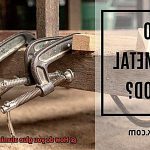
Using Compression Fittings
Tired of wrestling with a fiery soldering iron or fearing accidental house fires? Fear not. Welcome to the wonderful world of compression fittings, where simplicity and safety reign. These ingenious devices offer a solder-free solution for joining copper pipes. So, gear up and let’s explore the incredible power of compression fittings.
Step 1: Prep Your Pipes
Before diving into the realm of compression fittings, ensure your copper pipes are clean and smooth. Grab your trusty pipe cutter or hacksaw and trim those pipes to perfection. Watch out for sneaky burrs and sharp edges that could sabotage your watertight seal.
Step 2: Assemble the Fitting Components
Now that your pipes are primed, let’s assemble the compression fitting dream team. Gather your indispensable compression nut, the mighty compression ring (also known as a ferrule), and the versatile compression sleeve. Slide the compression nut onto the pipe, followed by the ring and then the sleeve. Make sure they’re snugly in place and ready for action.
Step 3: Insert and Tighten
With your components united, it’s time to bring them together in perfect harmony. Gently insert the pipe into the fitting body, ensuring a seamless connection. Now, it’s time to tighten things up. Begin by hand-tightening the compression nut onto the fitting body—no need to channel your inner Hulk. Just a firm grip will do. And now, for the final touch—grab your trusty adjustable wrench or pliers and give it a final quarter turn to seal the deal.
The Superpowers of Compression Fittings:
Compression fittings possess superpowers that set them apart from other joining methods. Firstly, they eliminate the need for heat, making them an ideal choice for DIY enthusiasts or those uncomfortable with soldering techniques. Secondly, their ability to be easily disassembled and reassembled makes repairs and modifications a breeze.
Limitations and Considerations:
Like any superhero, compression fittings have their limits. When it comes to high-pressure applications, tread with caution. Excessive pressure may cause leakage, so always choose fittings specifically rated for your intended use. Additionally, keep in mind that compression fittings may slightly reduce flow capacity compared to soldered joints.
Cutting and Sliding the Fittings onto the Pipe
Prepare to be amazed as we delve into the captivating world of gluing copper pipes without soldering. In our previous section, we marveled at the wonders of compression fittings. Now, it’s time to unveil the secrets of cutting and sliding fittings onto the pipe. So, gather your tools and get ready to unleash your inner superhero as we embark on this solder-free adventure.
Step 1: Measure, Mark, and Cut
Precision is the key that unlocks the door to success. Begin by measuring and marking the exact length where you want to make your cut. Take a deep breath, double-check those measurements, and confidently wield your trusty pipe cutter. Apply steady pressure while gracefully rotating the cutter around the pipe until it slices through like a knife through butter. Remember, a clean and straight cut is the foundation for a flawless fit.
Step 2: Smooth Out Those Rough Edges
Now that you’ve made your cut with finesse, it’s time to banish any rough edges that dare to challenge your connection. Grab ahold of emery cloth or sandpaper and gently caress the cut end of the pipe until it becomes silky smooth.
Want to take it up a notch? Embrace the power of a deburring tool to eradicate any sharp edges lurking within the pipe’s depths. This crucial step creates a pristine surface for our glue and fittings to perform miracles.
Step 3: Prime Time
Once your pipe is cut and deburred to perfection, it’s time to prepare it for an extraordinary bonding experience with our adhesive superhero. Apply an even layer of solvent-based adhesive primer onto both the outer surface of the pipe and the inner surface of the fitting. This primer serves as a cleansing ritual, purifying these surfaces and paving the way for an unbreakable bond.
Step 4: Adhesive Application
Now, let the enchantment begin – it’s adhesive application time. But hold your horses, make sure the primer has dried before proceeding. Once the stars align, generously apply solvent-based adhesive onto both surfaces. With the grace of an artist, spread the adhesive evenly using a brush or applicator, ensuring that every nook and cranny destined for connection is embraced by its magical touch.
Tightening the Nuts with an Adjustable Wrench
Are you ready to level up your copper pipe projects? Get ready to dive into the secrets of tightening nuts with an adjustable wrench. With the right technique and tools, you’ll be able to create flawless connections without soldering. Unleash your inner superhero of pipe fittings and let’s get started.
The Perfect Fit:
Find your trusty sidekick – a properly sized adjustable wrench. Make sure it grips snugly around the nuts, leaving no room for play. This superhero tool will provide an unbeatable grip, preventing slippage while tightening.
Cleanliness is Key:
Before tightening those nuts, clean up the battlefield. Use a wire brush or sandpaper to remove debris and dirt from both the pipe threads and fittings. A clean surface is essential for leak-free joints and strong connections.
The Twist:
It’s time for action. Position the adjustable wrench on one nut and turn it clockwise to tighten. Apply steady pressure while turning, but be cautious not to damage fittings or cause cracks. Tighten until you meet resistance, then give it a confident quarter turn for a secure connection.
Maintaining Balance:
Maintain balance like a graceful superhero when working with multiple connections. Start by tightening nuts on one end of the pipe, then move across to the other end. This ensures even pressure distribution and prevents unnecessary stress on individual joints.
Conquering Stubborn Nuts:
Even superheroes face obstacles. If you encounter stubborn nuts, fear not. Apply a small amount of pipe joint compound or wrap Teflon tape around the threads to reduce friction. And if that doesn’t work, bring in reinforcements – a pipe wrench can provide extra leverage for those tough nuts.
The Power of Caution:
Remember, with great power comes great responsibility – even when tightening nuts. Avoid excessive force and over-tightening, as it can lead to damage. Perform regular leak checks after tightening to ensure all connections are secure.
zb9mEsRInrk” >
Conclusion
When it comes to joining copper pipes without soldering, there are a few alternatives that can save you time and effort.
One popular method is using epoxy or adhesive compounds specifically designed for plumbing applications. These glues create a strong bond between the copper pipe and fittings, ensuring a leak-free connection.
Another option is using compression fittings, which require no heat or soldering. These fittings have a nut and ring that tighten around the pipe, creating a secure seal.
Additionally, push-fit connectors have gained popularity in recent years. These connectors feature rubber O-rings that provide a watertight connection when pushed onto the copper pipe.
These allow for easy disassembly and reassembly without the need for any adhesive or soldering.