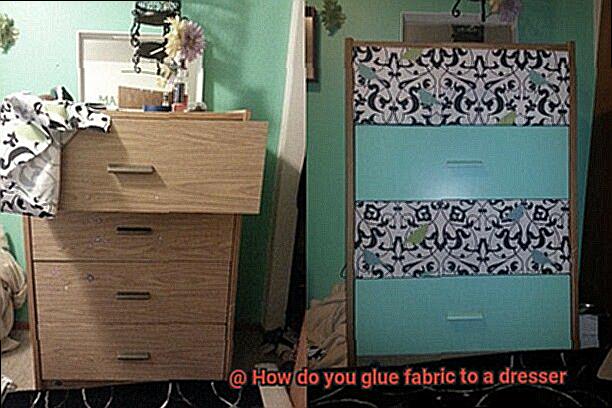
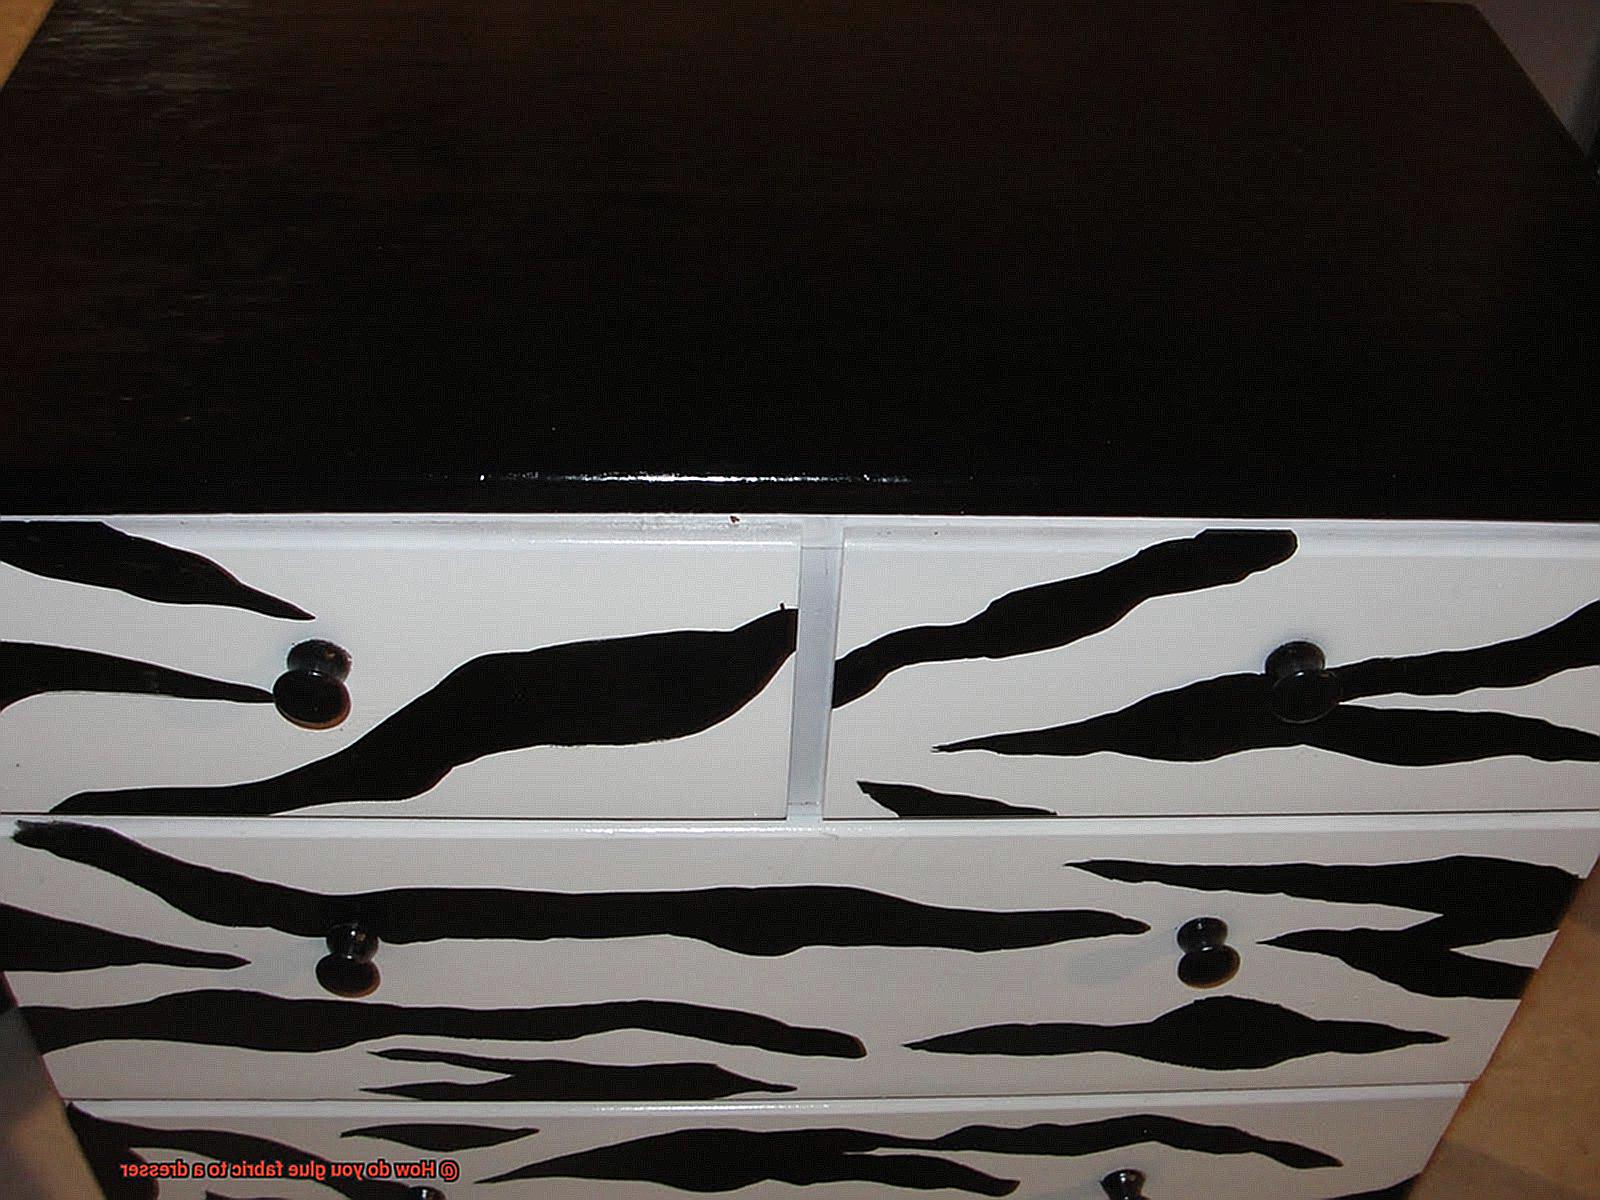
Sick of staring at the same old dresser day in and day out? Want to give your bedroom a fresh, personalized touch without breaking the bank? Look no further than gluing fabric to your dresser. With just a few simple steps, you can turn that plain wooden piece into a jaw-dropping furniture masterpiece that screams “you.”
Picture this: a once-boring dresser now adorned with vibrant fabric that perfectly reflects your unique taste and style. Not only is this DIY project super budget-friendly, but it also gives you the chance to let your creativity run wild. Get ready to impress your guests and infuse joy into your everyday routine with a custom, one-of-a-kind dresser that’s sure to steal the spotlight.
In this ultimate guide, we’ve got you covered with everything you need to know about gluing fabric to your dresser. From picking the perfect fabric to mastering the art of glue application, we’ll walk you through each step so your project turns out flawlessly.
Here’s what we’ll cover:
- Fabric frenzy: Dive into the world of textiles as we help you choose the ideal fabric for your dresser. Whether you’re into bold patterns or prefer something more understated, we’ll make sure your dresser stands strong against time.
- Prep like a pro: Before diving into glue town, it’s crucial to prep your dresser like a boss. We’ll spill the secrets on cleaning, sanding, and priming so that fabric adheres like a dream – smooth and secure.
- Glue game strong: Brace yourself for some serious magic. We’ll guide you through every step of gluing fabric onto your dresser – from choosing the best adhesive options to applying even pressure for that flawless finish without any pesky wrinkles.
- The final flourish: No masterpiece is complete without those finishing touches. We’ll show you how to add decorative elements like trim, buttons, or metallic accents to take your dresser from fabulous to absolutely breathtaking.
By the time you finish this guide, you’ll be armed with all the knowledge and inspiration needed to turn your dresser into a show-stopping centerpiece in your bedroom. Get ready to unleash your inner designer and embark on a journey of creative expression that will leave everyone in awe.
What You Need to Glue Fabric to a Dresser
Contents
- 1 What You Need to Glue Fabric to a Dresser
- 2 Preparing the Surface of the Dresser
- 3 Choosing the Right Glue for the Job
- 4 Testing the Glue on a Scrap Piece of Fabric and Wood
- 5 Cutting and Measuring the Fabric
- 6 Applying Glue to the Dresser
- 7 Positioning and Smoothing Out the Fabric
- 8 Trimming Excess Fabric
- 9 Allowing it to Dry and Set
- 10 Conclusion
Are you ready to give your plain dresser a stunning facelift? Gluing fabric to your dresser is an ingenious way to infuse it with texture, color, and character. In this comprehensive guide, we will unveil the materials and tools necessary for this transformative project. Get ready to witness the magic of fabric-to-dresser fusion.
Materials and Tools:
To embark on this exciting endeavor, gather the following materials and tools:
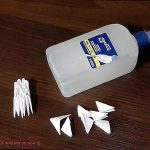
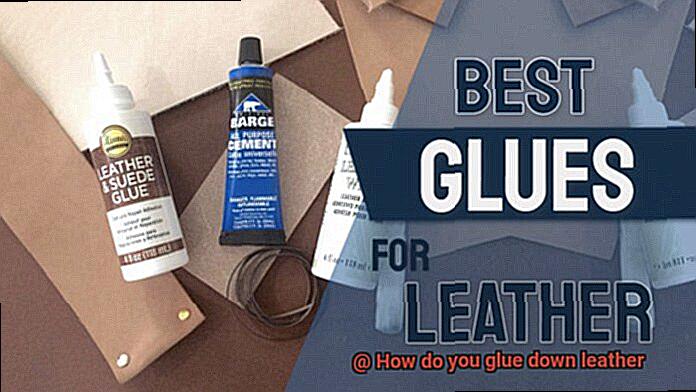
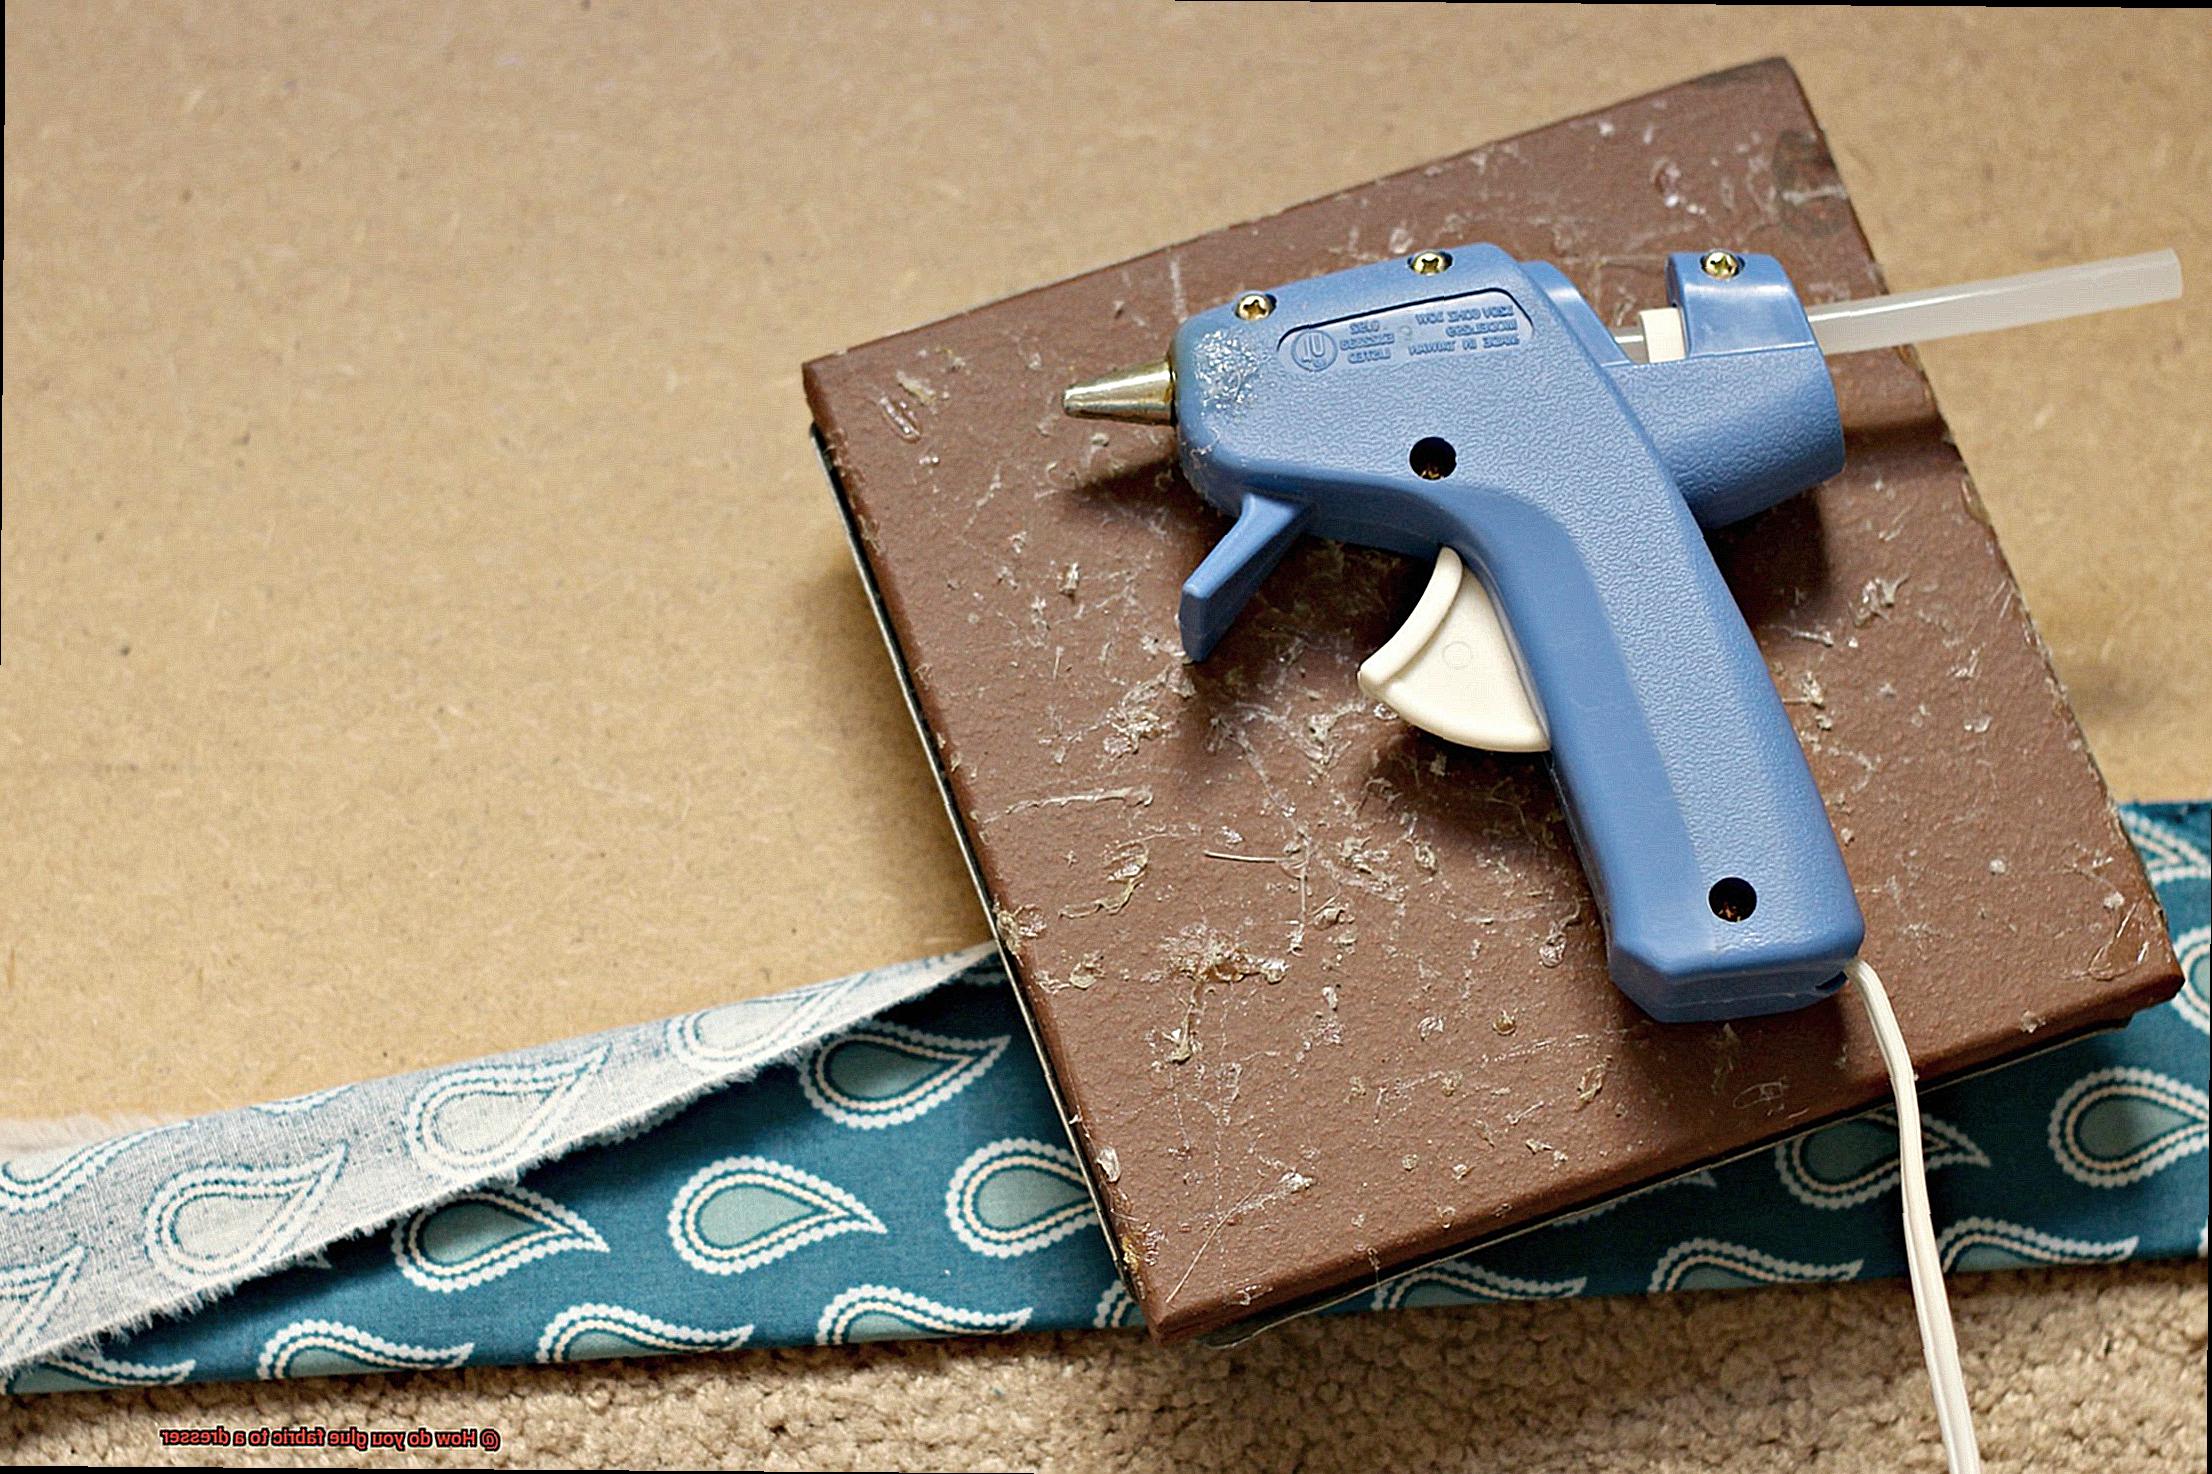
Adhesive or Glue:
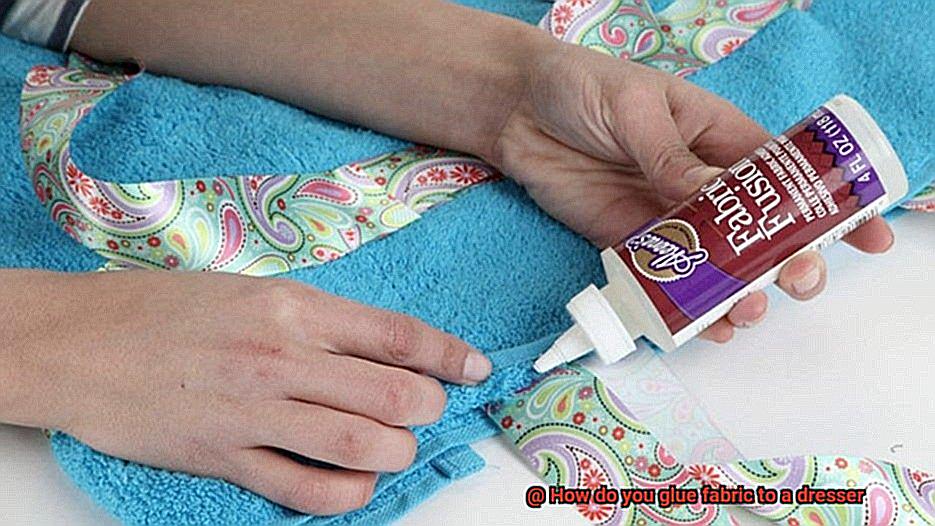
Choose a high-quality adhesive that harmoniously bonds fabric to wood. Opt for fabric glue, epoxy, or contact cement, ensuring they are specifically designed for this purpose.
Fabric Scissors:
Equip yourself with sharp and precise fabric scissors. Their flawless cuts will guarantee a polished finish.
Measuring Tape or Ruler:
Accurate measurements are crucial in determining the fabric dimensions required for your dresser. Avoid wastage or shortage by using a measuring tape or ruler.
Paintbrush or Foam Brush:
A reliable applicator is essential for even distribution of glue onto both the fabric and the dresser’s surface. A paintbrush or foam brush will be your trusted companion in this venture.
Clamps or Heavy Objects:
Secure a successful bond between fabric and dresser by utilizing clamps or heavy objects. They will hold the fabric in place until the adhesive sets, ensuring a seamless connection.
Protective Gloves:
Shield your hands from potential messes and spills during the gluing process by wearing protective gloves. This precautionary measure ensures a safer and cleaner workspace.
Drop Cloth or Newspaper:
Cover your workspace with a drop cloth or newspaper to safeguard it from any accidental glue drips or spills. This protective measure maintains orderliness throughout the project.
Step-by-Step Guide:
Now that you possess all the necessary materials and tools, let us dive into the step-by-step process of gluing fabric to your dresser:
Prepare the Surface:
Begin by meticulously cleaning and preparing the dresser’s surface. Rid it of any dust, dirt, or remnants of previous finishes. Gently sand the surface to create a textured base for optimal adhesion.
Select the Perfect Glue:
Choose an adhesive specifically formulated for bonding fabric to wood surfaces. Ensure compatibility between the glue and both materials involved in this creative union.
Preparing the Surface of the Dresser
Are you ready to embark on a creative journey of transforming your plain old dresser into a work of art? Gluing fabric to your dresser is a fantastic way to add texture, color, and character to your furniture. However, before you dive into this exciting project, it’s crucial to ensure that you properly prepare the surface of your dresser. In this guide, I will walk you through the step-by-step process of surface preparation, ensuring that your fabric adheres securely and creates a smooth and professional finish. So, let’s get started.
Step 1: Remove Existing Finishes or Coatings
To begin this transformation, gently sand the surface of your dresser using coarse-grit sandpaper in the direction of the wood grain. This will delicately eliminate any existing finishes or coatings without harming the dresser itself.
Step 2: Wipe Down for a Clean Surface
After sanding, take a damp cloth and meticulously wipe down every inch of your dresser. This essential step guarantees the removal of any dust or debris that might interfere with the glue’s adhesion. Remember, a clean and smooth surface is key to achieving the best results.
Step 3: Apply a Suitable Primer
Now it’s time to prime. Select a primer specifically designed for your dresser’s material composition. By applying primer evenly with a brush or roller, you create an ideal surface for the glue to adhere to while preventing any stains or discoloration from bleeding through the fabric. Allow the primer to dry completely before proceeding.
Step 4: Lightly Sand for Perfection
Once the primer has dried, take some fine-grit sandpaper and give the surface a gentle sanding. This meticulous step ensures that imperfections are smoothed out and guarantees an even surface for gluing. Don’t forget to remove any dust or debris from the dresser to maintain a pristine workspace.
Step 5: Choose the Right Glue
Now comes the exciting part – selecting the perfect glue. Whether it’s fabric glue, spray adhesive, or epoxy resin, choose the glue that best suits your project. Follow the manufacturer’s instructions for application and let your creativity flow.
Choosing the Right Glue for the Job
Transforming your plain old dresser into a stunning work of art by gluing fabric to it is an exciting project. But before you dive in, it’s crucial to choose the right glue for the job. Not all glues are created equal when it comes to bonding fabric to wood. To ensure success, consider these factors before making your decision.
Fabric glue is a popular choice for this purpose. It’s specifically designed to bond fabric to various surfaces, including wood. This water-based glue dries clear, making it ideal for projects where the adhesive will be visible. If simplicity and reliability are what you’re after, fabric glue is your best bet.
For larger surfaces like dressers, spray adhesive provides a quick and even application. However, make sure you choose a spray adhesive formulated for bonding fabric to wood. Using the wrong type can lead to disappointing results.
If you want a strong and durable bond, epoxy glue is worth considering. It’s known for its strength and durability, making it suitable for long-lasting projects. Just be prepared for a bit of messiness and the need for careful handling.
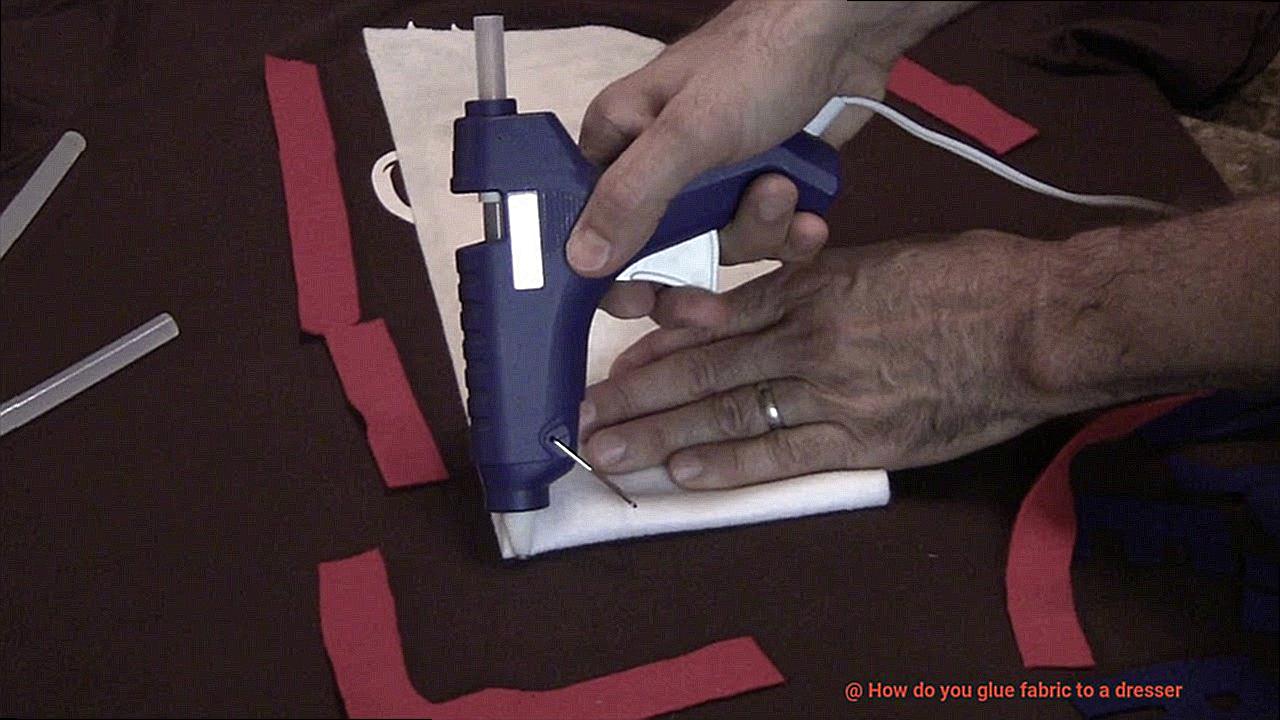
Crafters who swear by hot glue guns appreciate their versatility and instant bond. However, keep in mind that they may not be as durable as other options, especially if your dresser will see frequent use or high levels of humidity. Consider the intended use of your dresser when considering hot glue.
Don’t forget to consider the type of fabric you’ll be using. Different fabrics may react differently to adhesives, so always test the glue on a small, inconspicuous area before proceeding with your project. This will prevent any potential damage or discoloration.
Lastly, always follow the manufacturer’s instructions when using any glue. Different glues may require specific application techniques or drying times. Failure to do so may result in a weak bond or damage to the fabric or dresser.
Testing the Glue on a Scrap Piece of Fabric and Wood
Before embarking on the exciting journey of transforming your dresser with fabric, it is crucial to conduct a simple yet essential test: testing the glue on a scrap piece of fabric and wood. Trust me, this step can save you from unwanted surprises and ensure a successful outcome for your project.
To begin the testing process, gather a small piece of the fabric you will be using and a scrap piece of wood similar to your dresser material. Using the same type of fabric and wood is important as they possess unique properties that can impact the adhesive qualities of the glue.
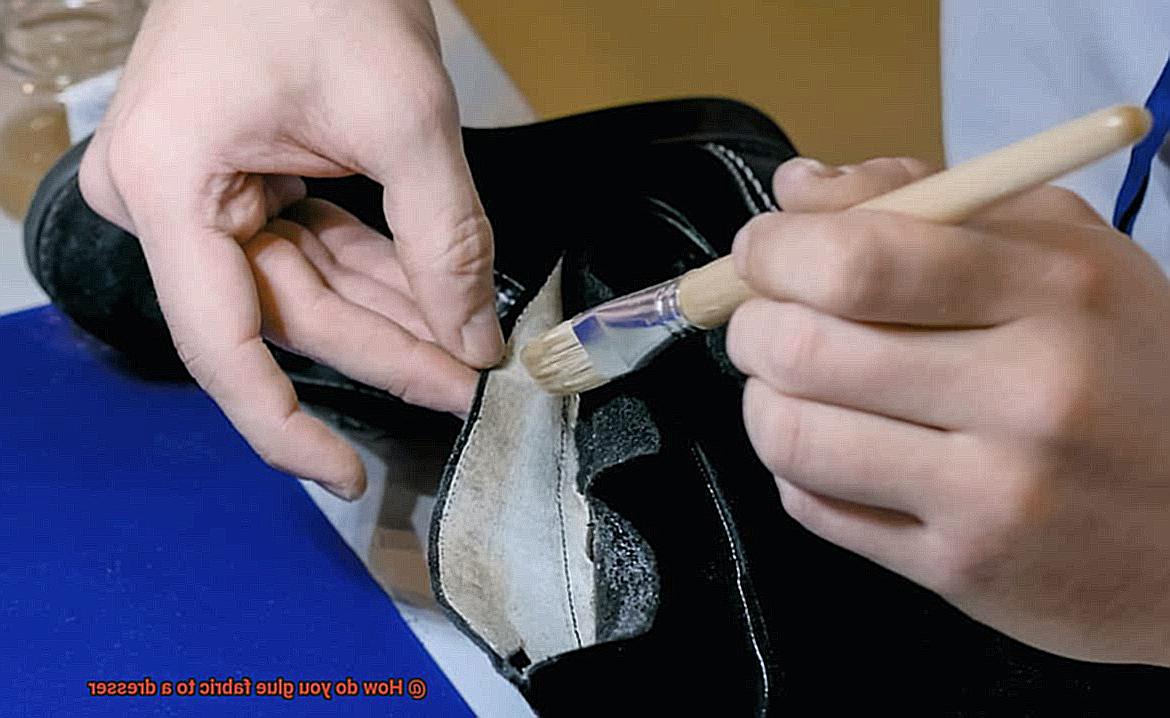
Now, apply a small amount of your chosen glue onto both the fabric and the wood. Take care to spread it evenly using a brush or applicator, following the instructions provided by the manufacturer. Pay attention to any recommended drying times.
Once the glue is applied, align the fabric properly on the wood and apply even pressure across the surface to ensure a strong bond. For additional pressure during the testing process, you can place a heavy object on top of the fabric.
Patience becomes key at this stage as you allow the glue to dry completely according to the manufacturer’s instructions, which usually takes several hours or overnight. Once it is dry, gently peel back a corner of the fabric to assess how well it adhered to the wood. Loose areas or signs of damage could indicate that this particular glue is not suitable for your project.
In addition to bonding strength, it is important to consider other factors during this testing phase, such as flexibility and durability. Dressers often experience movement and changes in temperature and humidity, so ensure that the glued fabric remains securely attached even under stress or bending.
Durability is equally important for long-lasting results. Consider factors like resistance to moisture, heat, and wear and tear. The chosen glue should withstand everyday use without compromising the bond between the fabric and wood.
It is worth noting that different glues may perform differently depending on the type of fabric and wood used. Therefore, I highly recommend testing multiple glues and comparing their results before proceeding with your main project. This way, you can select the glue that provides the strongest bond and meets your specific needs.
Cutting and Measuring the Fabric
This essential step will ensure a flawless and professional-looking finish that will leave you beaming with pride. So, let’s dive in and discover the secrets to success.
Accurate measurements are the foundation of a successful fabric application. To begin, grab your trusty measuring tape and meticulously measure the length, width, and height of each side of your dresser. Don’t forget to include any drawers or protrusions in your measurements. To stay organized, create a detailed diagram of your dresser, labeling each measurement accordingly. This visual aid will keep you on track and prevent any confusion along the way.
Once you have your measurements, it’s time to add a little extra fabric love. By adding a few inches to each side, you’ll account for any potential mistakes or adjustments during the gluing process. This extra fabric will ensure a seamless finish and superior adhesion to the dresser surface. It’s like a safety net for perfection.
Now that your measurements are complete, find a clean and spacious surface to lay your fabric flat. Whether it’s a table or the floor, make sure you have plenty of room to work with precision and grace. Armed with a measuring tape and a straight edge (such as a ruler or yardstick), mark your measurements onto the fabric using a fabric pen or chalk. This step requires patience and attention to detail – we’re aiming for accuracy here.
With the measurements marked, it’s time for the grand reveal – cutting. Reach for those fabulous fabric scissors and embark on a journey of clean and precise cuts. Remember, each cut contributes to the overall appearance of your finished project. Take your time and savor the moment – you’re creating something truly remarkable. If you’re working with patterned fabric, be sure to align the pattern correctly when cutting each piece. It’s those small details that make a big difference.
For those intricate areas like drawers or other smaller sections, consider using templates made from cardboard or paper. These templates will be your guiding light, allowing you to trace and cut multiple pieces with unwavering precision. The result? A consistent and cohesive look throughout the entire dresser. It’s like magic.
Applying Glue to the Dresser
Adding fabric to your dresser can instantly transform its look and give it an elegant touch. But before you dive into your fabric stash, there’s one crucial step you can’t skip – applying glue to the dresser. In this guide, I’ll walk you through the process step-by-step, so you can achieve a flawless and professional-looking finish.
Let’s start by talking about the glue. When it comes to attaching fabric to a dresser, you have a few options. One popular choice is fabric glue – designed specifically for bonding fabric to various surfaces. This water-based glue dries clear, ensuring that no adhesive marks are visible. Another option is spray adhesive, which offers a quick and easy way to attach fabric. Keep in mind that spray adhesives may not provide as strong of a bond as fabric glue.
Now that you’ve chosen your glue, let’s dive into the process. Before applying the glue, it’s crucial to properly prepare the surface of the dresser. Give it a thorough cleaning with a mild detergent or cleaning solution to remove any dirt or grease that could hinder adhesion. Once clean, lightly sanding the surface will create a rough texture that enhances the bond between the glue and the dresser.
Next, lay your fabric out on a flat surface and position it over the area of the dresser you want to cover. Measure and cut the fabric accordingly, leaving some excess around the edges for trimming later. Remember, it’s always better to have more fabric than less – you can always trim it down for a perfect fit.
Now it’s time to apply the glue. Using a brush or sponge applicator, apply a thin layer of glue directly onto the surface of the dresser. Be careful not to go overboard with the glue – too much can seep through the fabric and create unsightly stains. Spread the glue evenly, ensuring that you cover the entire area where the fabric will be attached.
Once the glue is applied, carefully place the fabric onto the dresser, starting from one end and working your way across. Smooth out any wrinkles or bubbles as you go along to ensure a seamless finish. If necessary, apply some pressure with your hands or a roller to firmly secure the fabric in place.
Positioning and Smoothing Out the Fabric
In our previous segment, we delved into the world of transforming your dresser with fabric. Now, it’s time to tackle the next crucial step: positioning and smoothing out the fabric. Get ready to take your dresser makeover to new heights as we guide you through this process like a pro. Grab your tools and let’s embark on this creative journey.
Step 1: Prepare the Surface – A Canvas for Perfection
Before we dive into the gluing process, let’s set the stage for success. Begin by meticulously cleaning your dresser surface, ensuring not a speck of dirt or debris remains. With a damp cloth, wipe away any remnants, and allow the surface to dry completely. This small but vital step will pave the way for a flawless finish.
Step 2: Measure and Cut with Precision – Unleash Your Inner Artist
Now it’s time to unleash your inner artist and bring your vision to life. Measure and cut your fabric with precision, leaving ample material on each side to elegantly wrap around the edges of your dresser. Embrace sharp scissors or a craft knife as your trusted companions, ensuring clean cuts that align with your creative aspirations.
Step 3: Begin Gluing in Sections – The Dance of Adhesion
Let’s start the dance of adhesion. Apply a thin layer of fabric glue on one side of your dresser, working in small sections to maintain optimal tackiness. Expertly spread the glue using a brush or a small roller, ensuring every nook and cranny is covered with finesse.
Step 4: Positioning Like a Pro – Aligning in Harmony
With grace and precision, position the fabric onto the glued area, seamlessly aligning it with the contours of your dresser. Employ gentle pressure to eliminate any air bubbles or wrinkles, using your hands or a soft cloth as your artistic tools. Smooth out every crease, ensuring a harmonious marriage between fabric and furniture.
Trimming Excess Fabric
In our previous section, we delved into the intricate process of gluing fabric onto a dresser, transforming it into a work of art. Today, we’ll explore the final touch that will take your project from good to great – trimming excess fabric. Get ready to unleash your inner artist as we dive into the world of precision cuts, flawless finishes, and professional flair.
Step 1: Timing is Everything
Before we embark on trimming excess fabric, it’s crucial to ensure that the glue has dried completely. Patience is key here, preventing any accidental shifting or movement of the fabric during our meticulous work.
Step 2: Equipped for Success
To achieve that neat and polished look, it’s essential to arm yourself with a trusty pair of sharp fabric scissors. Remember, precision is paramount in this delicate operation. Dull blades simply won’t make the cut.
Step 3: Start with the Obvious
Let’s begin by trimming any large pieces of excess fabric that may be sticking out or hanging over the edges of the dresser. Carefully follow the contours of the dresser as you cut along its edges. This step creates a clean canvas, setting the stage for our masterpiece.
Step 4: Corners and Curves
When dealing with corners, trim the fabric at a slight angle to create sharp, smooth edges. For those pesky curved edges, make small incisions along the fabric to allow it to gracefully fold around the curves. Remember, patience and precision are your trusted allies on this artistic journey.
Step 5: Slow and Steady Wins the Race
As we trim excess fabric, remember that haste can lead to regrets. It’s better to make small cuts and gradually trim away, ensuring we achieve the desired look without any mishaps. A steady hand and a mindful approach will yield the polished outcome we seek.
Step 6: A Critical Inspection
Once the excess fabric has been trimmed, it’s time for a close examination. Scrutinize your work, paying attention to loose threads or frayed edges. Should you spot any imperfections, fear not. Utilize a small pair of scissors or a seam ripper to delicately remove them, leaving behind a pristine result.
Allowing it to Dry and Set
You’ve meticulously trimmed the excess fabric, patiently glued it onto your dresser, and now comes the crucial step – allowing it to dry and set. In this final stage of the fabric gluing process, we’ll explore why giving the adhesive sufficient time to dry and set is essential for achieving a secure bond that will stand the test of time. So grab a cup of coffee, sit back, and let’s dive into this important topic.
The Importance of Proper Drying and Setting:
To ensure a secure adhesion that will keep your fabric firmly in place, it is crucial to allow the adhesive enough time to dry and set. This step guarantees that your fabric won’t come loose later on, offering peace of mind and longevity.
Understanding Drying Time:
Different adhesives have varying drying times, so reading the instructions on the adhesive packaging is crucial. By checking these instructions, you can determine precisely how long you need to wait for the adhesive to fully dry and set.
Protecting Your Work:
During the drying period, it’s vital to protect the glued fabric from any disturbances or contact that could disrupt the bonding process. Avoid placing any objects on top of the fabric or moving the dresser around until the adhesive has completely dried. This precaution ensures an undisturbed bond that will hold up over time.
Promoting Optimal Drying Conditions:
For faster drying time and proper ventilation of any adhesive fumes, it’s recommended to keep the room well-ventilated during the drying process. This simple step not only accelerates drying but also creates a healthier environment for both you and your newly fabric-covered dresser.
Adjustments and Additional Layers:
In some cases, you may need to apply additional layers of adhesive or reposition the fabric during drying. To ensure success, it’s essential to follow the instructions provided by the adhesive manufacturer. Allow sufficient drying time between each layer or adjustment to guarantee a strong bond.
Final Touches:
Once the adhesive has dried completely, take a moment to carefully inspect the fabric for any loose or uneven areas. If necessary, apply additional adhesive to secure any loose edges or corners. This final step ensures a flawless finish and reinforces the bond for added durability.
2qRAGxcOmhI” >
Conclusion
Gluing fabric to a dresser can be a creative and fun way to give your furniture a fresh new look. But how exactly do you do it? Well, fear not, because I’m here to guide you through the process step by step.
Firstly, gather all the materials you’ll need: fabric of your choice, a dresser, fabric glue or adhesive spray, scissors, and a paintbrush. Make sure the dresser is clean and free from any dust or debris before starting.
Next, measure the dimensions of the areas on the dresser where you want to apply the fabric. This will help you cut the fabric into the right size and shape. Remember to leave some extra fabric for overlapping and trimming later.
Once you have your measurements, carefully cut out the fabric pieces using sharp scissors. Take your time with this step to ensure clean and precise cuts.
Now comes the gluing part. If you’re using fabric glue, apply it evenly on the backside of the fabric pieces with a paintbrush. Be generous but not excessive – too much glue can cause wrinkles or bubbles in your finished product.
If you prefer adhesive spray instead of glue, follow the instructions on the can and spray a thin layer onto both the backside of the fabric and the surface of the dresser. Wait for a few seconds until it becomes tacky before pressing them together.
Gently place each fabric piece onto its designated area on the dresser, smoothing out any wrinkles or air bubbles as you go along. Start from one edge and work your way towards the other side.
Once all pieces are in place, press down firmly to ensure good adhesion between the fabric and dresser surface. You can use a roller or even your hands for this step – just make sure everything is securely bonded.
Allow sufficient drying time according to the instructions provided with your chosen adhesive method. This is crucial for achieving long-lasting results without any peeling or lifting issues later on.
Finally, once the glue is completely dry, trim any excess fabric using a sharp pair of scissors. Be careful not to cut too close to the edges – leave a small margin for a neat and professional finish.
You’ve successfully glued fabric to your dresser, transforming it into a unique and stylish piece of furniture. Now you can enjoy the satisfaction of your creative efforts and showcase your personal style in your home decor.