Glueing brass to brass will create a strong bond that lasts. But, if you want your project to turn out perfect, it’s important to use the right glue and techniques.
In this blog post, we’ll show you how to glue brass to brass. We’ll cover choosing the right adhesive and the correct steps for a secure bond.
So, whether you’re making jewelry, home decor or something else, you can leave with all the details needed for a successful bonding job.
What Glue Can You Use for Brass to Brass?
Contents
Are you looking for the perfect glue to bond brass to brass? Whether you’re assembling a piece of furniture, crafting a sculpture, or creating something else entirely, there are several types of glue that will work for this job.
Epoxy glue is a great choice. This two-part adhesive consists of an epoxy resin and a hardener, which combine to form an incredibly strong bond between two surfaces. As a result, it is ideal for joining brass to brass.
Cyanoacrylate adhesive is another option. This single-part adhesive cures quickly and forms a strong bond between the two metals, making it perfect if you need the job done fast.

Metal epoxy is also an excellent choice for gluing brass to brass. It has been specially formulated for metal surfaces and creates an extremely strong bond that won’t break easily. Plus, it cures quickly, so your project can be finished in no time!
Finally, consider Gorilla Glue if you need something waterproof and durable. This polyurethane adhesive can be used on porous and nonporous metals like brass and forms an incredibly strong bond that will last through all kinds of weather conditions.
How to Prepare Brass to Brass Before Gluing
Creating a secure bond between two pieces of brass can be a challenge, but with the right preparation, you can ensure a lasting relationship.
To begin, it is essential to clean the brass pieces with a damp cloth or brass polish to remove any dirt or residue.
Sanding the brass pieces with a grit of at least 400 grains helps create an even surface for the glue to adhere to.
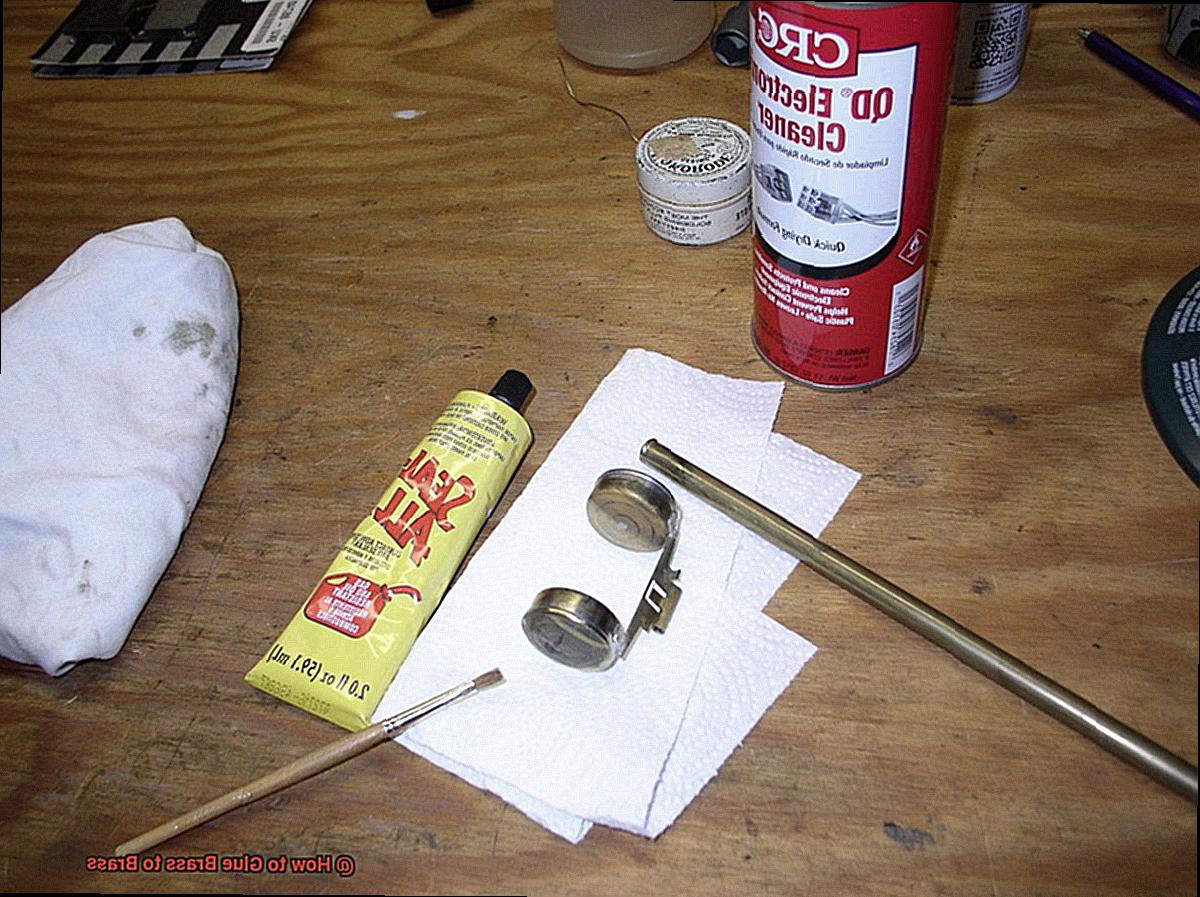
Additionally, it is important to degrease the brass pieces by using rubbing alcohol or acetone and wiping them on both sides of each piece.
Lastly, dry fit the two pieces together before applying glue so that you can determine if any changes need to be made before committing to permanently gluing them together.
How to Glue Brass to Brass
Gluing brass to brass can be a tricky task, but with the right materials and steps, you can create a strong bond between two pieces. This blog post will provide you with all the information you need to know in order to glue brass to brass quickly and easily.
Cleaning the Brass
The first step in gluing brass is ensuring that both surfaces are free of dust and debris.
Start by wiping away any dust particles or grease from the surface of the brass with a cloth. For an extra clean surface, use acetone to remove all dirt and debris from the brass’s surfaces.
When you apply glue, it will help establish a stronger bond between the two pieces of brass.
Applying Glue
Once your surfaces are clean, it’s time to start applying glue.
For a strong bond, use an adhesive specifically designed for metal.
Apply a thin layer of either epoxy glue, super glue, or JB Weld on both pieces of brass and press them firmly together for about 30 seconds. This will help create a strong link between the two pieces of brass when they cure.
Curing Process
After applying glue, allow it time to cure before handling or using the brass. Depending on the brand of adhesive used, allow at least 24 hours for it to fully cure before handling or using it.
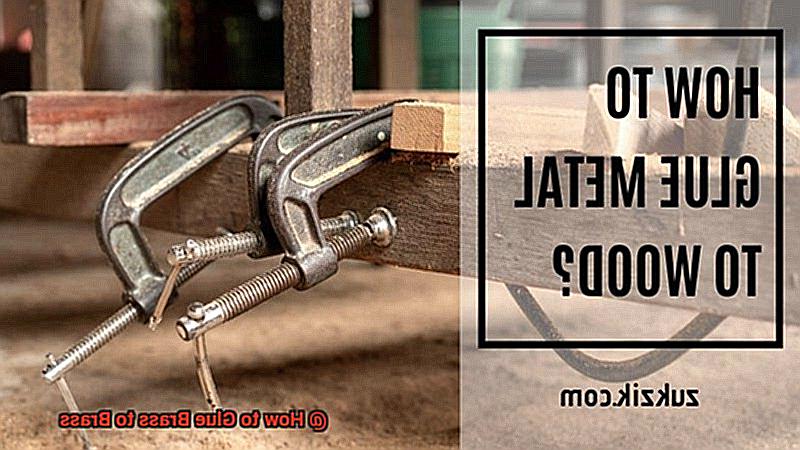
If necessary, use clamps or weights to hold the pieces in place while drying so they don’t move around and break apart during this process.
Testing The Bond
Once your adhesive has had time to cure, test its durability by lightly pulling on each piece of brass separately.
If it feels secure enough for whatever purpose you need it for, then it’s great.
However, if the bond feels weak or crumbles quickly, you may need to start over with new pieces of brass and reapply your adhesive once more.
Maintenance Tips
To ensure that your glued-together pieces of brass last longer and maintain their strength over time, make sure that any dirt or rubble is cleared away regularly with a cloth and acetone.
Additionally, always treat glued-together pieces gently, as too much pressure could cause them to break apart again over time if not done with care and precision.
Tips and Tricks for Gluing Brass
Gluing brass can be a tricky task, but with the right knowledge and the right supplies, it can be done with ease. Here are five tips and tricks to help you get the job done right.
- Use the Right Glue: When gluing brass to brass, it is important to use the correct type of glue. Super glue or epoxy are the most common types of glue used for this purpose.
- Clean Surfaces: Before gluing, make sure to clean both surfaces with rubbing alcohol and a cloth. This will help ensure a strong bond between the two pieces.
- Apply Evenly: When applying the glue, make sure to do it evenly and in small amounts. Too much glue can cause a weak bond between the pieces.
- Allow Time for Curing: Allow the glue to cure for 24 hours before handling or testing the bond strength. This will ensure that your bond is secure and lasting.
- Extra Strength Glue: If you need more strength than regular glue provides, consider using Gorilla Glue or other two-part epoxies designed specifically for metal bonding applications.
Finally, always wear safety goggles and gloves when working with chemicals or adhesives to keep yourself safe while working on your project.
What Are the Different Types of Glues Suitable for Gluing Brass?
There are several types of glue that can be used to join two pieces of brass together.
Epoxy is the most popular choice as it is strong, durable, and easy to use. Superglue is a great option if you need a quick fix, but it may not last as long as epoxy.
Two-part adhesives are more difficult to use, but they offer superior strength and durability compared to other glues.
If you’re looking for a reliable glue that will last a long time, try Gorilla Glue; it was designed specifically for use with brass.
No matter what kind of glue you choose, make sure you read and follow the directions carefully so your project comes out exactly as expected.
How to Cure the Glue on the Brass
Curing is an essential step in ensuring a strong bond between two brass pieces. To ensure that your bond is secure, it is important to take the right steps when curing glue on brass. Here’s what you need to know about curing the glue on brass.
Types of Glues for Curing Brass
When it comes to curing glue on brass, there are various types of glues available for use. The type of glue you choose should depend on the size and shape of your brass pieces and be suitable for your project. Common glues used include epoxy, superglue, and acrylic-based adhesives.
Curing Times
The amount of time it takes for your glue to cure depends greatly on the type of glue used as well as the size and shape of your brass pieces.
Generally, most glues require at least 24 hours to cure, but some may take longer depending on environmental conditions such as temperature and humidity.
It is important to follow manufacturer instructions regarding curing times and temperatures in order to ensure a strong bond between two pieces of brass.
Clamping Pieces Together
Once you have applied your chosen glue to both pieces of brass, they must be tightly clamped together in order to ensure a strong bond during the curing process. This will help prevent any air bubbles from forming, which could weaken or break the bond between two pieces of brass when cured.
Environment and Temperature
The atmosphere and temperature during curing can significantly influence how well your glue will adhere to both pieces of brass.
To establish a strong bond once complete, it is important that you keep your brass pieces in a warm and dry environment during this time; avoid exposing them to high temperatures or humidity levels, which could damage their adhesive properties after they have been cured.
Testing Bond Strength
After your glue has been fully cured, it is important that you test its durability by gently tugging on both directions of each piece of brass; if they remain firmly attached, then you have successfully cured your glue! If not, it may be necessary to reapply more glue or extend the curing time before testing again for strength and stability.
Does Gorilla Glue Work on brass?
This polyurethane adhesive is water-resistant, non-toxic, and can be used in temperatures ranging from -40°F to 180°F.
Plus, it’s simple to use—just prepare the surfaces with rubbing alcohol and fine grit sandpaper, apply a thin layer of Gorilla Glue, and press them firmly together for 30 seconds before allowing them to cure for 24 hours.
With its strong bond and easy application process, Gorilla Glue is the perfect choice for any project involving brass.
Conclusion
Gluing brass to brass can be a tricky task, but with the right materials and techniques, it can be done quickly and effectively.
Whether you’re making jewelry, furniture, sculptures, or something else entirely, there are several types of glue that will work for this job.
Epoxy glue is an excellent choice because it provides such a strong bond between two surfaces. If you need the job done fast, cycloacrylate adhesive is another great option.
Metal epoxy and Gorilla Glue are also reliable choices for gluing brass to brass due to their superior strength and durability.
Before applying the glue or using the pieces, make sure to wipe both surfaces with rubbing alcohol or acetone.


