Are you looking to upgrade your wooden flooring with some stylish tiles? Gluing tiles to wood may seem like a daunting task, but fret not. With the right tools, materials, and a little patience, you can achieve a stunning and durable finish.
Don’t let the fear of tiles falling off or not sticking properly hold you back. In this blog post, we’ll walk you through the step-by-step process of gluing tiles to wood so that you can tackle this DIY project with confidence.
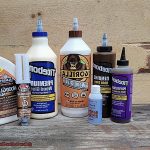
First things first – selecting the correct adhesive is crucial for ensuring a strong bond between your tiles and wooden surface. We’ll delve into the different types of adhesives available and their suitability based on tile and wood type.
Next up, we’ll guide you through the all-important preparation process for both surfaces. This step is critical in ensuring that your tiles adhere effectively and prevent any future damage.
Finally, we’ll share some expert tips and tricks to make your gluing process smoother and easier. From proper cleaning techniques to measuring and cutting your tiles, we’ve got you covered on all fronts.
So, let’s get started.
What Type of Adhesive to Use for Gluing Tile to Wood
Contents
- 1 What Type of Adhesive to Use for Gluing Tile to Wood
- 2 Preparing the Wood Surface for Gluing Tile to Wood
- 3 Applying the Adhesive
- 4 Working with Epoxy Adhesives
- 5 Working with Latex-Modified Thinset Mortar
- 6 Grouting the Tiles After Gluing
- 7 Choosing an Adhesive That Can Handle Temperature and Humidity Fluctuations
- 8 Tips for Successfully Gluing Tile to Wood
- 9 Conclusion
Installing tile on a wooden surface requires the perfect adhesive to ensure the project’s success and longevity. The adhesive you choose must be strong enough to withstand the weight of the tiles and any foot traffic on them. It should also be durable enough to resist deterioration over time, which could cause the tiles to loosen or come off entirely.
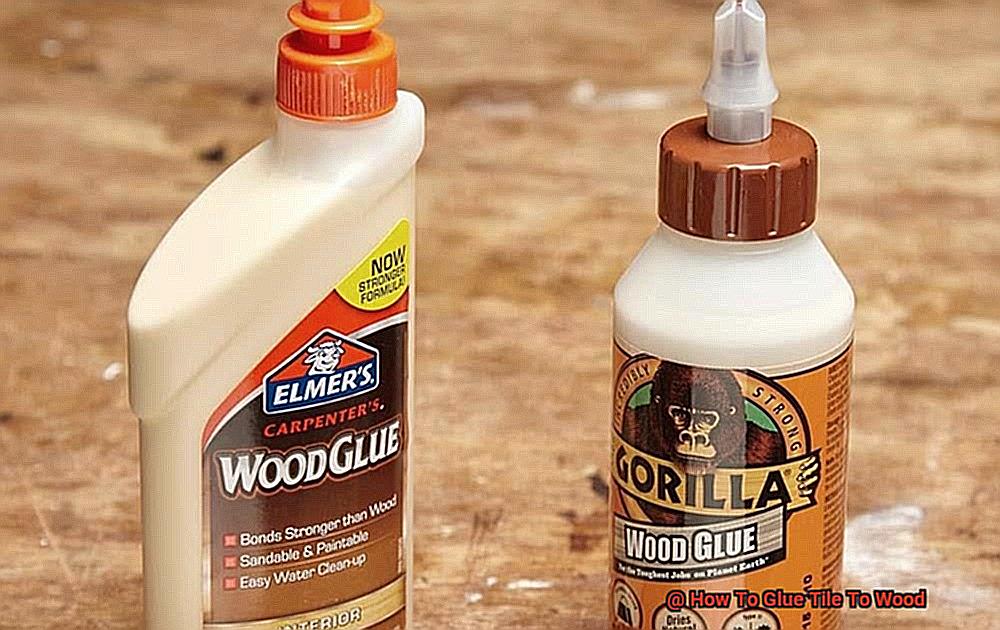
One of the most popular adhesives for gluing tile to wood is epoxy. This two-part adhesive creates an incredibly strong bond between surfaces, making it ideal for heavy tiles or high-traffic areas. Although epoxy can be challenging to work with, it’s an excellent choice for those looking for a long-lasting solution.
For those wanting something easier to work with than epoxy, a latex-modified thin-set mortar is an excellent option. This type of adhesive is designed specifically for use with tiles and can be used on a wider range of surfaces, including wood. Thin-set mortar is relatively easy to apply and provides excellent bond strength, making it a popular choice for tile installation on various substrates.
Premixed mastic is another option that’s easy to work with and clean up. It comes ready to use and can be applied directly to the wood surface. However, it may not be the best choice for high-traffic areas or outdoor applications.
Before applying any adhesive, it’s crucial to prepare the wood surface properly. This may involve sanding or cleaning the surface to remove any dirt or debris that could interfere with the bonding process. You may also need to prime the surface with a suitable primer to ensure proper adhesion.
Once the surface is prepped and ready, you can begin applying the adhesive according to the manufacturer’s instructions. It’s important to work in small sections at a time because some adhesives have a limited working time before they begin to set. You may also need to use spacers or other tools to ensure that the tiles are evenly spaced and aligned.
After the adhesive has set, you can grout the tiles as usual. Keep in mind that some woods may expand and contract over time due to changes in temperature and humidity, so it’s essential to choose an adhesive that can handle these fluctuations without cracking or separating from the wood surface.
Preparing the Wood Surface for Gluing Tile to Wood
When it comes to gluing tile to wood, ensuring that the surface is properly prepared can make all the difference in a successful and long-lasting installation. In this guide, we’ll take you through the essential steps for preparing your wood surface before applying adhesive.
Step 1: Clean the Surface
Before applying any adhesive, it’s crucial to clean the surface of the wood thoroughly. Dirt, debris, and old glue residue can prevent proper adhesion. You can use a sandpaper or scraper to remove any rough spots or bumps on the surface of the wood. A scraper can also be used to remove any old glue residue or debris.
Step 2: Seal with Primer
Sealing the surface with a primer is essential for better adhesion and longevity of your tile installation. We recommend using a latex-based primer as it’s easy to apply and dries quickly.
Step 3: Allow Primer to Dry
Once you’ve applied the primer, allow it to dry completely before applying the adhesive. This will ensure that the adhesive bonds properly with the wood surface. Follow manufacturer instructions for drying time.
Step 4: Check Temperature and Humidity Levels
The temperature and humidity levels play a crucial role in adhesive application. Most adhesives require a temperature range of 60-80°F and relative humidity of 40-60%. Use a hygrometer or thermometer to measure temperature and humidity levels if unsure about conditions in your workspace.
Step 5: Test Adhesive on Small Area
Before applying adhesive to the entire area, we recommend testing it on a small section of the wood surface first. This will help you identify any issues with adhesion or compatibility with the wood.
By following these simple yet effective steps, you can ensure that your tile adheres properly and securely to the wood surface. Remember, attention to detail and proper execution of each step is crucial for a successful installation.
Applying the Adhesive
The success of this step is critical to ensure a firm and durable bond between your tiles and wood surface. To achieve this, we’ve put together some tips for you to follow when applying the adhesive.
First, make sure you have the right adhesive for the job. We recommend using a high-quality thin-set mortar that’s specifically designed for use with tile. This type of adhesive will provide a long-lasting, robust bond to your wood surface.
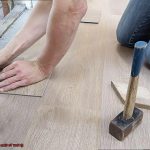
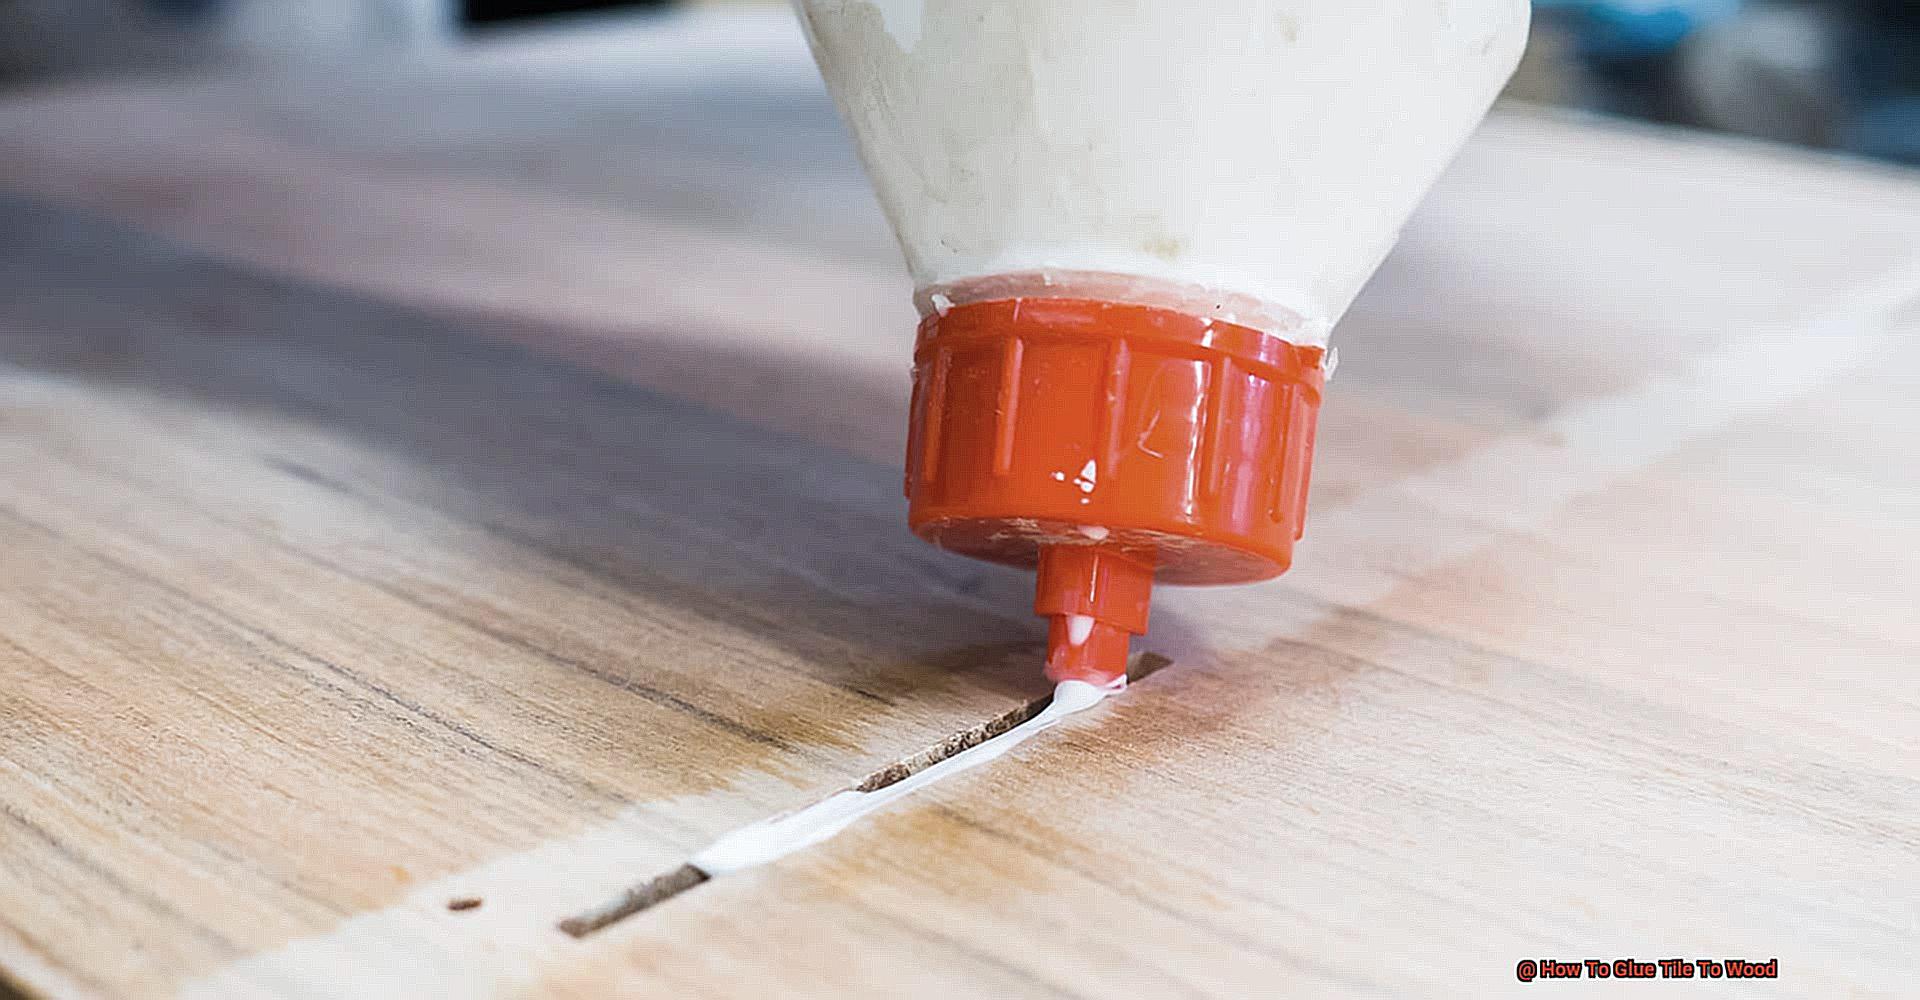
Before you start, prepare your wood surface by giving it a thorough cleaning and removing any dust or debris. Lightly sanding the surface will create a slightly rough texture that will help the adhesive bond better.
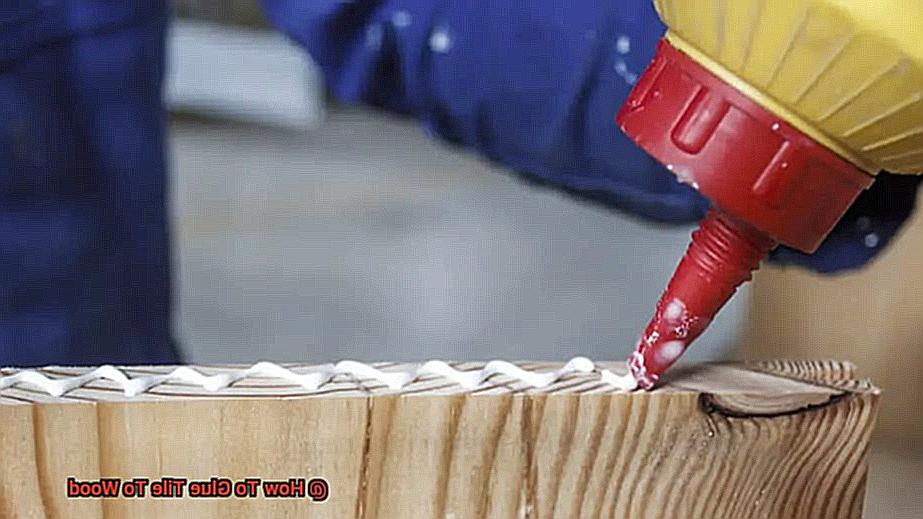
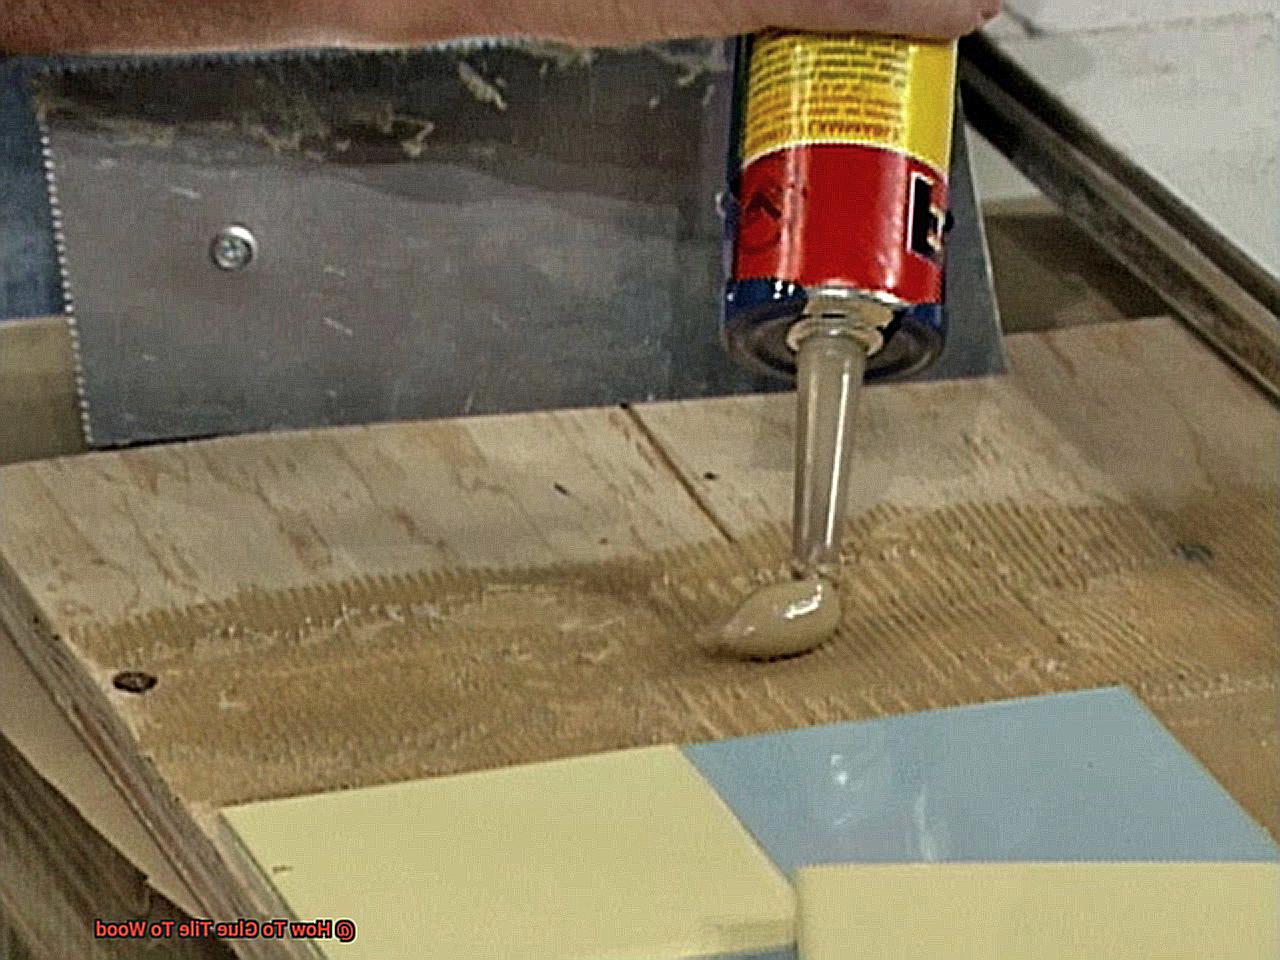
Now comes the fun part – applying the adhesive. Follow the manufacturer’s instructions carefully, and ensure that you mix the thin-set mortar with water until it reaches a smooth, creamy consistency. Using a trowel or similar tool, spread the adhesive onto the wood surface in a thin layer.
Take care to work in small sections at a time as the adhesive can dry quickly. Avoid applying too much pressure when spreading the adhesive as this could cause unevenness and affect the final result.
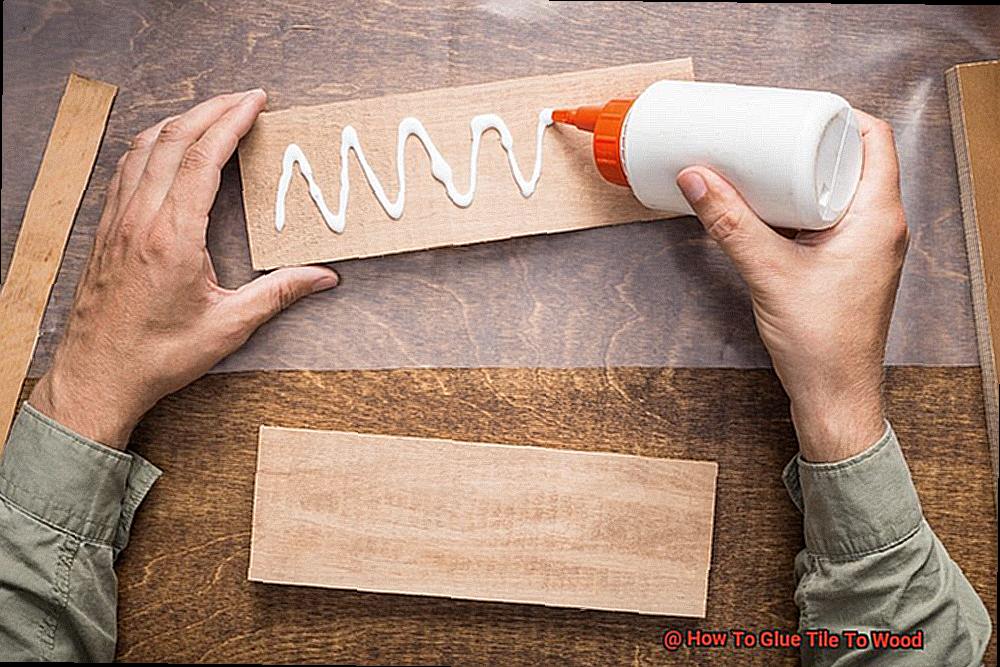
After applying the adhesive, it’s time to lay your tiles onto the wood surface. Place each tile carefully and evenly, pressing down gently to ensure a strong bond with the adhesive.
Achieving an optimal bond requires patience and attention to detail, so don’t rush this process. By following these guidelines and using high-quality materials, you can ensure that your tiles will remain firmly glued to your wood surface for years to come.
Working with Epoxy Adhesives
Look no further than epoxy adhesives. These two-part adhesives create an incredibly powerful bond that can hold heavy or large tiles with ease. They are also waterproof and resistant to chemicals and heat, making them ideal for high-traffic areas like kitchens and bathrooms.
However, before you start working with epoxy adhesives, it’s crucial to read the manufacturer’s instructions carefully. Mixing ratios of resin and hardener need to be precise, as incorrect measurements can result in a weak bond or incomplete curing.
To prepare your surfaces for gluing, ensure they are clean, dry, and free of debris. Lightly sanding the wood surface can also help improve adhesion. Apply the epoxy adhesive evenly over both surfaces using a notched trowel, then press the tile firmly into place on the wood surface, using spacers to ensure even spacing between tiles.
Patience is key when working with epoxy adhesives. Allow the adhesive to cure completely before walking on or grouting the tiles – this can take up to 48 hours. And don’t forget to protect your workspace with gloves and plastic sheeting or newspaper, as cleaning up excess adhesive can be challenging once it dries.
Overall, working with epoxy adhesives requires careful attention to detail and proper safety precautions but can result in a long-lasting and secure bond between tile and wood surfaces. So why wait?
Working with Latex-Modified Thinset Mortar
Tile installation on a wood surface can be tricky, but with the help of latex-modified thinset mortar, you can achieve a strong and flexible bond that will last for years. The special blend of Portland cement, sand, and latex additives make this type of mortar an excellent choice for wood substrates that are prone to movement.
Before you start the tiling process, it’s essential to prepare the wood surface correctly. Make sure it’s clean, dry, and free of debris or loose particles. You should also lightly sand any rough spots or splinters that could interfere with the adhesion of the mortar.
Once your surface is ready, it’s time to mix the latex-modified thinset mortar according to the manufacturer’s instructions. Ensure that you mix thoroughly to achieve a consistent texture and maximize bonding strength.
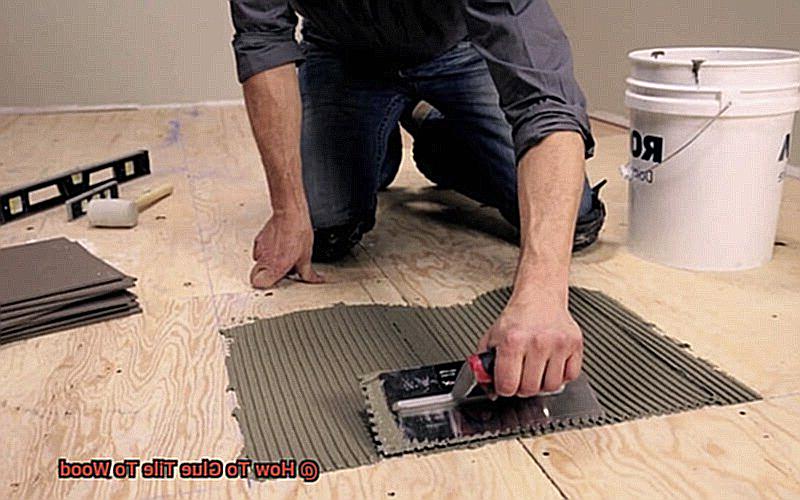
Using a notched trowel, apply a layer of mortar onto the wood surface. The size of the notches will depend on the size and thickness of the tiles being used. Be sure to spread the mortar evenly and avoid leaving any gaps or air pockets.
After applying the mortar, carefully place your tiles onto the wood surface and press them firmly into place with a slight twisting motion. It’s crucial to work quickly and efficiently since latex-modified thinset sets relatively fast.
Finally, allow your tiles to set for at least 24 hours before grouting. This step ensures that your tiles are securely bonded to the wood substrate and prevents any movement or shifting during grouting.
Grouting the Tiles After Gluing
You’re one step closer to completing your tile installation project. The final touch is grouting, a crucial step that gives your project that polished and professional look you’ve been dreaming of.
Before starting the grouting process, it’s essential to ensure that the glue has completely dried. Once you’re certain that the glue is dry, gather your tools and materials. You’ll need grout, a grout float or trowel, a sponge or damp cloth, and a bucket of water.
To begin, prepare the grout following the manufacturer’s instructions. Remember to mix only enough grout that you can apply within 30 minutes to prevent it from drying out before you finish. Apply the grout at a 45-degree angle using a grout float or trowel, pressing it firmly into the gaps between the tiles.
Working in small sections ensures that the grout doesn’t dry out before being smoothed over. Once you’ve filled all gaps with grout, use a damp sponge or cloth to wipe away any excess on the surface of the tiles.
After wiping off most of the excess grout, let it dry for 10-20 minutes before wiping away any remaining haze with a clean damp cloth. Let the grout dry completely for 24-48 hours before sealing it with a sealant designed for tile grout.
Sealing your grout is essential because it protects against stains and moisture damage and helps keep your tile installation looking new for years to come. So don’t forget this critical step.
In conclusion, following these simple steps will help you achieve a professional-looking tile installation on wood. With patience and attention to detail, you’ll be able to enjoy your beautiful tiled masterpiece for years to come.
Choosing an Adhesive That Can Handle Temperature and Humidity Fluctuations
If so, it’s crucial to choose an adhesive that can handle temperature and humidity fluctuations. Why? Well, because wood is a natural material that expands and contracts with changes in temperature and humidity. If the adhesive used to glue the tiles cannot accommodate these movements, it can cause the tiles to crack or come loose, ruining the entire look you were going for.
To avoid this problem altogether, there are two great adhesive options to choose from. The first is a flexible, polymer-modified thinset mortar. This type of adhesive has additives that allow it to stretch and move with the wood, which prevents the tiles from cracking or popping off. Additionally, it’s waterproof, which is crucial if you’re installing tiles in a wet area like a bathroom or kitchen.
Another adhesive option to consider is epoxy. Epoxy is incredibly strong and durable, making it an excellent choice for high-traffic areas or heavy objects. It’s also resistant to moisture and temperature changes. However, it can be more challenging to work with than thinset mortar and requires careful mixing and application.
Remember to read the manufacturer’s instructions carefully when choosing an adhesive and select one that’s appropriate for your specific project. Some adhesives may require additional preparation of the wood surface or special tools for application.
To sum it up, choosing an adhesive that can handle temperature and humidity fluctuations is vital when gluing tiles to wood. By selecting the right adhesive and following proper installation techniques, you can guarantee a long-lasting and stunning tile installation on your wooden surface.
Tips for Successfully Gluing Tile to Wood
You might be wondering how to make sure your tiles stick to the wood and stay in place. Don’t worry; we’ve got you covered with these five essential tips for successfully gluing tile to wood.
Choose the Right Adhesive
Choosing the right adhesive is crucial for ensuring that the tiles stick to the wood properly. For wood surfaces, a latex-modified thinset mortar is typically the best option. This type of adhesive is specifically designed to bond with wood fibers and can provide excellent adhesion. It also allows for easier adjustments to tile placement as needed.
Prepare the Wood Surface Properly
Before applying the adhesive, it’s crucial to prepare the wood surface properly. The wood should be free from any dirt, dust, or debris that may interfere with the bonding process. Sanding the surface lightly can also help create a rougher texture that will allow the adhesive to adhere more effectively.
Apply Evenly
When it comes to applying the adhesive, it’s essential to use the right amount and spread it evenly over the surface of the wood. Using a notched trowel can be helpful in achieving an even spread, and it’s crucial to work in small sections to ensure that the adhesive doesn’t dry out before the tile is applied.
Use Even Pressure
Placing the tile onto the wood surface requires even pressure to ensure that the tile is firmly bonded to the wood. Using a rubber float or similar tool can help achieve this and create a smooth finish. Applying even pressure will also prevent any air bubbles from forming beneath your tiles.
Allow Sufficient Drying Time
Finally, allowing sufficient drying time for the adhesive is crucial before grouting or walking on the tiled surface. This drying time can vary depending on factors such as temperature and humidity, so always refer to the manufacturer’s instructions for guidance. Rushing the drying time can cause the tiles to shift or become loose, so it’s essential to be patient.
coUz8B228B0″ >
Conclusion
In conclusion, don’t be intimidated by the idea of gluing tiles to wood. With the right tools and materials, it’s a task that can be accomplished successfully – even if you’re not an expert in DIY projects. The first step is selecting the appropriate adhesive, which is crucial for ensuring a strong bond between your tiles and wooden surface. You have several options, including epoxy, latex-modified thin-set mortar, and premixed mastic.
However, before applying any adhesive to your wood surface, you need to prep it properly. This means cleaning it thoroughly, sealing it with primer, checking temperature and humidity levels, and testing the adhesive on a small area. Only then can you begin applying the adhesive according to the manufacturer’s instructions.
Don’t rush through this process. It’s important to work in small sections at a time because some adhesives have a limited working time before they begin to set. And once the adhesive has set, you can grout your tiles as usual.
Remember: attention to detail is key when installing tiles on wood surfaces. Make sure you choose an adhesive that can handle temperature and humidity fluctuations. Apply it evenly with even pressure and allow sufficient drying time before grouting or walking on the tiled surface.