Silicone is a superhero material that can do it all. From sealing up pesky leaks in your bathtub to crafting intricate moldings and gaskets, silicone’s flexibility and durability make it the go-to choice for DIY enthusiasts and industrial projects alike. But what happens when you need to glue silicone to silicone? That’s where things can get tricky.
If you’re an electronics enthusiast or gadget builder, you know how crucial it is to have a reliable bond between your silicone parts. But with so many adhesives on the market, how do you decide which one to choose? Fear not. In this post, we’ll explore the best ways to glue silicone to silicone, including the right products and techniques for achieving a strong, stable bond.
We’ll dive into the different types of adhesives available, from trusty silicone-based options to cyanoacrylate (AKA superglue) and epoxy. We’ll also walk you through each step of the process, from prepping your surface to applying the adhesive and curing your bond. By the end of this post, you’ll be armed with all the knowledge you need to successfully glue silicone to silicone like a pro.
So, whether you’re working on a DIY project at home or tackling an industrial job at work, we’ve got your back.
Let’s get started on creating that perfect bond.
What Is Silicone?
Contents
Silicone, the synthetic polymer made up of silicon, oxygen, carbon, and hydrogen, is a material that’s anything but ordinary. Its unique properties make it incredibly versatile and ideal for a wide range of applications. One of its most popular uses is in household products such as baking mats, sealants, and adhesives. Its non-toxic, odorless, and flexible nature makes it perfect for creating custom products of all shapes and sizes.
But silicone isn’t just limited to household use. It’s also found in many industries such as medical, automotive, construction, and electronics. In the medical field, silicone is used in implants and other medical devices due to its biocompatibility and durability. Its resistance to extreme temperatures and weather conditions also makes it an excellent material for cars and construction.
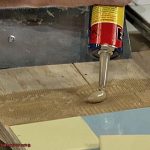
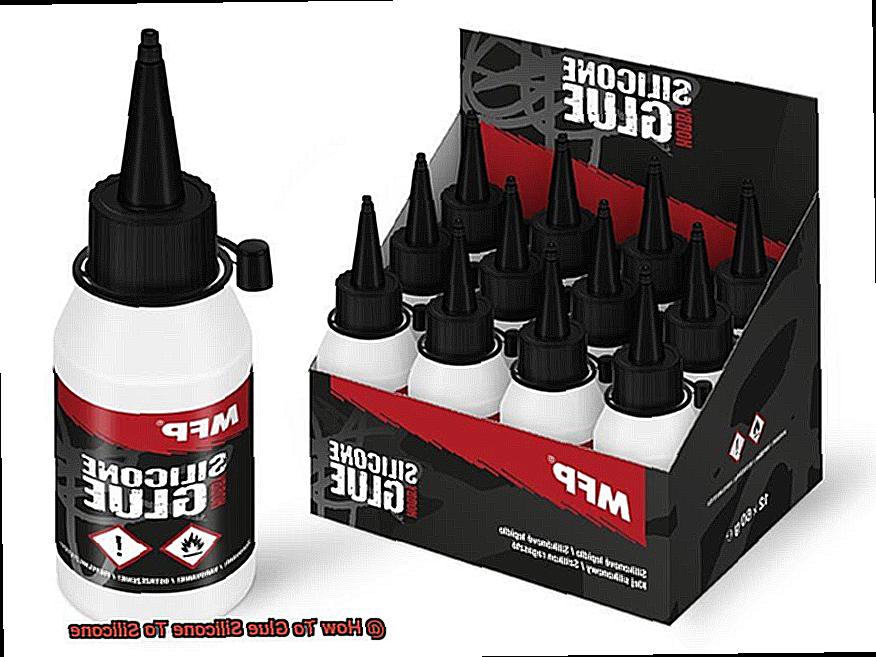
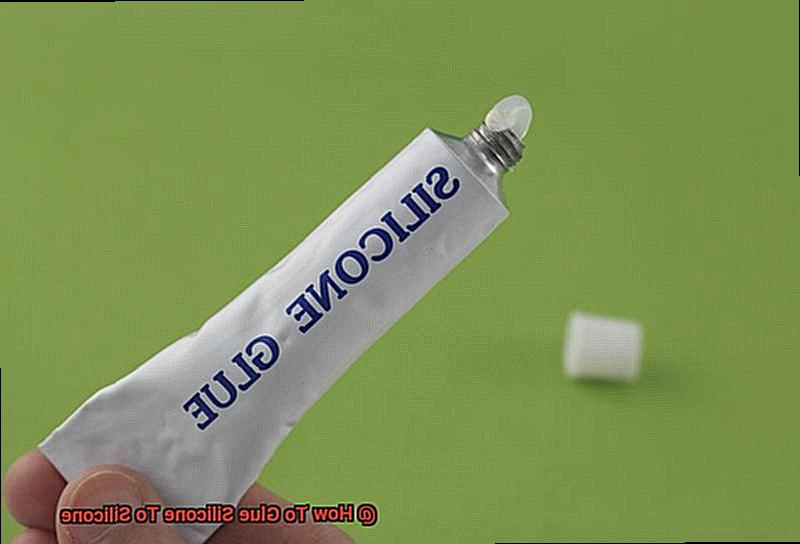
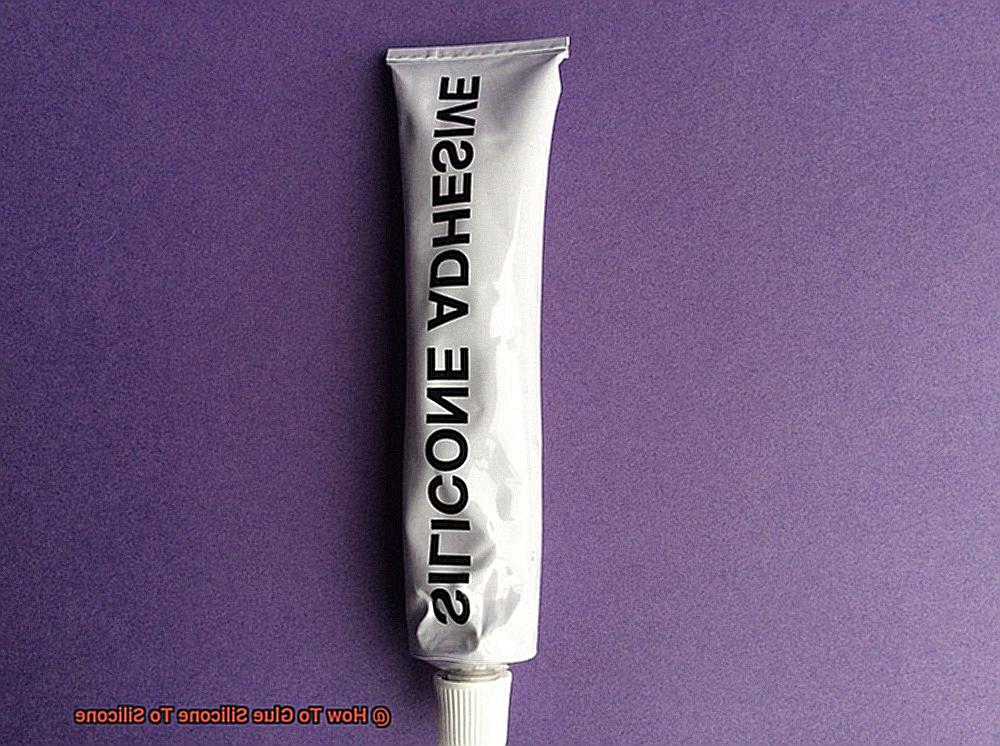
When it comes to bonding silicone to silicone, things can get a bit tricky because silicone is a non-stick surface that doesn’t bond easily with other materials. However, with the right adhesive and preparation, you can bond silicone surfaces effectively. Choose a silicone-based adhesive specifically designed for bonding silicone surfaces like 3M Super Silicone Adhesive, Loctite Superflex Silicone Adhesive, or Permatex Silicone Adhesive.
To ensure a strong and durable bond between the two surfaces, it’s important to properly prepare them beforehand by cleaning them thoroughly with a solvent such as rubbing alcohol or acetone. Once the surfaces are clean and dry, apply a thin layer of adhesive to one surface and carefully press the two surfaces together while taking care to align them properly. Use clamps or tape to hold the surfaces together while the adhesive cures.
Overall, whether you’re using silicone as a sealant or an adhesive, understanding its properties and how to work with it properly is key to achieving your desired results.
Why Glue Silicone To Silicone?
Silicone is a material that has taken the world by storm, finding its way into various industries thanks to its unique properties. It is flexible, heat-resistant, and highly resistant to chemicals and moisture. However, bonding two silicone surfaces can be quite challenging due to their non-stick properties. But why would one want to glue silicone to silicone?
Here, we will explore the reasons behind this and how to achieve a strong and long-lasting bond.
One of the most common reasons for gluing silicone to silicone is repairing or sealing an object made of silicone. Suppose you have a favorite silicone kitchen utensil that has developed a crack or tear. In that case, using a silicone adhesive can seal the damage and prevent it from getting worse. Similarly, if you have a punctured silicone gasket that needs repairing, gluing it with a silicone adhesive can restore its functionality.
Another reason for joining two silicone surfaces is creating a new object altogether. Thanks to its flexibility and heat resistance, silicone is an excellent material for making molds or casting objects. You can use a silicone adhesive to join two or more pieces of silicone together to create larger objects or molds. For instance, if you want to create a custom-shaped silicone mat for your kitchen countertop, you can glue multiple sheets of silicone together using a reliable adhesive.
To achieve a strong and long-lasting bond while gluing two silicone surfaces together, choosing the right adhesive is crucial. A high-quality silicone adhesive will provide excellent bonding strength and durability. Before applying the adhesive, ensure that the surfaces are clean and dry. You can use rubbing alcohol or acetone to clean the surfaces thoroughly. Apply the adhesive in a thin layer, then press the surfaces together firmly. Allow the adhesive to dry completely before using the object.
Gluing silicone to silicone can be useful in various applications where flexibility and heat resistance are crucial. By using the right adhesive and following the proper bonding procedure, you can repair or create custom objects of all shapes and sizes for household use or in industries such as medical, automotive, construction, and electronics.
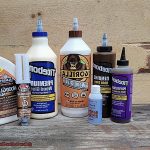
Choosing The Right Adhesive
Silicone is a remarkable material that has revolutionized many industries, but bonding two silicone surfaces can be a challenge. However, with the right adhesive and proper bonding procedures, you can create or repair objects of all shapes and sizes for household use, medical, automotive, construction, and electronics.
Choosing the right adhesive for gluing silicone to silicone requires careful consideration of a few key factors. First and foremost, it is essential to select an adhesive that is specifically designed for use with silicone materials. This ensures that the adhesive is capable of creating a strong and durable bond between the two surfaces.
A popular option for gluing silicone to silicone is a silicone adhesive. These adhesives come in a tube or cartridge and can be applied using a caulking gun. Silicone adhesives are renowned for their ability to create a robust and flexible bond that makes them ideal for applications where the bonded materials may be exposed to movement or stress.
Another option for gluing silicone to silicone is an epoxy adhesive. Epoxy adhesives are known for their incredible strength and ability to bond various materials, including silicone. However, not all epoxy adhesives are suitable for use with silicone, so it’s crucial to choose a product specifically designed for this purpose.
Besides considering the type of adhesive, it’s also essential to think about specific application requirements. For instance, if the bonded materials will be exposed to high temperatures or harsh chemicals, it may be necessary to choose an adhesive specially formulated to withstand these conditions.
Ultimately, the key to choosing the right adhesive for gluing silicone to silicone is to carefully consider the specific application requirements and select a product designed to meet those needs. By taking the time to research and choose the right adhesive, you can ensure a strong and durable bond between your silicone materials. So whether you’re repairing a silicone seal or creating a custom silicone object, don’t underestimate the importance of choosing the right adhesive for the job.
Preparing The Surfaces For Bonding
To achieve a strong and long-lasting bond, it is essential to prepare the surfaces properly. We have compiled a comprehensive guide on the steps you need to follow to get the best results.
Step 1: Clean the Surfaces Thoroughly
Cleaning the surfaces is vital before starting the bonding process. Use a mild soap and water solution to wash away any dirt or debris. Rinse the surfaces well, and then allow them time to dry completely.
Step 2: Remove Any Residue or Oils
The next step is to remove any remaining residue or oils from the surfaces. You can use rubbing alcohol or acetone for this step, but be sure to wear gloves and work in a well-ventilated area. Apply the solvent to a clean cloth and wipe down the surfaces.
Step 3: Roughen the Surfaces Slightly
To improve bond strength, slightly roughen the surfaces. This can be done by sanding them with fine-grit sandpaper or using a wire brush to create small scratches. Be cautious not to overdo it as too much roughening can weaken the silicone and cause it to tear.
Step 4: Ensure Surfaces are Dry
Before applying the adhesive, ensure that the surfaces are completely dry. Moisture left on the surface can interfere with the bonding process and weaken the bond over time. A quick wipe with a clean, dry cloth should remove any remaining moisture.
By following these steps and taking care to properly prepare the surfaces, you can guarantee a strong and long-lasting bond when gluing silicone to silicone. Choosing an adhesive specifically designed for silicone materials is also essential for success.
Applying The Adhesive
First, let’s talk about the importance of having a clean and dry surface. Any dirt, dust or moisture on the surfaces can impair the adhesive’s bonding strength and lead to a weak bond or even failure. So, grab a solvent-based cleaner or rubbing alcohol and thoroughly clean those surfaces. Just remember, when it comes to silicone, not all cleaners are created equal. Use a cleaner specifically designed for silicone surfaces to ensure optimal results.
Once your surfaces are clean and dry, it’s time to apply the adhesive. Take note of the manufacturer’s instructions regarding the application method, quantity of adhesive, and curing time. Applying too much adhesive can cause excess squeezing out when the two surfaces are pressed together, so be sure to apply the right amount.
Now for the moment of truth – aligning and pressing the two surfaces together. This is where precision is key. Make sure both surfaces are properly aligned before pressing them together as repositioning them once they have made contact can weaken the bond. Once aligned, press firmly for good measure.
After pressing the surfaces together, use clamps or other forms of pressure to hold them in place while the adhesive cures. Depending on the type of adhesive used and environmental conditions such as temperature and humidity, this process can take anywhere from several hours to a full day.
One last thing – avoid exposing your newly bonded surfaces to any stress or strain until the adhesive has fully cured. Patience is key in achieving a strong and long-lasting bond.
To sum it up, applying adhesive correctly is crucial for achieving a successful bond when gluing silicone to silicone. Follow these steps and you’ll be on your way to success.
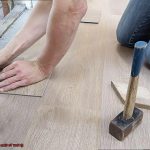
Aligning And Pressing The Surfaces Together
In this section, we’ll be discussing a crucial step in the process – aligning and pressing the surfaces together. This step is essential for ensuring a strong and secure bond between the two surfaces.
Before aligning and pressing the surfaces together, it’s crucial to ensure that they are clean and dry. Any dirt, grease, or moisture on the surfaces can weaken the bond and cause the glue to fail. Once you’ve confirmed that your surfaces are clean and dry, use a ruler or straight edge to align them perfectly. Marking the surfaces beforehand can also help you match them up with ease.
Once aligned, apply pressure evenly across the surface using your fingers or a roller tool. This will ensure that the glue spreads evenly and creates a strong bond. However, it’s important not to move or disturb the surfaces once they’re pressed together. Doing so can cause the glue to shift or create air pockets, weakening the bond.
After pressing the surfaces together, patience is key. It’s recommended to let them sit undisturbed for at least 24 hours to allow the glue to fully cure and create a strong bond. This may seem like a long time, but rushing this process can result in a weaker bond or even total failure.
To sum it up, aligning and pressing the surfaces together is an essential step when gluing silicone to silicone. By starting with clean and dry surfaces, using a ruler or straight edge for alignment, applying even pressure across the surface, and allowing adequate curing time, you’ll achieve a strong and long-lasting bond between your silicone surfaces.
Curing The Adhesive
It’s the key to achieving a long-lasting, secure bond that won’t fail you when you need it most.
Curing is the process of allowing your adhesive to dry and harden completely. The required curing time varies depending on the type of adhesive being used and the environmental conditions in which it is being applied. For instance, silicone-based adhesives typically require longer curing times, ranging from 24 to 48 hours, while cyanoacrylate glue dries quickly in just a few minutes but requires at least 24 hours to cure fully.
It’s essential to follow the manufacturer’s instructions on curing time and avoid disturbing the bond during the curing process. Applying any force or moving your bonded items prematurely can weaken or even break your bond.
Moreover, environmental factors like temperature and humidity can have significant impacts on the curing process. Higher temperatures accelerate curing, while lower temperatures slow it down. Therefore, it’s recommended to keep the bonded area at room temperature with low humidity for optimal curing results.
Proper curing is essential for achieving a strong and long-lasting bond between two pieces of silicone. So take your time, be patient and allow enough time for the adhesive to dry completely before using the bonded items. Rushing this crucial step could compromise your entire project.
Don’t overlook this crucial step in bonding silicone- curing your adhesive properly. By following the manufacturer’s instructions and taking into account environmental factors, you can ensure that your adhesive cures correctly and your project is successful.
2WnleGj-cew” >
Conclusion
In conclusion, don’t be intimidated by the thought of gluing silicone to silicone. With the right adhesive and a little preparation, it’s a task that can be accomplished with ease. Silicone is a remarkable material that has become ubiquitous in various industries due to its unique characteristics such as flexibility, heat resistance, and chemical resistance. Bonding two silicone surfaces together can be beneficial for repairing or creating objects of any size or shape for use in households or industries such as medicine, automobiles, construction, and electronics.
Choosing the appropriate adhesive for gluing silicone to silicone necessitates careful consideration of factors like application requirements and adhesive type. It’s critical to choose an adhesive specifically designed for use with silicone materials to ensure maximum bonding strength and longevity. Additionally, properly preparing the surfaces by thoroughly cleaning them, removing any residue or oils, and slightly roughening them can enhance bond strength.
Aligning and pressing the surfaces together is another crucial step that necessitates precision for optimal results. Applying even pressure across the surface using fingers or a roller tool can ensure that the glue spreads evenly and creates a strong bond. Finally, proper curing is essential for achieving a long-lasting bond between two pieces of silicone.
By following these steps precisely while taking care to adequately prepare the surfaces, select the proper adhesive type, align and press them together correctly while allowing sufficient curing time; you can guarantee a robust and long-lasting bond when gluing silicone to silicone.