Are you tired of feeling the chill seeping through your walls during winter or the heat making its way inside during summer? Adding foam board insulation to your home can help keep it warm when it’s cold and cool when it’s hot. But, if you’re wondering how to stick foam board to wood surfaces, we’ve got you covered.
Gluing foam board to wood may seem like a daunting task, but with the right tools and techniques, it’s actually quite easy. Before we get into that, let’s take a look at why foam board insulation is so beneficial for your home. It not only helps regulate temperature but also reduces energy bills by preventing air from escaping.
In this blog post, we’ll share everything you need to know about gluing foam board to wood. From choosing the right type of glue to achieving a seamless finish, we’ve got all the tips and tricks you need. So if you’re ready to make your home more comfortable and energy-efficient, let’s get started on this DIY project together.
Materials and Tools Needed for Glueing Foam Board to Wood
Contents
- 1 Materials and Tools Needed for Glueing Foam Board to Wood
- 2 Step-by-Step Guide on How To Glue Foam Board To Wood
- 3 Tips and Tricks for Applying Glue Properly
- 4 Benefits of Using Polyurethane-Based Glue
- 5 Common Mistakes to Avoid When Glueing Foam Board to Wood
- 6 How Long Does It Take For the Glue to Dry?
- 7 Troubleshooting Common Issues with Glueing Foam Board to Wood
- 8 Alternatives to Glueing Foam Board to Wood
- 9 Conclusion
Gluing foam board to wood is an easy and effective solution, but it’s important to have the right materials and tools on hand. Let’s take a closer look at what you’ll need.
Materials
First, choose a foam board that is compatible with your adhesive and the right size for your project. The wood you use should be clean, dry, and free of any dirt or debris.
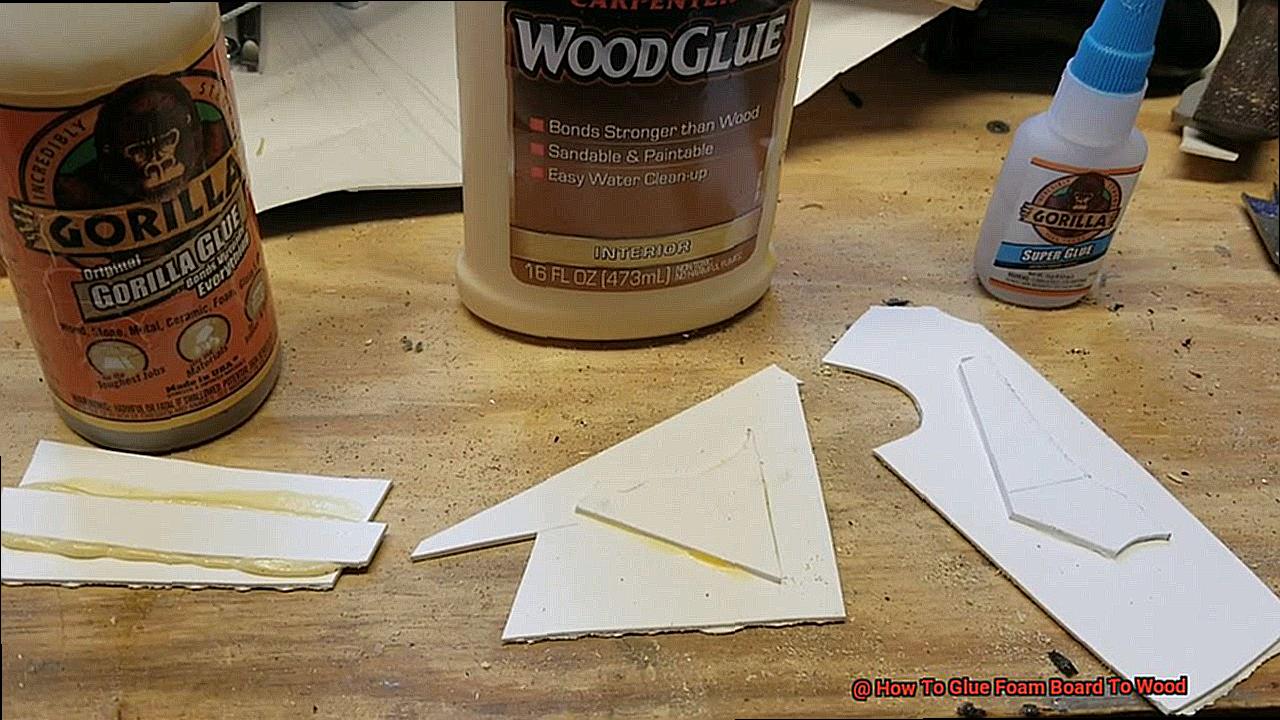
Sanding the surface can also help the adhesive adhere better. There are several types of adhesive that work well for gluing foam board to wood, including hot glue, contact cement, and spray adhesive. Depending on the type of adhesive you use, you may also need a paintbrush or roller to apply it evenly to the wood and foam board.
Clamps can be helpful for holding the foam board in place while the adhesive dries, and sandpaper can be used to smooth out any rough edges.
Tools
To cut the foam board to size, you’ll need a sharp utility knife or scissors. A measuring tape and pencil are helpful for precise measurements. A paintbrush or roller may be necessary to apply the adhesive.
Clamps can hold the foam board in place while the adhesive dries, and sandpaper can smooth out any rough edges.
Steps
Measure and cut your foam board to the desired size and shape using a utility knife or scissors.
Apply the adhesive onto the back of the foam board using a paintbrush or roller.
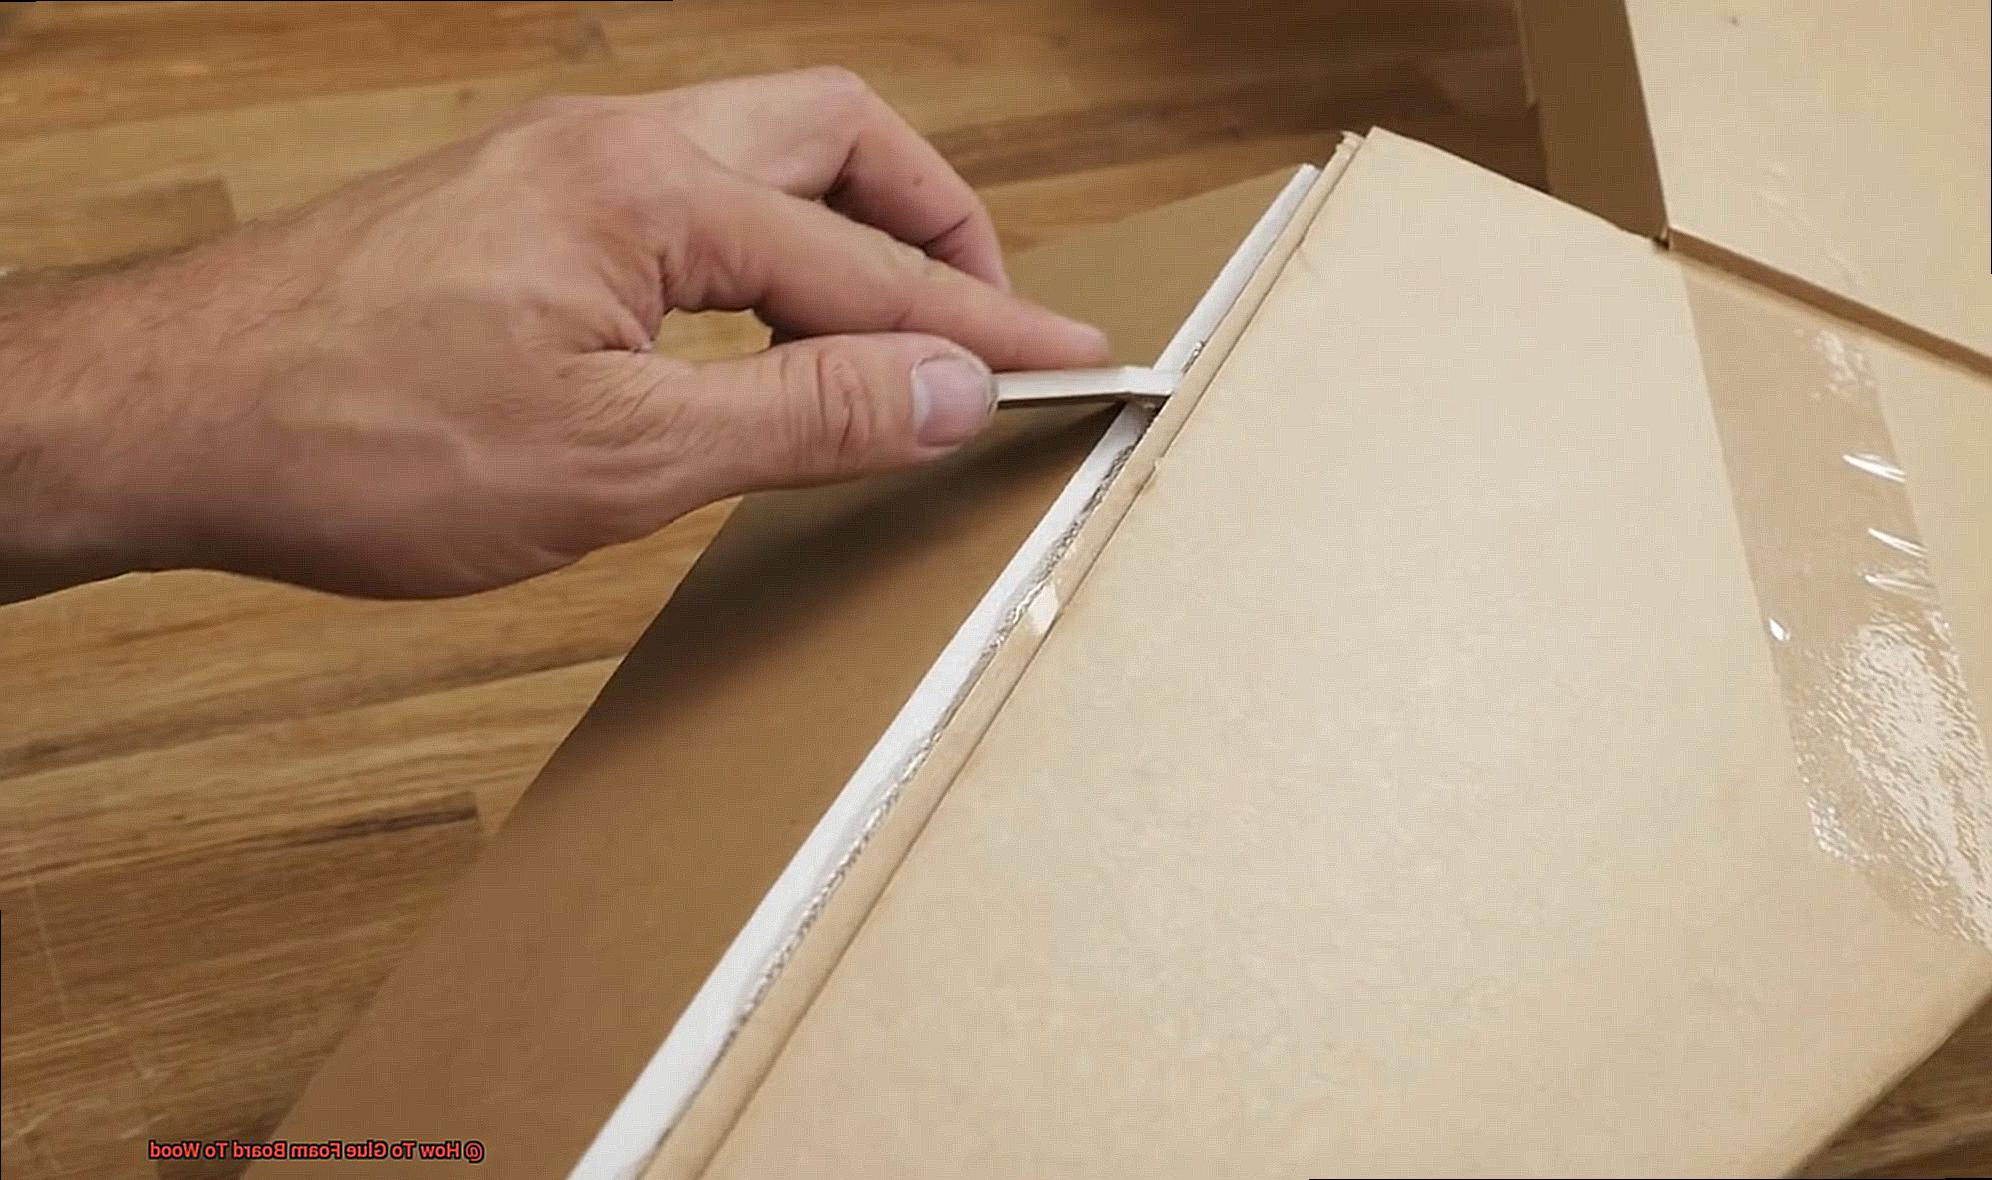
Press the foam board onto the wood surface carefully, making sure it is aligned correctly with the edges of the wood.
Secure the foam board to the wood by using clamps or applying painter’s tape across its surface.
Wait for the adhesive to dry completely before removing any clamps or tape.
Step-by-Step Guide on How To Glue Foam Board To Wood
We’ve got you covered with this step-by-step guide that will have you achieving a strong and long-lasting bond in no time.
Step 1: Clean the Surface of the Wood
To ensure a successful bond, it’s crucial to thoroughly clean the surface of the wood. A damp cloth or sponge will do the trick, removing any dirt, dust, or debris that could interfere with the adhesion.
Step 2: Measure and Cut the Foam Board
Measure and cut the foam board to fit the size of your wooden surface. A sharp utility knife or foam cutter is essential for achieving clean, precise edges.
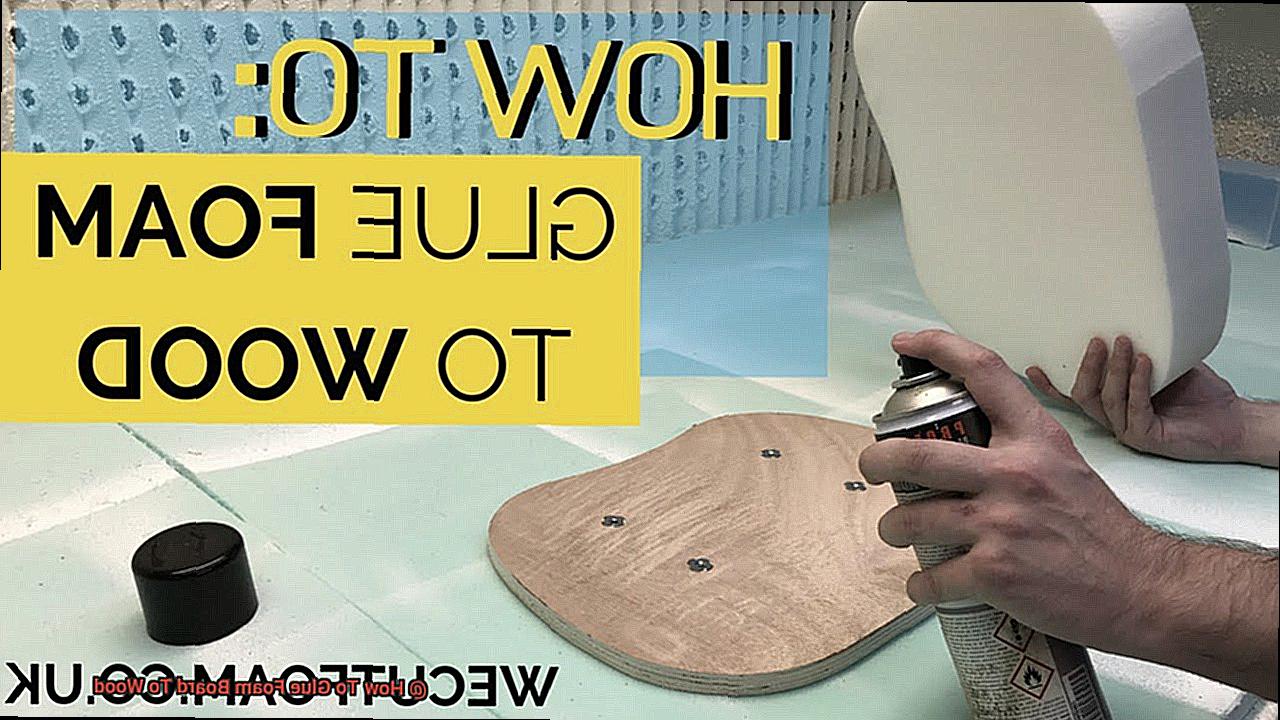
Step 3: Apply the Glue
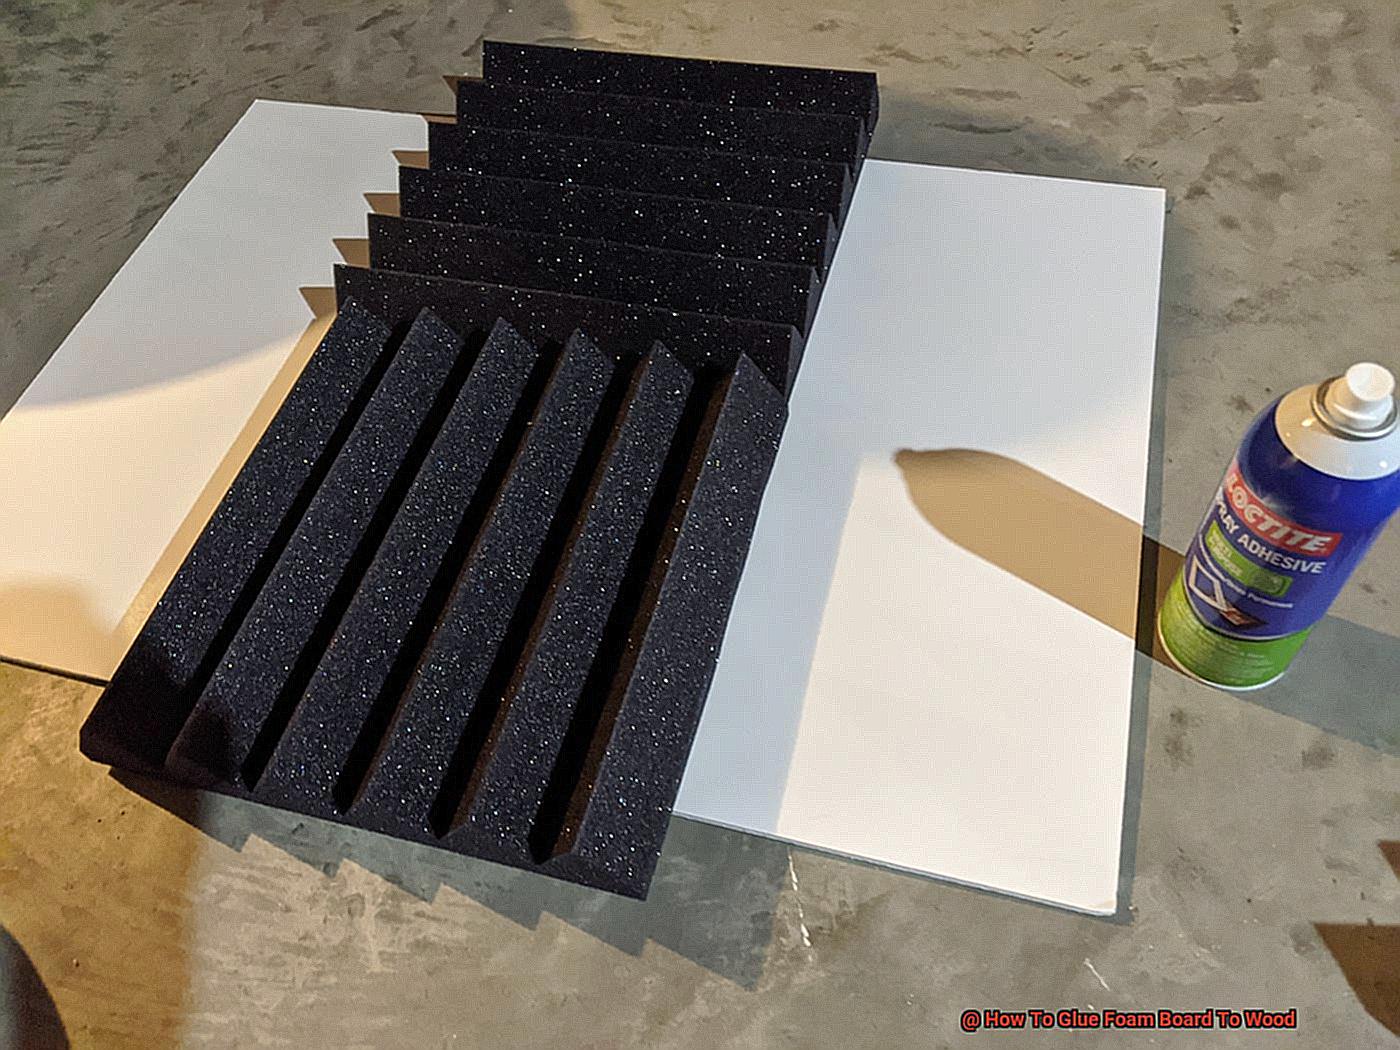
Using a solvent-based contact adhesive is one of the most recommended methods for bonding foam board to wood. Apply a layer of adhesive on both surfaces using a brush or roller, ensuring even coverage.
Step 4: Wait for the Adhesive to Dry
Patience is key here. Allow the adhesive to dry completely before bonding the two surfaces together. Drying times may vary, so make sure to check the manufacturer’s instructions.
Step 5: Position and Bond the Foam Board
Once both surfaces are fully dry, position the foam board on top of the wooden surface and press down firmly. Ensure all edges are correctly aligned and allow the bond to set for a few hours.
Step 6: Trim any Excess Foam Board
After bonding, you may have some excess foam board that needs trimming. Use a sharp utility knife or foam cutter to carefully cut any excess foam board along the edges of the wooden surface.
There you have it. Following these simple steps will ensure a successful bond between foam board and wood. Whether you’re working on a DIY project or professional job, this technique will come in handy.
Tips and Tricks for Applying Glue Properly
Gluing them together can be the perfect solution to create a strong and durable bond. However, it’s important not to overlook the significance of applying glue correctly. Here are five tips and tricks that can help you achieve the best results when gluing foam board to wood:
Choose the Right Type of Glue
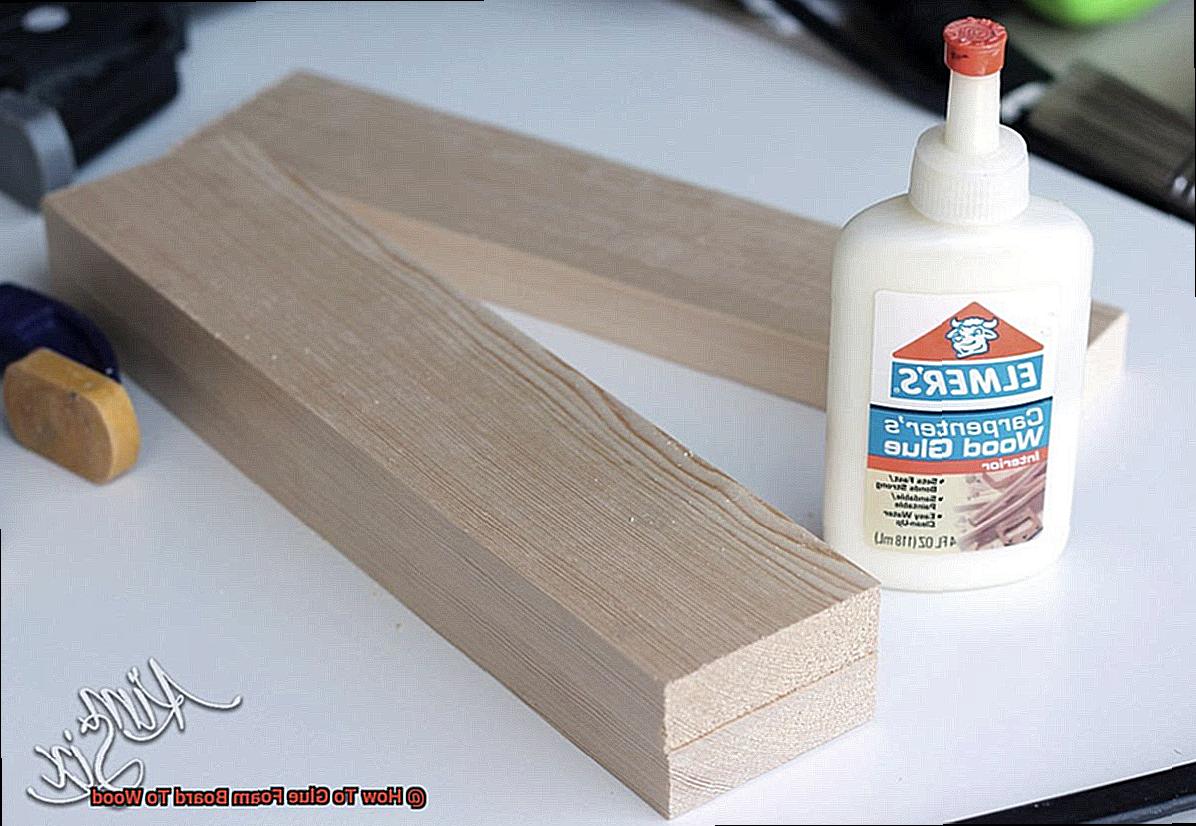
Choosing the right type of glue is essential to creating a strong bond between foam board and wood. Polyurethane or epoxy glue is ideal for this job as they are designed to handle pressure and weight without breaking apart. It’s also essential to ensure that the glue is suitable for both materials being used, as some glues may react poorly with certain materials.
Prepare the Surfaces
Preparing the surfaces that will be glued together is crucial for successful bonding. Cleaning and drying them thoroughly removes any dirt or debris that could hinder the bonding process. Roughening up the surfaces with sandpaper can also create a stronger bond by providing more surface area for the glue to adhere to.
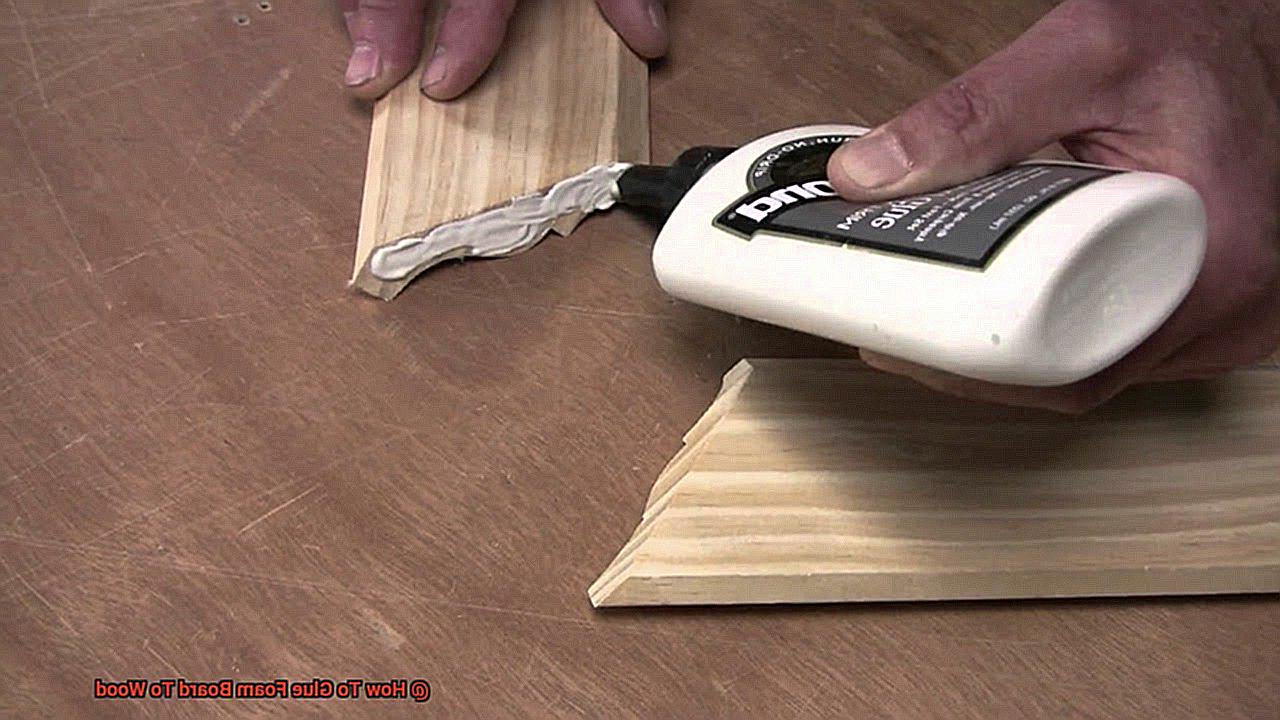
Apply the Glue Evenly
To achieve a strong bond, it’s important to apply the glue evenly across the surface of both foam board and wood. Using a foam brush or roller can help ensure that the glue is spread evenly.
Use a Clamp
Using a clamp is essential when gluing foam board to wood. It helps hold both surfaces together while the adhesive dries, creating a strong and secure bond. Make sure to apply enough pressure while clamping to ensure maximum strength.
Allow Sufficient Drying Time
Allowing sufficient drying time is crucial when gluing foam board to wood. Depending on the type of adhesive used, it may take several hours or even overnight for the glue to dry completely. It’s important not to handle or move glued pieces until they are fully dry.
Benefits of Using Polyurethane-Based Glue
One of the most significant advantages of using polyurethane-based glue is its ability to create a bond that is resistant to water and heat. This means that the bond will remain strong even when exposed to harsh conditions, ensuring that your project lasts for years to come.
In addition, polyurethane-based glue has a longer open time than other types of glue. This feature gives you more time to adjust the foam board before the glue sets, making it particularly helpful when working with larger pieces or trying to align multiple pieces together.
Polyurethane-based glue also expands slightly as it dries, filling in any gaps or imperfections in the joint. This not only creates a more secure bond but also provides some insulation properties, making it an even more valuable adhesive option.
Lastly, polyurethane-based glue is versatile and can be used on a variety of materials, including wood, metal, plastic, and foam. This makes it an excellent all-purpose adhesive to have in your toolkit.
Common Mistakes to Avoid When Glueing Foam Board to Wood
If you’re planning to glue foam board to wood, you’ll want to avoid some common mistakes that could ruin your project. To ensure a successful and sturdy outcome, keep these tips in mind.
Firstly, make sure you’re using the right type of glue. Foam board is a delicate material, so it’s important to use a lightweight adhesive that won’t weigh it down. Using heavy-duty glue can cause the foam board to buckle and warp, which is not what you want.
Secondly, avoid applying too much glue. While it may seem like more adhesive will create a stronger bond, too much glue can actually weaken the foam board. Over-saturating the material can make it more prone to warping or buckling.
Thirdly, be patient and allow ample drying time for the glue to set properly. Rushing this process can cause the foam board to shift or become misaligned, which will ruin your project in the end. Take your time and let the glue dry completely before moving on.
Lastly, don’t forget to properly prepare both surfaces before applying glue. Make sure both the foam board and wood surfaces are clean and free of debris or dust. This will ensure that the adhesive adheres properly and creates a strong bond between the two materials.
By avoiding these common mistakes when gluing foam board to wood, you’ll be able to create a project that looks great and lasts for years to come.
How Long Does It Take For the Glue to Dry?
Gluing foam board to wood is a fantastic way to create DIY projects, but it’s important to consider the drying time of the adhesive you are using. The length of time it takes for the glue to dry depends on various factors such as the adhesive type, humidity levels, and temperature.
To ensure that your foam board is securely attached to the wood surface, carefully follow the manufacturer’s guidelines. These guidelines will provide information on how long their products take to dry under certain conditions. For example, some types of glue may require a longer drying time in high humidity environments.
Typically, most adhesives take anywhere from 30 minutes to 24 hours to dry completely. However, this can vary depending on the specific product you are using. Hot glue, for example, dries much more quickly than other types of adhesive.
It’s crucial to allow ample drying time before handling or moving your materials. Resisting the urge to handle your project before the glue has fully dried is essential for ensuring a strong bond between the foam board and wood surface. Moving or manipulating the materials too soon could cause the bond to weaken or even break, resulting in a less-than-sturdy finished product.
When gluing foam board to wood, it’s vital to choose an appropriate adhesive that is suitable for your project. Humidity and temperature may also affect drying time. If you’re working in a particularly humid area, you may need extra time for drying.
By carefully following manufacturer guidelines and allowing ample drying time, you can ensure a strong and secure bond between your foam board and wood surface. Take your time and resist the urge to handle your project too soon.
Troubleshooting Common Issues with Glueing Foam Board to Wood
Gluing foam board to wood may seem like a simple task, yet it can be daunting when unexpected issues arise. But worry not. In this article, we’ll discuss common issues and how to troubleshoot them to ensure your project goes smoothly.
One of the most common issues with gluing foam board to wood is the failure of the glue to bond properly. This could be caused by using the wrong type of adhesive or neglecting proper surface preparation. To avoid this issue, choose a high-quality adhesive that’s specifically designed for foam board and wood. Furthermore, ensure both surfaces are clean and free from debris or dust before applying the glue.
Another issue that can occur is the warping or buckling of the foam board as it dries. This is generally due to an excessive amount of glue applied or uneven spreading across the board’s surface. To prevent this issue, apply a thin layer of glue to both surfaces and use a roller or brush to spread it evenly.
Finally, some types of glue can leave an unsightly residue on the surface of the foam board after drying. This can be challenging to remove if neglected. To avoid this issue, choose a clear-drying adhesive that doesn’t leave any residue behind. If you do end up with residue on your foam board, gently remove it using a solvent such as rubbing alcohol or acetone.
Gluing foam board to wood is an easy task with proper preparation and attention to detail. Ensure you select the right adhesive, prepare your surfaces thoroughly, and spread the glue evenly for a strong bond.
Alternatives to Glueing Foam Board to Wood
There are several alternatives that you can consider depending on your project requirements.
First on our list is double-sided tape. This easy and simple alternative is available in various widths and thicknesses, making it suitable for different types of foam boards. What’s more, double-sided tape is removable, allowing you to easily change or remove the foam board if needed.
Another good option is velcro strips. The hook-and-loop design allows for easy removal and repositioning of the foam board while still being strong enough to hold it securely in place. Velcro strips are perfect for those who need flexibility and easy access.
If you need a temporary solution for attaching foam board to wood, magnetic strips are a great option. They are easy to install and remove, making them ideal for displays or presentations that require frequent changes.
For larger foam boards or irregularly shaped pieces, clamps or clips may be a better alternative than glue. They provide a secure hold and can be easily adjusted or removed as needed.
Lastly, screws can be used to attach foam board to wood, especially when the foam board is being used as insulation. However, this method requires drilling holes into the foam board and may not be suitable for all projects.
There are several alternatives to glueing foam board to wood that you can consider depending on your project needs. By exploring these options, you can find the best method for your specific application. Whether you need something temporary or permanent, flexible or secure, there’s an option out there that will work for you.
ZZVPt6gP810″ >
Conclusion
In conclusion, gluing foam board to wood is a straightforward and effective way to enhance your home’s energy efficiency. By selecting the right materials and tools, properly prepping the surfaces, and applying adhesive evenly, you can achieve a durable and sturdy bond between your foam board and wood.
Choosing the right type of glue is crucial, with polyurethane-based glue being an excellent option thanks to its water and heat resistance, long open time, and versatility in bonding different materials. But be careful not to make common mistakes like using too much glue or handling the project before the adhesive has fully dried.
If you encounter unexpected issues during the gluing process, don’t panic. Troubleshooting techniques such as trying alternative methods or adjusting your technique can help ensure success. With a little patience and attention to detail, gluing foam board to wood can be a satisfying DIY project that delivers significant insulation benefits for your home.