Do you have a broken zipper on your favorite leather purse or jacket? Or maybe a missing button on that stylish leather bracelet or necklace? Don’t worry, fixing these items is simpler than you might think. In this blog post, we’ll be discussing how to glue leather to metal and restore your accessories to their former glory.
But before we dive into the nitty-gritty of gluing leather to metal, it’s important to understand that not all adhesives are created equal. Some may work for certain materials but not for others. Furthermore, different types of leather (such as suede or patent) may require different adhesives than traditional leather.
That’s why we’re breaking down the process of gluing leather to metal into easy-to-follow steps. From selecting the right adhesive to preparing surfaces for bonding, we’ve got you covered. We’ll also share some tips and tricks so that you can achieve a strong and long-lasting bond that can withstand wear and tear.
Whether you’re an avid DIY enthusiast or just looking to save some money on repair costs, knowing how to glue leather to metal is a handy skill to have in your arsenal. So let’s get started and give those beloved accessories a new lease of life.
What Adhesive to Use for Gluing Leather to Metal
Contents
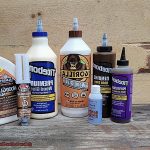
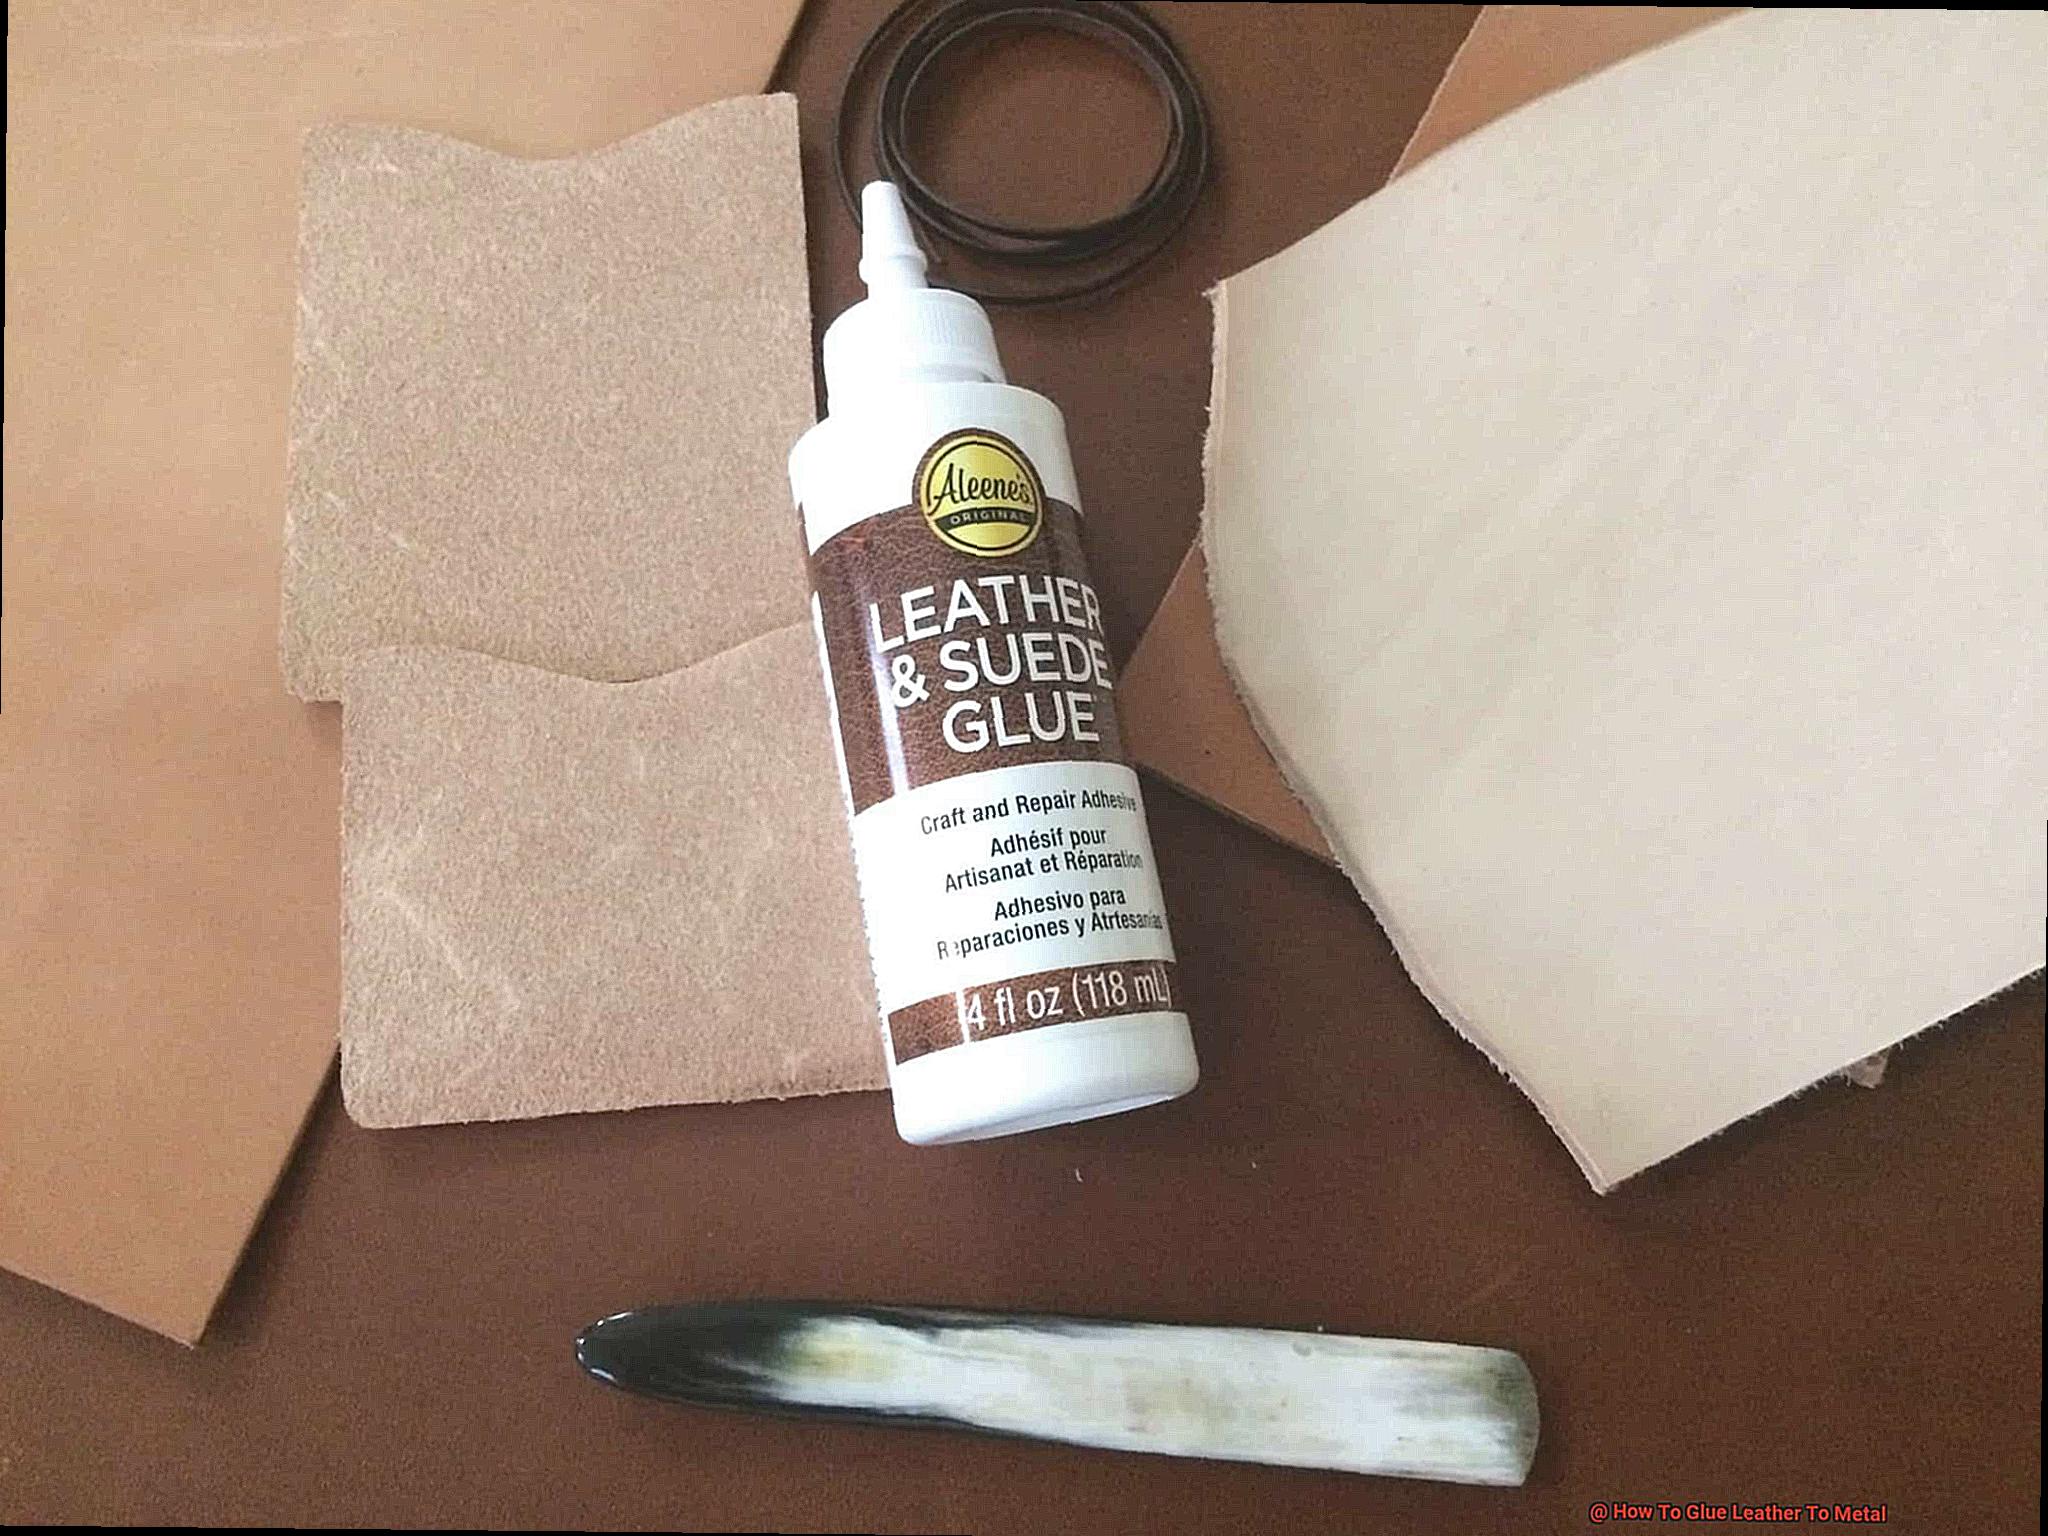
If you want to create stunning leather and metal designs, gluing them together can be a challenge. But choosing the right adhesive is key to a successful project. In this article, we’ll explore three types of adhesives for bonding leather to metal: cyanoacrylate (super glue), epoxy, and contact cement.
Cyanoacrylate or super glue is a quick-drying adhesive that forms a strong bond between leather and metal. It’s easy to apply and dries clear, making it perfect for visible seams. However, it’s not recommended for high-temperature environments as it can become brittle and break down.
Epoxy is a two-part adhesive that creates a strong and durable bond between leather and metal. It’s ideal for heavy-duty applications and can withstand high temperatures without breaking down. Although it takes longer to cure than super glue, it’s more forgiving in terms of application.
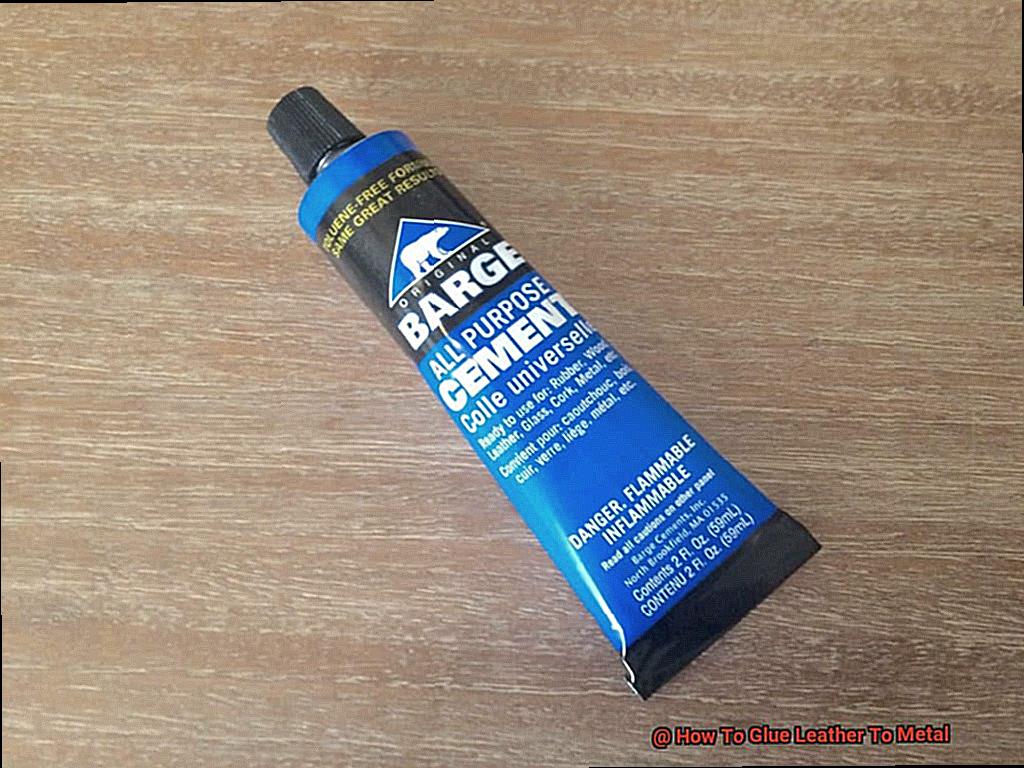
Contact cement is another popular adhesive for bonding leather to metal. This rubber-based adhesive creates a strong bond by applying it to both surfaces and allowing it to dry before pressing them together. Its quick drying time makes it ideal for large surface areas.
Before applying any adhesive, clean and prepare both surfaces thoroughly. Use mild soap and water for the leather and sandpaper or steel wool for the metal surface. Follow the manufacturer’s instructions carefully when applying the adhesive. Allow it to dry before pressing the materials together and use clamps or heavy objects to hold them in place while they dry.
Once the adhesive has cured, trim any excess leather from around the edges of the metal piece. For added protection, consider adding a clear sealant or topcoat to protect the leather from wear and tear.
In conclusion, choose an adhesive based on your application needs and environment. Whether you need a quick-drying adhesive for visible seams or a heavy-duty option that withstands high temperatures, there’s an adhesive out there that will work for your project.
Preparing the Surfaces Before Applying Adhesive
The key to achieving a strong and durable bond lies in properly preparing the surfaces before applying adhesive. Luckily, we’ve got you covered. In this guide, we’ll walk you through the steps for preparing the surfaces before applying adhesive when bonding leather and metal.
First things first – it’s imperative to clean both surfaces thoroughly with a mild soap and water solution. Ensure that any dirt, oil, or debris is removed from the surfaces. Once cleaned, make sure to dry the surfaces completely with a clean, dry cloth.
Next, take your metal surface to the next level by roughening it up using sandpaper or a wire brush. This step creates a better bonding surface for the adhesive. However, be careful not to damage the metal in the process. Additionally, remove any rust or corrosion from the metal surface before proceeding with the glue application.
For your leather surface, lightly sand the area that will come into contact with the metal. This step creates a better bonding surface for the adhesive and ensures a stronger bond. Also, ensure that any oils or waxes that may hinder proper adhesive sticking are removed from the leather.
Lastly, choosing the right adhesive is critical for your project’s success. With so many adhesives available on the market, each with its own strengths and weaknesses, select one specifically designed for bonding leather to metal for optimal results.
Applying the Adhesive
This project requires patience, attention to detail, and the perfect adhesive. Here’s the lowdown on how to correctly apply the adhesive.
First things first, selecting the right adhesive is crucial for success. Two-part epoxy is a popular choice due to its high-strength bonding capabilities. Once you have your adhesive, it’s time to get your surfaces ready. Make sure both the leather and metal are thoroughly cleaned and dried. Any dirt, oils, or residue can negatively affect the bonding process.
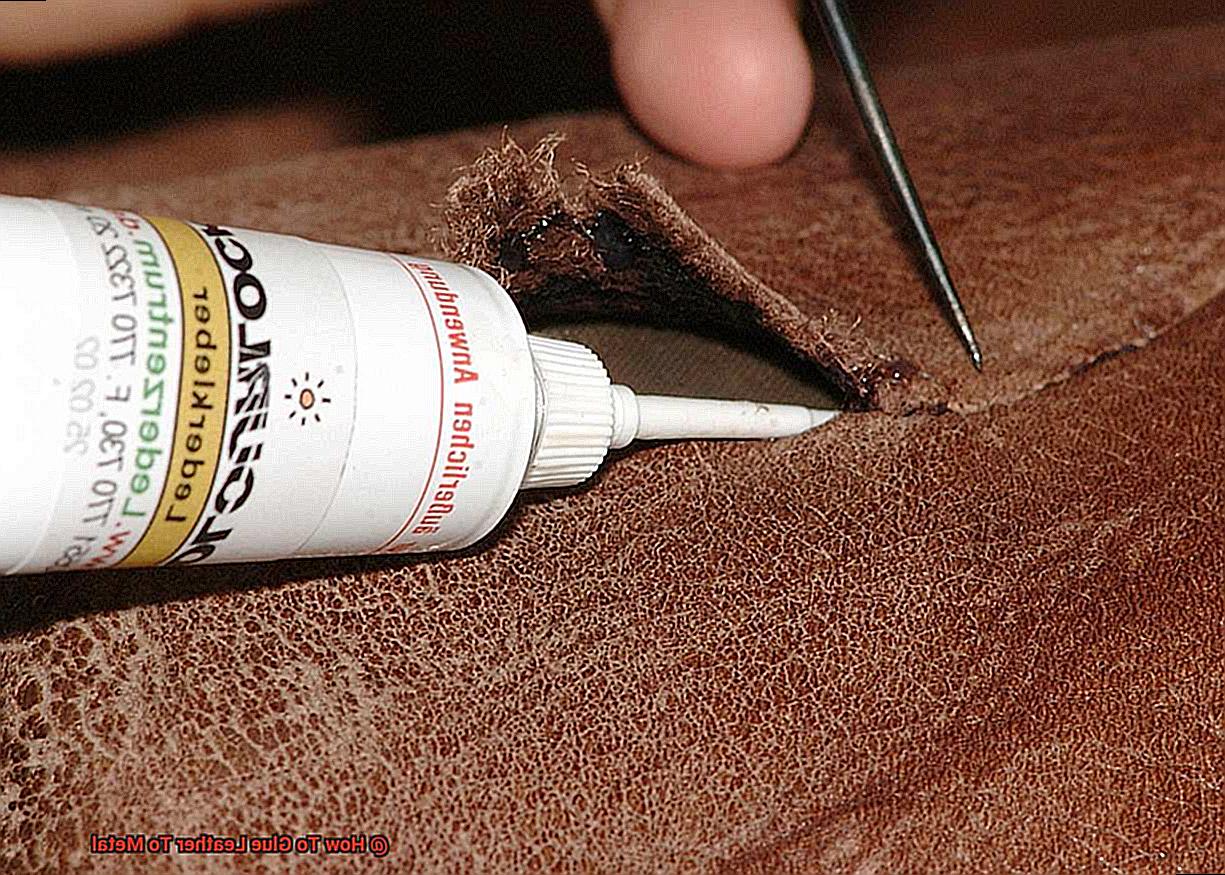
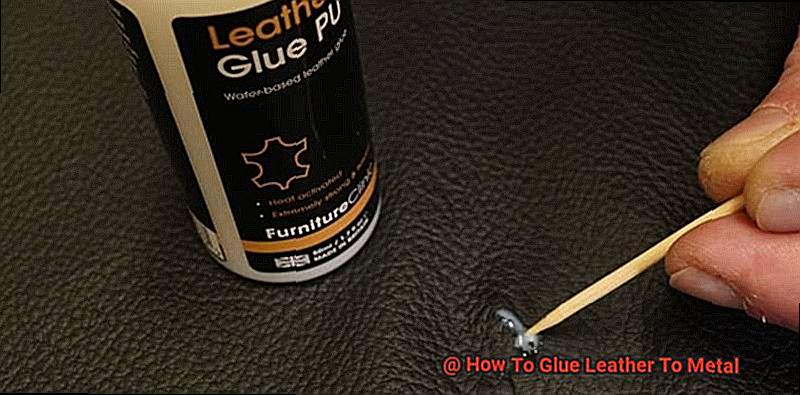
Now that your surfaces are prepped and ready, it’s time to apply the adhesive. Using a small brush or applicator, apply a thin layer of adhesive to one surface. Avoid applying too much adhesive as this can create a messy and uneven bond. With the adhesive applied, carefully press the two surfaces together, making sure they’re properly aligned.
It’s important to apply even pressure and hold the surfaces in place for several minutes to allow the adhesive to fully bond. Depending on your adhesive choice, additional time or pressure may be necessary. Follow the manufacturer’s instructions for optimal results.
After allowing the adhesive to dry and cure according to the manufacturer’s instructions, check the bond by gently pulling on the leather. If it feels loose or comes off easily, reapply the adhesive and try again. Once you’re satisfied with the bond, trim any excess leather or adhesive using a sharp utility knife.
Bonding leather to metal requires attention to detail and the right tools for success. By selecting the perfect adhesive, cleaning and preparing your surfaces with care, applying an even layer of adhesive, and allowing sufficient bonding time, you’ll achieve a strong and durable bond between leather and metal.
Clamping and Drying the Bonded Pieces
If you’re ready to take your leather and metal crafting to the next level, then you need to master the essential steps of clamping and drying. Not only do these steps ensure a strong bond between the materials, but they also guarantee that your project will last for years to come. So let’s dive into the nitty-gritty details of clamping and drying.
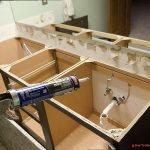
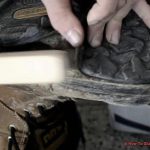
Once you’ve applied your adhesive, you’re ready to clamp the leather and metal together. The key here is to apply even pressure over the entire surface area, and a C-clamp or similar tool is perfect for the job. But don’t forget to place a piece of scrap wood between the clamp and the leather surface to avoid any damage.
Then, tighten the clamp until you see a small amount of glue squeeze out from the edges. This visual cue indicates that the adhesive has filled any gaps between the leather and metal surfaces, creating a secure bond.
But our work isn’t done yet. After clamping, we need to let the glue dry completely before removing the clamps. Depending on your adhesive and environmental conditions, this could take anywhere from a few hours to overnight. So make sure to read your manufacturer’s instructions carefully.
It’s crucial not to rush this step because removing the clamps too soon can weaken or even break the bond between the leather and metal. So be patient and give your project enough time to fully cure before inspecting it for any weak spots or gaps.
If necessary, apply more glue to fill any gaps and repeat the clamping process. Once you’re satisfied with your bond, it’s time to remove the clamps and admire your handiwork.
Clamping and drying are essential steps in creating a long-lasting bond between leather and metal. By using a C-clamp or similar tool to apply even pressure and allowing enough time for your adhesive to fully cure, you can ensure a strong and durable bond that will stand the test of time.
Trimming Excess Leather from the Edges
In this section, we’ll cover one of the most important steps in achieving a polished and functional leather piece: trimming excess leather from the edges.
After applying the adhesive and allowing it to dry, you may find that there is some excess leather hanging over the edge of the metal. Not only does this detract from the overall aesthetic, but it can also hinder the functionality of your piece. That’s why trimming the excess leather is crucial for achieving a professional-looking result.
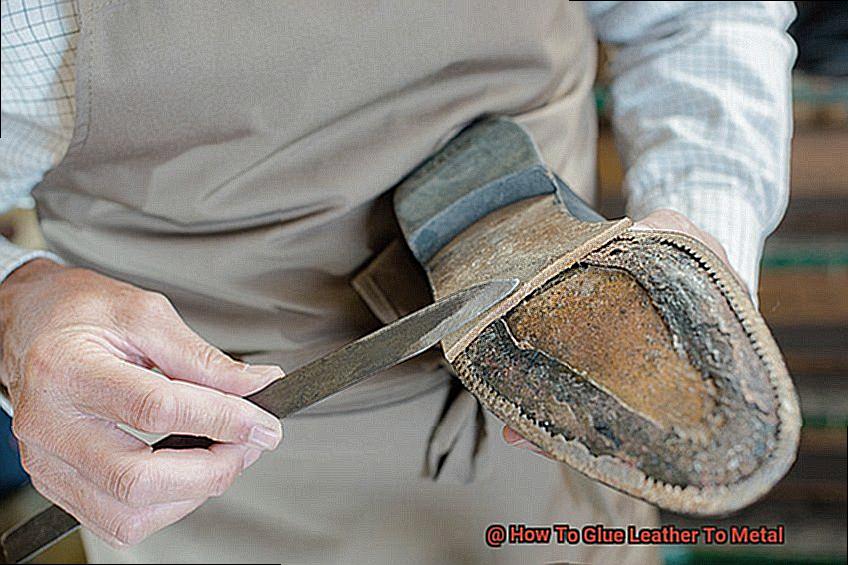
To trim the excess leather, you’ll need a sharp utility knife or pair of scissors. Take your time and carefully cut along the edge of the metal, ensuring that you don’t cut into the metal itself. A steady hand is key to achieving a clean and even cut.
For larger pieces of leather, it can be helpful to mark where you need to cut before making any actual cuts. This helps keep you on track and ensures that you make a straight cut.
Once you’ve trimmed all of the excess leather from the edges, take a moment to inspect your work. If there are any uneven areas or rough spots, use sandpaper or a file to smooth them out.
By taking care during this step, you’ll achieve a professional-looking leather and metal masterpiece that is both functional and aesthetically pleasing.
Adding a Clear Sealant or Topcoat (Optional)
Now, let’s dive into the optional but highly recommended step of adding a clear sealant or topcoat. This step not only provides protection against environmental factors like dirt and water but also gives your project a glossy finish that enhances its overall appearance.
To ensure the best results, it is crucial to apply the sealant or topcoat only after the glue has fully dried and cured. This will ensure optimal adhesion and prevent any potential issues with the finish. So, exercise patience before moving on to this next step.
When selecting a clear sealant or topcoat, choose one that is compatible with both the leather and metal surfaces. There are many types of sealants and topcoats available, such as acrylic, polyurethane, and epoxy-based options. Consider each type’s unique properties and benefits to determine which one will work best for your specific needs.
It’s essential to follow the manufacturer’s instructions when applying the sealant or topcoat. Generally, it is recommended to apply at least two coats to ensure full coverage and protection for your leather surface. Allow each coat to dry fully before applying the next one.
Key Tips for Gluing Leather to Metal
Look no further, because we’ve got you covered with these five key tips for gluing leather to metal.
Choose the Right Adhesive
The first step in bonding leather to metal is selecting the right adhesive. For a strong and durable hold, industrial-strength adhesives like epoxy or cyanoacrylate glue are recommended. These adhesives are designed to bond well with both materials, providing a secure hold.
Thoroughly Clean Both Surfaces
Before applying any adhesive, make sure to clean both the leather and metal surfaces thoroughly. Any dirt, oil, or residue on either material can prevent the adhesive from bonding properly. Use mild soap and water for the leather and degreaser or rubbing alcohol for the metal.
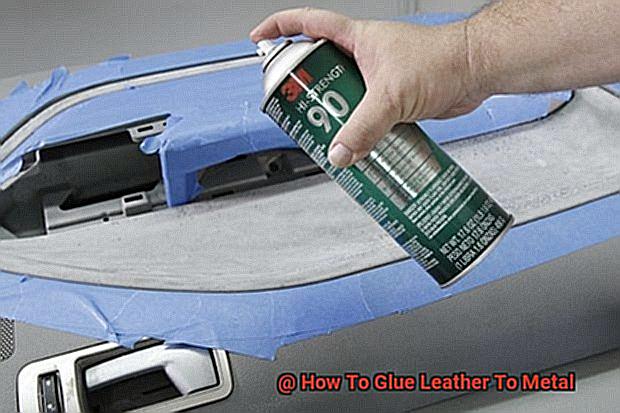
Apply Adhesive Evenly
When applying adhesive, spread it evenly and thinly over the entire surface area. This ensures that the bond is strong and uniform throughout the piece. Applying enough pressure on both surfaces while they dry helps to create a tight bond.
Allow Sufficient Drying Time
Giving enough time for the adhesive to dry and cure is essential before using or wearing the item. Depending on the adhesive used, it may take several hours or even a full day. Always follow the manufacturer’s instructions carefully for best results.
Take Care of Bonded Item
Once complete, it’s important to take proper care of your bonded leather and metal piece. Avoid exposing it to extreme temperatures or moisture that could weaken the bond over time. With proper care, your piece can last for years to come.
Bonding leather to metal may seem intimidating, but with these tips and a little patience, you’ll be able to create a strong and long-lasting bond. Remember to choose the right adhesive, thoroughly clean both surfaces, apply the adhesive evenly, allow sufficient drying time, and take care of your bonded item.
CQjsemw30m0″ >
Conclusion
In conclusion, mastering the art of gluing leather to metal can save you a pretty penny and revive your beloved accessories. The process requires precision, patience, and the right tools in your arsenal.
Selecting the appropriate adhesive is crucial since not all adhesives are created equal. For visible seams, cyanoacrylate or super glue works wonders but it’s not recommended for high-temperature environments.
For heavy-duty applications that can withstand high temperatures without breaking down, epoxy is ideal. Contact cement is another popular choice for bonding leather to metal.
Before applying any adhesive, it’s essential to clean and prepare both surfaces meticulously. Use mild soap and water for the leather and sandpaper or steel wool for the metal surface. When applying the adhesive, follow the manufacturer’s instructions carefully, allow it to dry before pressing the materials together, and use clamps or heavy objects to hold them in place while they dry.
Once the adhesive has cured, trim off any excess leather from around the edges of the metal piece with precision scissors or a sharp utility knife. For added protection against wear and tear, consider adding a clear sealant or topcoat.