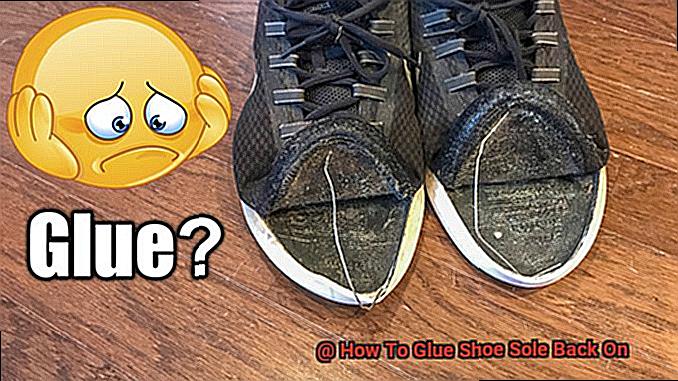
Do you find yourself frustrated with your shoes falling apart after only a few wears?
Is your favorite pair of kicks collecting dust in the back of your closet because the sole has come off? Worry not, dear reader, as I have the solution to your problem.
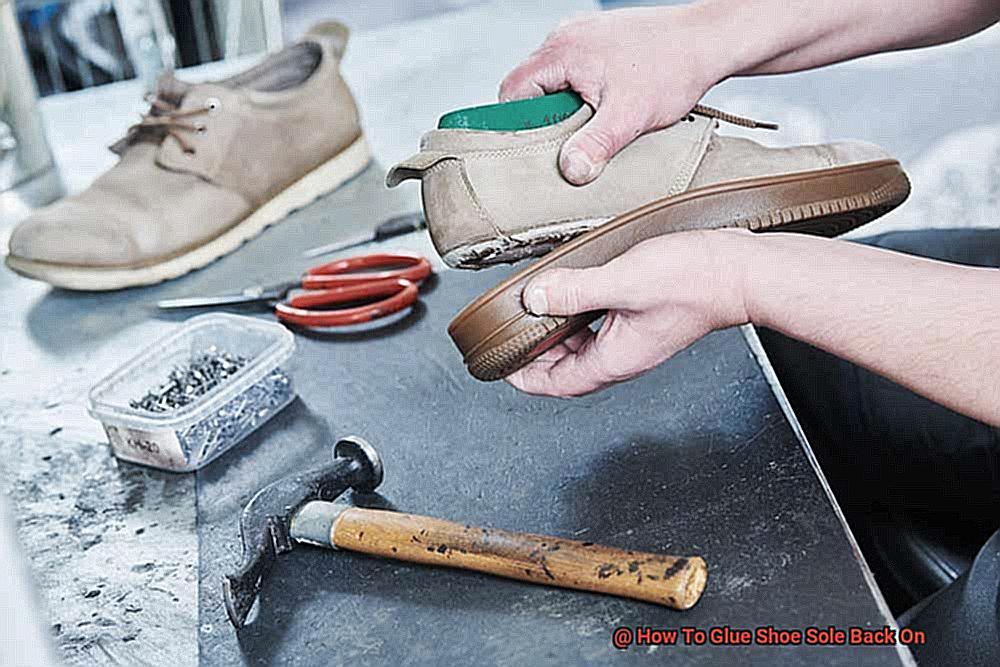
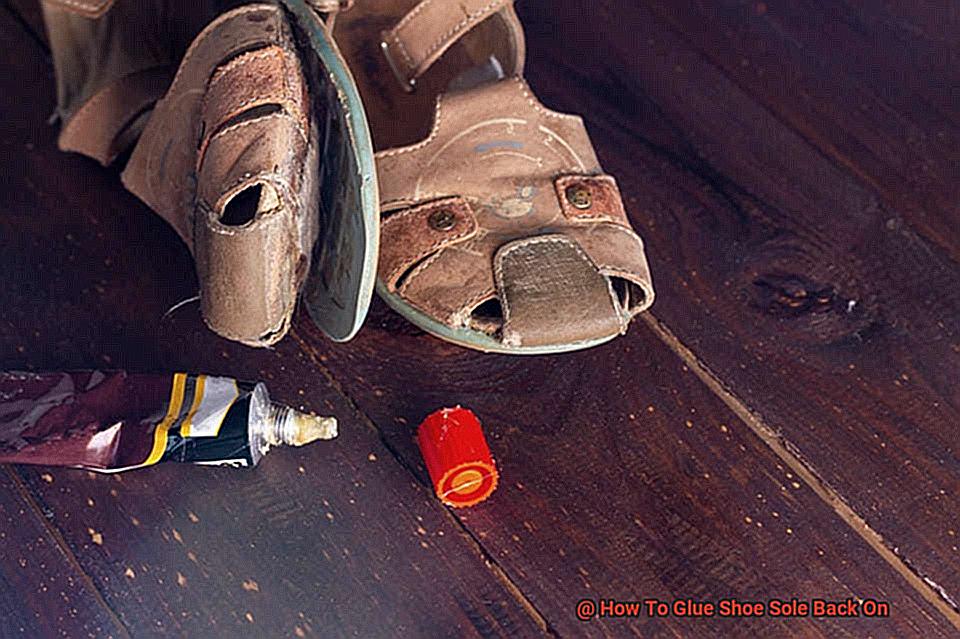
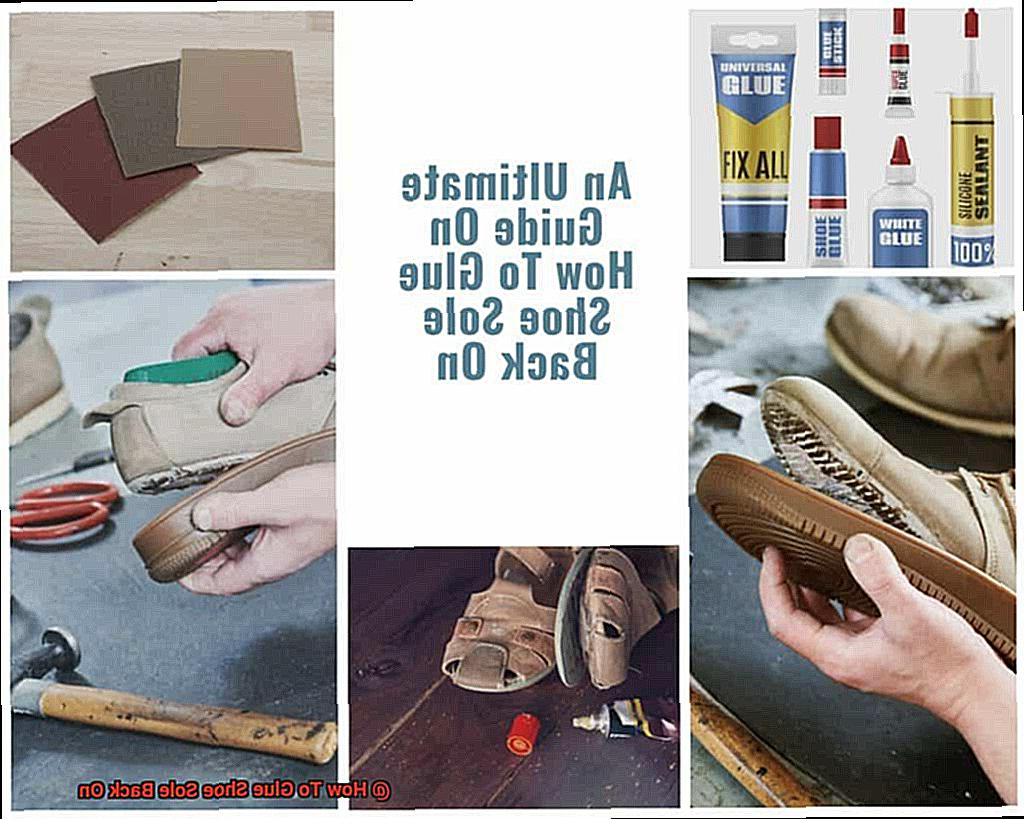
In this post, I will teach you how to glue a shoe sole back on. Whether it’s dress shoes, work boots, or sneakers, it’s never fun when the sole separates from the rest of the shoe.
But fear not, with the right approach and adhesive, you can fix this problem quickly and easily. Get ready to roll up your sleeves and follow along as I guide you step-by-step through how to glue a shoe sole back on using readily available materials.
I’ll also cover different types of glue that work best for shoe repair and provide some helpful tips to ensure that your fix is long-lasting. By the end of this post, you’ll be equipped with all the knowledge you need to tackle any shoe repair project that comes your way.
So, let’s get started.
Preparing the Shoe and Sole
Contents
With the right tools and materials, you can easily reattach the sole at home. However, before you start gluing, it’s crucial to properly prepare both the shoe and sole.
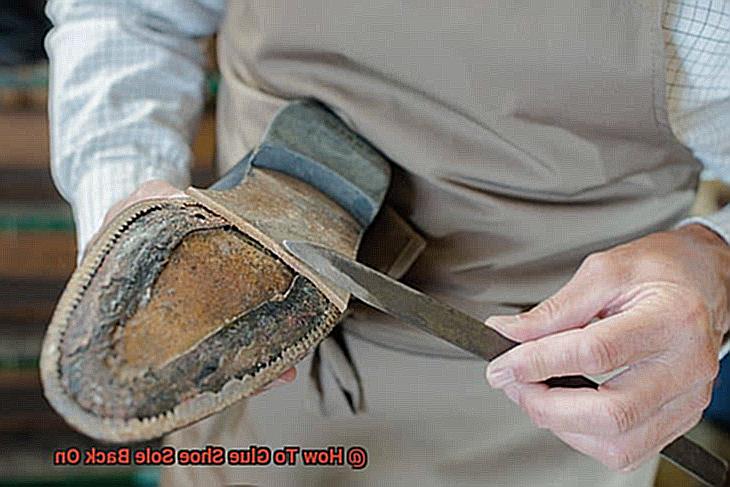
Just like painting on a canvas, the surface must be clean and smooth for the glue to adhere properly. Therefore, start by removing any dirt, debris, or old glue from both the shoe and sole.
Use a stiff brush or sandpaper to ensure that both surfaces are clean and smooth. Next, roughen up the surface of the sole where it will be attached to the shoe using sandpaper or a wire brush.
This creates a rough surface that will help the glue adhere more effectively, ensuring a strong bond that will last longer. Choosing the right type of glue is also important.
For best results, use a strong adhesive such as contact cement or shoe glue. These types of glues are specifically designed for shoes and will provide a long-lasting bond.
Before applying any glue, ensure that both the shoe and sole are completely dry. Any moisture can weaken the adhesion of the glue, so don’t rush this step.
Be patient and let everything dry completely before proceeding with the next step. Once you’ve applied the glue and pressed the sole back onto the shoe firmly, use clamps or heavy objects to keep them in place while the adhesive dries.
Different types of glue may have different drying times, so make sure to follow the instructions on your chosen adhesive. After the glue has dried completely, remove any excess adhesive with a sharp knife or sandpaper.
If there are any remaining gaps or spaces between the sole and shoe, fill them in with a flexible filler for a tight seal.
Choosing the Right Glue
First, we have cyanoacrylate, also known as superglue.
This popular glue is famous for its quick-drying and strong adhesive properties, making it ideal for quick repairs. However, it may not be the best choice for all types of shoes, especially those made from materials sensitive to heat or moisture.
So, if you’re dealing with such shoes, you may want to think twice before reaching for this glue. Next on the list is epoxy glue, which is known for its exceptional strength and durability.
This type of glue works by mixing two components together to create a strong adhesive bond that can withstand heavy use or stress, making it perfect for work boots or athletic shoes. You can rest assured that your repaired shoe will have a new lease of life with epoxy glue.
For shoes made from leather or other porous materials, contact cement or rubber cement may be the best choice. These glues are designed to adhere well to porous surfaces and provide a strong bond that will hold up over time.
Plus, they’re flexible enough to allow for natural movement when walking. However, it’s essential to note that not all glues are suitable for all types of shoes.
Before choosing a glue, consider the material your shoes are made from and any specific instructions or recommendations provided by the manufacturer. If you’re unsure about which type of glue to use, it’s always best to consult with a professional shoe repair technician who can offer guidance based on their experience and expertise.
So, choosing the right glue for shoe repairs is crucial. It’s like completing a jigsaw puzzle; every piece has to fit perfectly to complete the picture.
Applying the Glue
With the right glue and application techniques, you can easily reattach the sole and give your shoes a second chance at life. To get started, it’s important to clean and dry both the sole and shoe surface thoroughly.
This will ensure that the glue adheres properly and creates a strong bond that can withstand wear and tear. When it comes time to apply the glue, use a small brush or applicator to evenly apply it to both surfaces.
Be careful not to go overboard with the glue, as too much can make a mess. Conversely, not using enough glue will result in a weak bond that won’t hold up over time.
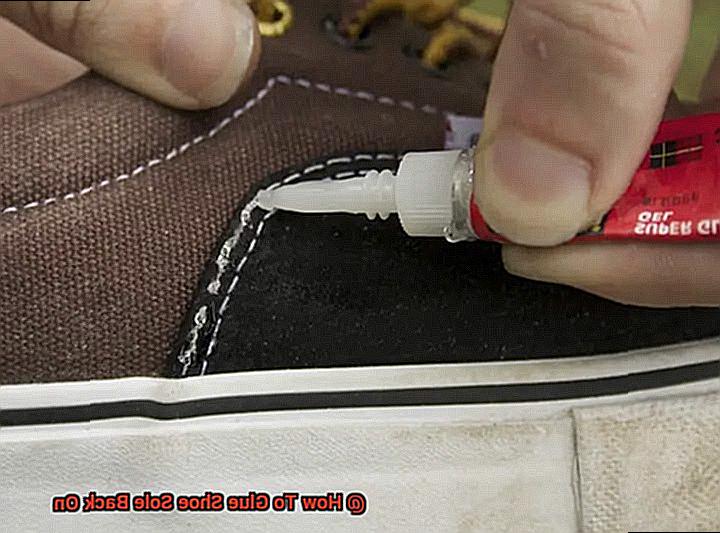
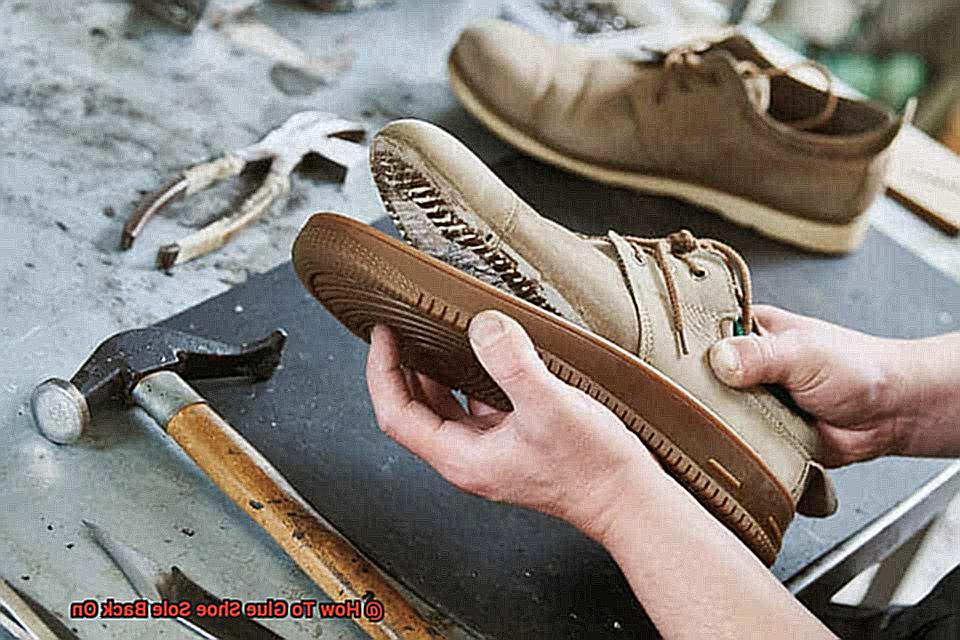
After applying the glue, gently press the sole back onto the shoe, making sure it lines up correctly. Applying even pressure across the entire sole is crucial for ensuring that it adheres properly.
Depending on the type of glue used, you may need to clamp or weigh down the shoe for a few hours to allow it to dry and set completely. It’s important to note that different types of shoes and soles require different types of glue for optimal results.
Securing the Sole
You understand the frustration of a sole that starts to come loose.
But don’t toss those shoes just yet – with the right glue and technique, you can revive them. And one critical step in the process is securing the sole.
Think of it like constructing a sturdy house. You wouldn’t just lay down a foundation and hope for the best – you’d use tools and techniques to ensure every brick is in its proper place and secure.
The same goes for gluing a shoe sole back on. You don’t want to just apply glue and hope it sticks – you need to properly secure the sole to ensure that it stays in place and adheres correctly.
Clamps are an excellent tool for this job, as they distribute pressure evenly across the entire surface area of your shoe. Think of clamps like a solid hug – they hold everything in place nice and tight without causing any harm.
However, be sure to use enough clamps to cover the entire sole, as any gaps or areas where the sole isn’t held tightly could result in faulty adhesion. Weights can also be used if clamps aren’t available, but they may not be as effective because they don’t distribute pressure evenly.
Think of it like trying to balance a stack of books on your head versus holding them in your arms – there’s just no comparison. But if you’re out of clamps, weights can still provide some level of pressure to hold the sole in place.
And don’t forget about applying pressure directly to specific areas of the shoe with a rolling pin or another object. This helps ensure that every nook and cranny gets enough attention and pressure for proper adhesion.
Drying and Finishing
When it comes to repairing a shoe sole, the final touches of drying and finishing are crucial to achieving a perfect result.
After applying the glue and pressing the sole onto the shoe, it’s important to resist the urge to rush the process. Just like a cake needs time to bake, the glue needs time to fully dry and set.
Depending on the type of glue used and the temperature and humidity of the environment, this could take anywhere from a few hours to overnight. While waiting for the glue to dry, it’s recommended to place a heavy object on top of the shoe to ensure even pressure and adhesion.
This step is like adding weights at the gym – uncomfortable in the moment, but ultimately leading to a stronger result. It’s important not to move or disturb the shoe during this time as it may compromise the bond between the sole and shoe.
Once the glue has dried completely, any excess glue can be removed using a clean, dry cloth or cotton swab. This step is like wiping away crumbs after a meal – necessary for a clean and polished look.
It’s important not to use water or any other liquid as it may weaken the bond between the sole and shoe. To add that final touch, you can use a leather conditioner or protectant on the sole and shoe.
Using proper techniques and following product instructions carefully is important for achieving optimal results.
Filling in Gaps and Spaces
Before anything else, let’s inspect the shoe sole for any gaps or spaces. These areas can cause the glue to fail, leading to the sole eventually coming off again.
So, it’s essential to use a shoe repair filler to create a strong bond between the sole and upper. Shoe repair fillers come in a variety of colors to match your shoe’s color and are made up of rubber, leather, and latex.
But before applying the filler, make sure to clean the area thoroughly. Any dirt or debris left behind can weaken the bond between the filler and sole.
Once the area is clean, apply a small amount of filler using a putty knife or spatula. Smooth out the filler and remove any excess before it dries.
After drying, sand down the filler to ensure that it’s level with the surrounding area. Sanding also creates a rough surface for the glue to bond to.
Now that we’ve filled in any gaps or spaces, it’s time to proceed with gluing the shoe sole back on. Follow the manufacturer’s instructions for applying the glue and allow it to dry completely before wearing your shoes again.
So, filling in gaps and spaces is an important step when repairing a shoe sole. It creates a stronger bond between the sole and upper, preventing any future mishaps.
IdM-a8be7QM” >
Conclusion
In conclusion, fixing a shoe sole may seem like a daunting task, but with the right tools and techniques, it’s actually quite simple to glue a shoe sole back on.
To ensure optimal results, it’s crucial to properly prepare both the shoe and sole by removing any dirt or debris and roughening up the surface of the sole where it will be attached to the shoe. Choosing the right type of glue is also key – cyanoacrylate works well for quick repairs, while epoxy glue is known for its exceptional strength and durability.
For shoes made from leather or other porous materials, contact cement or rubber cement may be the best choice. Once you’ve applied the glue, securing the sole is critical to ensure that it stays in place and adheres correctly.
Clamps are an excellent tool for this job as they distribute pressure evenly across your entire shoe’s surface area. Lastly, filling in gaps and spaces with a shoe repair filler creates a stronger bond between the sole and upper, preventing any future mishaps.
By following these steps carefully, you’ll be able to give your favorite pair of kicks a new lease on life without frustration over shoes falling apart after only a few wears.