You’ve got this amazing heavy mirror that’s just begging to be hung on your wall. But how do you make sure it stays put? Fear not, my friend.
In this blog post, I’ll guide you through the simple yet essential steps to securely glue that mirror in place.
Preparation:
- First things first, clean that wall like there’s no tomorrow. Get rid of any dirt or dust using a mild cleaner, and let it dry completely.
- Next, find the perfect spot for your mirror. Make sure it’s away from any potential accidents waiting to happen.
- Use a pencil or tape to mark where you want that beauty to hang.
Adhesive Selection:
- You need the right glue for the job. Look for heavy-duty adhesive made specifically for mirrors and compatible with your wall surface.
- Don’t skimp on quality here. Invest in an adhesive that can handle the weight of your mirror and create a rock-solid bond.
Attaching the Mirror:
- Apply the adhesive on the back of the mirror in a zigzag or circular pattern. Pay extra attention to those outer edges and corners – they need all the support they can get.
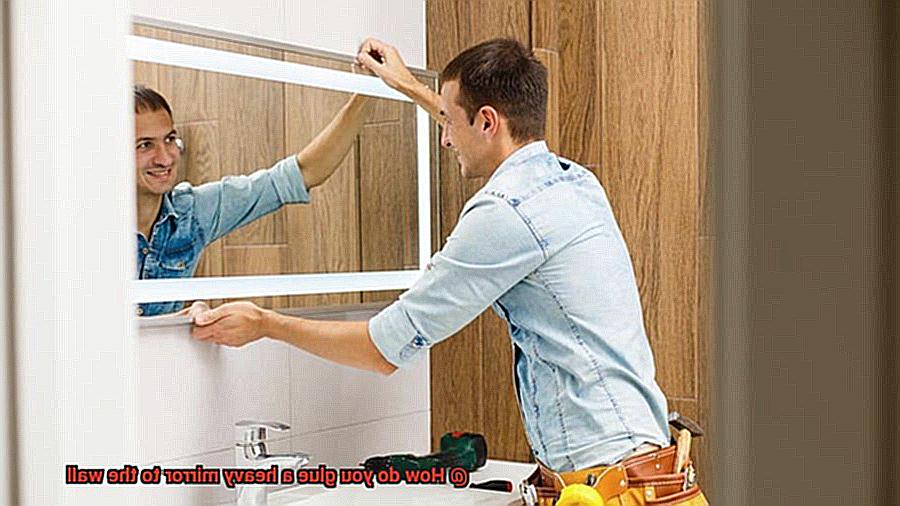
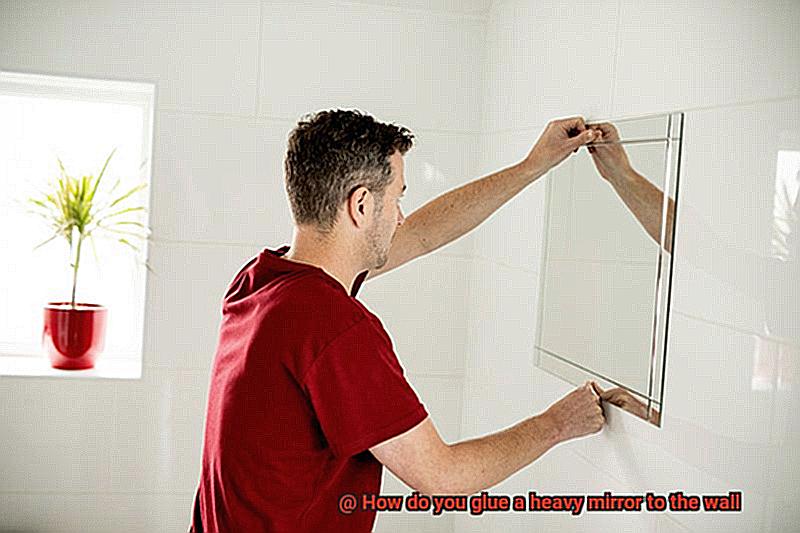
- Gently position the mirror on the wall, aligning it with your markings.
- Press that bad boy against the wall firmly and hold it steady for a few minutes. Let that adhesive work its magic.
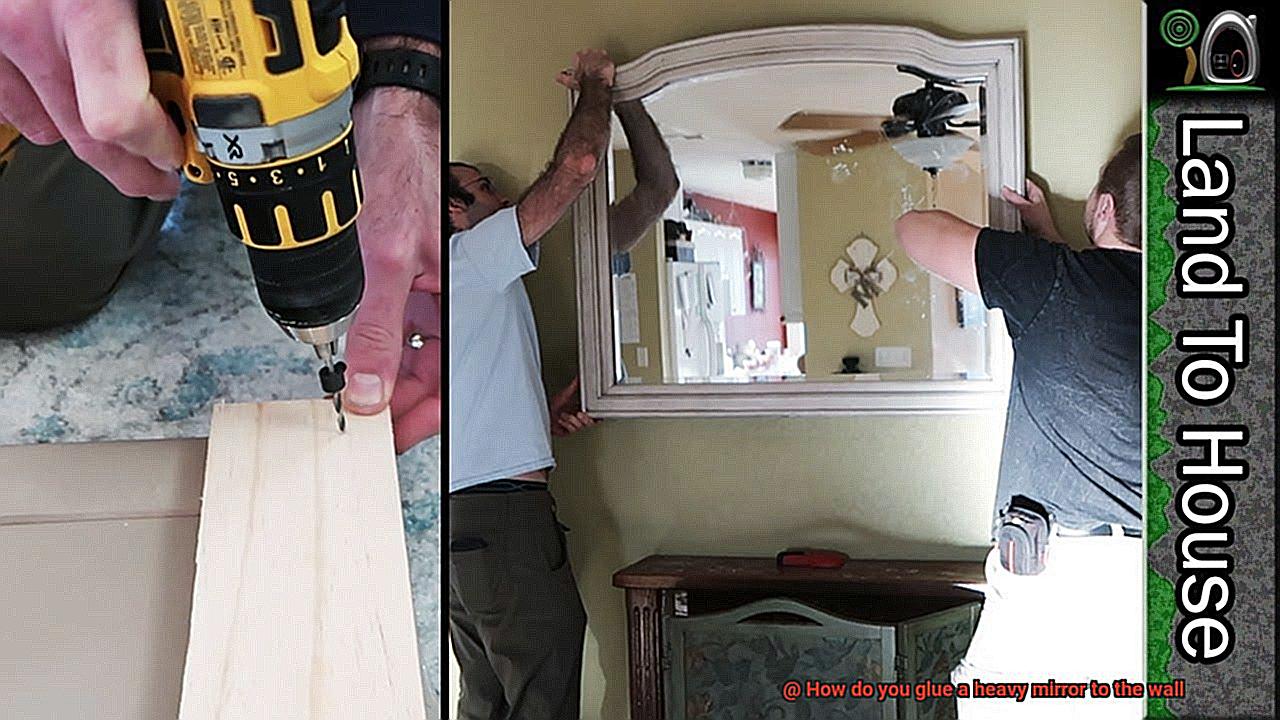
- For extra security with larger mirrors, consider using mirror brackets or clips as backup support.
Patience is Key:
- Now comes the hard part – waiting. Give that adhesive enough time to dry according to the manufacturer’s instructions before removing any support or adjusting the mirror.
- Be patient. Don’t go hanging heavy stuff on it or pushing too hard until that glue has fully cured.
Choosing the Right Adhesive
Contents
Mounting a heavy mirror to a wall can be a daunting task, but with the right adhesive, it can be done effectively and securely. In this guide, we will explore the importance of selecting the appropriate adhesive for this job and provide you with practical tips to ensure a successful installation.
When it comes to gluing a heavy mirror to the wall, choosing the right adhesive is crucial for ensuring its stability and longevity. Here are some key considerations to keep in mind:
- Surface Compatibility: Different adhesives work best on different surfaces. Ensure that the adhesive you choose is compatible with the wall material. For drywall surfaces, using a drywall adhesive is recommended, as it adheres well and provides a strong bond.
- Weight Capacity: Check the weight limitations of the adhesive to ensure it can support your mirror’s weight. Construction adhesives designed for heavy-duty applications are often recommended, as they are strong, durable, and capable of supporting significant weight.
- Manufacturer’s Instructions: Follow the manufacturer’s instructions carefully when applying the adhesive. Apply it evenly and in the recommended amount to achieve optimal bonding.
Proper surface preparation is also essential for achieving a strong bond. Clean the wall surface thoroughly, removing any dust, debris, or grease that could affect adhesion. Make sure the wall is dry before applying the adhesive.
In addition to selecting the right adhesive, consider using additional support methods such as mirror clips, brackets, or a French cleat system for added stability, especially for larger and heavier mirrors.
Preparing the Wall Surface
Before you embark on this exciting project, it’s crucial to prepare the wall surface properly. You don’t want your mirror crashing down unexpectedly, do you? Let’s walk through the steps involved in getting your wall ready for this transformation.
Step 1: Clean it up.
Dust, dirt, and grease are the mortal enemies of adhesive. Grab a mild detergent and water solution and scrub that wall clean. Once done, wipe it dry with a clean cloth. A clean surface is essential for a strong bond.
Step 2: Fill in the gaps.
Inspect your wall for holes or cracks and fill them up using a suitable wall filler or spackling compound. You want a smooth surface for the mirror to adhere properly. If needed, grab some sandpaper to make it even and level. Trust me, it’s worth the extra effort.
Step 3: Prime time.
Priming gives your wall a little boost before gluing on that heavy mirror. Apply a thin coat of primer evenly over the area where the mirror will be attached. This step improves adhesion and provides a stable base for mounting heavy objects.
Step 4: Enhance the bond.
To take things up a notch, consider using a bonding agent or adhesive promoter on the wall surface. These products work wonders in increasing the strength and durability of the adhesive bond. Just be sure to follow the manufacturer’s instructions carefully.
Step 5: Mark your spot.
Before diving into gluing, take a moment to determine the exact placement of your mirror on the wall. Use a pencil or tape to mark the desired location, ensuring it’s level and centered. This step will save you from any crooked mishaps later on.
Locating the Studs
Safeguarding your heavy mirror against gravity’s relentless pull requires pinpoint accuracy when locating the studs in your wall. These sturdy vertical beams form the bedrock of support, ensuring the mirror’s stability and averting any potential accidents or unsightly damage.
In this comprehensive guide, we will unlock the secrets to locating studs using various methods, ranging from the high-tech prowess of stud finders to the artful tapping technique.
Additionally, we will delve into the realm of gluing mirrors, offering insights for those seeking a seamless and aesthetically pleasing alternative.
The Mighty Stud Finder:
Harnessing the power of modern technology, stud finders are indispensable tools that employ sensors to detect subtle changes in density behind your wall’s facade. Unlock their full potential by following these steps:
- Acquire a reliable stud finder that boasts glowing reviews from seasoned professionals.
- Press the stud finder firmly against the wall and glide it horizontally with measured precision until it triumphantly detects a stud (cue triumphant beeping or illuminating display).
- Leave your mark of victory by deftly outlining each stud’s location using a trusty pencil or masking tape.
The Tapping Tango:
For those seeking an alternative method devoid of sophisticated gadgetry, let your knuckles or a nimble hammer lead the way:
- Perform a delicate tap dance upon your wall’s surface, allowing your senses to discern subtle variations in sound.
- Listen intently for the solid thud that emanates from a stud, distinguished from the hollow echoes resonating through vacant spaces.
- Embark on an auditory exploration, boldly marking each spot where the symphony of sound changes its tune.
The Subtle Whispers:
Sometimes, your eyes hold the key to unraveling this enigmatic puzzle:
- Train your gaze upon the wall’s canvas, seeking the faint brushstrokes of imperfections or lines that betray the presence of nails or screws dutifully securing the drywall to the sturdy studs.
- Electrical outlets and switches, steadfast soldiers in their allegiance to studs, provide an invaluable guide by proudly adorning the walls they serve.
The Known Anchor:
With one stud discovered, illuminate the path to all others using a humble measuring tape as your trusty guide:
- In most dwellings, studs stand united, spaced a predictable 16 or 24 inches apart.
- Measure from your newfound anchor, meticulously mapping out the locations where fellow studs should reside.
Marking the Mirror Position
Mirror installations are a delicate balance between precision and style. Imagine a beautifully crafted mirror gracing your wall, reflecting elegance and adding depth to your space. However, before you embark on the gluing process, it is crucial to understand why marking the mirror position is vital for a flawless installation.
Visualize and Plan:
Before diving into any project, envision and plan the perfect spot for your mirror. Consider room layout, mirror size and weight, and existing décor elements that can influence its placement. Take your time to visualize how the mirror will enhance your space, creating a harmonious ambiance.
Gather Your Tools:
Accurate marking requires the right tools. Arm yourself with a measuring tape for precise dimensions, a pencil or marker for clear markings, a level for perfect alignment, and painter’s tape as an alternative marking method. These tools are your trusty allies in achieving accuracy and professionalism.
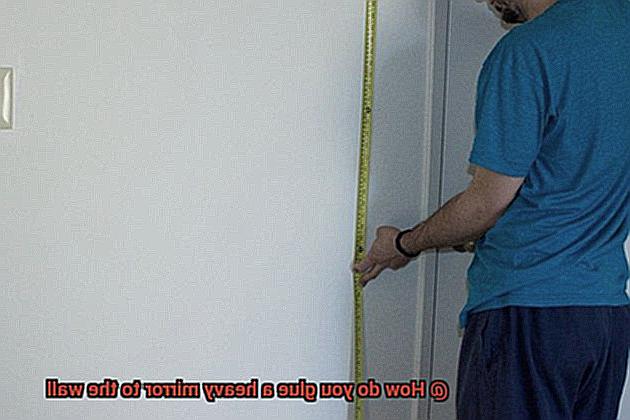
Measure and Mark:
Translate the mirror’s width and height onto the wall using a pencil or marker. This step provides a clear reference for positioning and prevents unpleasant surprises later on. Remember, measure twice, mark once.
Level It Up:
Ensure perfectly horizontal or vertical markings by using a trusty level. Place it on top of your markings, adjusting as needed until the bubble is centered. This simple step guarantees a balanced and visually pleasing mirror display.
Painter’s Tape Hack:
Concerned about leaving marks? Fear not. Substitute pencil or marker marks with painter’s tape. Apply small pieces of tape where your mirror will be positioned. When it’s time to glue or hang your mirror, removing the tape leaves no residue or marks behind.
Double-Check and Adjust:
Stand back and assess the mirror’s position. Consider hanging height and overall compatibility with the room’s aesthetics. Make necessary adjustments to your markings until you are satisfied with the final position. Trust your keen eye for design.
Applying the Adhesive
Transforming your space with a stunning heavy mirror is an art form in itself. However, ensuring that the mirror stays securely affixed to the wall requires careful consideration and application of adhesive. In this comprehensive guide, we will take you through the step-by-step process of properly applying adhesive to glue a heavy mirror to your wall, ensuring a strong and long-lasting bond that will captivate anyone who lays eyes on it.
Choose the Right Adhesive:
The first step in this adhesive masterpiece is selecting the perfect adhesive for the job. Opt for a strong adhesive specially designed for heavy objects and suitable for use on walls. Consider options like construction adhesive, mirror adhesive, or epoxy adhesive, as they offer optimal strength and durability.
Prepare the Surfaces:
Before diving into the gluing process, it is crucial to prepare both the wall and the back of the mirror. Take the time to thoroughly clean and dry both surfaces, eliminating any dust, grease, or residue that could compromise the bond. A gentle solution of mild detergent and water will work wonders. Allow ample time for both surfaces to dry completely before proceeding.
Apply the Adhesive:
With surfaces prepped and ready, it’s time to apply the adhesive. Follow the manufacturer’s instructions carefully, as different adhesives may have specific application requirements. Use a caulking gun or putty knife to ensure an even distribution of adhesive on either the wall or the back surface of the mirror.
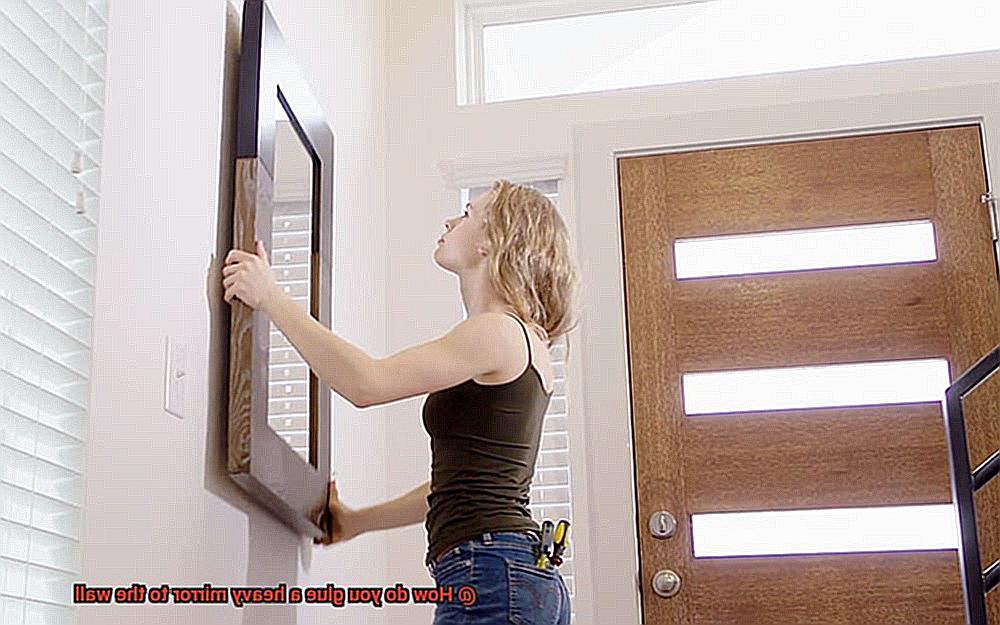
Position and Press:
Once the adhesive is applied, gently position the mirror against the wall, taking care to align it properly. With a firm yet gentle touch, press the mirror against the wall, allowing the adhesive to set and form a robust bond. Hold it in place for a few minutes, ensuring a secure connection.
Provide Additional Support:
To safeguard against any accidental movement or displacement during the drying process, employ temporary supports such as wooden blocks or braces against the mirror. These supports will provide stability and maintain the mirror’s position until the adhesive fully cures.
Allow Sufficient Curing Time:
Patience is key when it comes to adhesive artistry. Refer to the manufacturer’s instructions for the recommended curing time of the specific adhesive used. Resist the urge to remove any temporary supports or subject the mirror to stress until the adhesive has completely cured. This vital step ensures a bond that will stand the test of time.
Securing the Mirror to the Wall
In this guide, we’ll dive into the world of adhesives and show you how to ensure that your mirror stays put, creating a stunning focal point in your space.
Choosing the Right Adhesive:
When it comes to securing mirrors, not all adhesives are created equal. You’ll want to use a strong adhesive that is specifically designed for mirrors and can support the weight of your chosen mirror.
Look for reputable brands like Liquid Nails Mirror Adhesive or Loctite PL Premium Construction Adhesive. These adhesives are known for their high bonding strength and ability to withstand heavy loads.
Preparation is Key:
Before applying any adhesive, it’s crucial to prepare the wall surface properly. Cleanliness is key here – make sure the wall is clean, dry, and free from any dust or debris. This will provide a solid foundation for the adhesive to bond with. Use a mild detergent or cleaner to remove any dirt or grease, and allow the wall to dry completely before proceeding.
Applying the Adhesive:
Once your wall is prepped, it’s time to apply the adhesive to your mirror. Start by applying it in a zigzag or bead pattern on the back of the mirror, making sure to cover the entire surface evenly. Don’t be shy with the amount of adhesive used, especially if you’re dealing with a larger mirror. The adhesive should form a continuous layer, providing maximum contact between the mirror and the wall.
Positioning and Securing:
Now comes the exciting part – positioning your mirror on the wall. Carefully align it with any markings or guidelines you’ve made. Take your time to ensure that it is level and centered. Once in position, press firmly against the wall to ensure proper adhesion. Apply even pressure across the entire surface of the mirror, using a clean cloth or a roller to eliminate any air bubbles.
Additional Support:
To provide extra support and prevent any sliding mishaps, consider using mirror clips or brackets. These can be attached to the wall and secured onto the edges of the mirror. Make sure to follow the manufacturer’s instructions for installation, ensuring that they are properly anchored to the wall for maximum stability.
Follow Manufacturer’s Instructions:
Remember, each adhesive product has its own set of instructions. Take the time to read and follow them meticulously. This includes allowing sufficient drying time before removing any temporary supports or placing stress on the mirror. Rushing this step can compromise the adhesive bond and result in a less secure mounting.
Additional Support for Heavy Mirrors
Hanging a heavy mirror can be a daunting task. The weight of these decorative beauties can strain even the mightiest adhesive. But fear not. We have the solution to your hanging woes. Let’s explore some additional support options that will ensure your mirror stays securely in place.
- Mirror Clips or J-Channels: These metal brackets are a popular choice for extra support. Screw them into the wall and attach them along the sides and bottom of the mirror. This evenly distributes the weight, preventing wobbling or sagging.
- French Cleat System: For larger and heavier mirrors, the French cleat system is a game-changer. Attach a wooden cleat to both the wall and the back of the mirror. These cleats interlock, creating a sturdy and stable mount. It’s like giving your mirror a big bear hug.
- Masonry Anchors or Toggle Bolts: When dealing with extremely heavy mirrors, adhesive alone may not cut it. Use masonry anchors or toggle bolts in conjunction with adhesive. These hardware options anchor the mirror directly into the wall, providing additional strength.
- Consult a Professional: If you’re unsure about your wall’s weight capacity or have concerns about installation, call in the experts. A professional can assess your needs and recommend the best support methods for your situation.
Remember, cleanliness is key. Thoroughly clean both the wall surface and the back of the mirror before applying adhesive or installing hardware. This ensures optimal adhesion and stability.
Considerations Before Gluing a Heavy Mirror to the Wall
Before you dive into the adhesive adventure, let’s go over some important considerations. We don’t want any mishaps or accidents, do we? Let’s get started.
First and foremost, the weight and size of your mirror are crucial factors to consider. You definitely don’t want that beauty crashing down on you, so make sure to choose a heavy-duty adhesive specifically designed for mirrors or large objects. Quality matters here, my friends.
Next up, let’s think about your wall surface. Is it drywall, plaster, or concrete? Each type requires a different approach. It’s essential to choose an adhesive that is suitable for your specific wall surface to ensure a secure bond. We definitely don’t want any cracks or damage to the wall, right?
Now, let’s consider the location where your mirror will be hanging out. Is it going in a high-traffic area like a hallway or living room? Or perhaps it’s destined for a steamy bathroom? If that’s the case, opt for an adhesive that can handle moisture and constant use. We don’t want that beautiful mirror slipping and sliding away.
Don’t forget to prep that wall. Cleanliness is key to optimal adhesion. Give your wall a good scrub to remove any dirt or debris and ensure a smooth surface. And remember, measure twice and mark the desired placement before diving into the adhesive adventure.
Safety first, folks. Heavy mirrors require extra caution. Get a buddy to assist during installation, especially if it’s a big one. And protect those precious hands and eyes with gloves and eyewear. Safety is always in style.
Also Read: How To Glue Mirror On Wall Without Nails?
Conclusion
Gluing a heavy mirror to your wall requires careful consideration and precise execution. The first step is selecting an adhesive specifically formulated for mirrors and walls – one that boasts strength and reliability. Don’t skimp on this crucial component. Before applying any glue, meticulously cleanse your wall’s surface from dust, grime, and grease; these pesky culprits can hinder optimal adhesion.
With cleanliness achieved, it’s time to wield your chosen adhesive like an artist with their brush – spreading it evenly across the mirror’s backside using either a notched trowel or another suitable tool of choice. Remember: moderation is key here; too much glue could burden your wall with unnecessary weight.
Now comes the moment of truth – gently but firmly press your prized mirror against its designated spot on the wall. Maintain this pressure for several minutes, allowing the adhesive to form a strong bond. Adhere to any specific drying time and weight limit instructions provided by the adhesive manufacturer; they hold the secrets to longevity.
For added peace of mind, consider employing supplementary support such as brackets or clips, especially if your mirror leans towards the larger and heavier side. These reinforcements will fortify your installation, ensuring it withstands the test of time.