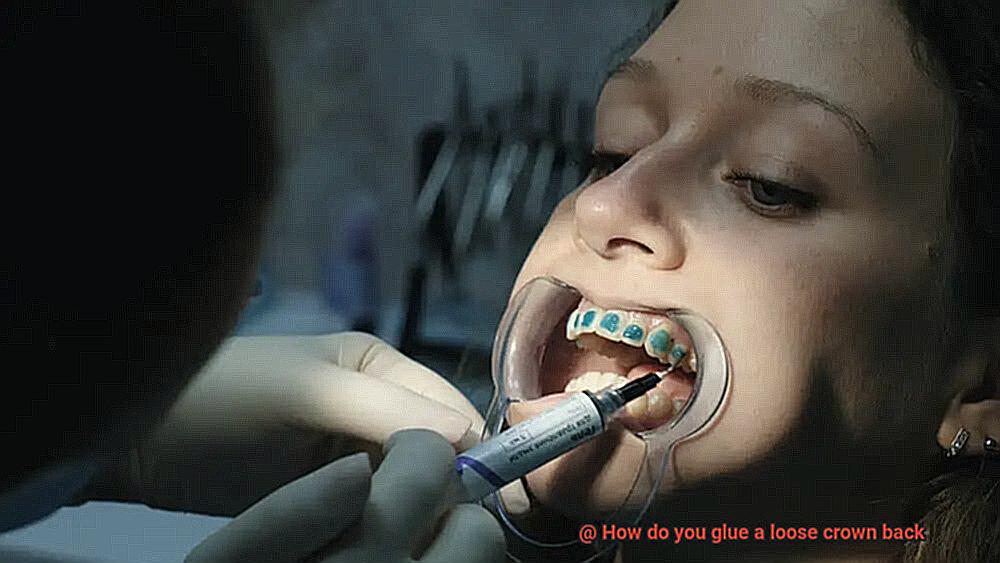
Got a loose dental crown? No worries. We’ve got your back. In this guide, we’ll show you how to safely glue that pesky crown back in place, saving you time and money. With just a few tools and a little patience, you’ll have your smile shining again in no time. So let’s jump right in and learn how to fix that wobbly crown.
But before we dive into the nitty-gritty, it’s important to note that these instructions are only for temporary fixes. To ensure a long-term solution, make sure to seek professional dental care. Now, grab these materials:
Now that you’ve got everything ready, let’s move on to the step-by-step process of gluing that loose crown back where it belongs.
Gathering the Necessary Materials
Contents
- 1 Gathering the Necessary Materials
- 2 Preparing the Crown and Tooth for Glueing
- 3 Applying the Adhesive or Cement to the Crown
- 4 Placing the Crown Back onto Your Tooth
- 5 Holding the Crown in Place Until Set
- 6 Removing Excess Material with Dental Floss
- 7 Seeking Professional Dental Care After Gluing
- 8 Tips for Successfully Gluing a Loose Crown
- 9 Conclusion
When faced with the inconvenience and discomfort of a loose crown, it is essential to act swiftly to prevent further damage. While seeking professional dental care is crucial, there are temporary solutions that can be employed at home. In this guide, we will explore the necessary materials needed for gluing a loose crown back in place and provide step-by-step instructions to navigate this dental emergency with confidence.
Materials You’ll Need:
- Dental adhesive or dental cement: Choose a specialized adhesive designed specifically for dental applications. Ensure compatibility with your specific crown material. This adhesive creates a strong bond while being safe for oral use.
- Clean and well-lit workspace: Find an area with ample lighting where you can comfortably work on reattaching the loose crown. A clutter-free environment allows for better focus and precision.
- Mirror: A mirror is indispensable in accurately positioning the crown and making necessary adjustments. It provides a clear view of the inner mouth, aiding in proper alignment.
- Cotton swabs or dental floss: These tools serve multiple purposes. They assist in cleaning the inner surface of the crown, removing debris or residual cement from previous applications. They also aid in maintaining oral hygiene during the procedure.
- Timer or stopwatch: Dental adhesives have specific curing times. Having a timer ensures accurate tracking of the duration required for the adhesive to set properly.
Preparing the Crown and Tooth for Glueing
A loose crown can be a dental emergency that affects both your confidence and comfort. But fear not. With a little know-how and the right tools, you can easily prepare the crown and tooth for gluing like a pro. In this comprehensive guide, we’ll take you through the step-by-step process, ensuring a secure and long-lasting bond that will leave you smiling confidently.
Step 1: Cleanliness is Key
- Gently brush the crown using a soft toothbrush and toothpaste to remove any debris, being cautious not to apply excessive pressure or scrub too vigorously.
- Clean the tooth itself using dental floss or an interdental brush to eliminate plaque or food particles that may have accumulated around the area.
- Thoroughly dry both the crown and tooth surfaces using a clean, dry tissue or cotton ball to ensure complete dryness, as moisture can hinder the bonding process.
Step 2: Enhancing Adhesion
Step 3: Applying the Adhesive
- Follow the manufacturer’s instructions for applying a resin-based dental adhesive or bonding agent that facilitates a strong bond between the crown and tooth.
- Carefully place the crown onto the prepared tooth, ensuring proper alignment and seating. Remove any excess adhesive using a dental instrument or floss.
Step 4: Secure Bonding
- Apply gentle pressure to the crown by biting down on gauze or cotton, or use a dental instrument to exert light pressure. This encourages full curing of the adhesive and ensures a secure bond.
Step 5: Finishing Touches
- Remove any excess adhesive from around the crown using a dental instrument or floss, taking care not to dislodge the crown or damage the surrounding teeth.
Applying the Adhesive or Cement to the Crown
Dealing with a loose crown can be incredibly frustrating, but fear not. With the right knowledge and technique, you can fix it like a pro. In this step-by-step guide, we’ll walk you through the process of applying adhesive or cement to a loose crown, ensuring it stays securely in place and functions effectively.
Step 1: Cleanse and prepare:
Before applying any adhesive, it’s vital to start with a clean slate. Gently brush the crown with a soft toothbrush, removing any debris or plaque that may have accumulated. Take dental floss and clean between the crown and adjacent teeth, ensuring there are no hidden particles. A thoroughly cleansed crown and tooth are crucial for a successful application.
Step 2: Choose the right adhesive:
Selecting the appropriate adhesive or cement is paramount for a secure fit. Consider the type of crown and tooth material when making your choice. There are various options available, such as resin-based adhesives or glass ionomer cements. Follow the manufacturer’s instructions to prepare the adhesive, mixing together the necessary components until achieving the desired consistency.
Step 3: Apply with precision:
Using a small brush or applicator, carefully apply a thin layer of adhesive to the inner surface of the crown. Exercise caution here – less is more. Avoid over-application to prevent excess material from seeping out when placing the crown back on the tooth.
Step 4: Secure placement:
Gently position the crown back onto the tooth, ensuring a snug fit and proper alignment with neighboring teeth. Apply gentle pressure to facilitate effective bonding of the adhesive. This step is crucial for long-lasting stability.
Step 5: Eliminate excess material:
Act swiftly in removing any excess adhesive using a dental instrument or clean cotton swab. This necessary step prevents discomfort and potential interference with your bite. Don’t let excess adhesive spoil the final result.
Step 6: Allow time to set:
Resist the temptation to rush the process. Follow the manufacturer’s instructions for the recommended setting time. This period allows the adhesive to bond effectively, ensuring a secure hold and longevity for your crown.
Placing the Crown Back onto Your Tooth
Your crown has become loose and you’re wondering how to fix it. Don’t worry, we’ve got you covered. In this comprehensive guide, we’ll walk you through the process of placing the crown back onto your tooth like a pro. So let’s get started.
Step 1: Cleanse and Prepare
Before attempting to reattach the crown, it’s crucial to clean both the crown and the tooth thoroughly. Grab your trusty toothbrush and some toothpaste, and gently brush the crown to remove any debris or old adhesive. Rinse it with water and pat it dry with a clean towel.
Now it’s time to clean the tooth underneath the crown. Use dental floss to remove any pesky food particles that may have accumulated. Then, brush the tooth with toothpaste and rinse it thoroughly. We want to create a clean canvas for the crown to adhere to.
Step 2: Choose the Right Adhesive
Now that everything is squeaky clean, it’s time to choose the right dental adhesive. Head over to your local pharmacy or dental supply store and look for an adhesive specifically designed for crowns. These adhesives are formulated to provide a strong bond and ensure long-lasting results.
Step 3: Apply Adhesive with Precision
Carefully apply a small amount of dental adhesive onto the inner surface of the crown. Remember, a little goes a long way. You don’t want to use too much adhesive as it can cause discomfort or interfere with your bite. Spread the adhesive evenly using a cotton swab or your finger, making sure to cover the entire surface.
Step 4: Secure Placement
With adhesive applied, it’s time to carefully position the crown back onto your tooth. Take your time and ensure that it fits snugly and aligns properly with your other teeth. Gently press down on the crown to secure it in place. You should feel a slight resistance as the adhesive begins to bond.
Step 5: Eliminate Excess Material
If you notice any excess adhesive seeping out, don’t panic. Grab a clean cotton swab or a toothpick and gently remove the excess material. This will not only make your crown look more aesthetically pleasing but also prevent any discomfort caused by bulky adhesive.
Step 6: Allow Time for Adhesive to Set
Dental adhesive may take some time to set, so it’s important to follow the instructions provided with the adhesive regarding how long you should avoid eating or drinking. Give the adhesive ample time to bond and solidify, ensuring a secure fit for your crown.
Step 7: Resume Normal Routine
Once the adhesive has fully set, you can resume your normal eating and oral hygiene routine. However, it’s crucial to be gentle when brushing around the crown to avoid dislodging it again. Treat your crown with care and it will serve you well.
Holding the Crown in Place Until Set
We’ve all experienced that unsettling feeling of a loose dental crown. There are simple and effective temporary solutions to keep that crown securely in place until it can be properly set with glue.
One option is dental floss. That thin string we use to clean between our teeth can also come to the rescue when it comes to holding a loose crown. Take a piece of floss, gently tie it around the tooth adjacent to the loose crown, and voila. This makeshift support will help keep the crown in position temporarily.
If you’re looking for something more adhesive, denture adhesive is your go-to solution. Apply a small amount of adhesive to the inner surface of the loose crown, carefully place it back onto the tooth, and feel the secure hold. The adhesive provides temporary bonding until the crown can be permanently fixed.
In some cases, a temporary dental cement may be used instead. This specialized cement is designed for temporary restorations and offers a secure hold until a permanent solution is implemented. Just follow the instructions carefully when using this product.
While using these temporary solutions, it’s crucial to avoid chewing on the affected tooth or applying excessive force. Doing so could cause further damage or dislodgement of the crown – and nobody wants that.
Remember, these temporary measures should only be used as a short-term solution. Schedule an appointment with a dental professional promptly. They will examine the crown, assess any underlying issues, and apply an appropriate adhesive or cement to secure it back in place permanently.
Removing Excess Material with Dental Floss
Dealing with a loose dental crown can be uncomfortable and worrisome, but fear not. In this blog post, we will explore a clever and safe technique using dental floss to remove excess material from a loose crown.
However, it’s crucial to remember that consulting with your dentist is essential before attempting any DIY fixes. So, let’s dive into the step-by-step process of using dental floss to save the day.
Step 1: Prepare for Success
To start, ensure your hands are clean and dry. We want to keep any unwanted germs or particles far away from your precious pearly whites.
Step 2: Get Your Dental Floss Ready
Choose a dental floss that is strong, thin, and easy to maneuver. Unwaxed dental floss or floss picks are excellent options for this task.
Step 3: Gently Slide and Saw
Carefully slide the dental floss between the loose crown and the tooth it is attached to. Begin sawing back and forth in a gentle motion, applying minimal pressure. This technique will help dislodge any excess material causing the looseness.
Step 4: Proceed with Caution
Patience is key. Avoid forcing or pulling too hard on the dental floss; this can lead to further complications. If you encounter resistance or feel unsure about proceeding, stop and seek professional help from your dentist.
Step 5: Cleanse and Refresh
After successfully removing the excess material using dental floss, it’s time to clean and freshen up. Rinse your mouth with warm saltwater or an antiseptic mouthwash to eliminate any remaining debris or bacteria. Gently brush around the crown area with a soft-bristled toothbrush and non-abrasive toothpaste.
Seeking Professional Dental Care After Gluing
After successfully gluing your loose dental crown back into place, you might be feeling pretty proud of your DIY skills. However, before you start celebrating, it’s crucial to understand why seeking professional dental care after this temporary fix is so important.
First and foremost, let’s address the fact that gluing your crown back on is merely a Band-Aid solution. While it may hold up for a while, it is by no means a long-term fix. By seeking professional dental care, you ensure that your crown is properly reattached and prevent any further damage or complications that could arise from a DIY approach.
When you visit your dentist, prepare to be astounded by their arsenal of advanced tools and their expert assessment of the situation. They will meticulously examine not only the crown but also the underlying tooth structure and the surrounding tissues to determine the best course of action. Here’s where things get truly fascinating – in some cases, the crown may need to be replaced altogether if it’s damaged or no longer fits properly.
But wait, there’s more. Seeking professional dental care also allows for a comprehensive examination of the underlying cause of the loose crown. Your dentist will detect any decay or damage to the tooth structure that needs attention. By addressing these issues promptly, your dentist prevents future problems from sneaking up on you.
Moreover, dentists possess an uncanny ability to evaluate your overall oral health and spot any other potential dental problems that may require attention. This holistic approach ensures that all aspects of your oral health are taken care of, leaving you with a smile that radiates confidence.
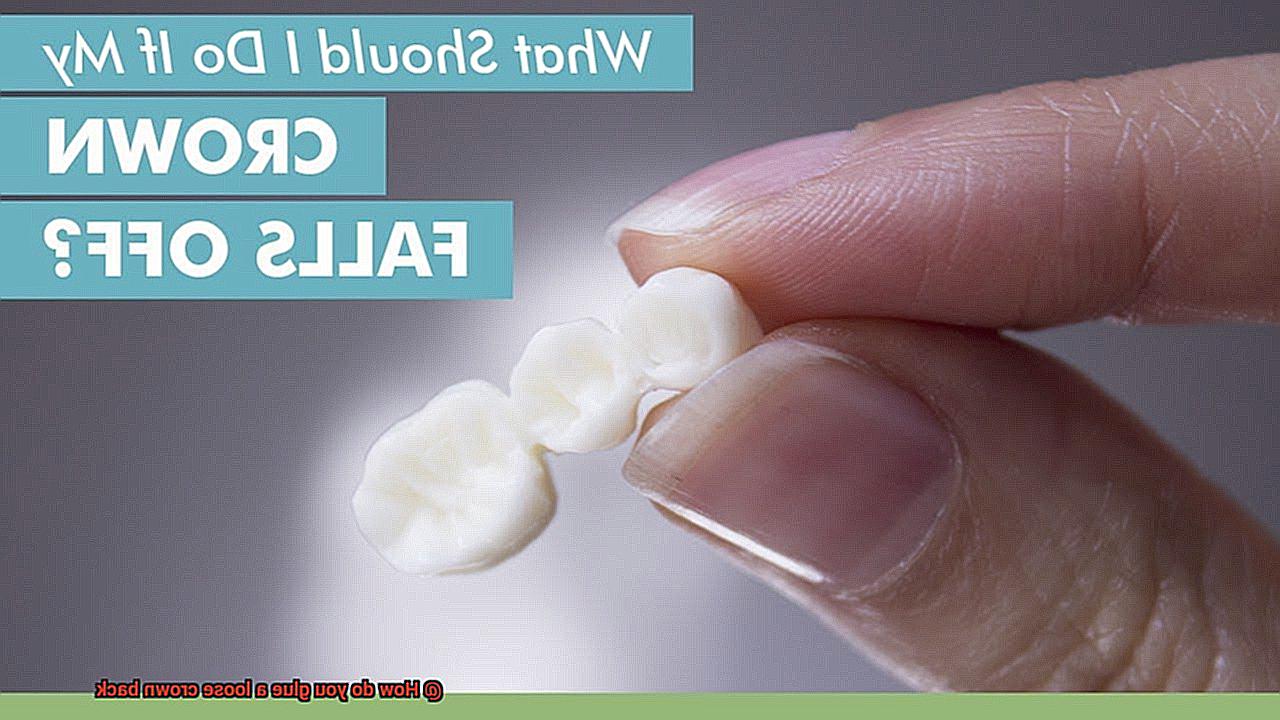
Now here’s the crucial part – don’t delay. Schedule an appointment with your dentist as soon as possible after gluing your crown back on. Procrastination can lead to further complications such as infection or additional damage to your tooth or surrounding tissues.
When you do visit your dentist, don’t shy away from sharing the details of your DIY crown rescue mission. Let them know about the type of adhesive you used and how you applied it. This information helps them accurately assess the situation and choose the most appropriate treatment approach for your unique case.
Tips for Successfully Gluing a Loose Crown
Dealing with a loose crown can be uncomfortable and cause worry, but fear not. With the right steps, you can securely glue it back onto your tooth. However, it’s crucial to remember that this is only a temporary solution, and scheduling a visit to your dentist as soon as possible for a long-term fix is important. In this blog post, we will share some helpful tips to guide you through the process of successfully gluing a loose crown back onto your tooth.
Clean the Crown and Tooth:
To start, ensure both the crown and the tooth are squeaky clean. Gently brush the crown using a soft toothbrush and toothpaste, eliminating any debris or plaque. Rinse thoroughly with water to guarantee a pristine surface. Similarly, clean your tooth with your regular toothbrush and toothpaste, paying close attention to the area where the crown will be attached.
Dry Thoroughly:
Moisture can hinder the bonding process, so it’s of utmost importance to thoroughly dry both the crown and the tooth. Utilize a clean, dry towel or tissue to meticulously dry the crown and tooth after rinsing. Removing all moisture will help establish a robust bond between the crown and tooth.
Choose the Right Adhesive:
Selecting the appropriate dental adhesive is vital for successfully gluing a loose crown back onto your tooth. Dental adhesives, also known as dental cement or dental glue, are specifically designed for this purpose. They come in diverse forms such as powder, paste, or liquid, so make sure to choose the one recommended for your specific type of crown and tooth.
Apply Adhesive Properly:
Before applying the adhesive, try fitting the crown onto your tooth without any glue to ensure it fits properly. If there is discomfort or gaps between the crown and tooth, consult your dentist before proceeding with the gluing process. When applying the adhesive, carefully follow the manufacturer’s instructions. Typically, you’ll need to mix the powder or liquid with water or another activating agent to create a paste-like consistency. Apply a small amount of adhesive onto the inside surface of the crown, ensuring full coverage.
Securely Place the Crown:
With precision, place the crown back onto your tooth, guaranteeing proper alignment and seating. Gently bite down to ensure a snug fit. Excess adhesive may ooze out around the edges of the crown, which is normal. Hold the crown firmly in place for a few minutes to allow the adhesive to set.
7DeCokdb-RA” >
Also Read: How do you glue a crown back at home?
Conclusion
There’s a simple solution to get it back in place. Gluing a loose crown back is something you can do at home with just a few supplies and some patience.
First, gather the necessary materials: dental adhesive or denture adhesive, cotton swabs, and dental floss. Make sure your hands are clean before starting the process.
Next, carefully remove the loose crown from your mouth and clean it thoroughly with warm water. Dry it completely before proceeding.
Now, take a cotton swab and apply a small amount of dental adhesive to the inner surface of the crown. Be careful not to use too much adhesive as it may affect the fit of the crown in your mouth.
Once applied, quickly place the crown back onto your tooth, making sure it fits snugly into place. Bite down gently to ensure proper alignment.
If there is any excess adhesive visible around the edges of the crown, use dental floss to remove it carefully. Finally, avoid eating or drinking for at least an hour to allow the adhesive to set properly.
Make sure to schedule an appointment with your dentist as soon as possible for a permanent solution.

