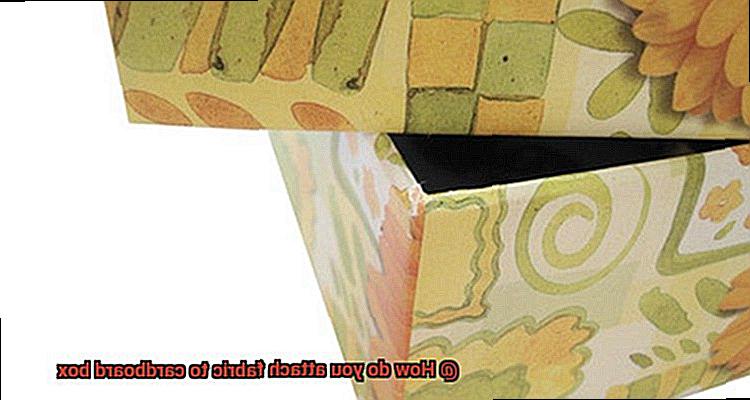
Are you tired of those plain ol’ cardboard boxes that lack pizzazz? Well, fret not because we’ve got just the solution for you. Picture this: a cardboard box adorned with vibrant fabric, transforming it into a show-stopping storage solution or an unforgettable gift box. Sounds dreamy, right? In this blog post, we’re going to spill the beans on how to attach fabric to a cardboard box like a pro. Get ready to unleash your creativity and turn that ordinary box into something extraordinary.
[Continuation of the blog post will provide step-by-step instructions, tips on selecting the perfect fabric and adhesive combo, and present innovative ideas to take your fabric and cardboard box game to the next level.]
Preparing the Cardboard Box Surface
Contents
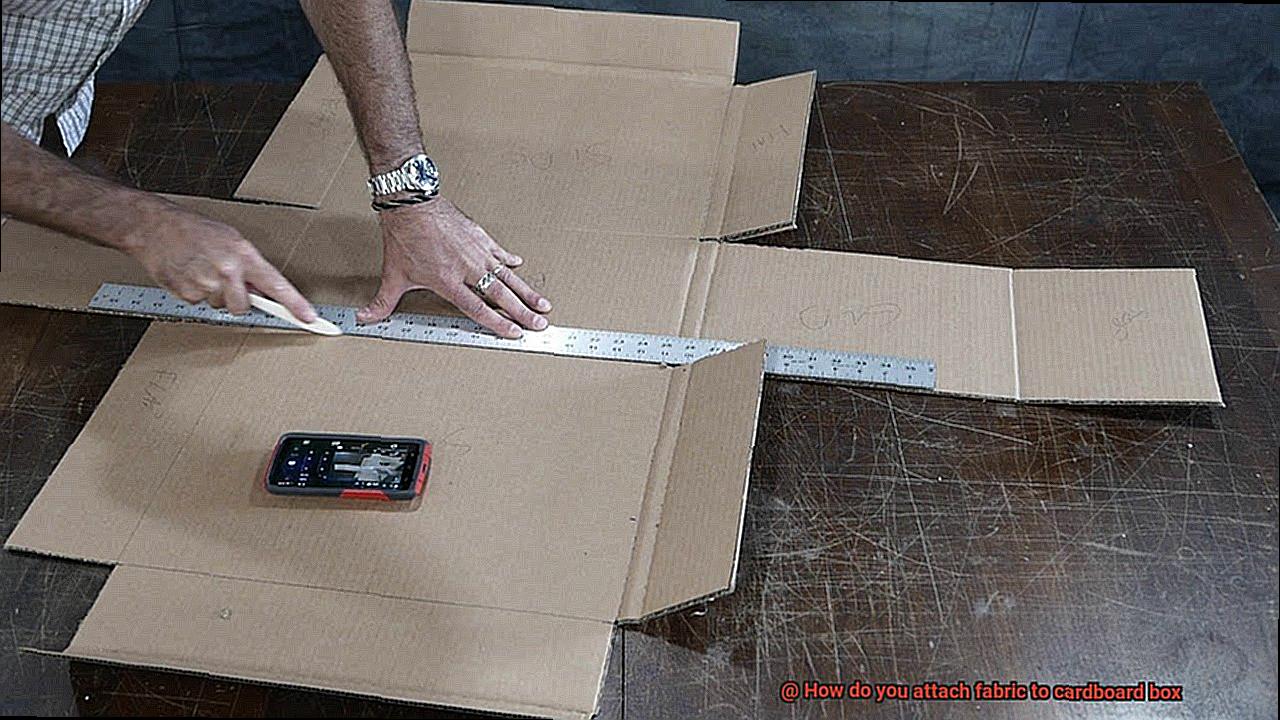
Attaching fabric is a fantastic way to unleash your creativity and add a unique touch to an otherwise ordinary box. However, before you dive into gluing or sewing, it’s crucial to prepare the surface of the cardboard box properly. This not only ensures a strong bond but also guarantees a professional-looking finished product. In this comprehensive guide, we will walk you through the necessary steps to prepare the surface of your cardboard box before attaching fabric.
Step 1: Cleanliness is Key
To kick off the preparation process, start by giving the surface of the cardboard box a thorough cleaning. A soft cloth or brush will do the trick in removing any dust, dirt, or debris that might hinder proper fabric adhesion. Creating a clean and smooth surface is vital for achieving a flawless final result.
Step 2: Banish Stickers and Labels
Don’t let pesky stickers or labels ruin your masterpiece. Carefully remove any adhesive elements from the cardboard box, ensuring not to damage the surface. For stubborn residue, a mild adhesive remover can come to the rescue, leaving your box pristine and ready for its fabric makeover.
Step 3: Priming for Perfection (optional)
For an extra boost in bond strength, consider priming your cardboard box. Primers create an optimal surface for fabric adhesion while safeguarding against moisture penetration. Apply a thin layer of primer using a brush or roller, following the manufacturer’s instructions meticulously. Patience is key here – allow the primer to dry completely before proceeding with your project.
Step 4: Sanding for Success
Achieve an unbeatable grip by gently sanding the surface of your cardboard box with fine-grit sandpaper. This creates a slightly rough texture that maximizes adhesion between fabric and cardboard. After sanding, wipe away any residual dust with a clean cloth or brush, ensuring a smooth foundation for your fabric attachment.
Step 5: Amplify Adhesion with an Adhesive Promoter (optional)
For those working with glossy or laminated cardboard surfaces, taking an extra step to ensure adhesion is crucial. Apply a thin coat of adhesive promoter or bonding agent using a brush or sponge. This additional layer enhances the bond between the fabric and the cardboard box, guaranteeing the longevity of your masterpiece. Allow the adhesive promoter to dry completely before advancing to the next step.
Step 6: The Art of Imperfection
Inspect your cardboard box surface for any imperfections or uneven areas that may compromise the final outcome. Smooth out bumps or rough spots using sandpaper or a sanding block, ensuring a flawless canvas for your fabric attachment.
Using Fabric Glue
Fabric glue is a versatile and convenient adhesive that can be used in a variety of crafting projects. Whether you’re attaching fabric to a cardboard box or creating unique textile art, fabric glue is your trusty sidekick in the world of DIY.
Before diving into the application process, it’s important to prepare your materials. Cleanliness is key. Ensure that both the fabric and the cardboard box are free from any dirt or debris. A clean surface creates the perfect foundation for a strong bond.
Now, let’s get down to business. Here’s a step-by-step guide on how to use fabric glue to attach fabric to a cardboard box:
- Prep your surface: Begin by thoroughly cleaning both the fabric and the cardboard box. This step ensures that no particles interfere with the adhesive magic.
- Apply the glue: Take your fabric glue and apply a thin, even layer onto the surface of the box where you want the fabric to adhere. Remember, less is more. A little bit of glue goes a long way.
- Place and press: Carefully place your fabric onto the glued area, aligning it as desired. Press down firmly, ensuring that the fabric makes full contact with the adhesive. Smooth out any wrinkles or bubbles as you go for that flawless finish.
- Give it some time: Patience is key when working with fabric glue. Allow the adhesive to dry and set properly. Check the instructions provided by the manufacturer for recommended drying times – they know their product best.
- Double-check and secure: Once the glue has dried, inspect your masterpiece. If any areas seem slightly loose, don’t panic. Simply apply some additional glue and press them down firmly for a secure attachment.
- Washing and care: Good news – fabric glue is generally washable. Depending on the brand, it can withstand gentle machine washing or hand washing. However, always consult the manufacturer’s instructions before laundering your creation.
While fabric glue is a fantastic option for attaching fabric to a cardboard box, it’s important to note that it may not be suitable for all fabrics or projects. Delicate fabrics or intricate designs may require alternative methods such as double-sided tape or sewing. Each technique has its own pros and cons, so choose what works best for your specific project.
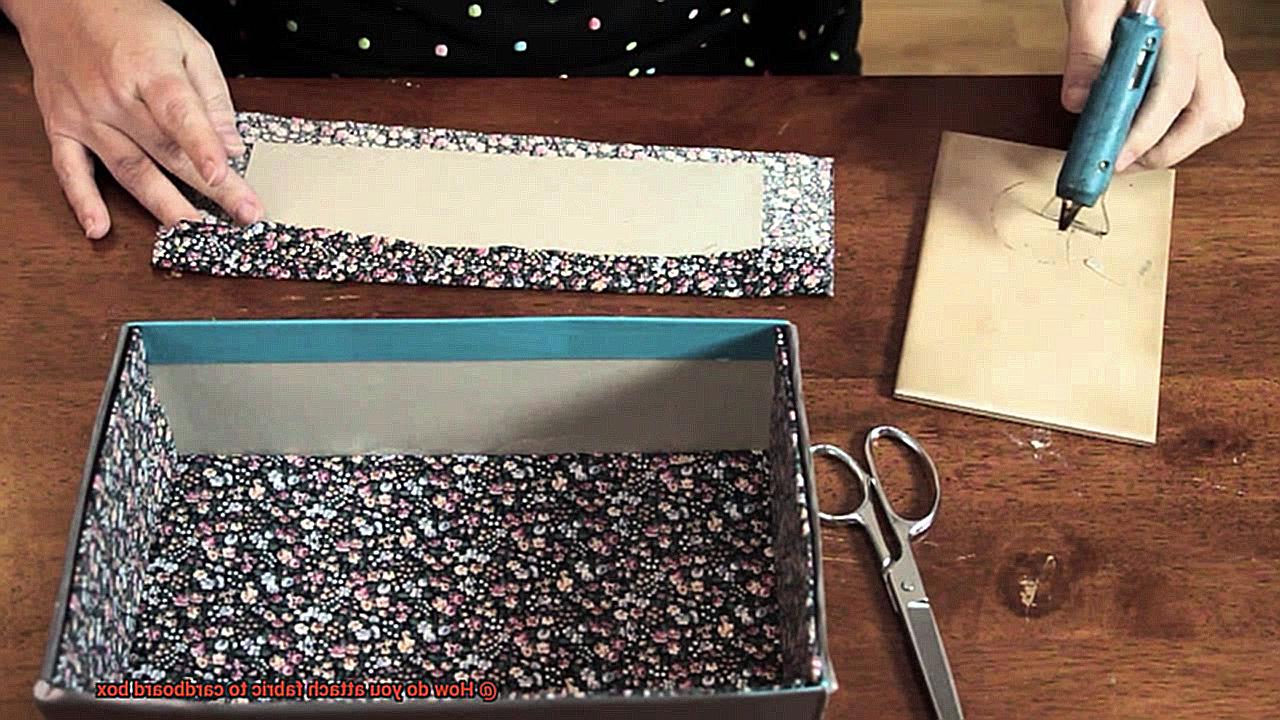
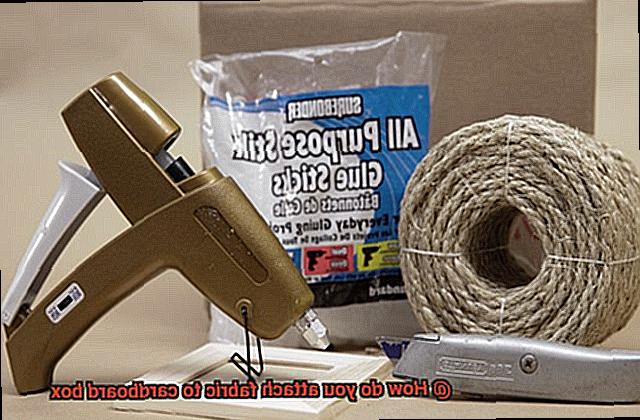
Using Hot Glue
Are you ready to embark on a creative journey, turning a plain cardboard box into a stunning fabric-covered masterpiece? Look no further than hot glue, the versatile adhesive that will make this DIY project a breeze.
With its numerous advantages, hot glue is the secret weapon you need to securely attach fabric to cardboard. Let’s explore the benefits of using hot glue and discover how it can help you achieve professional-looking results.
Advantage 1: Ease and Efficiency
Hot glue offers a quick and easy way to join materials together. With just a squeeze of the trigger, the glue melts and becomes sticky, allowing for immediate adhesion. This efficiency is especially useful when working on time-sensitive projects or when you crave instant gratification.
Advantage 2: Versatility
Hot glue is suitable for a wide range of materials, including fabric and cardboard. Whether you’re attaching lace to a wedding invitation or adding a pop of color to a gift box, hot glue can handle the task with ease. Its versatility makes it an essential tool for crafters, decorators, and DIY enthusiasts alike.
Advantage 3: Secure Bonding
When it comes to attaching fabric to cardboard, a secure bond is crucial. Hot glue provides just that. By applying a thin line of glue along the edges of the fabric, you can create a strong and durable attachment. This bond ensures that your fabric stays in place, even when faced with everyday wear and tear.
Advantage 4: Precision Application
Hot glue guns allow for precise application, giving you control over where the adhesive is applied. This precision is particularly beneficial when working with intricate designs or delicate fabrics. You can easily navigate curves, corners, and small spaces, ensuring that every detail is flawlessly secured.
Advantage 5: Customization
Hot glue offers endless possibilities for customization. By using different types of glue sticks, you can achieve varied effects. For example, low-temperature glue sticks are ideal for delicate fabrics, preventing any damage or burns. High-temperature glue sticks, on the other hand, provide a stronger bond for heavier fabrics or projects that require frequent handling.
Advantage 6: Cost-Effective Solution
Hot glue is an affordable adhesive option, making it a cost-effective solution for crafters on a budget. With just a few dollars, you can purchase a hot glue gun and a pack of glue sticks, providing you with countless opportunities to create and innovate.
Using Regular Craft Glue
Look no further than regular craft glue to seamlessly attach fabric to your project. In this guide, we’ll walk you through the step-by-step process, providing tips and tricks along the way. So, grab your glue and let’s get started.
Advantages of Using Regular Craft Glue:
- Affordability: Regular craft glue is a cost-effective option compared to specialized fabric adhesives.
- Versatility: Craft glue can be used for various crafting projects, making it a versatile option for attaching fabric to a cardboard box.
Step 1: Prepare for Success
Step 2: Apply the Craft Glue
Step 3: Press and Smooth
Step 4: Allow Proper Drying Time
Step 5: Reinforce if Necessary
Step 6: Handle with Care
Troubleshooting Potential Issues:
- Wrinkles or bubbles: Smooth them out immediately during application using your hands or a flat tool.
- Insufficient adhesion: Ensure that both surfaces are clean and apply an even layer of craft glue.
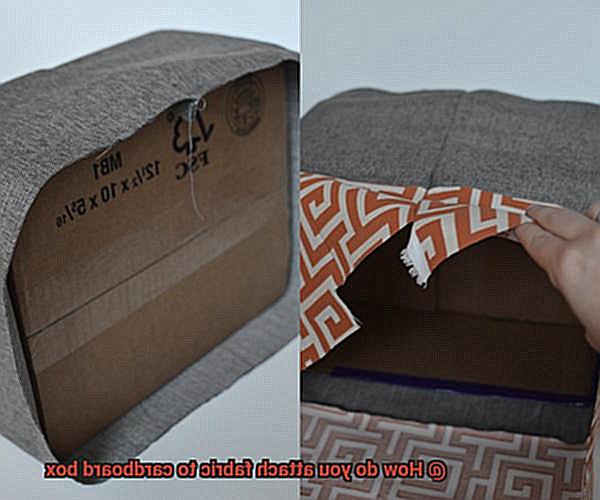
Reinforcing with Sewing
Sewing is a powerful tool when it comes to attaching fabric to a cardboard box. Not only does it provide a strong bond, but it also adds elegance to the final product. In this guide, we will explore various techniques and considerations for reinforcing fabric on a cardboard box using sewing.
Choosing the right thread is crucial for ensuring a secure attachment. Opt for strong and durable threads like nylon or polyester, known for their resistance to stretching and breaking.
Before sewing, prepare the fabric and cardboard properly. Cut the fabric slightly larger than the area you plan to cover on the box to allow for seam allowances and ensure a neat attachment. Clean the surface of the cardboard box from any dust or debris that may hinder the sewing process.
Secure the fabric in place using pins or clips to prevent shifting or movement during sewing. This ensures a clean and precise attachment.
When stitching, use either a straight stitch or a zigzag stitch along one edge of the fabric. Make sure your stitches are close together to create a strong bond between the fabric and cardboard.
Reinforce corners and high-stress areas to prevent the fabric from becoming loose over time. Backstitch at these points or add extra rows of stitching for added strength.
To enhance both appearance and attachment, create a border around the edges. Fold over the edges of the fabric and sew along the folded edge to encapsulate the cardboard box within the fabric.
Consider using adhesive or fabric glue between the fabric and cardboard before sewing for additional reinforcement. Ensure that the adhesive is suitable for both materials to avoid damage or discoloration.
Considerations for Adhesive and Fabric Type
Transforming a simple cardboard box into a stylish and eye-catching masterpiece is easily achievable by attaching fabric to its surface. However, selecting the appropriate adhesive and fabric type is crucial for ensuring a secure and long-lasting bond. In this article, we will explore various considerations for adhesive and fabric types, providing valuable insights to help you make the best choice for your project.
Consideration 1: Adhesive Options
When it comes to adhesives, two popular options are fabric glue and spray adhesive. Fabric glue is specifically formulated to bond fabric to different surfaces, including cardboard. Look for a clear, liquid adhesive that dries transparent, ensuring an invisible application. On the other hand, spray adhesive can be a time-saving choice for larger fabric pieces or multiple boxes. Opt for a spray adhesive specially designed for fabric and cardboard to ensure a strong bond.
Consideration 2: Fabric Types
The weight and texture of the fabric play a crucial role in its adhesion to cardboard. Lightweight fabrics like cotton or polyester may require different adhesives compared to heavier fabrics like upholstery or denim. Choose durable and tightly woven fabrics that are suitable for the intended use of the box. Preparing the cardboard surface by cleaning it from dust and debris and lightly sanding it can enhance the adhesion of the fabric.
Consideration 3: Testing and Drying Time
Always test the adhesive on a small, inconspicuous area of both the fabric and cardboard before applying it to the entire surface. This ensures proper bonding without causing damage or discoloration. Additionally, allow adequate drying time for the adhesive to fully cure before handling or moving the box. This prevents any lifting or peeling of the fabric and ensures a secure attachment.
Additional Tips for Attaching Fabric to a Cardboard Box
Are you ready to take your cardboard boxes to the next level? Attaching fabric to a cardboard box is a fantastic way to add elegance and personalization. With the right tips and techniques, you can create stunning fabric-covered boxes that will impress everyone who sees them. In this article, we will explore additional tips for attaching fabric to a cardboard box, including reinforcement techniques and creative decorative elements.
Reinforce for Long-Lasting Attachment:
To ensure a secure and durable attachment, it’s essential to reinforce the fabric-to-cardboard bond. One effective method is to use a double-fold hemming technique. By folding the edges of the fabric over by about half an inch and securing them with fabric glue or sewing, you prevent fraying and provide extra strength to the attachment. This technique is especially beneficial when working with lightweight fabrics or fabrics prone to fraying.
Another option for reinforcement is using a hot glue gun instead of regular craft glue. Hot glue dries quickly and creates a strong bond between the fabric and cardboard. Apply the hot glue evenly along the edges of the fabric and press it firmly onto the cardboard surface. The heat from the glue gun helps it penetrate the fabric fibers, resulting in a more secure attachment.
If you’re concerned about the fabric shifting or coming loose over time, consider using adhesive spray. This specially formulated spray allows for a strong bond between fabric and various surfaces, including cardboard. Spray a thin and even layer of adhesive onto both the fabric and cardboard, then press them together firmly. Adhesive spray provides an extra layer of security, especially when working with heavy fabrics or items that will be frequently handled.
Explore Alternative Attachment Methods:
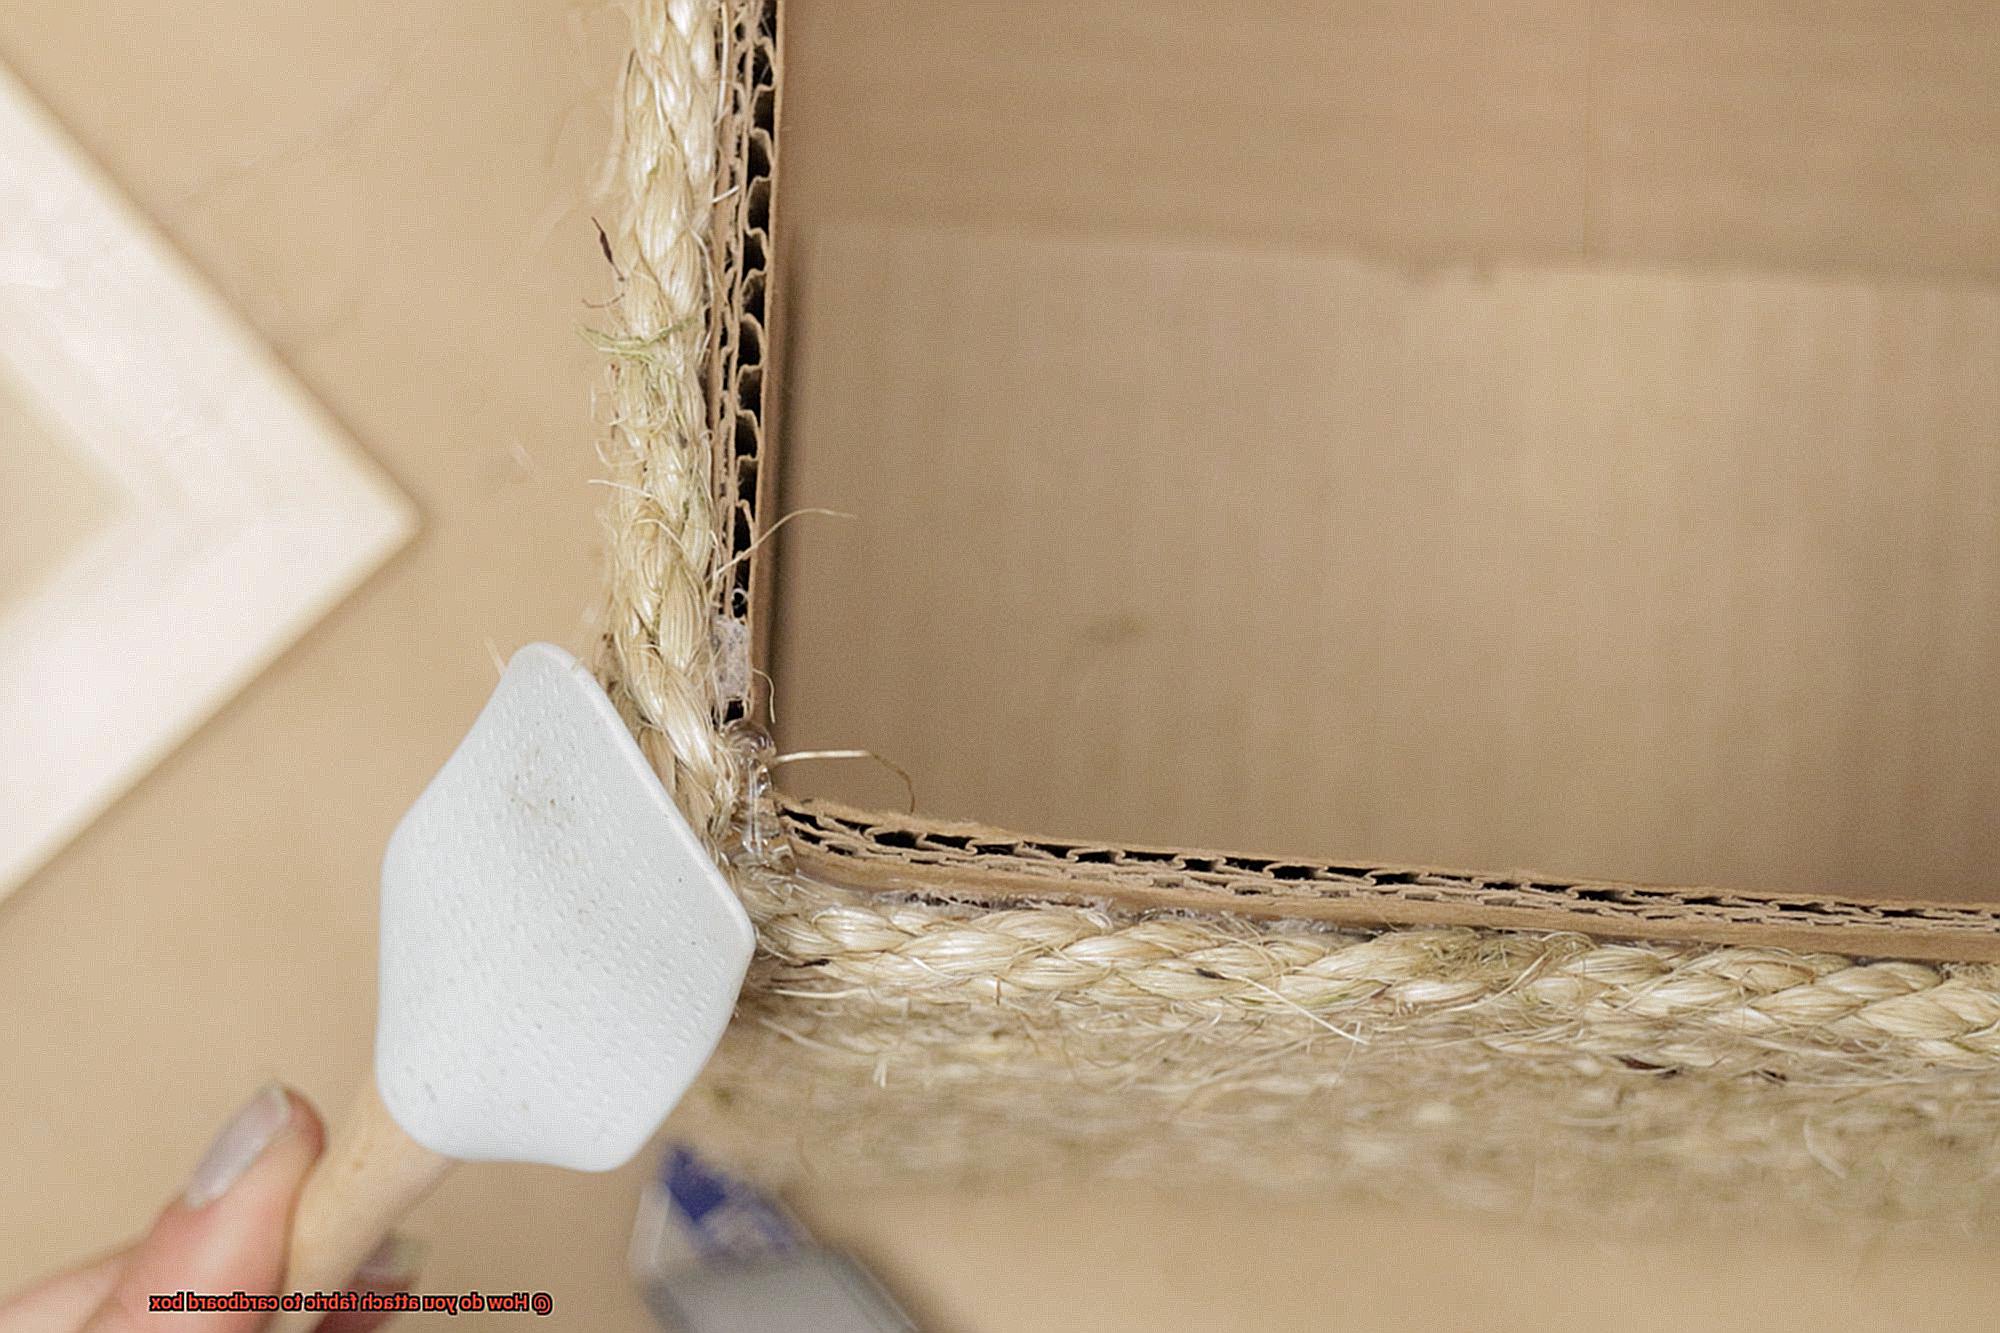
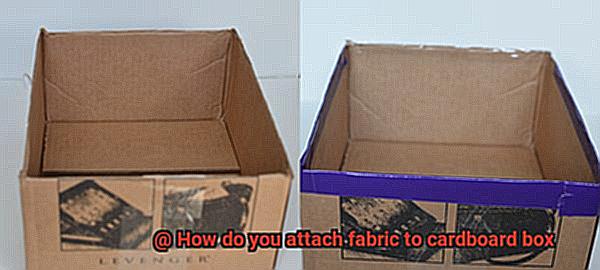
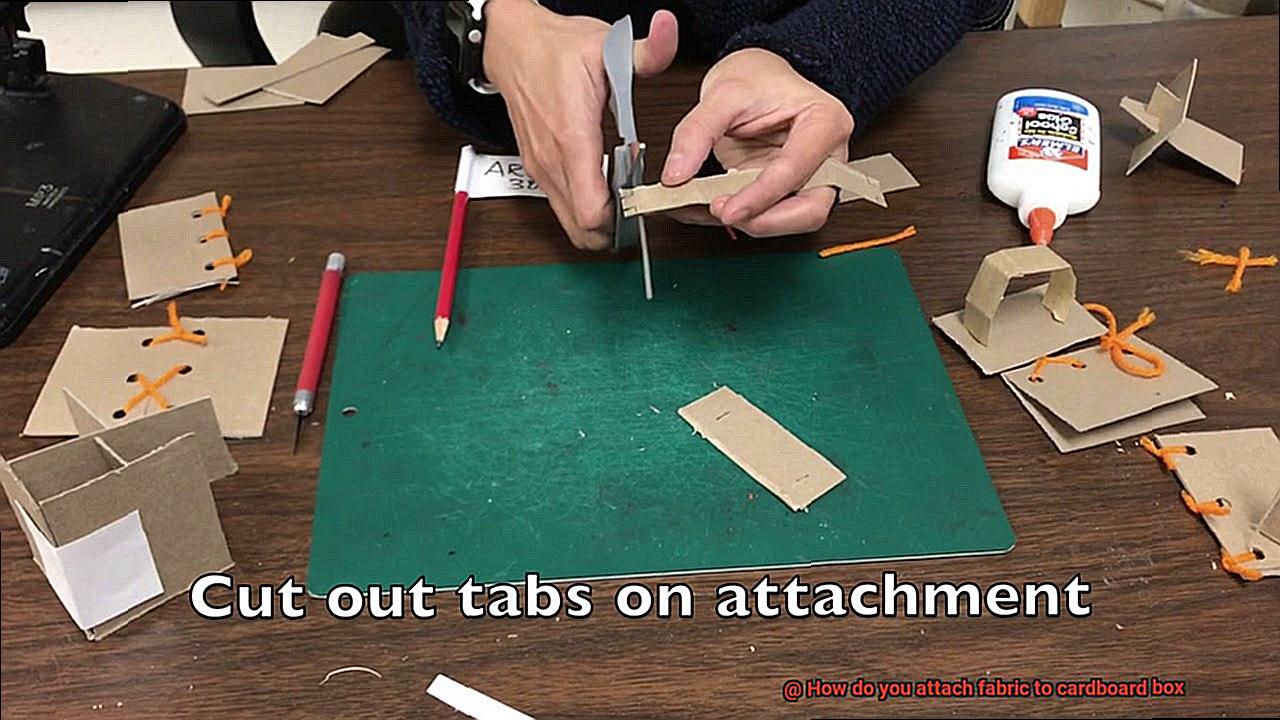
In addition to gluing or spraying, there are alternative methods that can enhance the attachment between fabric and cardboard. One such method is using staples or brads. This technique is particularly useful when working with thicker or heavier fabrics that may require extra reinforcement. To use staples or brads, position the fabric on the cardboard box as desired, then carefully insert staples or brads through both the fabric and cardboard at regular intervals along the edges. Ensure they are spaced evenly for a balanced look.
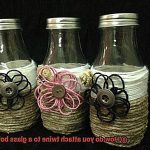
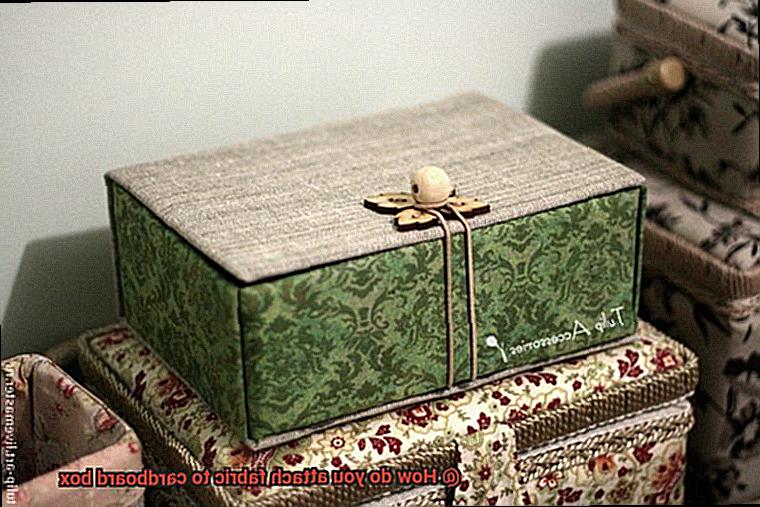
Add Decorative Flair:
Attaching fabric to a cardboard box not only adds elegance but also provides an opportunity for creativity and personalization. Consider incorporating decorative elements such as trim or ribbon to enhance the overall look of your fabric-covered box. These elements can be attached using your chosen glue method or by sewing them on. For example, you can glue trim or ribbon along the edges of the fabric to create a polished and finished appearance. Alternatively, you can sew these decorative elements directly onto the fabric and cardboard for an extra-special touch.
Conclusion
In conclusion, attaching fabric to a cardboard box is an exciting and imaginative way to elevate your storage solutions or gift boxes. By following the step-by-step instructions provided in this article, you can achieve professional-looking results and craft one-of-a-kind masterpieces.
Before diving into the fabric attachment process, it’s crucial to properly prepare the surface of the cardboard box. This entails giving it a thorough cleaning, removing any pesky stickers or labels, priming if desired, sanding for optimal adhesion, and using an adhesive promoter for glossy surfaces.
When it comes to attaching fabric, you have a variety of options at your disposal. Fabric glue is a versatile choice that guarantees a strong bond. Simply apply a thin layer of glue to the box and firmly press the fabric onto it. Another popular option is hot glue—it offers speedy and effortless adhesion while allowing for precision application and customization. Alternatively, regular craft glue can also be used effectively by applying a thin layer onto the fabric and pressing it onto the box.
For added reinforcement, sewing can be employed to securely attach fabric to cardboard. This method requires careful consideration of thread selection, proper preparation of both materials, securing the fabric in place with pins or clips, stitching along one edge of the fabric using either a straight or zigzag stitch, reinforcing corners and high-stress areas, and creating a border around the edges by folding over the fabric and sewing along the folded edge.
When selecting adhesive and fabric types, take into account factors such as affordability, versatility, weight, and texture of the fabric. It’s essential to conduct small area tests before applying adhesives to ensure proper bonding without causing any damage or discoloration.
Lastly, don’t forget to explore additional tips such as reinforcing techniques like double-fold hemming or utilizing staples/brads for thicker fabrics. Adding decorative elements like trim or ribbon can further enhance your fabric-covered box.