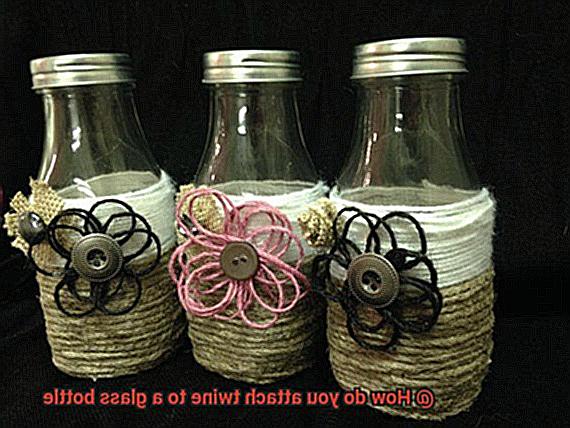
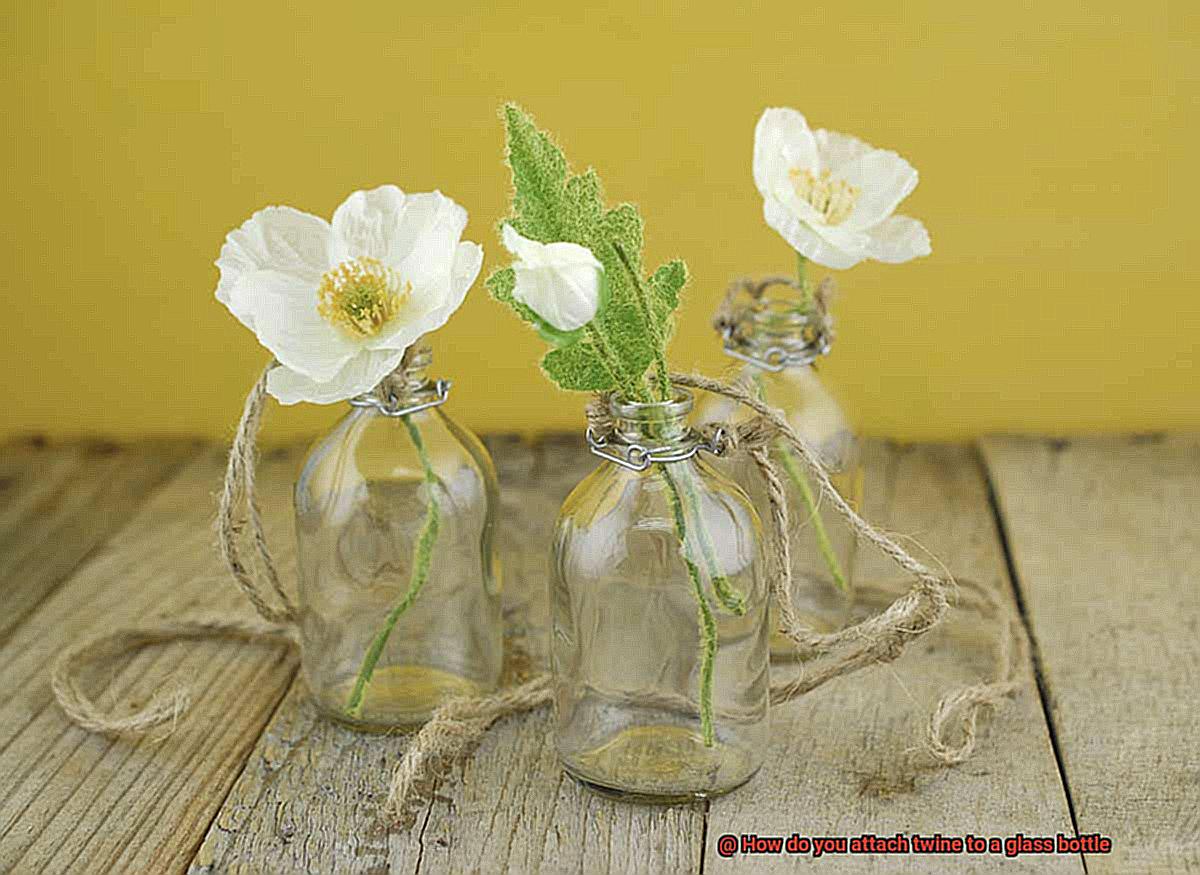
Looking to give your glass bottles a touch of rustic elegance? Picture this: twine delicately wrapped around the smooth curves, adding a vintage charm that catches the eye. Whether you’re aiming to create a captivating centerpiece, a one-of-a-kind vase, or an artistic masterpiece, attaching twine to a glass bottle is the secret ingredient that instantly transforms ordinary into extraordinary.
In this blog post, we’ll embark on a journey together, unraveling the step-by-step process of attaching twine to a glass bottle. From gathering the necessary materials to securely fastening every strand, we’ll equip you with all the essential techniques needed for this delightful and creative endeavor. So grab hold of your favorite glass bottle and let’s dive into this captivating DIY project.
What You Will Need
Contents
If you’re searching for a creative and stylish way to repurpose your glass bottles, attaching twine can add a rustic and charming touch to any home decor or DIY project. But what exactly do you need to get started? Don’t worry, we’ve got you covered. Here’s everything you’ll need to successfully attach twine to a glass bottle:
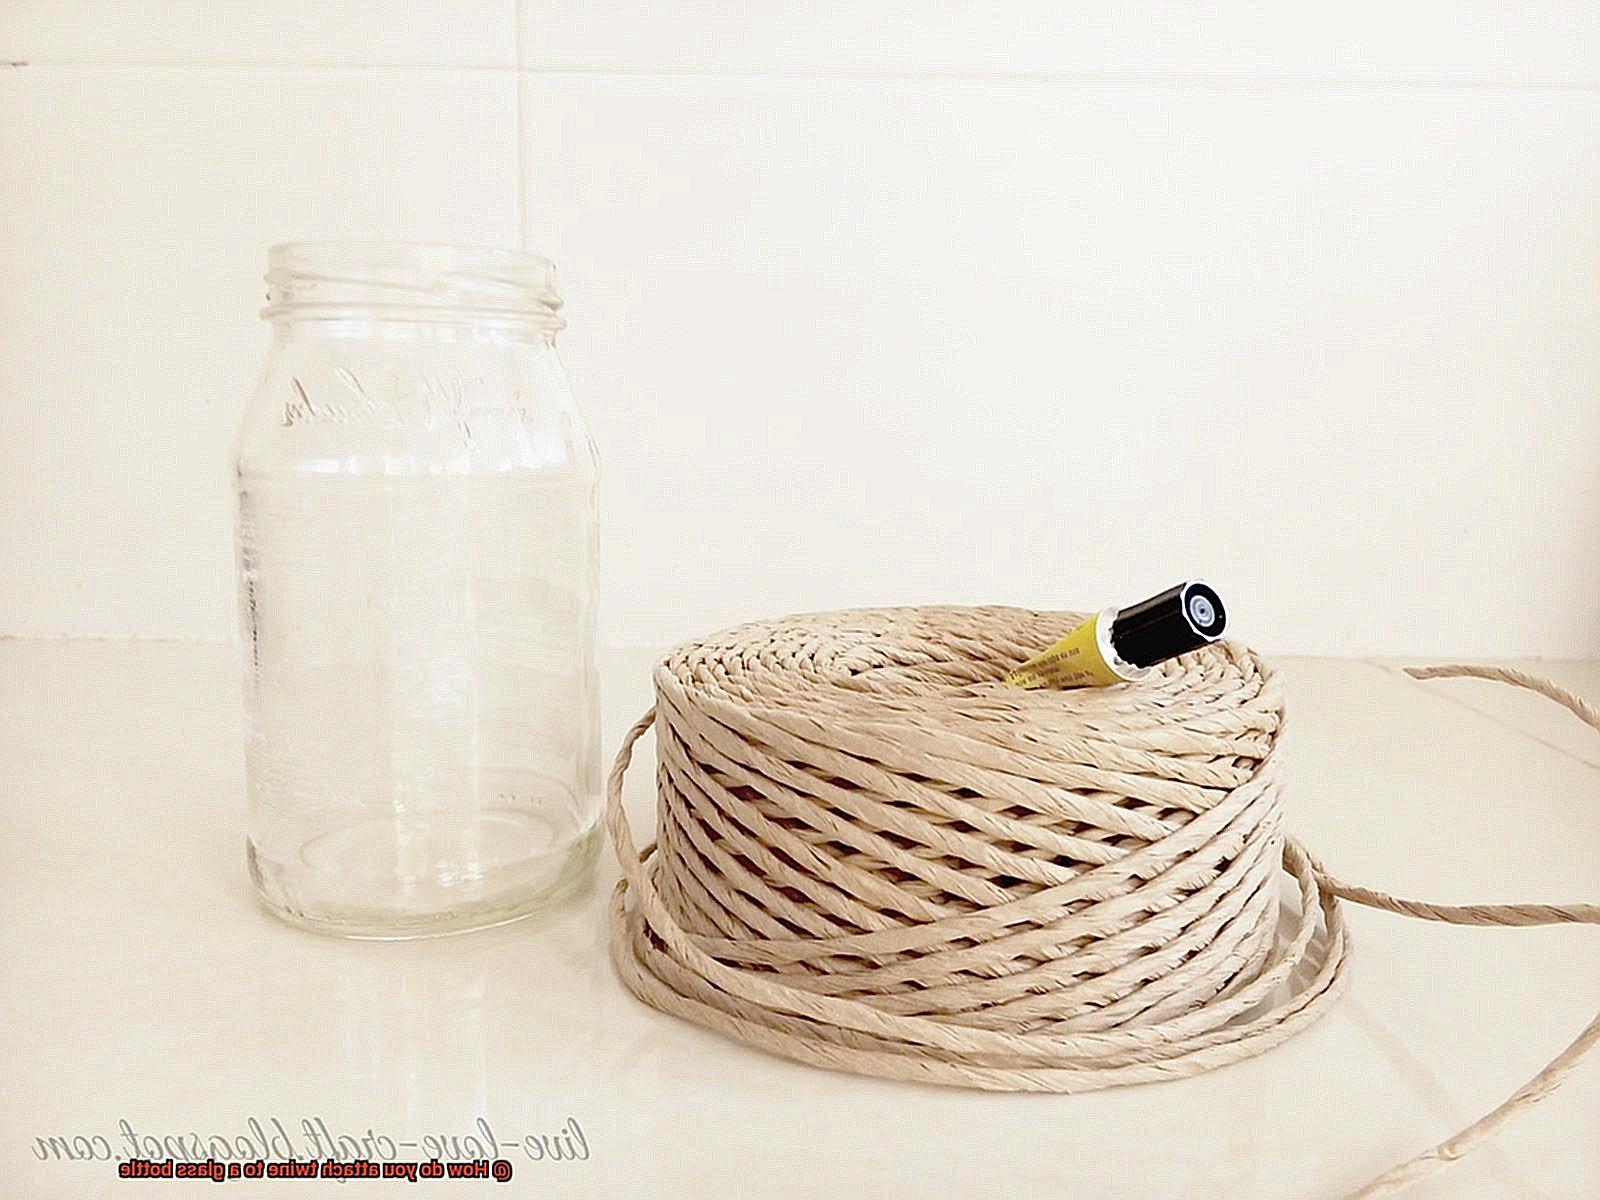
- Twine: The star of the show – twine. Choose from materials like jute, sisal, or cotton. Consider the desired look and feel of your project when selecting the right type of twine.
- Glass Bottles: Any glass bottle will do, but think about the size and shape. Wine bottles, mason jars, or decorative bottles are popular choices.
- Glue: To securely attach the twine, you’ll need reliable glue. Hot glue, craft glue, or adhesive dots are great options. Each type has its own drying time, strength, and durability, so choose what suits your needs.
- Scissors: A good pair of sharp scissors is essential for cutting the twine to your desired length. Clean cuts prevent fraying and give a polished finish.
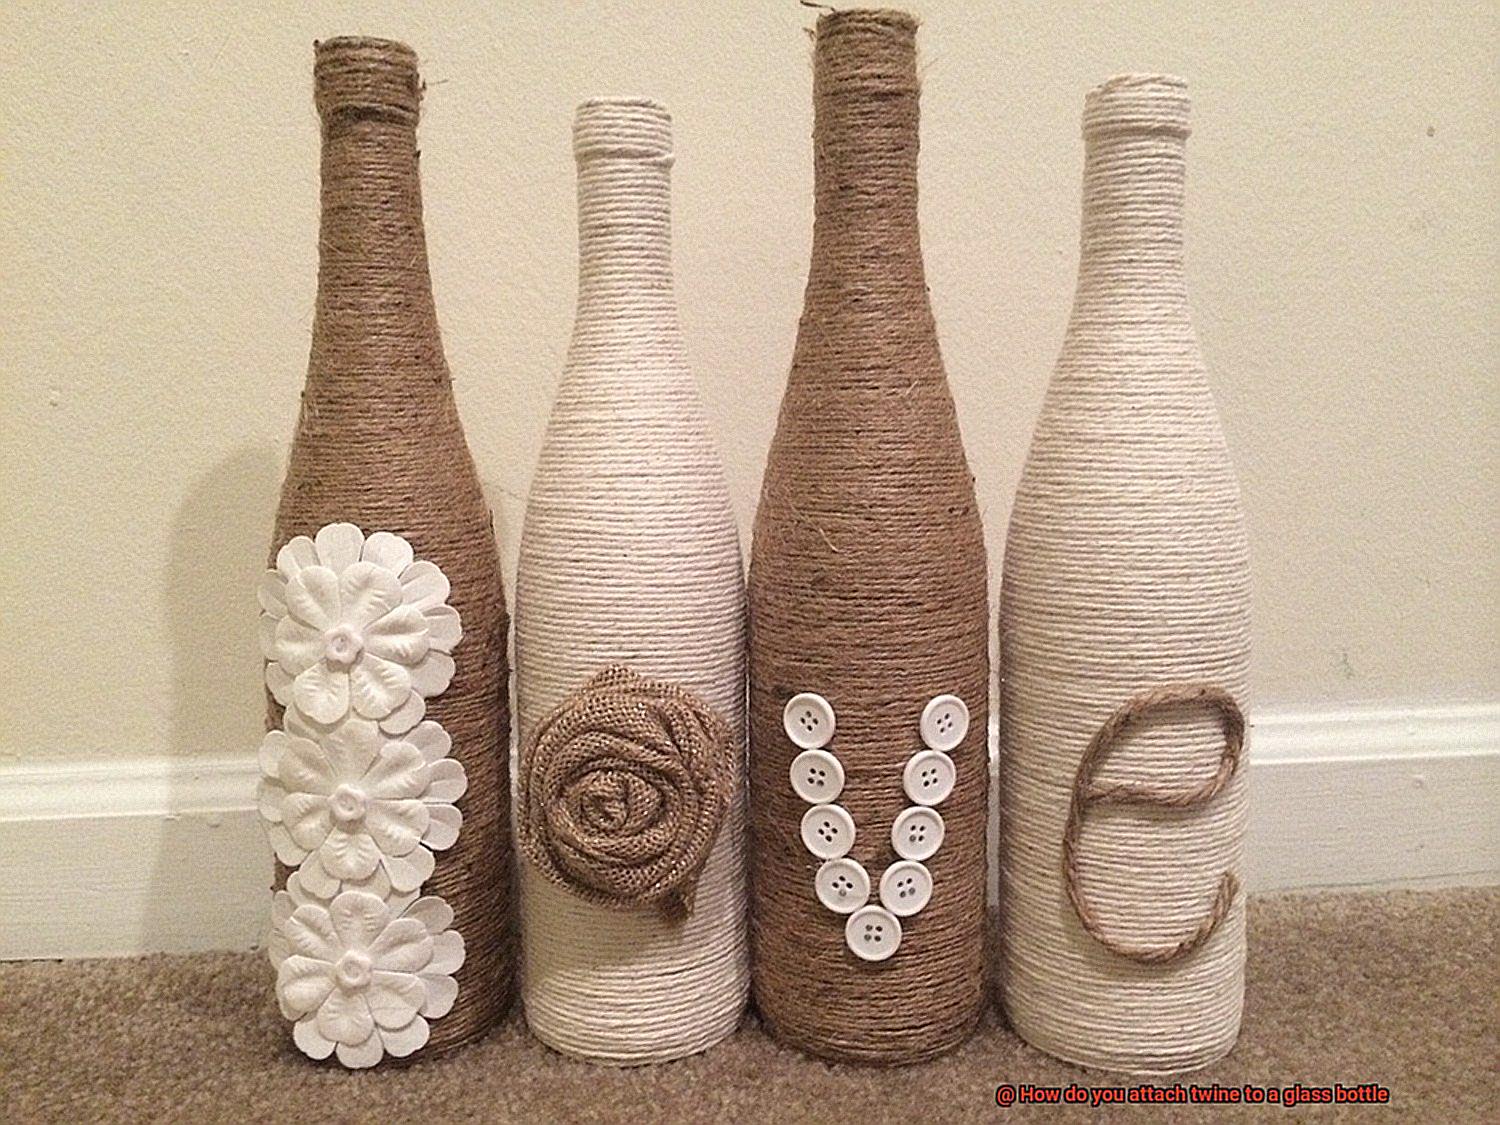
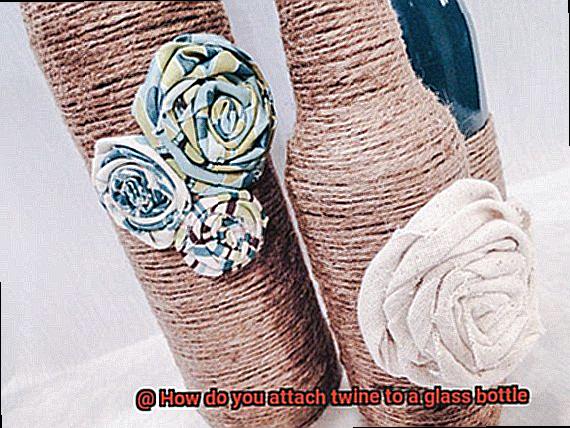
- Optional Embellishments: Take your twine-wrapped bottle to the next level with some optional embellishments. Decorative beads, charms, ribbons, or flowers can enhance the aesthetic appeal of your project.
- Clean Cloth or Alcohol Wipes: Before attaching the twine, thoroughly clean the glass bottle surface. Use a clean cloth or alcohol wipes to remove dirt, oil, or residue that might hinder adhesion.
- Protective Gloves (optional): While not necessary, gloves can protect your hands from glue or sharp edges when working with the glass bottle.
- Workspace: Create a clean and organized workspace for efficiency. A sturdy table or countertop and good lighting are essential. Use a craft mat or protective surface covering to prevent any accidental damage.
Attaching Twine with Glue or Adhesive
Whether you want to create charming centerpieces or unique vases, attaching twine to these bottles can instantly transform them. In this article, we will explore different types of glue and adhesive that can be used for this project, along with some tips for successful application.
E6000: The Mighty Bonding Agent

- Known for its strength and durability
- Adheres well to glass and twine
- Clean the bottle’s surface, apply a small amount of E6000, and press the twine firmly onto the glue
- Hold it in place for a few seconds to allow the adhesive to set
Hot Glue Gun: Quick and Convenient
- Popular choice due to ease of use and quick drying time
- Apply a line of glue along the desired area on the bottle
- Immediately press the twine onto the glue
- Exercise caution as hot glue can cause burns if mishandled
Super Glue: A Trusty Companion
- Reliable option for attaching twine to glass bottles
- Apply a small dot of super glue to the desired area on the bottle
- Press the twine firmly onto it
- Hold it in place until the super glue dries completely
Tips for Success:
- Clean the bottle’s surface thoroughly before applying any adhesive
- Read the manufacturer’s instructions and test a small area before applying the adhesive to the entire surface
- Use only a small amount of adhesive to avoid any excess drips or messiness
- Allow sufficient drying or curing time as specified by the product instructions
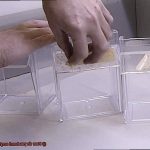
Cleaning the Glass Surface
Today, we embark on a journey into the marvelous world of glass bonding. Our focus? The vital step of cleaning the glass surface before attaching twine. So grab your favorite drink, set the mood with some tunes, and let’s dive right in.
Assemble Your Cleaning Arsenal:
Before we begin, gather all the necessary materials. You’ll need mild dish soap, warm water, a soft cloth or sponge, and a towel for drying. Trust me, having everything in one place will save you from running around like a headless chicken.
Suds Up for Success:
Fill a bowl or sink with warm water and add a few drops of that trusty dish soap. Give it a gentle stir until those satisfying suds form. Ahh, the scent of cleanliness fills the air.
Banishing Grime with Grace:
Dampen your soft cloth or sponge in the soapy water, ensuring it’s not dripping wet. Now, with gentle circular motions, wipe down every inch of that glass surface. Pay extra attention to any stubborn dirt or grime that dares to cling on.
Conquering Stickiness:
Encountered sticky residues or pesky labels on your glass bottle? Fear not. Arm yourself with a gentle adhesive remover or rubbing alcohol. Apply a small amount onto a cloth and rub it onto those stubborn areas until they loosen their grip. Then wipe away the residue like an absolute pro.
Rinse and Repeat for Purity:
After the thorough cleaning session, rinse off any soapy residue with clean water. Ensure every nook and cranny is covered to leave no sneaky soap behind.
Drying with Precision:
Grab a trusty towel or paper towel and give that glass bottle a proper drying. Remember, we want it bone dry, no water droplets left behind. Those little buggers can interfere with the twine’s adhesion, and we can’t have that.
Ready, Set, Attach:
With your glass surface now squeaky clean, it’s time for the grand finale – attaching twine to your glass bottle. Whether you opt for glue, adhesive dots, or other techniques, the clean surface will ensure a secure and long-lasting bond.
Applying the Glue
Today, we embark on a journey into the world of attaching twine to a glass bottle using glue. This simple yet effective technique allows you to infuse rustic charm into your decorative pieces or create practical crafts that will leave everyone in awe. So, grab your glue and let’s dive into the art of “Applying the Glue”.
Step-by-Step Instructions:
Research the right glue:
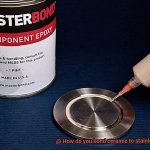
To ensure a sturdy bond between the twine and glass, it is essential to select the right glue. Look for glues specifically designed for bonding glass, such as epoxy glues, silicone-based glues, or clear drying craft glues. These glues provide exceptional adhesion, resistance against moisture and temperature changes, and long-lasting durability.
Prepare the glass surface:
Achieving a solid bond starts with a clean canvas. Thoroughly wash the glass bottle using soap and water to remove any dirt, dust, or oils that may hinder the adhesive’s effectiveness. Dry the bottle completely before moving to the next step.
Apply the glue:
Now comes the exciting part – applying the glue. Using a small brush or toothpick, spread an even layer of glue onto the desired area where you want to attach the twine. Exercise caution not to go overboard with the glue; too much can create a messy situation or prolong drying time.
Secure the twine:
With precision and care, press the twine onto the glue-coated area, ensuring it adheres firmly. Hold it in place for a few seconds to allow the adhesive to bond properly. For added security while the glue dries, consider using small clamps or tape to hold the twine in place.
Allow proper drying time:
Patience is key during this stage. Different glues have varying drying times, so consult the manufacturer’s instructions for guidance. Resist the urge to move or disturb the bottle until the glue has fully cured. This precautionary measure prevents any potential damage to the bond, ensuring a long-lasting attachment.
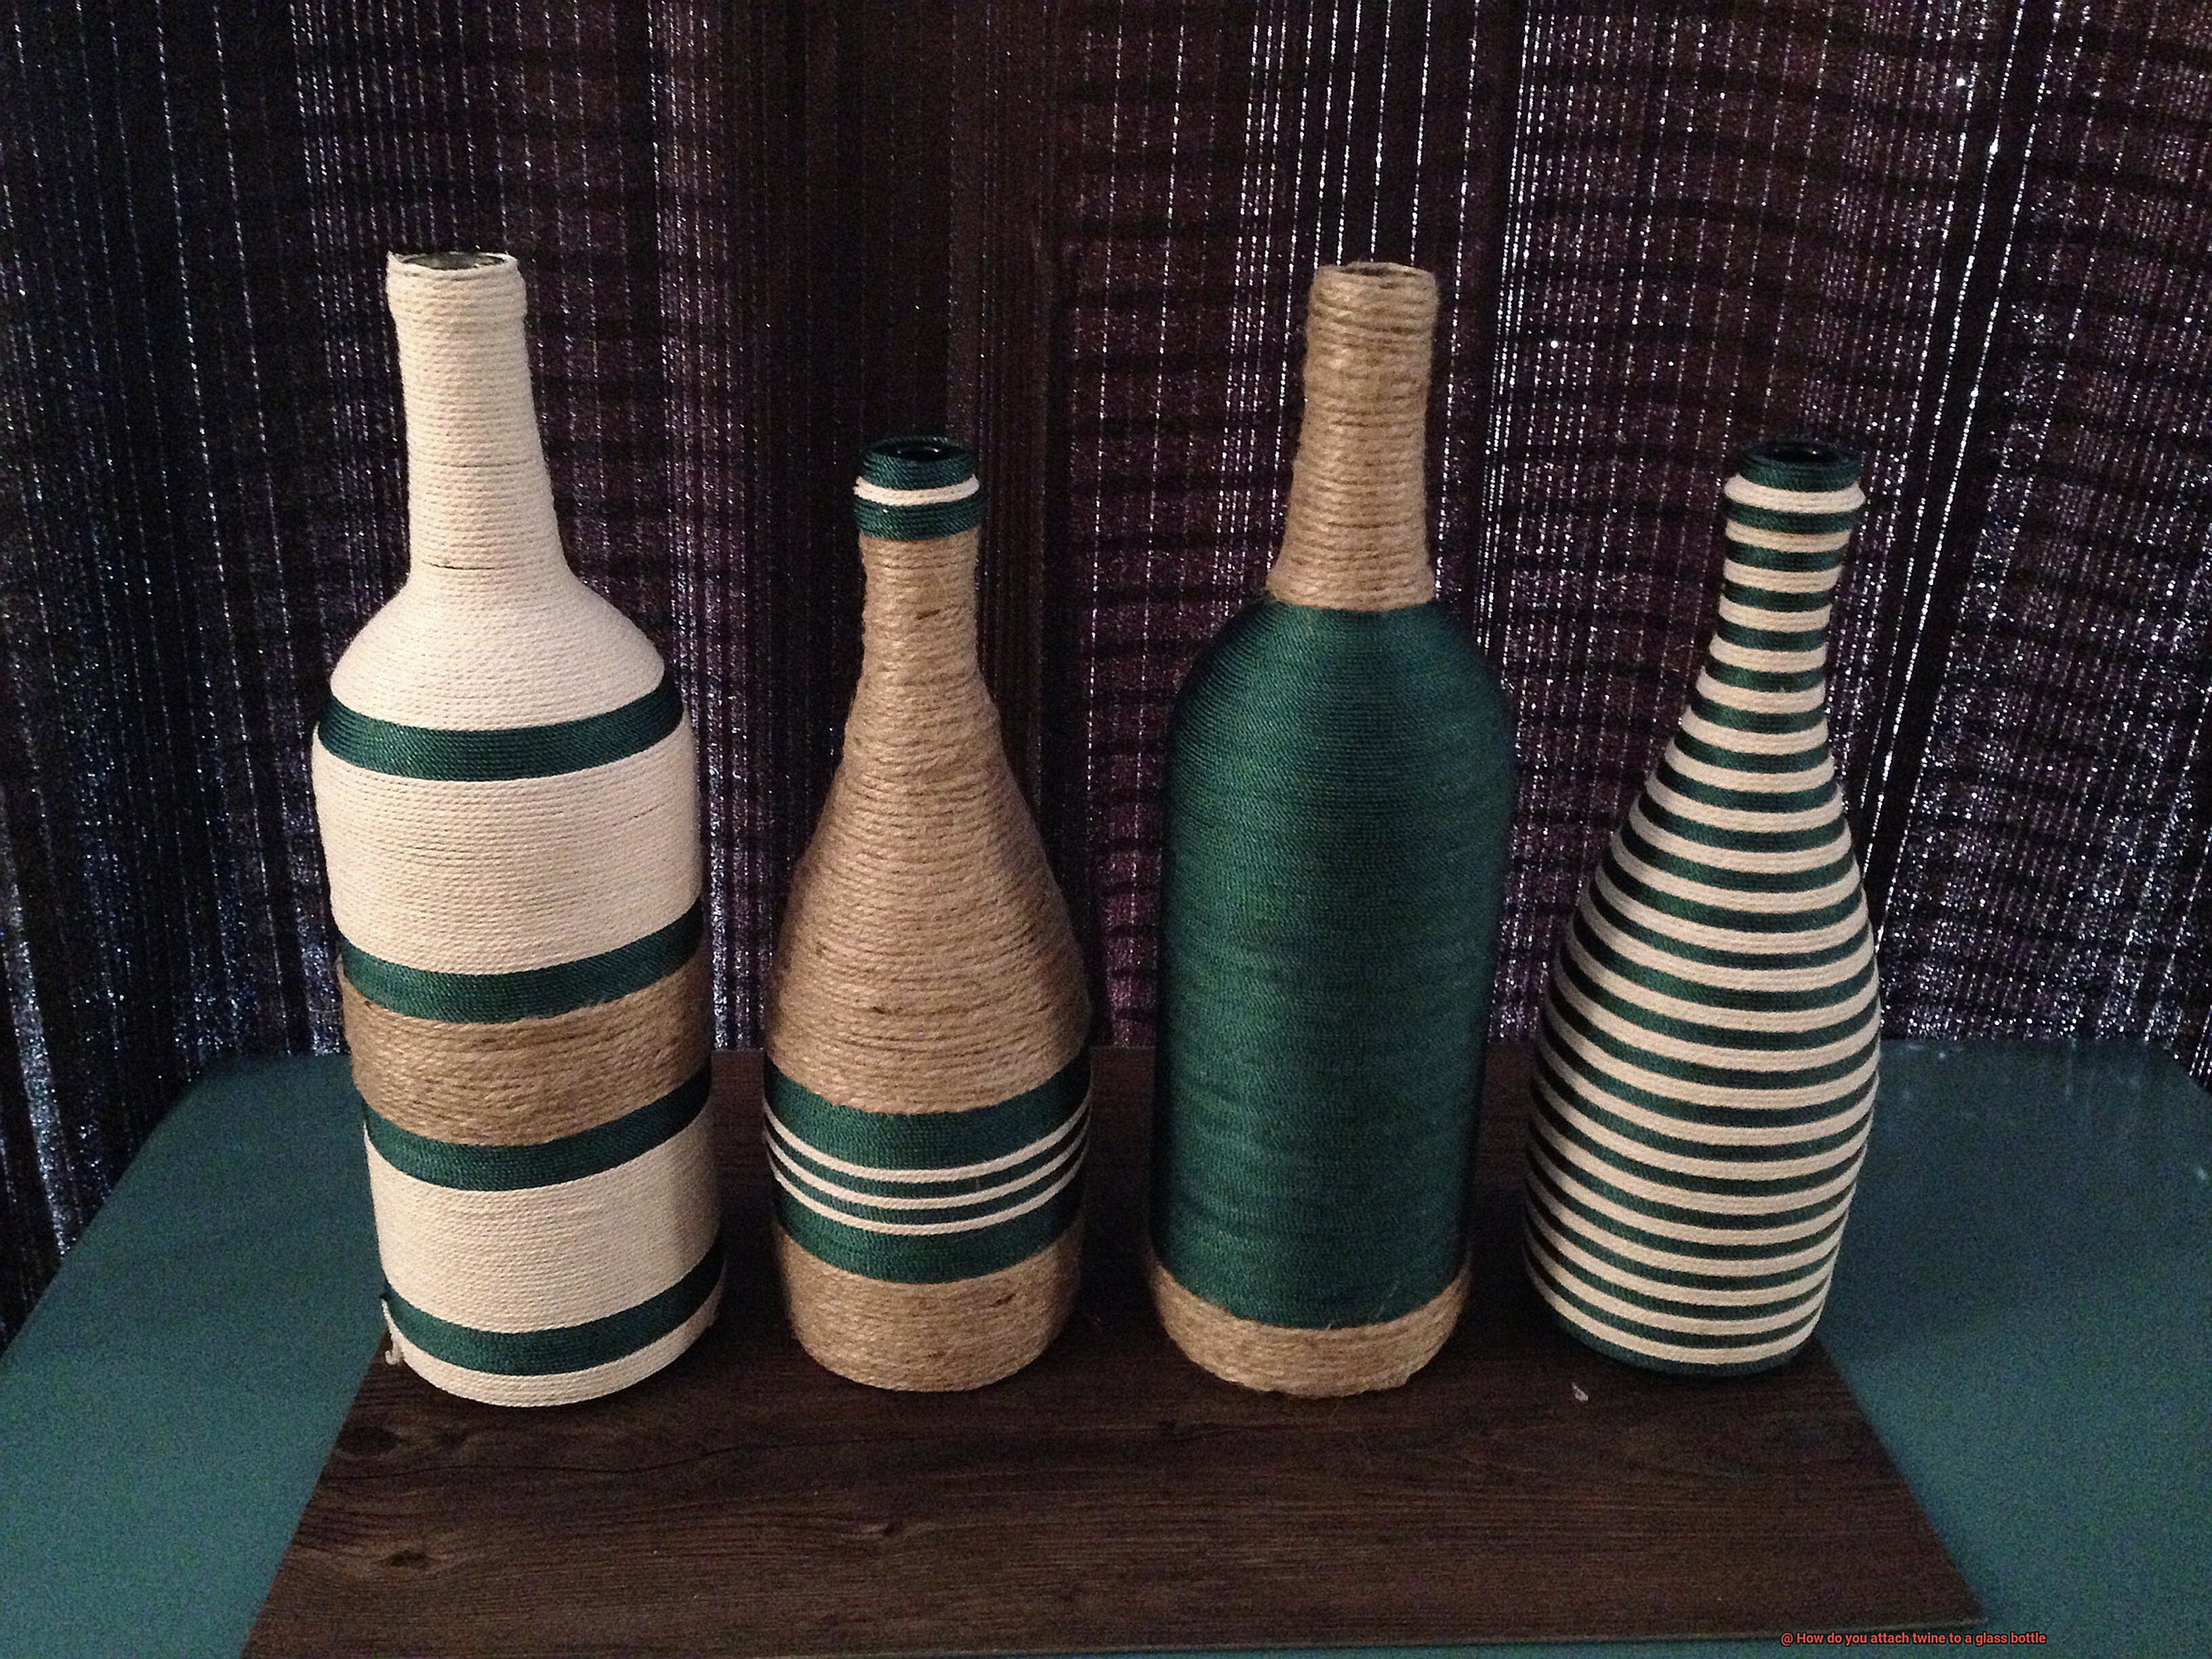
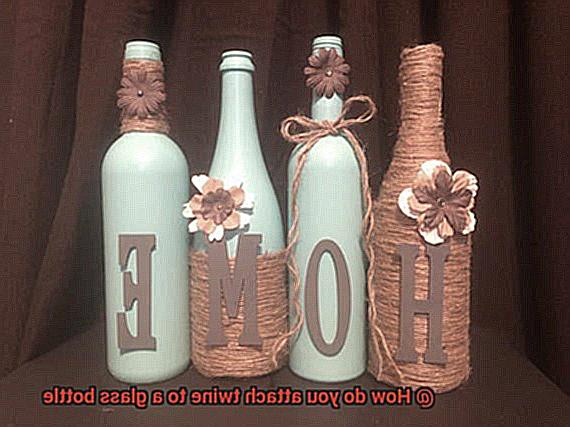
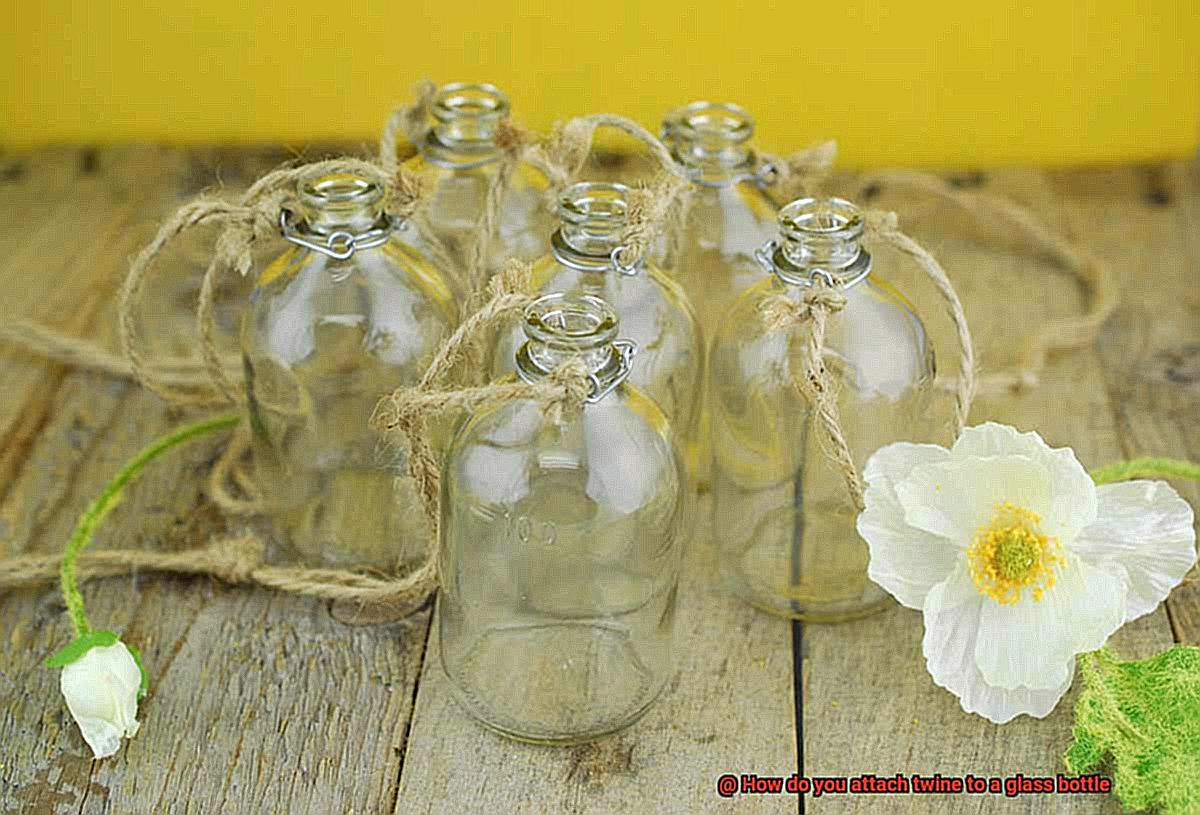
Wrapping the Twine Around the Bottle

Today, we are going to delve into the art of wrapping twine around a glass bottle. Whether you’re looking to add a decorative touch, create a rustic vibe, or give your bottle a textured grip, this simple yet mesmerizing technique is sure to leave you in awe. So, grab your favorite bottle and let’s get started.
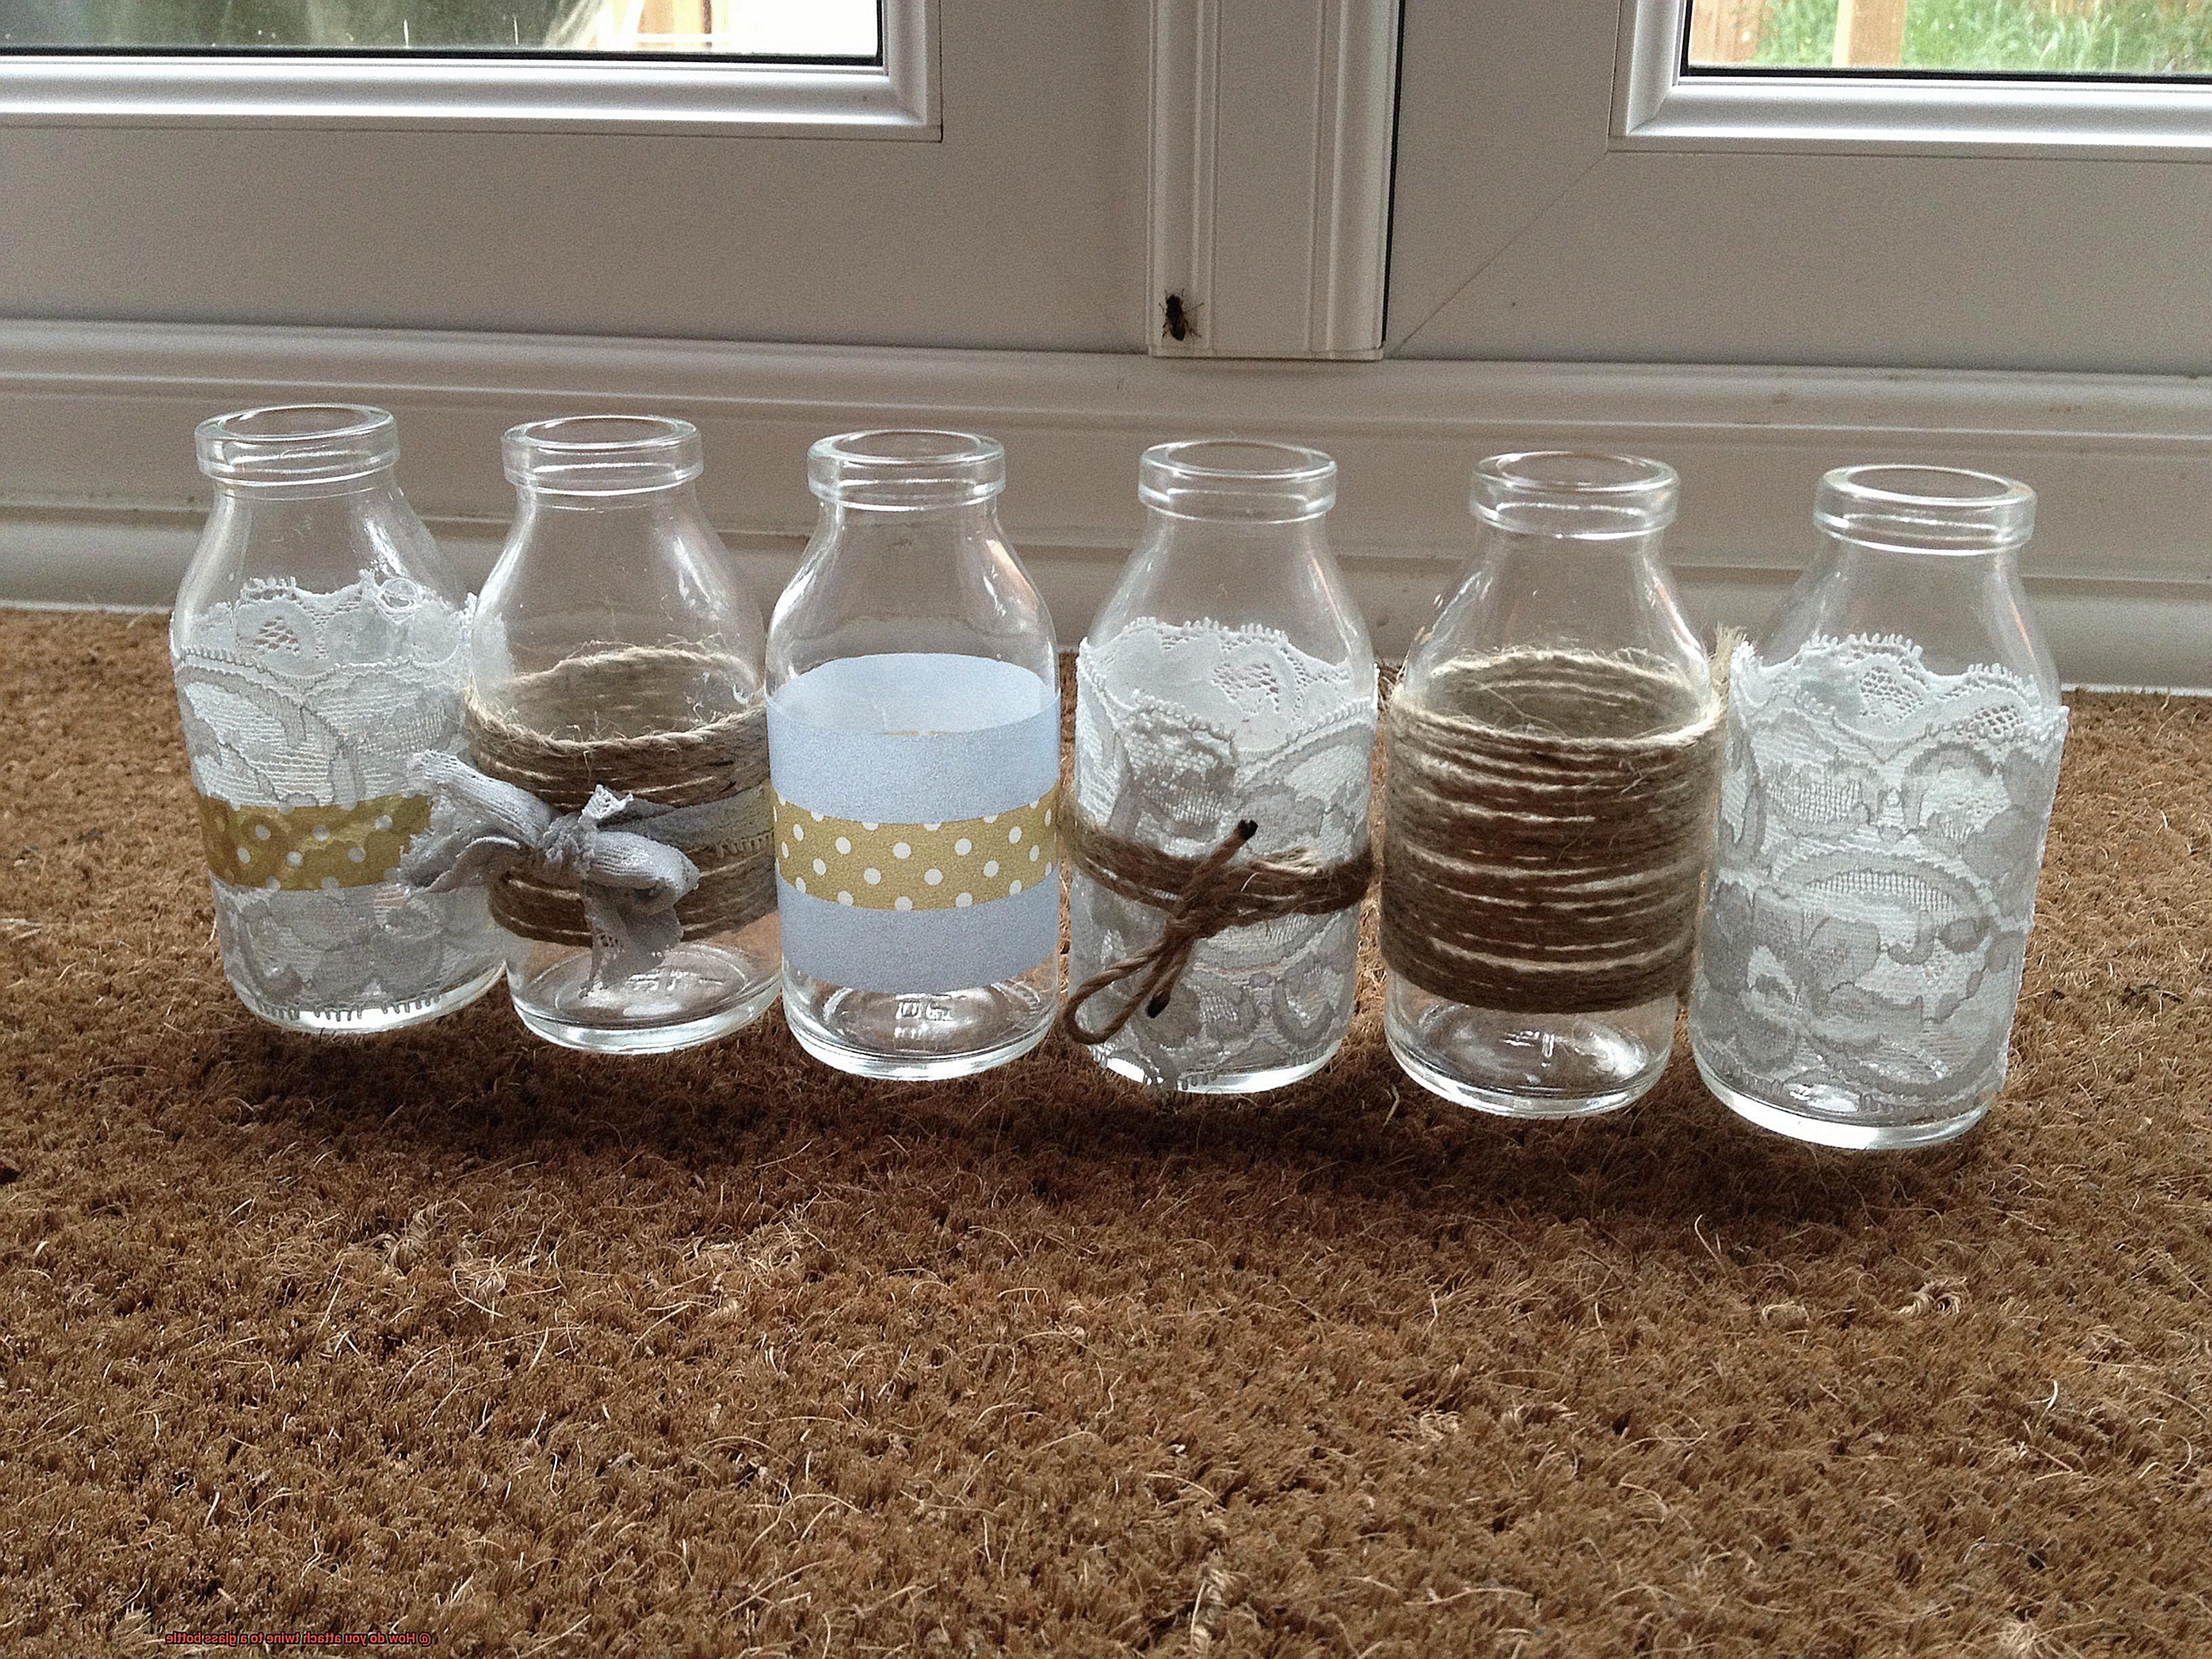
First things first, let’s talk about the types of twine you can use for this project. Jute twine, hemp twine, or cotton twine are all fantastic options. Each has its own unique characteristics, so choose the one that best suits your desired outcome. Jute twine offers a natural and rustic look, while hemp twine provides a more earthy texture. Cotton twine, on the other hand, offers a softer and smoother feel.
Now that you have your preferred twine in hand, it’s time to prepare your glass bottle. Give it a thorough cleaning to ensure that the surface is free from any dust or debris. This will help the glue adhere more effectively. If you want to take it a step further, consider applying a layer of primer or adhesive promoter to enhance adhesion.
Once your bottle is prepped and ready, let’s move on to the exciting part – attaching the twine. Start by securing one end of the twine at either the top or bottom of the bottle using glue or adhesive tape. This will serve as your starting point.
Now comes the fun part – tightly wrap the twine around the bottle in a spiral or diagonal pattern. Make sure each loop is close together and overlaps slightly for a seamless finish. As you continue wrapping the twine, keep an eye on the tension. You want it to be snug enough to stay in place but not too tight that it distorts the shape of your bottle. Take your time and maintain a steady rhythm as you work your way up or down the bottle, depending on your preference.
Once you’ve reached the desired height, secure the loose end of the twine with a dab of glue. You can also tuck it under one of the previous loops for added security. Allow the glue to dry completely before handling your newly wrapped bottle.
And voila. You’ve just transformed a simple glass bottle into a stunning piece of art. The twine adds a touch of elegance and warmth, making it perfect for home decor, events, or even as a thoughtful gift.
Enhancing Adherence Without Glue
Are you a crafter or DIY enthusiast looking to elevate your projects? Today, we’re diving into the world of enhancing adherence without glue. Say goodbye to traditional adhesive methods and embrace these alternative techniques that will take your bottle decoration projects to the next level.
- Hot Glue Gun: The trusty hot glue gun is a versatile tool that can create a temporary bond between twine and a glass bottle. Simply apply hot glue to the desired area on the bottle and quickly press the twine onto it. Keep in mind that this method may require reapplication over time, so it may not provide long-lasting adherence.
- Double-sided Adhesive Tape or Foam Tape: For a stronger and more durable bond, consider using double-sided adhesive tape or foam tape. Apply the tape to the desired area, peel off the backing, and firmly press the twine onto it. This ensures that the twine stays securely attached to the glass surface.
- Decorative Wire or String: Add a decorative touch by using wire or string to wrap around both the twine and bottle. This not only enhances adherence but also adds a unique and visually appealing element to your design. Start by tightly wrapping the wire or string around the neck of the bottle, overlapping it with the twine. Continue wrapping until you achieve your desired length or pattern.
- Rubber Bands or Elastic Bands: For larger bottles or uneven surfaces, rubber bands or elastic bands can be effective in attaching twine to a glass bottle. Simply wrap the bands tightly around the desired area on the bottle, creating a secure hold for the twine.
- Natural Materials with Inherent Grip: If you want to avoid adhesive altogether, try using natural materials like hemp or jute twine. These rougher-textured twines have inherent grip or friction properties, allowing them to stay in place when wrapped around a glass bottle. Get creative with different wrapping techniques like crisscrossing or weaving to further enhance adherence.
Attaching Twine Without Glue
If you’re looking to add a rustic touch to your glass bottles without the mess of glue, there are several effective methods for attaching twine that don’t require adhesive.
One popular technique is wrapping. By tightly wrapping the twine around the bottle in a specific pattern or design, you can achieve a secure attachment without the need for glue. The tension of the twine holds it in place, creating a simple yet effective solution.
For those seeking a stronger attachment, knots are your best friend. There are various knotting techniques you can use, such as the square knot or the clove hitch. These knots can be tied around the neck of the bottle or at any desired location along its surface, providing a strong attachment point for the twine.
Another option is using wire or string as an alternative to glue. By tightly wrapping wire or string around the bottle and then threading the twine through it, you can create a sturdy attachment. This method is particularly useful for creating hanging decorations or handles on bottles.
If you prefer a temporary bond, adhesive materials like double-sided tape or sticky dots can be used. These options provide a secure hold while still allowing for easy removal if desired.
Remember to wrap the twine tightly and securely around the bottle to prevent it from unraveling or slipping off over time. Choosing a durable and strong twine material, such as jute or hemp, will also contribute to a more secure attachment.
Tips for a Professional-Looking Finish
Transforming glass bottles into beautiful decorative pieces by attaching twine requires attention to detail and skill. Whether you’re creating rustic centerpieces or trendy vases, achieving a professional-looking finish is crucial. In this blog post, we will explore some tips and techniques to help you achieve just that.
Choose the Perfect Twine:
Achieving a professional look starts with selecting the right twine. Natural fibers like jute or hemp twine provide a rustic and organic feel, while nylon or polyester twine offers a more modern and sleek appearance. Consider the overall aesthetic you want to achieve before making your selection.
Prepare the Surface:
Properly preparing the glass bottle’s surface is essential for a professional-looking finish. Clean the bottle using a damp cloth to remove any dust, fingerprints, or residue that could affect adhesion. Allow the bottle to air dry completely before proceeding.
Use a Strong Adhesive:
To ensure a secure attachment, choose a strong adhesive that can hold the twine in place. Epoxy adhesive, super glue, or hot glue guns are commonly used choices because of their excellent bonding strength and durability. Apply the adhesive strategically along the bottle’s surface to prevent visible gaps or clumps.
Apply with Precision:
When attaching twine to a glass bottle, apply the adhesive strategically to ensure an even distribution. Start by applying a small amount of adhesive directly onto the bottle’s surface and press the end of the twine firmly onto it. Gradually wrap the twine around the bottle, intermittently applying adhesive along the way to secure it in place.
Maintain Tension:
Maintaining consistent tension while wrapping the twine is crucial for achieving a neat and professional finish. Apply gentle pressure on each wrap to keep the twine tightly secured without distorting its shape or creating loose sections. This will contribute to an overall polished appearance.
Trim and Secure:
Once you’ve wrapped the twine around the glass bottle, trim any excess length, leaving a small tail. To ensure a seamless finish, secure the loose end of the twine by applying a small amount of adhesive and pressing it firmly against the bottle. This will prevent the twine from unraveling and give it a clean and professional look.
abOq9od4qs8″ >
Conclusion
Attaching twine to a glass bottle may seem like a simple task, but it requires finesse and precision. To achieve the perfect bond, follow these steps:
Clean the surface of the glass bottle thoroughly with soap and water. This will remove any dirt or oil that could interfere with the adhesive.
Choose a strong adhesive that is suitable for both glass and twine. Epoxy glue or super glue are good options. Apply a small amount to the desired area on the bottle.
Take your twine and wrap it tightly around the glued area, making sure it adheres well to the glass. You can create a pattern or simply go for a straight line – it’s up to you.
Once you have wrapped the twine around the bottle to your satisfaction, secure the end by tying a knot or using another dab of adhesive.
Allow ample time for the adhesive to dry completely before handling or displaying your newly adorned glass bottle.
Remember, attention to detail is key when attaching twine to a glass bottle.