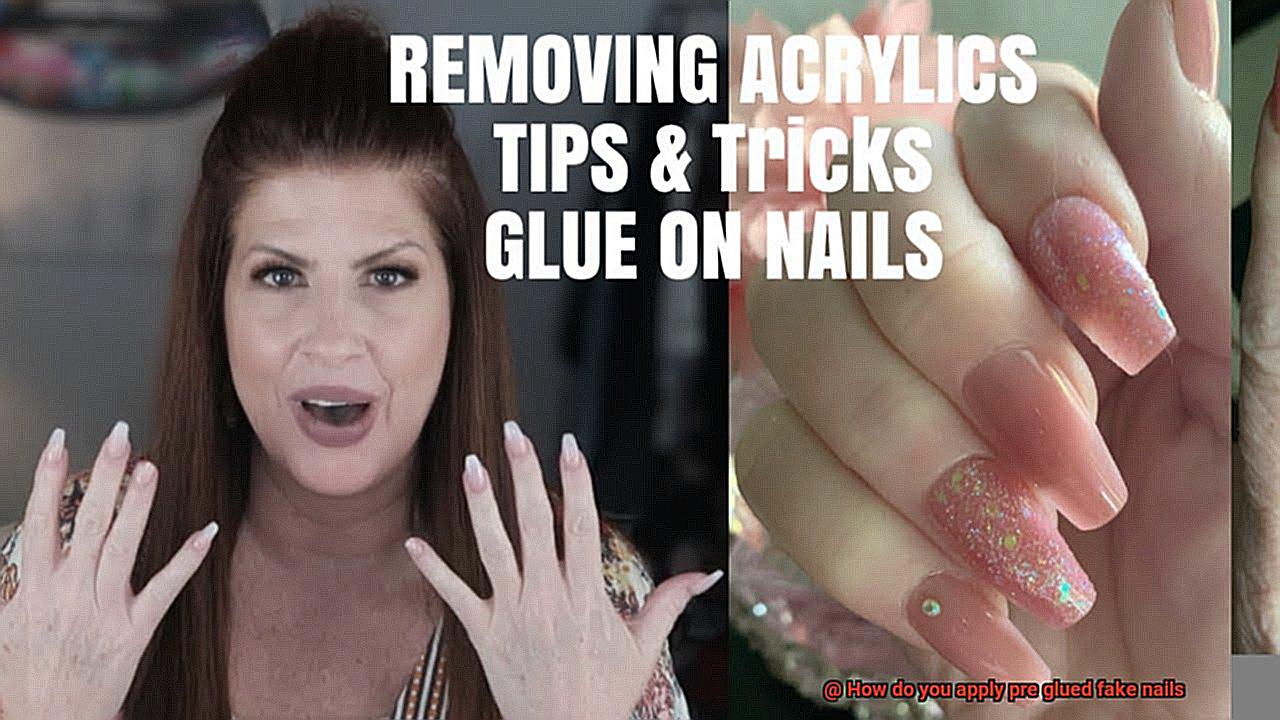
Look no further than pre glued fake nails. These trendy nail extensions are all the rage, offering a stress-free way to achieve stunning nails in minutes. But how do you actually apply them?
In this blog post, we’ll guide you through each step of applying pre glued fake nails, ensuring flawless results every time. From prepping your natural nails to finding the perfect size, we’ve got your back. Plus, we’ll spill some insider secrets on making your manicure last longer and safely removing them when it’s time for a change.
But hold up, we haven’t even mentioned the best part yet. These pre glued fake nails come with adhesive already applied, so say goodbye to messy glue mishaps. It’s as easy as peel, stick, and go. With a wide range of colors, shapes, and designs to choose from, you can switch up your style whenever you fancy.
Whether you’re a busy mom or a boss babe or just someone who craves fabulous nails, pre glued fake nails are your ultimate beauty hack. Say farewell to salon appointments and hello to gorgeous nails at your fingertips. Get ready to level up your manicure game and never settle for boring chipped nails again. Stay tuned for our next post where we dive into the nitty-gritty steps of applying these game-changing fake nails. It’s time to rock those #nailgoals.
Preparing Your Natural Nails for Application
Contents
- 1 Preparing Your Natural Nails for Application
- 2 Selecting the Right Size of Fake Nails
- 3 How to Apply Pre-Glued Fake Nails
- 4 Securing the Fake Nail in Place
- 5 Finishing Up After Applying the Fake Nails
- 6 Tips for Maintaining Pre-Glued Fake Nails
- 7 Pros and Cons of Pre-Glued Fake Nails
- 8 Common Mistakes When Applying Pre-Glued Fake Nails
- 9 Conclusion
Pre-glued fake nails offer a quick and convenient way to enhance your nail game. But before you dive into the world of instant glam, it’s crucial to properly prepare your natural nails. In this article, we will take you through the essential steps, ensuring that your pre-glued fake nails adhere flawlessly and last for an extended period.
Step 1: Say Goodbye to Nail Polish and Residue
Begin by bidding farewell to any remnants of nail polish or residue on your nails. Choose a non-acetone nail polish remover to delicately cleanse your nails without stripping them of moisture.
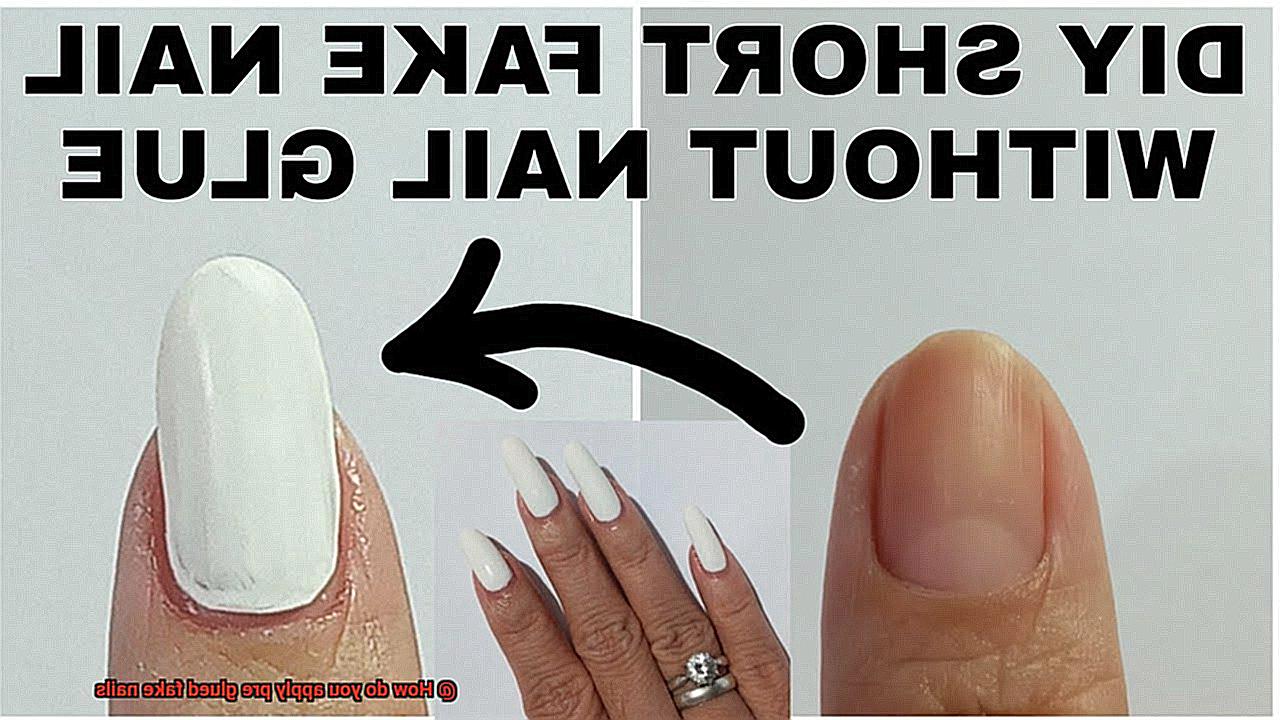
Step 2: Trim and Shape Like a Pro
Grab a nail clipper and trim your nails to your desired length. Opt for a shorter length to guarantee better adhesion and a more authentic appearance. Once trimmed, let a nail file work its magic, shaping the edges into the perfect rounded or square shape that suits your fancy.
Step 3: Buff Your Way to Perfection
Prepare to give your nails some love by gently buffing their surface using a fine-grit buffer. This step smooths out any ridges or imperfections, creating an ideal canvas for the pre-glued fake nails to adhere flawlessly. Remember not to overdo it—gentle buffing is the key.
Step 4: Wash Away the Past
After buffing, indulge in a refreshing hand wash with warm water and soap. This will remove any lingering dust or debris from the buffing process. Dry those hands diligently with a clean towel, leaving no room for moisture.
Step 5: Push Back Your Cuticles in Style
Grab that trusty cuticle pusher or an orangewood stick—it’s time to push back those cuticles like a pro. Gently guide them towards the base of your nails, creating ample space for the pre-glued fake nails to work their magic. Remember, no cutting or damaging allowed during this step.
Step 6: Trim with Precision
If you encounter any pesky excess cuticles or hangnails, exercise caution as you delicately trim them using a cuticle nipper. The goal is to remove only what’s necessary, avoiding any potential bleeding or infection. Precision is key here.
Selecting the Right Size of Fake Nails
Prepare to be enchanted as we delve into the captivating realm of pre-glued fake nails. In our previous discussions, we explored the importance of meticulous nail preparation. Today, we embark on a new adventure – the quest for the ideal size and shape. Get ready to unlock the magic behind flawless nail illusions. So, grab your favorite beverage and prepare to master the art of nail transformation.
The Perfect Fit: Unlocking the Potential of Size
In the mesmerizing world of pre-glued fake nails, size is an essential element that cannot be overlooked. Let’s unravel the reasons why selecting the right size is paramount:
Steer Clear of Bulky Blunders and Discomfort:
We’ve all witnessed those cringe-worthy moments when fake nails seem more like formidable claws than elegant extensions. A common culprit behind this unfortunate spectacle is choosing fake nails that are too large for your nail beds. Not only does this result in an unnatural and bulky appearance, but it also brings discomfort into the picture. Ouch.
Precision through Measurement:
To embark on your transformative journey, you must first measure the width of your natural nails. Grab a measuring tape or ruler and meticulously record this dimension in millimeters or inches. This measurement serves as your compass as you navigate through the sizes available in your pre-glued fake nail set.
Embrace the Power of Smaller:
In instances where your natural nail width doesn’t align precisely with any available sizes, embrace the allure of smaller fake nails instead of larger ones. Smaller nails can be skillfully filed and shaped to achieve a more seamless fit, while larger ones may pose a greater challenge in terms of adjustment.
Shape: Sculpting Illusions:
Remember, it’s not just about size – the shape of your natural nails is a vital consideration when selecting fake nails. If your natural nails boast a square shape, opt for square-shaped fake nails to maintain continuity. On the other hand, rounded or pointed natural nails call for corresponding shapes in the world of fakes. Let your imagination run wild as you create an exquisite illusion.
How to Apply Pre-Glued Fake Nails
Pre-glued fake nails are the secret weapon you need. Say goodbye to the mess and hassle of traditional acrylic or gel nails. In this guide, we’ll take you on a journey of applying pre-glued fake nails step by step, so you can rock a salon-worthy manicure from the comfort of your own home.
Step 1: Prep and Polish
Before diving into the world of pre-glued fake nails, show your natural nails some love. Start by banishing any oils or residue with a gentle nail polish remover. This ensures a flawless bond between the adhesive and your nails. Once pristine, gently buff the surface using a nail buffer or file. Why? Because roughing up the surface gives the adhesive more grip – it’s like magic.
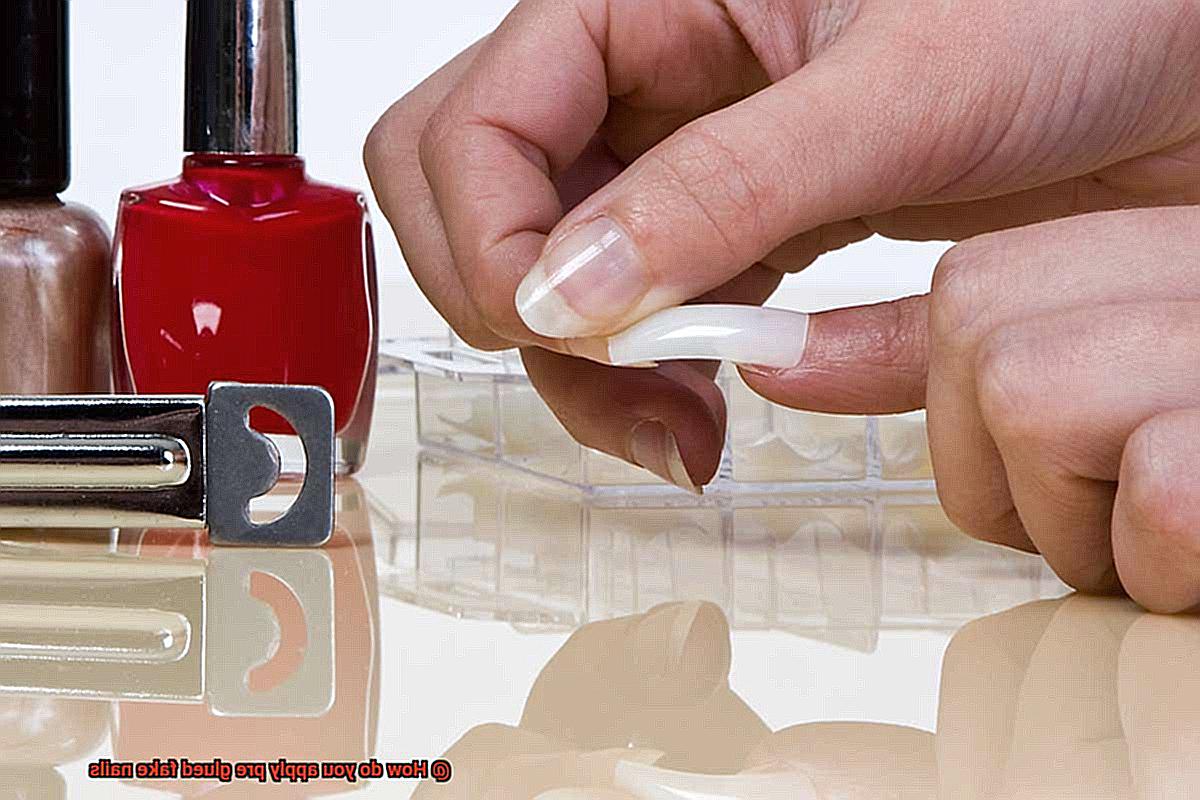
Step 2: Find Your Perfect Match
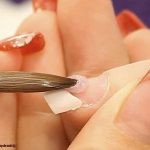
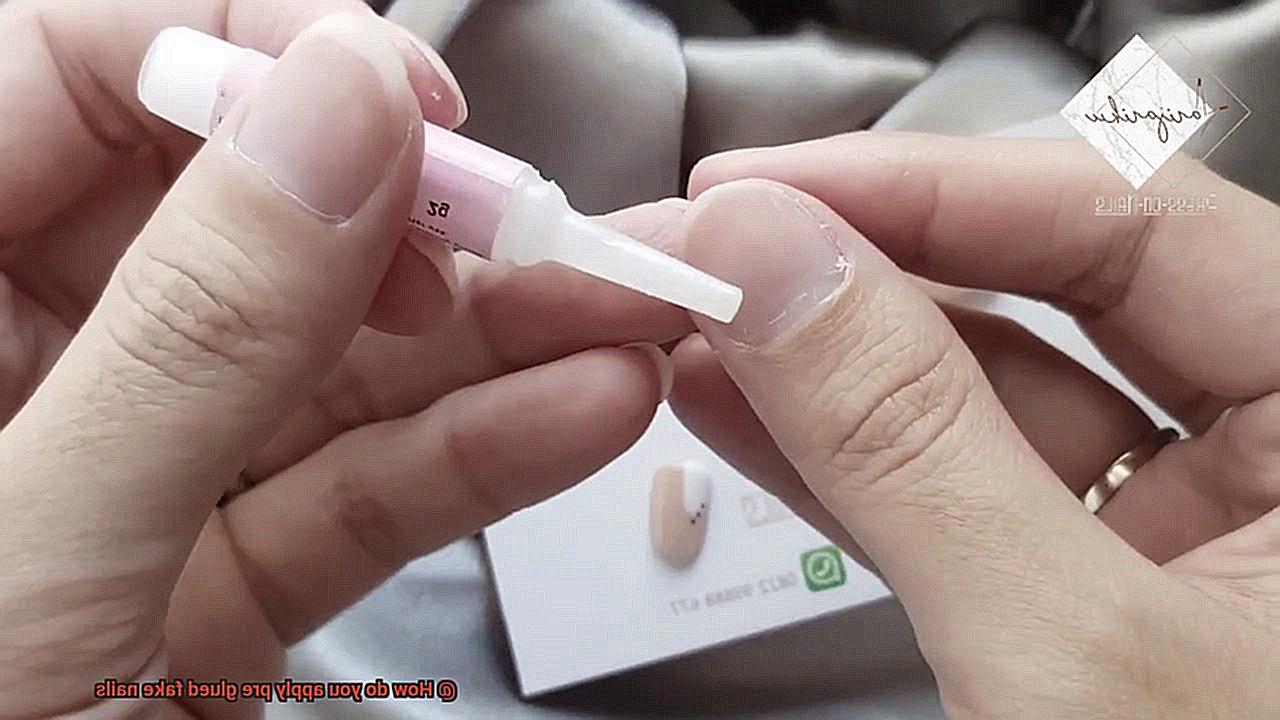
Size matters, darling. Take a moment to find the ideal fit for each of your precious natural nails. Peel off that sassy protective backing from the back of your chosen fake nail, but be warned – don’t lay a finger on that alluring adhesive. Touch it, and its stickiness might just vanish like a mirage.
Step 3: Align and Conquer
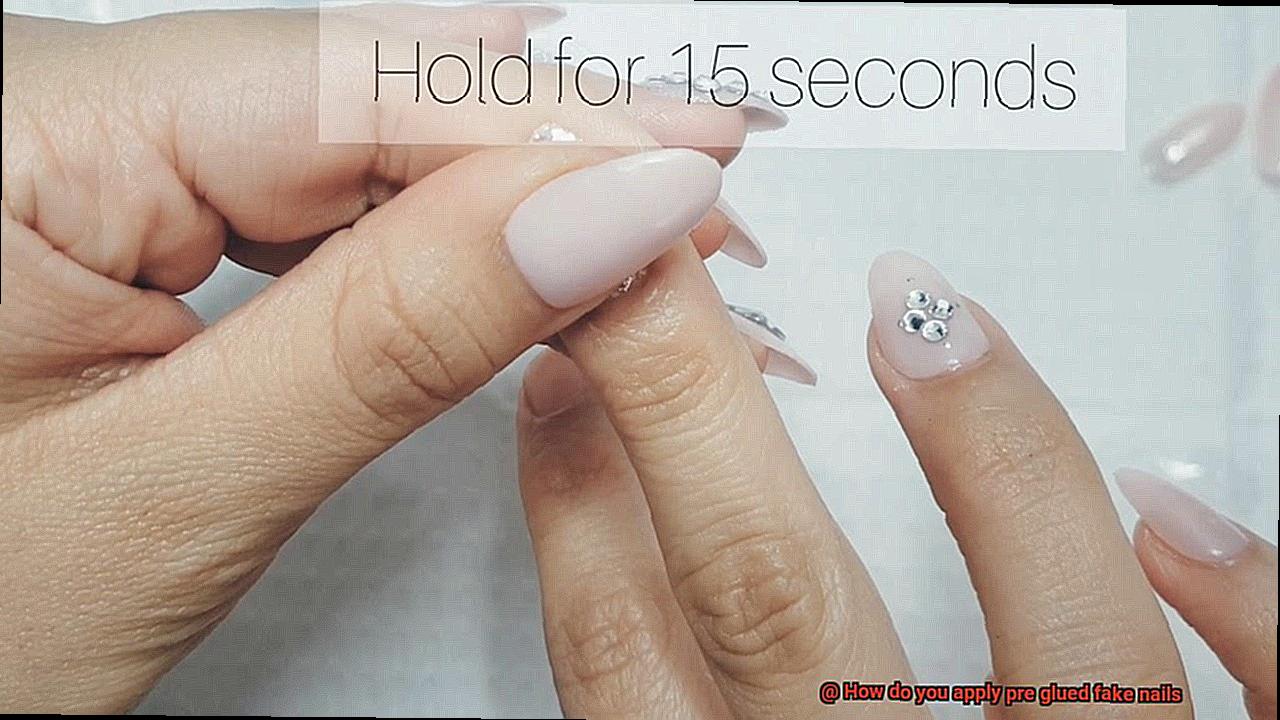
Ready for instant fabulousness? It’s time to align those pre-glued fake nails with your natural beauties. Begin at the cuticle area and press down with conviction. Hold for an enchanting 10-15 seconds, allowing the adhesive to weave its magic and bond seamlessly with your natural nails. Remember, gentle pressure is key here – no need to unleash a storm.
Step 4: Repeat and Bask in Glory
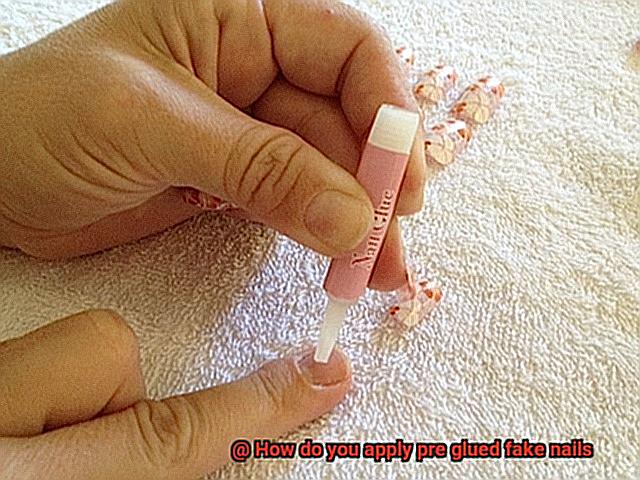
Oh, darling, you’re on a roll. Repeat Steps 2 and 3 for each remaining nail, ensuring you choose the perfect size for each one. Once all your fake nails are affectionately in place, give them a gentle but firm press to ensure they’re securely attached. If any nails feel a bit rebellious, you can tame them with a tiny dab of nail glue. It’s like having a secret weapon in your beauty arsenal.
Step 5: Finishing Flourish
Almost there, my dear. Time to shape and sculpt those pre-glued wonders to your heart’s desire. Use a nail clipper or file to create the length and shape that exudes your unique style. But remember, darling, don’t go overboard – we want to avoid any casualties, both real and faux. Seal the deal by applying a clear top coat or a lick of clear nail polish over the entire set. Your nails will shimmer like diamonds and last as long as your fabulousness.
Securing the Fake Nail in Place
Prepare to be dazzled as we unveil the secrets to perfectly securing those pre-glued fake nails. With these expert techniques, you’ll elevate your manicure game to new heights, leaving everyone in awe of your flawless style.
Let’s dive right into the world of securing fake nails with finesse:
Step 1: Meticulous Preparation
Before you embark on your nail transformation journey, take a moment to prepare your natural nails. Remove any lingering traces of nail polish and gently push back your cuticles using a cuticle pusher. This meticulous preparation provides a pristine foundation for optimal adhesion.
Step 2: Size Up for Perfection
Size matters when it comes to fake nails. Choose wisely to ensure a comfortable fit and a natural appearance. Avoid the frustration of nails that are too small, prone to popping off at inconvenient times, or oversized ones that bring discomfort with every movement. Select the perfect fit for each nail, paying attention to detail.
Step 3: Press and Hold, the Art of Bonding
Let’s get hands-on. Apply gentle pressure as you press the fake nail onto your natural nail bed, starting from the cuticle area. Hold it firmly for about 10-15 seconds, allowing the adhesive to work its magic. Remember, we seek balance between firmness and gentleness – Hulk-like strength isn’t necessary here.
Step 4: Reinforcement for Endurance
For those seeking extra durability, consider adding a thin layer of nail glue on top of the pre-glued nails. This additional step provides an added layer of reinforcement, ensuring your fabulous creations stay intact for an extended period. Proceed with caution, though – too much glue can lead to messy mishaps.
Step 5: Patience, Darling
Now comes the test of patience. Allow the glue to dry completely before engaging in any hand-intensive activities. Embrace the stillness for approximately 2-3 minutes, depending on the brand of glue used. Resist the temptation to rush and let the glue work its magic undisturbed.
Finishing Up After Applying the Fake Nails
From shaping and buffing to applying nail polish and sealing it with a protective top coat, this guide will help you unleash your inner nail artist and achieve a flawless, professional look.
Trim and Shape: Sculpting Perfection
To begin, let’s sculpt your nails to perfection. Utilize a nail file or clippers to trim and shape them to your desired length and style. Whether you opt for chic squares or elegant almonds, this step lays the foundation for an impeccable, salon-worthy finish.
Buffing for a Velvety Canvas
Smooth out any imperfections by gently buffing the surface of your fake nails. This technique eradicates rough edges and creates a velvety canvas for your nail polish or creative designs. Remember, a gentle touch is the key to achieving flawlessness.
Cleanse and Prepare: The Gateway to Vibrancy
Before diving into the world of color and artistry, cleanse your fake nails thoroughly. Use a cotton pad soaked in nail polish remover to eliminate any oils or residue that may jeopardize the longevity of your manicure. This step sets the stage for vibrant colors and intricate designs that dazzle.
Apply Nail Polish: Unleash Your Creativity
Now comes the moment to unleash your inner artist. Apply thin, even layers of your preferred nail polish color or design. Start with a base coat to safeguard your nails and enhance the resilience of your masterpiece. Allow each layer to dry completely before moving on to the next level of brilliance.
Seal the Deal with a Top Coat: Captivate with Lustrous Brilliance
Elevate your fake nails from fabulous to captivating by applying a top coat. This final touch not only seals in your nail polish but also imparts a lustrous brilliance that mesmerizes onlookers. Invest in a top-quality product that safeguards and prolongs the vibrancy of your manicure, ensuring chip-free perfection for days to come.
Tips for Maintaining Pre-Glued Fake Nails
Calling all nail aficionados. Are you ready to discover the secrets to maintaining your pre-glued fake nails flawlessly? From shielding them from water to pampering your natural nails, we have got you covered. Let’s dive into these invaluable tips for keeping your pre-glued nails on point.
Shield Your Nails from Water:
Water is the nemesis of pre-glued fake nails, as it weakens the adhesive, leading to lifting or complete detachment. When engaging in activities like dishwashing or cleaning, don a pair of gloves to shield your beautiful nails. If they do get wet, pat them dry gently with a towel instead of rubbing, as friction can loosen the adhesive’s grip.
Handle Hand Sanitizers and Lotions with Caution:
Beware of hand sanitizers and lotions containing alcohol, as they can dissolve the adhesive on your pre-glued nails. To avoid any mishaps, either apply these products carefully without touching the nails or wait until they are completely dry. Alternatively, opt for non-alcoholic hand sanitizers to keep your nails looking fabulous.
Embrace Regular Maintenance:
The key to perpetually stunning pre-glued fake nails lies in regular maintenance. Trim and file them regularly to maintain their desired length and prevent rough edges. Additionally, clean your nails routinely with a gentle cleanser or nail polish remover to eliminate any dirt or debris that may accumulate.
Handle with Tender Loving Care:
When tackling tasks that impose strain on your nails, such as opening cans or using tools, exercise caution and handle with care. Applying excessive pressure can result in lifted or broken fake nails. Consider wearing gloves or taking extra precautions during these activities to safeguard your impeccable manicure.
Moisture Control is Vital:
Excessive moisture spells trouble for pre-glued fake nails, weakening the adhesive and compromising their longevity. Whether washing dishes or indulging in a relaxing shower, prioritize keeping your nails dry. Don gloves or be mindful of moisture exposure to preserve the integrity of your beautiful nails.
Let Your Natural Nails Breathe:
While pre-glued fake nails are undeniably glamorous, it is crucial to grant your natural nails periodic respite. Allow a break of at least one to two weeks between wearing pre-glued nails to enable them to breathe and regain strength. During this hiatus, nourish your natural nails with cuticle oil and moisturizers for optimal health.
Pros and Cons of Pre-Glued Fake Nails
Today, we’re delving into the fascinating world of pre-glued fake nails and exploring their pros and cons. As an expert in the beauty industry, I’ve conducted extensive research to provide you with a comprehensive list of points to help you determine if pre-glued fake nails are the right choice for you. So, let’s dive in and discover the wonders and potential pitfalls of these trendy nail accessories.
Let’s start by uncovering the exciting advantages of pre-glued fake nails. One of the most prominent benefits is their effortless application. Unlike traditional acrylic or gel nails that require a lengthy and sometimes complicated process, pre-glued nails are a dream to put on. Simply peel off the adhesive backing, align the nail onto your natural nail bed, and press it down – presto. Within minutes, you’ll have flawless, salon-worthy nails. This makes pre-glued fake nails a fantastic option for individuals who are short on time or lack the skills needed for a professional-looking manicure.
Affordability is another enticing aspect of pre-glued fake nails. We all know how expensive salon manicures can be, especially if you desire nail extensions or intricate designs. However, with pre-glued nails, you can achieve a salon-like appearance without emptying your wallet. They’re widely available at drugstores, beauty supply stores, and online retailers, making them accessible to everyone – regardless of budget.
The versatility offered by pre-glued fake nails is truly remarkable. These fabulous accessories come in an extensive range of shapes, lengths, and designs. Whether you prefer short and natural-looking nails for everyday wear or long and glamorous ones for special events, there is undoubtedly a pre-glued option available to suit your unique style and needs. With such versatility at your fingertips, you can effortlessly switch up your look to match any occasion or mood.
Now let’s shift gears and explore some potential drawbacks of pre-glued fake nails. One common concern is their durability. While these nails can stay in place for a few days or even up to a week, they generally don’t offer the same longevity as professionally applied acrylic or gel nails. Everyday activities such as typing, washing dishes, or even showering can weaken the adhesive, leading to nails that may lift or come off completely. It’s important to bear in mind that frequent exposure to water can compromise the adhesive’s strength and ultimately impact the longevity of your pre-glued fake nails.
Common Mistakes When Applying Pre-Glued Fake Nails
Today, we’re delving into the world of pre-glued fake nails once again. In our previous section, we explored the advantages and potential pitfalls of these trendy accessories. Now, let’s take it one step further and uncover the common mistakes that people often make when applying pre-glued fake nails. By sidestepping these blunders, you’ll be well on your way to a flawless and long-lasting manicure. So, let’s dive in.
Neglecting Proper Nail Preparation:
Before diving into the realm of pre-glued fake nails, it’s crucial to prepare your natural nails properly. Take the time to thoroughly clean them and remove any old polish or residue. This ensures that the glue adheres effectively and your fake nails have a longer lifespan. Remember, a clean canvas is key to achieving perfection.
Improper Sizing of Fake Nails:
Don’t fall into the “one size fits all” trap. Each nail boasts its own unique shape and size, making it essential to choose the right size for each individual nail. Opting for nails that are too big or too small can result in an untidy and uneven appearance. Take your time selecting sizes that match the width and shape of each natural nail for a seamless blend.
Excessive Glue Application:
Remember, less is more when it comes to glue. Overapplying glue can lead to messy outcomes, with excess seeping out from the sides. Moreover, it becomes a cumbersome task to remove the fake nails later on. Use just enough glue to secure the nails in place without any oozing out. Keep in mind that a little goes a long way.
Rushing the Drying Time:
Patience is a virtue, especially when it comes to drying time. After applying the fake nails, allow ample time for the glue to dry completely before engaging in regular activities. Hastening this process can result in premature lifting or popping off of the fake nails. Grant the glue sufficient time to bond with your natural nails for a long-lasting hold.
Conclusion
Applying pre glued fake nails is a breeze.
With just a few simple steps, you can have beautiful and salon-worthy nails in no time. First, make sure your natural nails are clean and dry.
Then, select the right size of pre glued fake nails that fit your nail beds perfectly. Gently peel off the protective backing on each nail and press them firmly onto your natural nails, starting from the cuticle area and working your way towards the tip.
The adhesive on these pre glued nails is strong and durable, ensuring that they stay put for days without any lifting or peeling. Once all the nails are applied, give them a gentle press to ensure secure adhesion.
You now have gorgeous manicured nails without spending hours at the salon.