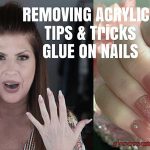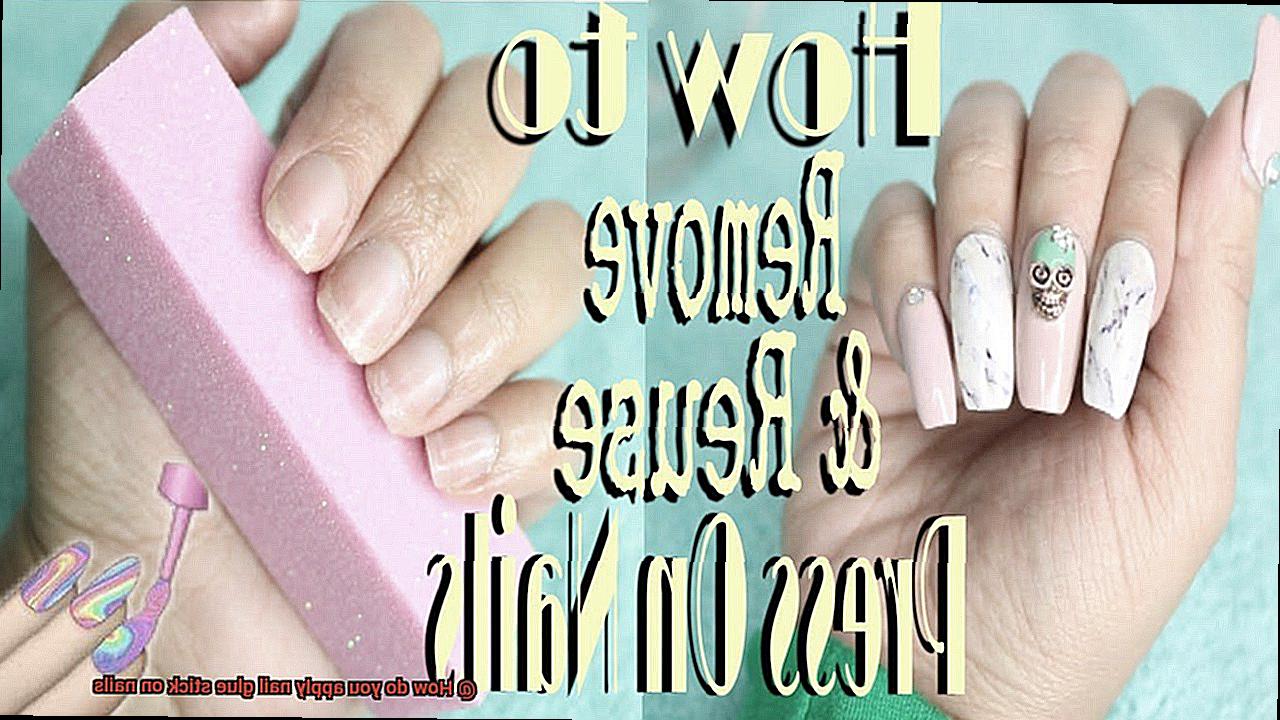
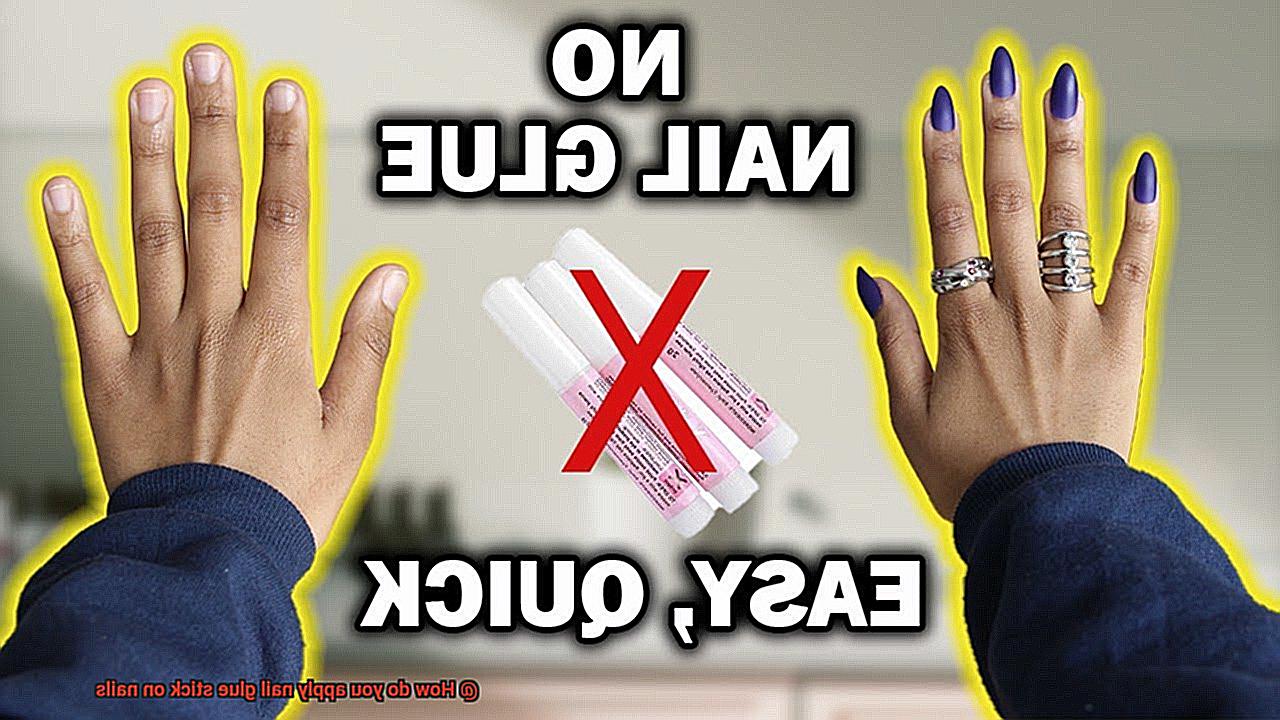
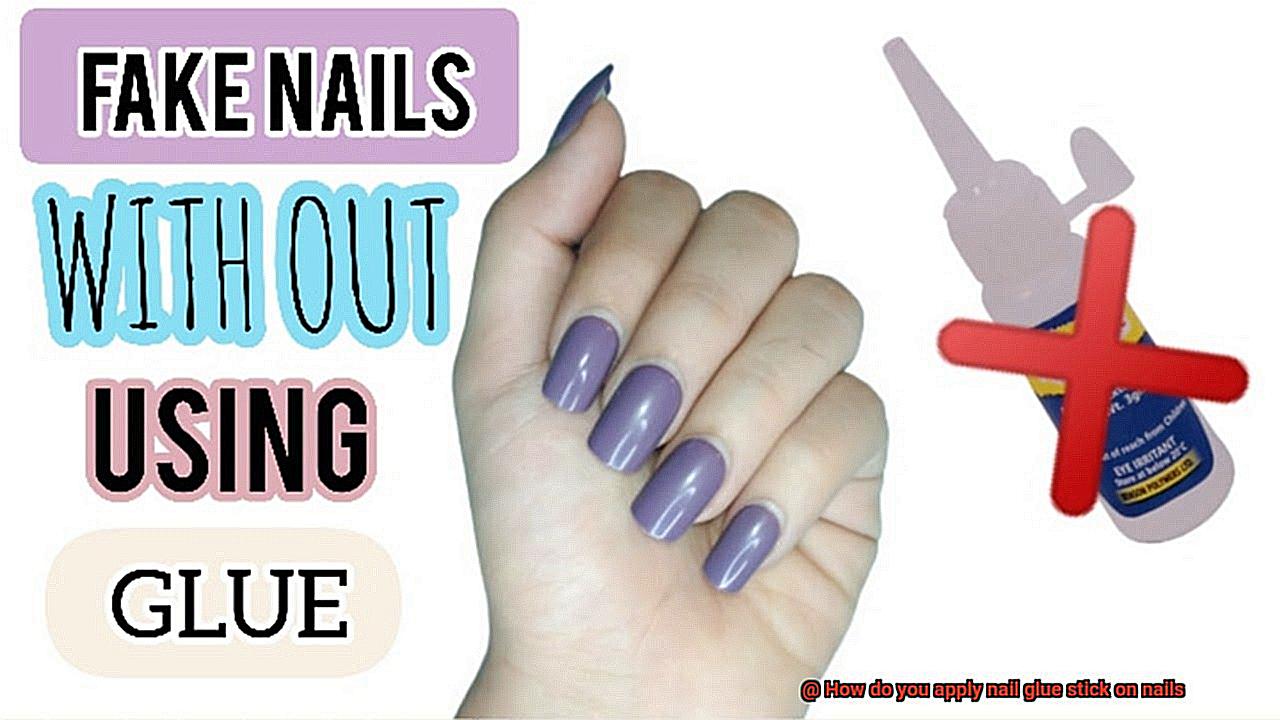
Well, today we’re going to spill the beans on how to apply nail glue sticks like a pro.
Imagine the sheer satisfaction of flawlessly applied nails that last for days. Whether you’re obsessed with nail art or simply want sleek and polished nails, nail glue sticks are a game-changer. And guess what? They’re super easy to use.
First things first – preparation is key. Just like any beauty routine, a strong foundation is crucial for long-lasting results. Get your nails in tip-top shape by trimming, shaping, and buffing them to perfection. Oh, and don’t forget to push back those cuticles for a neat and tidy look.
Now comes the exciting part – applying the nail glue stick. Start by applying a thin layer of glue onto your natural nail, ensuring complete coverage. Next, gently press the artificial nail onto the glued area for a few seconds to secure it in place.
Remember not to go overboard with the glue – too much can lead to clumping and messy outcomes. Less is more here because the glue stick formula allows for precision and control. Ta-da. Your nails are now stunning works of art that’ll turn heads wherever you go.
Whether you’re a newbie or an expert at all things nails, mastering the art of using nail glue sticks opens up endless possibilities. From trendy designs to classic French tips, you have the power to create any look you desire. So go ahead, let your inner artist shine through your nails.
In the upcoming sections, we’ll dive deeper into the step-by-step process of using nail glue sticks, share insider tips for flawless results, and explore what you should and shouldn’t do to keep your nail game strong. Get ready for our ultimate guide on achieving salon-worthy nails from the comfort of your own home.
What is Nail Glue Stick?
Contents
With the help of a nail glue stick, you can achieve stunning, long-lasting nails right in the comfort of your own home. In this article, we will explore everything you need to know about nail glue sticks, from their composition to application techniques and advantages.
What is a Nail Glue Stick?
A nail glue stick, also known as a nail adhesive stick or nail glue pencil, is a solid adhesive that is specially formulated for applying artificial nails or nail tips. Its appearance resembles that of a lip balm or glue stick. The key ingredient in nail glue sticks is cyanoacrylate, a fast-drying and strong adhesive that bonds quickly to various materials.
Advantages of Using Nail Glue Stick:
- Convenience: Nail glue sticks are perfect for both professionals and DIY enthusiasts. Their solid stick form allows for precise application, minimizing mess and making them easy to handle.
- Quick Drying Time: Get salon-quality results in seconds. One of the biggest advantages of using a nail glue stick is its quick drying time. The adhesive sets rapidly, allowing you to continue with your daily activities without worrying about accidentally dislodging the artificial nails.
- Strong and Secure Bond: Don’t let your nails hold you back. Nail glue sticks provide a strong and secure bond that keeps artificial nails in place for an extended period. Say goodbye to worrying about nails popping off at inconvenient times.
- Easy Removal: Need to make adjustments or remove your artificial nails? No problem. Nail glue sticks can be easily dissolved using acetone. A quick soak in acetone loosens the adhesive, allowing you to gently peel off the artificial nails without damaging your natural ones.
Application Techniques:
To achieve salon-worthy nails at home, follow these simple steps:
- Prepare Your Nails: Ensure a clean canvas for your nail art. Thoroughly clean your nails with a gentle nail polish remover, removing any oils or residue that could interfere with the glue’s adhesion.
- Select the Right Glue Stick: Choose a high-quality glue stick specifically designed for nail application. Look for a clear and quick-drying formula to achieve a seamless finish.
Preparing Your Nails for Application
If you want your nail glue application to last for weeks and turn heads wherever you go, you need to master the art of nail preparation. In this comprehensive guide, we will take you through the essential steps to ensure your nails are ready for a long-lasting and stunning manicure. So, grab your favorite tools and let’s dive in.
Step 1: Bid Farewell to Old Polish
Before embarking on your journey to picture-perfect nails, it is crucial to remove any remnants of old polish. With a gentle touch, use a nail polish remover and cotton pad to wipe away yesterday’s color. This step creates a clean canvas for your new masterpiece.
Step 2: Shape with Precision
Now it’s time to sculpt your nails into perfection. Take out your trusty nail file and delicately shape them to your desired length and style. Remember, filing in one direction avoids damaging the delicate nail bed. Whether you prefer the elegance of square tips, the softness of rounded edges, or the drama of pointed nails – it’s your choice.
Step 3: Show Your Cuticles Some Love
Next on our agenda is pampering those cuticles. Embrace a cuticle pusher or an orangewood stick and gently push them back. By doing so, you create a pristine area for the glue application while preventing any excess from sticking where it shouldn’t be.
Step 4: Smooth Out Imperfections
Say goodbye to rough patches and embrace silky smooth nails. Employ a buffing block or a gentle buffer to eliminate ridges or imperfections on the surface of your nails. Remember, moderation is key here – we’re aiming for a flawless finish, not weakened nails.
Step 5: Embrace the Tiny Grooves
To achieve maximum adhesion for your nail glue, it’s time to add some texture. Employ a fine-grit nail buffer or a 180-grit nail file to gently roughen the surface of your nails. These minuscule grooves will provide the perfect grip for the glue, ensuring an unbreakable bond.
Selecting the Right Glue Stick
In our previous section, we explored the art of applying nail glue and creating stunning masterpieces on your nails. Now, let’s dive into the world of glue sticks and discover the factors you need to consider when selecting the right one for applying nail glue.
Size Matters – Find Your Perfect Fit
Size matters in the world of glue sticks. Nail glue sticks come in a variety of sizes, from travel-friendly 0.28 ounces to larger 1-ounce options. If you’re always on the go, a smaller size is your ideal companion for convenience and portability. But if you’re a frequent user or a professional nail technician, investing in a larger size will keep you well-stocked without running out too quickly.
Formulas: Cyanoacrylate or Resin?
Now that we’ve got sizes covered, let’s talk formulas. There are two main types of glue sticks: cyanoacrylate-based and resin-based. Cyanoacrylate-based glue sticks are your go-to for quick-drying and strong bonding properties.
They work wonders on both natural and artificial nails, ensuring your nail art stays intact for weeks. If you’re rocking artificial nails, resin-based glue sticks provide a more flexible bond that’s perfect for maintaining those fabulous extensions.
Ingredient Check: Safety First.
Your health and safety always come first, so it’s crucial to check the ingredients of your chosen glue stick. If you have any allergies or sensitivities, pay close attention to the product’s formulation.
Some glue sticks may contain harsh chemicals or irritants that could trigger adverse reactions. So be sure to read those labels carefully and opt for a glue stick that suits your unique needs.
Precision Applicator Tip – No Mess, No Stress
Imagine trying to create a stunning nail design only to end up with a gluey mess. Not cool, right? That’s why it’s essential to look for a glue stick that features a precise applicator tip. This nifty feature allows you to apply the glue accurately and evenly onto your nails, ensuring a clean and professional finish. No more excess glue ruining your nail art game.
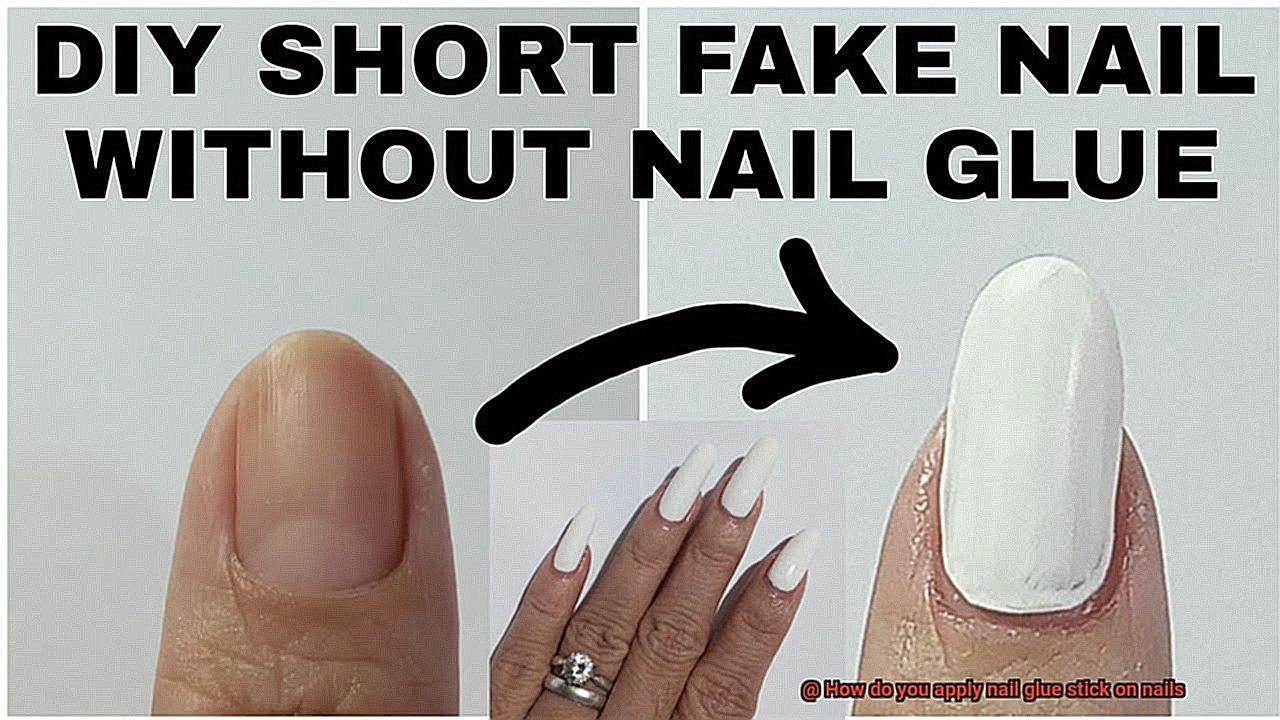
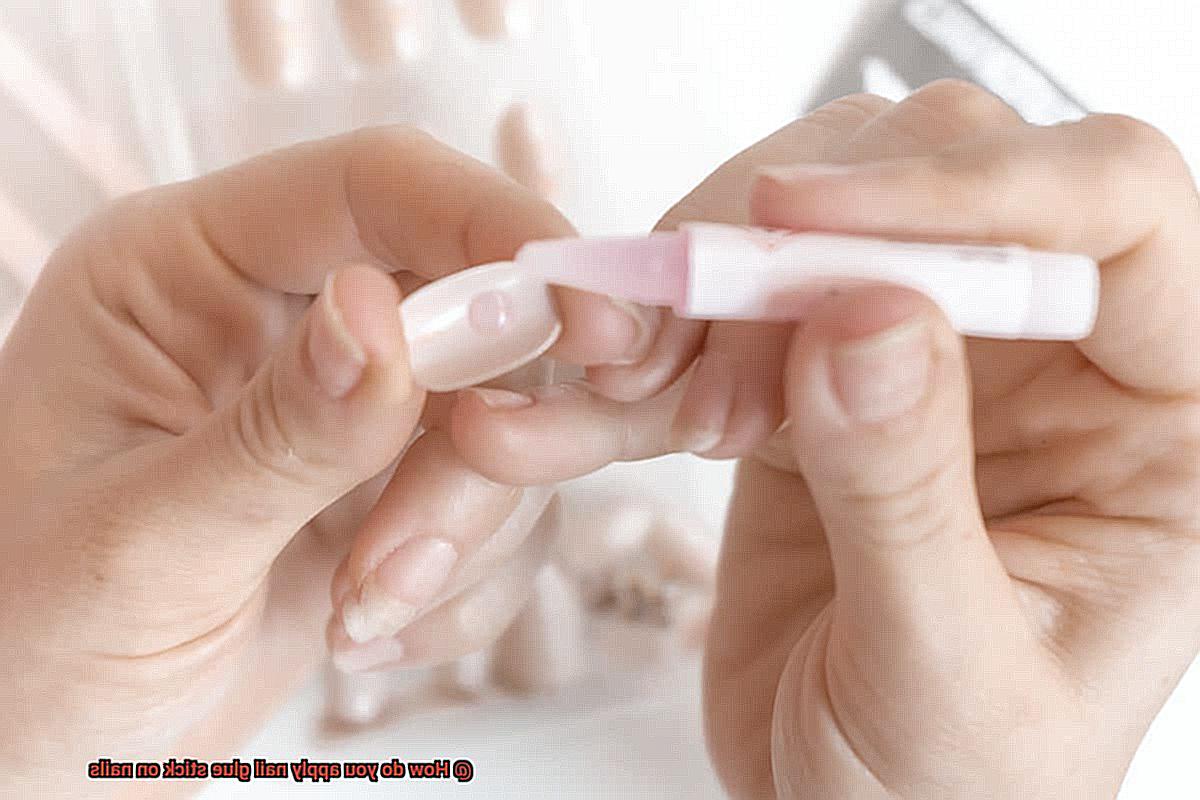
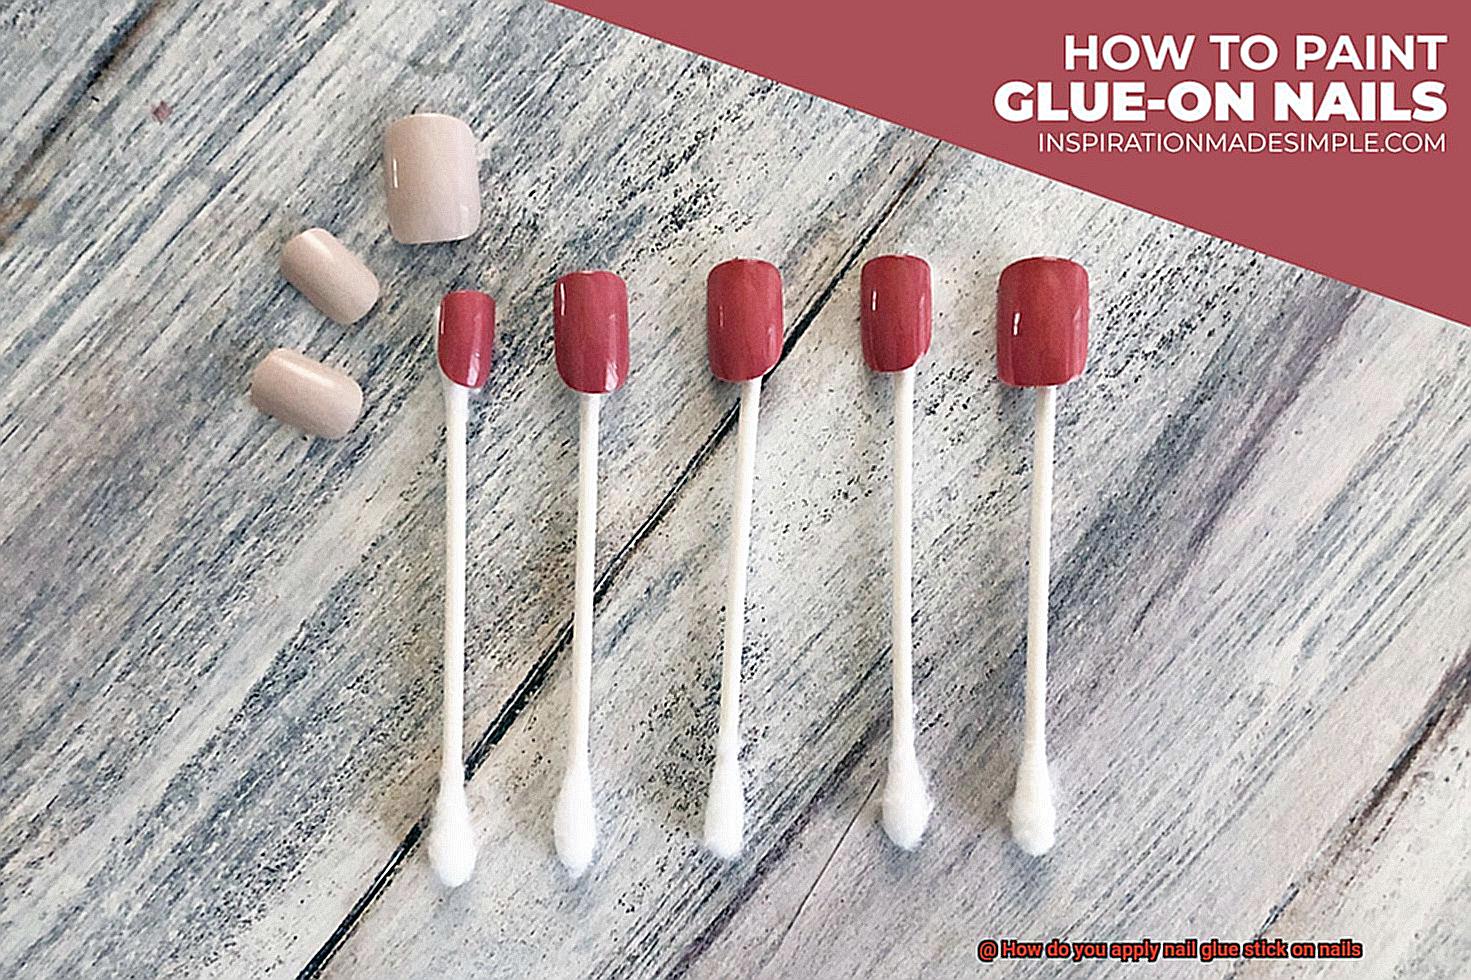
Applying a Thin Layer of Glue
Get ready to learn the art of applying a thin layer of glue using a nail glue stick. Mastering this technique will allow you to create breathtaking nail designs that are not only stunning but also long-lasting.
Let’s start by emphasizing the importance of clean nails. Before applying the glue, ensure that your nails are free from any oils or debris. Take the time to wash your hands and nails with soap and water, and dry them thoroughly. This step sets the foundation for a flawless adhesion.
Now, let’s talk about the star of the show – the nail glue stick. There are various options available, such as pens or brush-on applicators. Choose the one that suits your preferences and excites your creativity. Having the right tool at hand is crucial for achieving professional results.
With your chosen nail glue stick in hand, it’s time to apply a small amount of glue. Remember, less is more in this case. Start with a dab and gradually increase if necessary. It’s easier to add more glue than to deal with excess later on.
Once the glue is applied, it’s time to spread it evenly over the surface of your nail. Use the applicator tip or brush to gently glide the glue, aiming for an even and thin layer. Avoid applying too much pressure to prevent smudging or clumping.
Don’t forget about those edges. They are prone to lifting, so pay extra attention to them. Ensure that they are properly covered with a thin layer of glue for a secure adhesion. This step is crucial in ensuring the longevity of your nail art.
Patience is key when it comes to allowing the glue to dry. Give it a few minutes, although drying times may vary depending on the brand and type of nail glue stick you’re using. Avoid touching or moving your nails during this time to prevent any mishaps.
Once the glue is dry, take a close look at your nails. Check for any imperfections or areas that may require additional coverage. If needed, apply another thin layer of glue, making sure to let each layer dry before adding another one. This attention to detail will result in a flawless finish.
To further secure the glue and enhance the overall appearance, finish off with a top coat. This additional layer provides extra protection and helps prolong the adhesion of the nail glue stick.
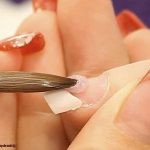
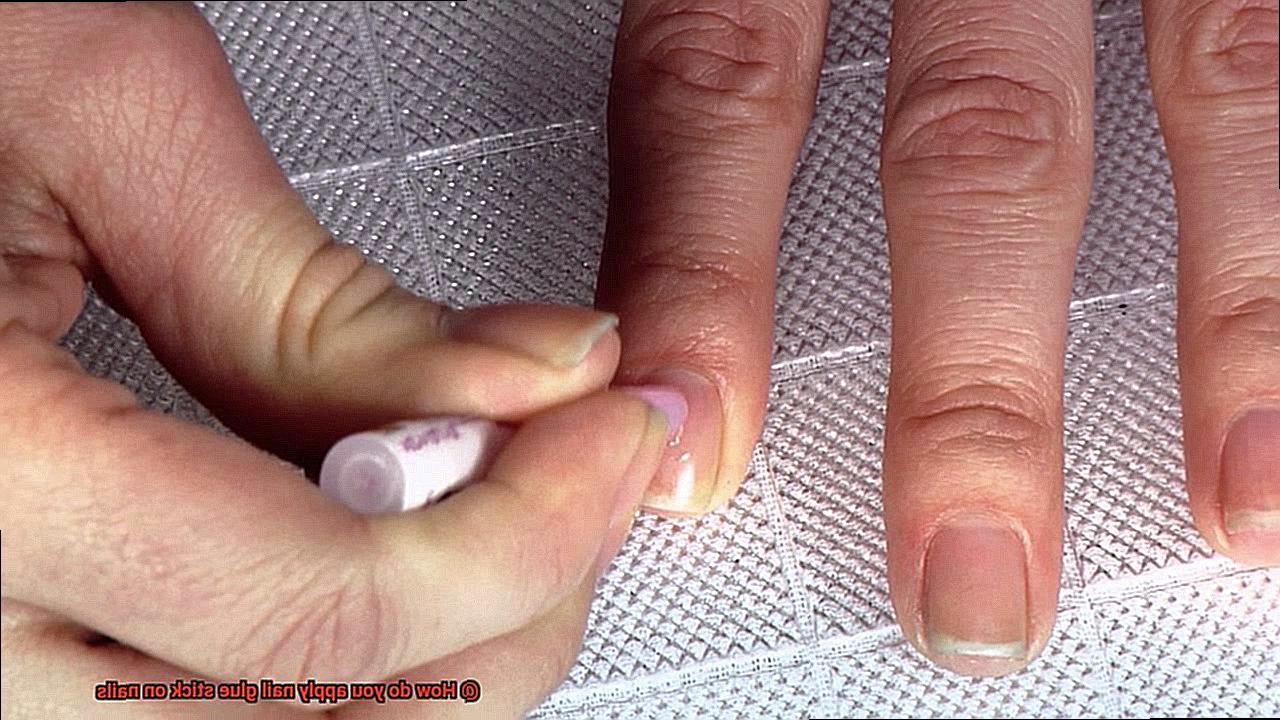
Press and Hold the Artificial Nail in Place
Prepare to embark on a journey into the world of pressing and holding the artificial nail in place when using a nail glue stick. Brace yourself for flawless, long-lasting nails that will leave everyone in awe.
Before we dive into the details, let’s quickly recap. We’ve already covered the importance of clean nails and selecting the perfect nail glue stick. Now, it’s time to put our knowledge into action and create nails that are truly works of art.
Let’s break it down step by step, shall we? First and foremost, ensure that your natural nails are pristine. Bid farewell to any remnants of polish or oils that might impede the adhesion process. We want that artificial nail to adhere like it was destined to be.
Now, armed with your trusty nail glue stick, apply a modest amount to your natural nail bed, paying special attention to the area where you’ll be placing the artificial nail. Remember, moderation is key – we don’t want an excessive amount of glue overpowering our masterpiece.
The moment of truth has arrived – aligning the artificial nail with your natural nail. Begin from the cuticle area, delicately positioning the artificial nail and pressing it down firmly. Precision is paramount in achieving that enviable natural and seamless look.
But hold on, we’re not done just yet. This is where the real magic happens. Utilizing your thumb or another finger, exert moderate but steady pressure on the center of the artificial nail for approximately 10-15 seconds. This ensures a robust bond between your natural and artificial nails, one that will withstand the test of time.
Now that we’ve focused on the center, let’s not neglect the sides. Gradually shift your thumb or finger to each side of the artificial nail, repeating the pressing motion. Leave no stone unturned – every millimeter of the nail must be securely adhered, leaving no room for doubt.
Here’s a word of advice from the pros: resist the urge to apply excessive pressure, unleashing your inner Hulk. Doing so will only result in the glue spreading uncontrollably, leading to a messy application. Remember, we’re aiming for perfection, not chaos.
Removing Excess Glue
However, we all know that excess glue can be a real buzzkill. Fear not, for I am here to share with you the secrets of removing excess glue like a pro. Get ready to save your nail game with these easy steps that will have your nails looking flawless again in no time.
Step 1: Embrace the Drying Process
Patience is the name of the game when it comes to excess glue removal. Allow the glue to dry completely before attempting to remove it. Trust me, trying to tackle wet glue will only lead to a sticky mess. So, resist the temptation to touch and wait for it to dry completely.
Step 2: The Gentle Peel Technique
Once the glue has dried, it’s time for some delicate peeling action. Equip yourself with a cuticle pusher or an orange stick and carefully start peeling off the excess glue from the edges of your nails. Remember, we aim for perfection without any harm or discomfort, so handle with care as you bid farewell to that unwanted glue.
Step 3: Unleash the Power of Soaking
Stubborn glue calls for a soaking session. Prepare warm soapy water in a bowl and let your affected nails soak for a few minutes. This magical concoction will work its wonders by loosening up the stubborn glue, making your life easier.
Step 4: Scrub Away the Last Traces
After your nails have enjoyed their relaxing soak, grab a soft toothbrush or a nail brush and gently scrub away any remaining traces of excess glue. Remember, gentle strokes are key here – no need to turn into a superhero. A little scrubbing will go a long way in achieving that pristine finish you desire.
Step 5: Rely on Acetone’s Magic (Artificial Nail Warning.)
If the stubborn glue is still clinging on for dear life, it’s time to introduce an acetone-based nail polish remover. However, a word of caution for all you artificial nail lovers – opt for a non-acetone formula to protect your precious nails. Soak a cotton ball or pad in the remover, press it against the affected area, and let it work its magic for a few seconds. Then, gently wipe away the softened glue.
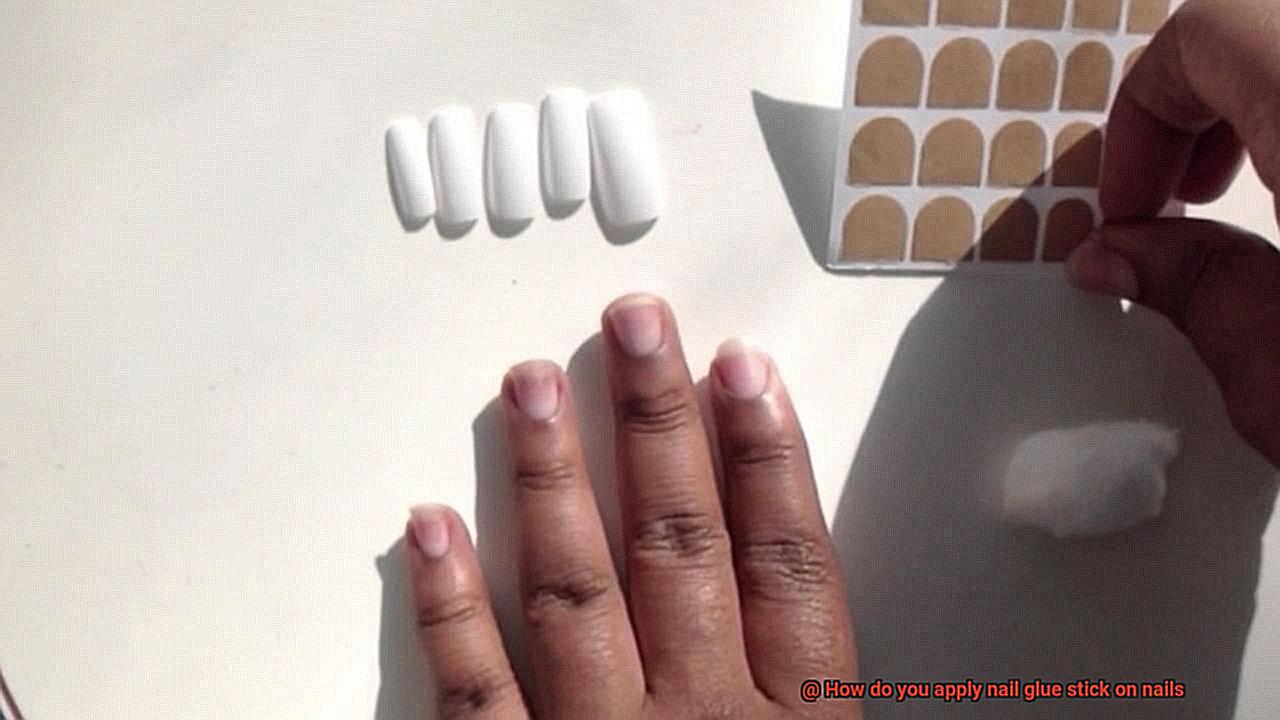
Repeating the Process on All Nails
In our previous guide, we revealed the secrets to removing excess nail glue like a pro. Now, get ready to take your nail game to the next level as we delve into the art of applying nail glue stick to all your nails. Prepare to become a nail glue stick guru as we guide you through each step, ensuring a flawless application. So grab your manicure tools and let’s embark on this journey towards nail perfection.
Step 1: Preparing Your Nails
Begin by setting the stage for flawless nails. Ensure that your canvas is clean and free from any polish or oils. Use a gentle nail polish remover to wipe away any remnants of previous colors and wash your hands thoroughly with soap and water. Clean nails are the foundation for a masterpiece.
Step 2: Apply a Small Amount of Glue
Less is more when it comes to applying nail glue stick. Twist up the stick, revealing just enough glue to cover each nail’s surface area. Remember, we’re aiming for precision and a mess-free application. Excessive glue can lead to overflow and an unwelcome sticky situation.
Step 3: Apply the Glue on Your First Nail
Become the artist of your own nails. Glide the glue stick gently across the surface of your first nail, starting from the base near the cuticle and moving towards the tip. Take your time, ensuring that every nook and cranny is covered with a thin layer of glue. Avoid applying excessive pressure or dragging the stick too forcefully, as this can damage your delicate canvas.
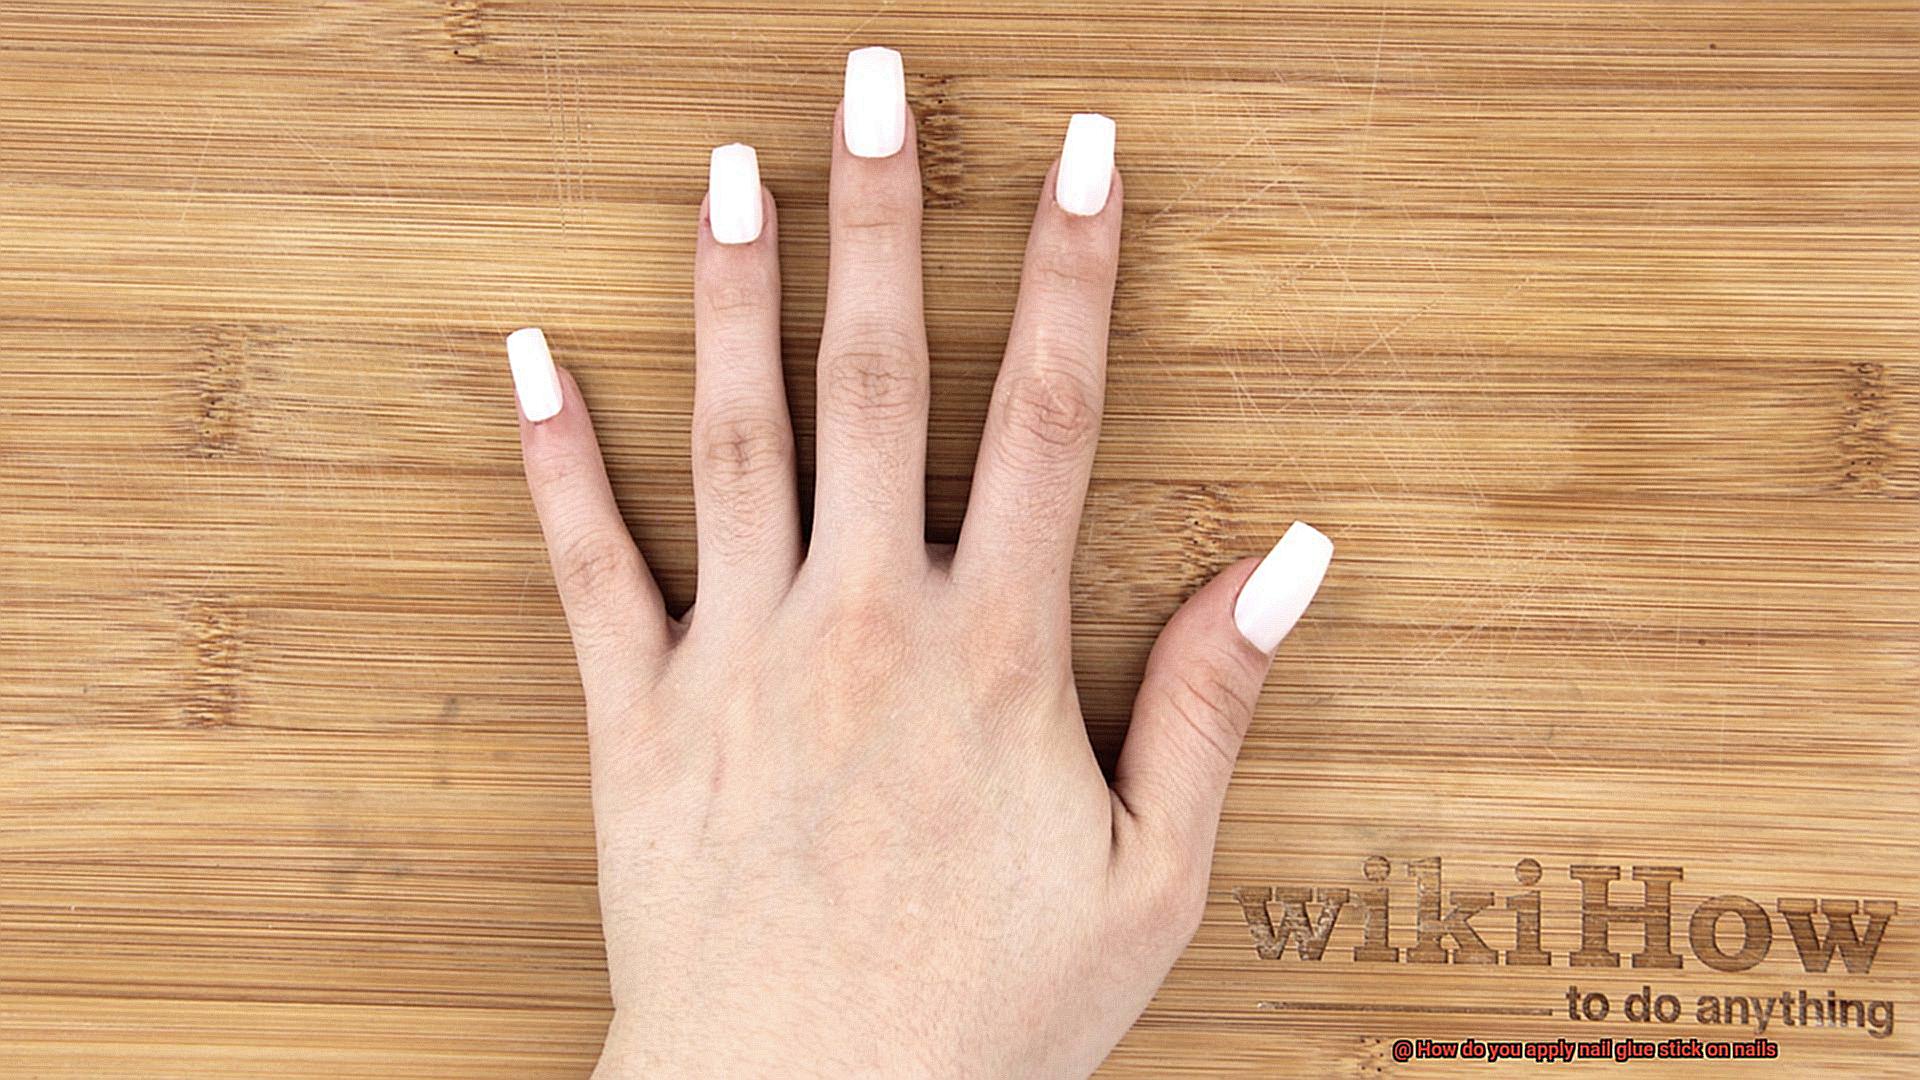
Step 4: Press Down Firmly
Now it’s time to make that bond unbreakable. After applying the glue, press down firmly on the nail for a few seconds. This act ensures a secure bond between the glue and your natural nail, resulting in a long-lasting hold. Embrace your inner superhero – the harder the press, the stronger the adhesion.
Allowing Adequate Drying Time
We’ve delved into the secrets of applying nail glue stick like a pro, but today we’re tackling a crucial step that can make or break your manicure – allowing adequate drying time. So sit tight, grab a cup of your favorite brew, and let’s explore the art of patience in achieving flawless nails.
Lay the Foundation for Perfection:
Just like a masterful artist starts with a solid canvas, allowing sufficient drying time creates the foundation for a flawless manicure. Nail glue stick needs a few precious minutes to fully set and create an unbreakable bond. Rushing this process risks smudging or lifting the glue, ultimately jeopardizing the durability of your masterpiece.
Dance Away from Moisture Mishaps:
Water and excessive moisture are sworn enemies to freshly applied nail glue stick. To protect your nails from any unfortunate mishaps, steer clear of activities that introduce moisture during the drying process. Keep those hands dry and grant your nails the peace they need to dry undisturbed.
Embrace Relaxation Mode:
You’ve meticulously applied the glue stick with finesse – now it’s time to embrace relaxation mode and let it work its magic. Allow your nails to rest in a relaxed position, resisting the urge to touch them for at least 10-15 minutes. This well-deserved patience will reward you with a robust bond that stands the test of time.
Thin Layers and Complete Dryness:
Remember, less is more when it comes to nail glue stick application. A thin layer ensures seamless coverage and allows for proper drying. Before proceeding with additional layers or dazzling nail art, make sure each layer has dried completely. This crucial step guarantees optimal results and safeguards against any unfortunate accidents along the way.
The Clock Ticks Differently, Read the Instructions:
Different nail glue sticks have their own unique drying times, making it vital to read the manufacturer’s instructions. They hold the key to unlocking the perfect dryness, providing specific recommendations tailored to their product. Trust their expertise, and your nails will thank you.
Conclusion
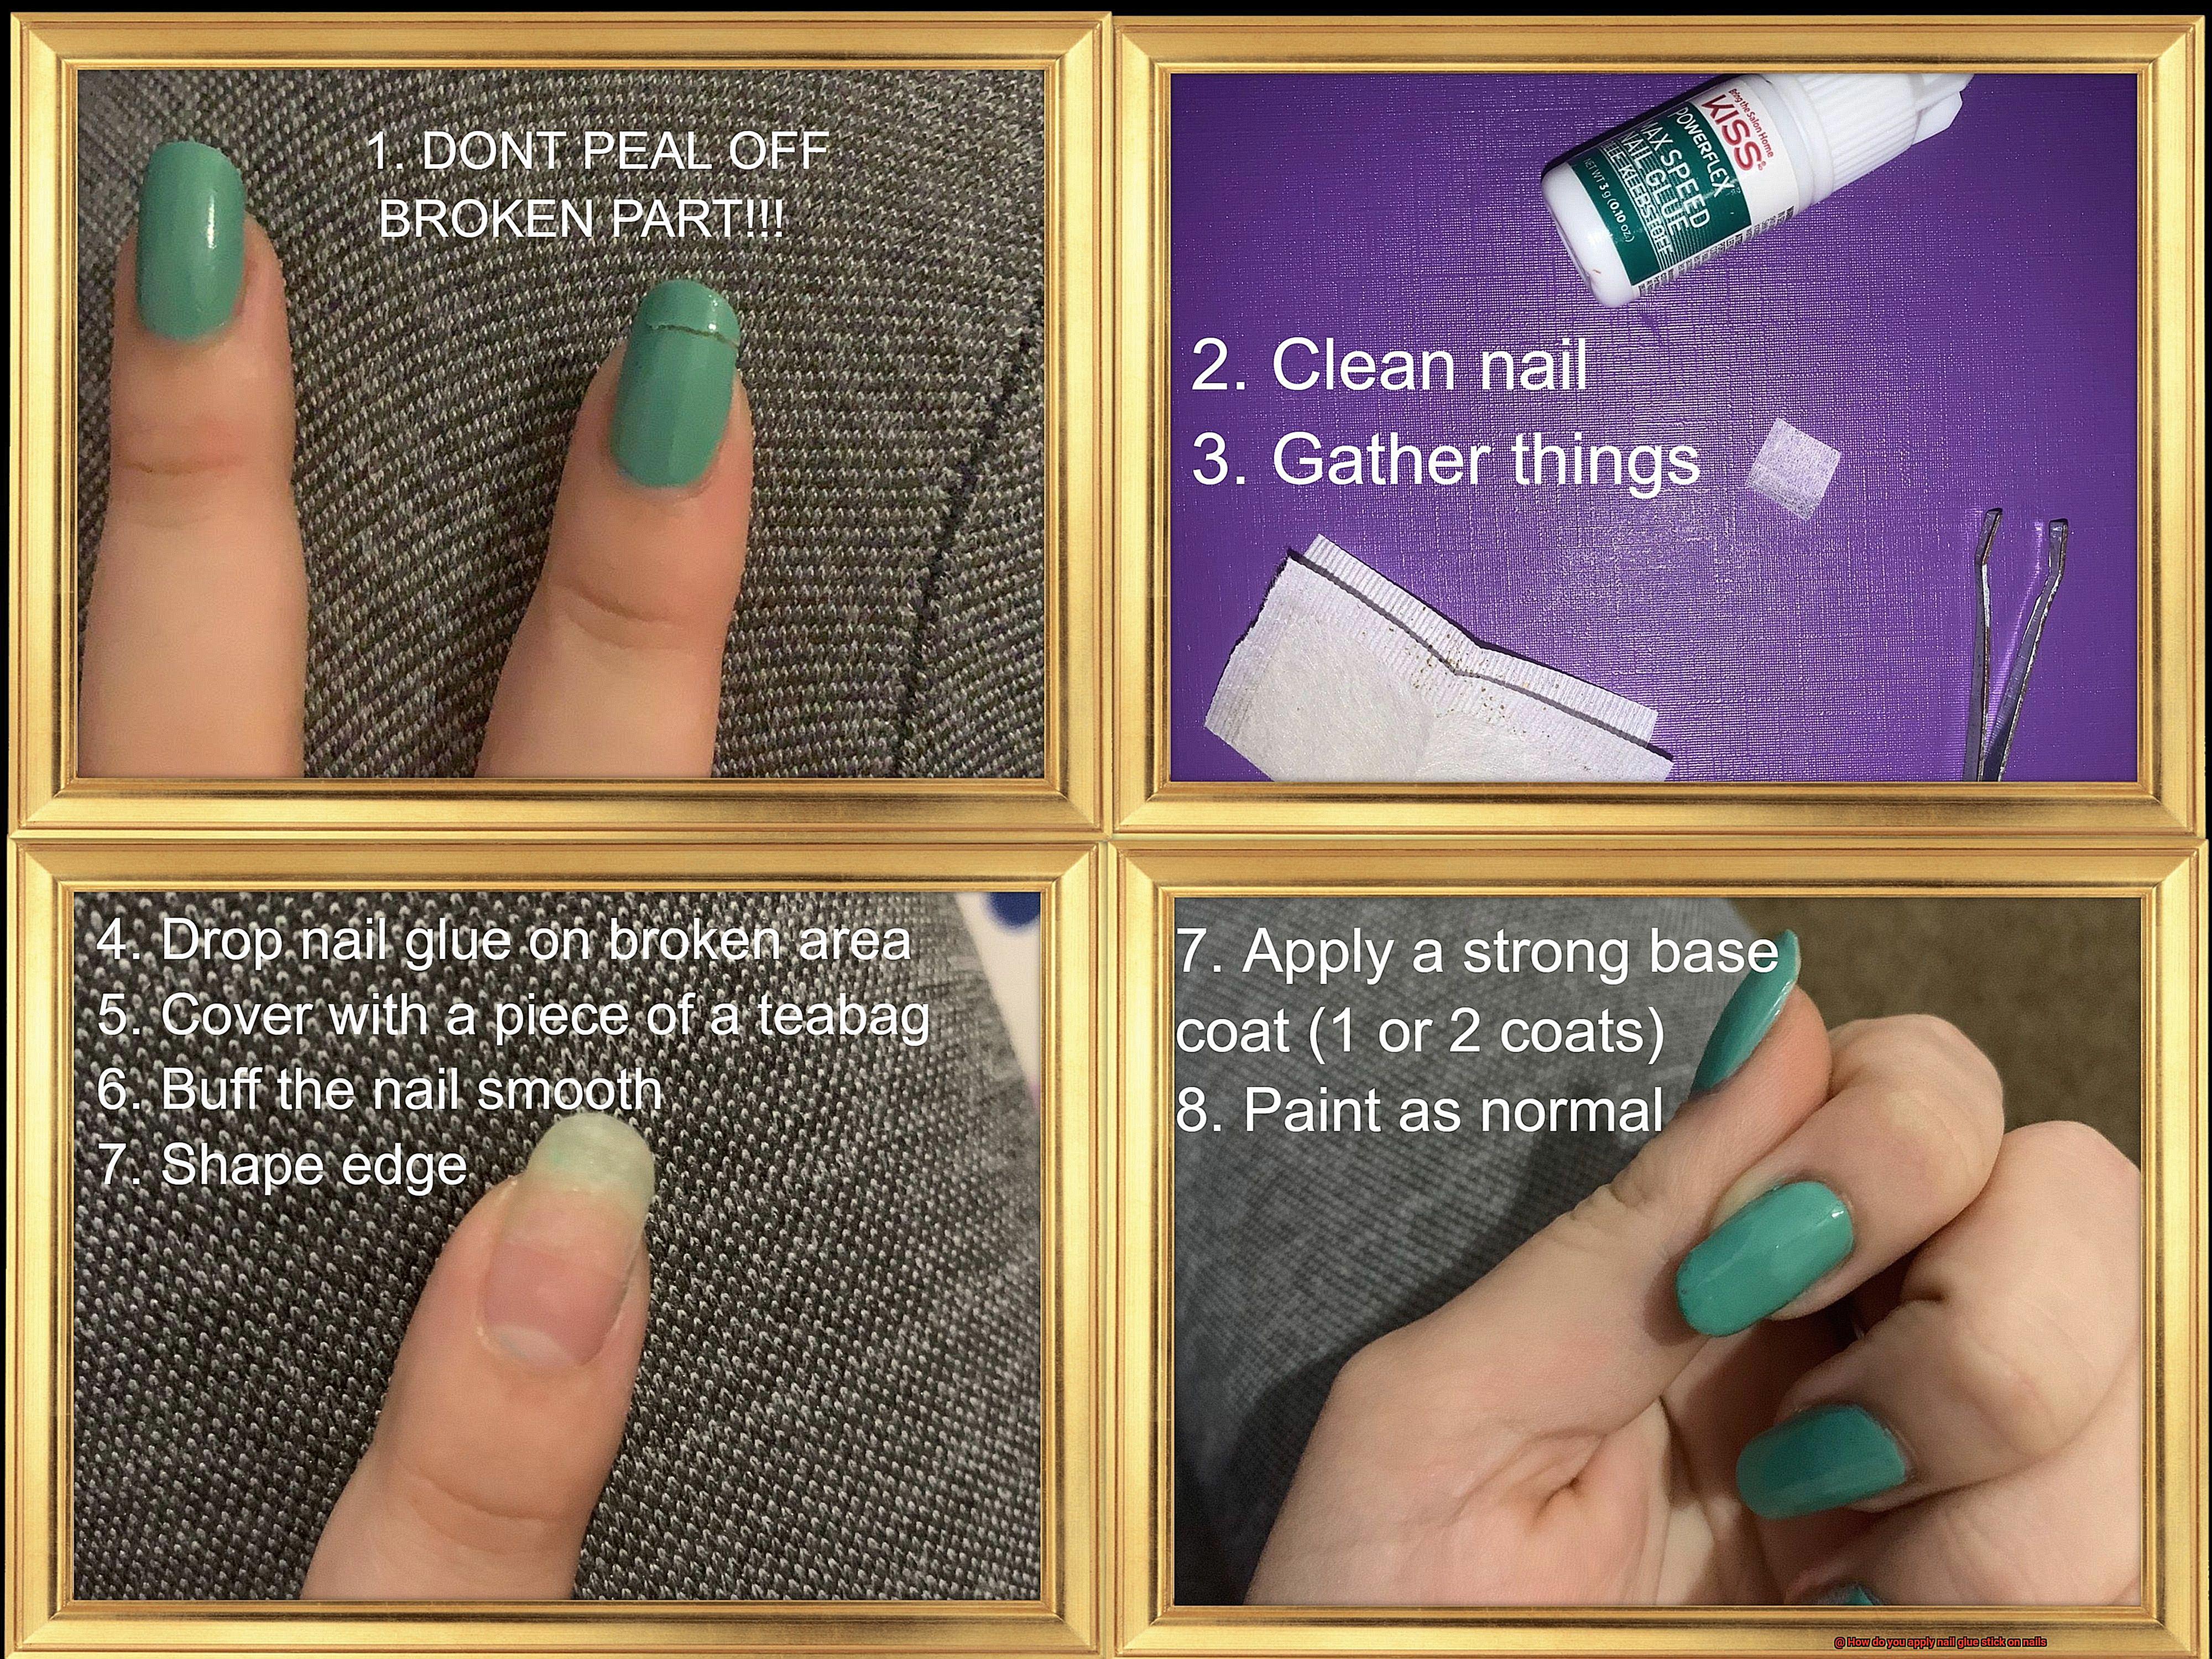
Applying nail glue stick on nails is a simple yet crucial step in achieving flawless and long-lasting manicures. To ensure proper application, follow these steps:
Start by preparing your nails. Clean them thoroughly with nail polish remover to remove any oils or residue.
Gently push back your cuticles using a cuticle pusher or an orange stick. This will create a smooth surface for the glue to adhere to.
Carefully apply a small amount of nail glue directly onto your natural nail bed. Be precise and avoid getting the glue on your skin or cuticles.
Press the false nail onto the glued area, starting from the cuticle and gently pressing down towards the tip of your finger. Hold it in place for a few seconds to allow the glue to bond securely.
Repeat this process for each nail, ensuring that you align the false nails properly with your natural ones.
Once all the nails are applied, give them some time to dry completely before proceeding with any further steps.
Remember, less is more when it comes to applying nail glue stick. Using too much can cause excess glue to seep out from under the false nails, resulting in an untidy finish.
In conclusion, mastering the art of applying nail glue stick requires patience and precision.