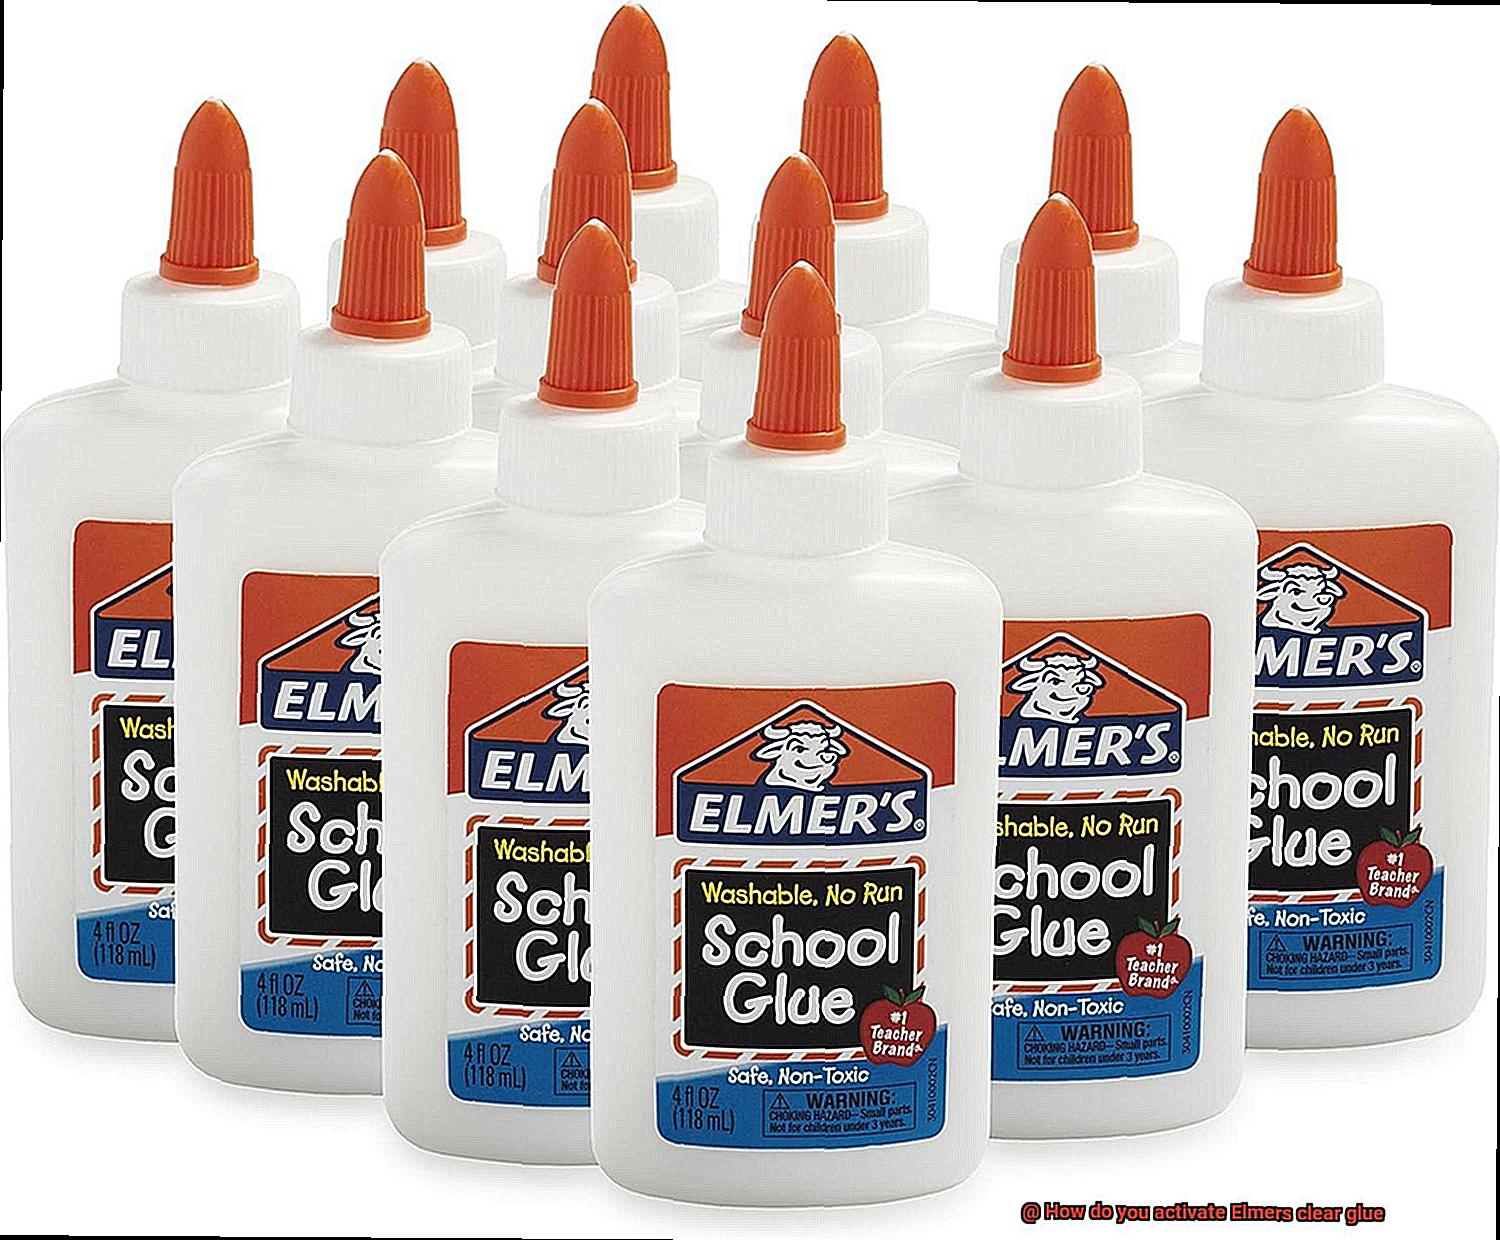
Looking for a glue that’s as versatile as it is adhesive? Look no further than Elmer’s clear glue. This magical concoction is perfect for all your crafting, DIY, and school project needs. Unlike its white counterpart, Elmer’s clear glue dries transparent, making it the ideal choice when appearance matters. But how do you activate this wonder glue and unlock its full adhesive potential? Fear not, my friend. In this blog post, we’ll walk you through the simple steps to activate Elmer’s clear glue and ensure you get the best results every time.
Step-by-step instructions:
- Set up your space: Clear a flat, clean surface where you can work comfortably on your project. It’s always a good idea to protect your workspace with disposable covering like parchment paper or plastic sheeting.
- Gather your gear: Besides Elmer’s clear glue, grab a small container or bowl, a stirring tool (a craft stick or spoon will do), and any other materials specific to your project.
- Pop the top: Twist off the cap of the Elmer’s clear glue bottle by giving it a firm grip and rotating counterclockwise. This will expose the nozzle so you can pour out just the right amount of glue. If it’s a fresh bottle, you might need to puncture the foil seal using a pushpin or even the tip of the cap.
- Let it flow: Gently squeeze the glue bottle, controlling its flow as you pour your desired amount into the container or bowl. Remember not to go overboard – we don’t want any wastage.
- Activate mode: Elmer’s clear glue needs an activator to kickstart its adhesive powers. The most common activator used is Borax solution. To make this magic potion, dissolve 1 teaspoon of Borax powder in 1 cup of warm water and stir until fully dissolved.
- Stir it up: Slowly pour the activator solution into the container or bowl with your Elmer’s clear glue. Give it a good stir, making sure both the glue and activator are mixed thoroughly. You might notice the glue thickening as you go – that’s when you know it’s working its magic.
- Consistency check: Take a moment to observe the consistency of your activated clear glue. If it seems too thin or runny for your liking, add a small amount of glue and give it another stir.
What is Elmer’s Clear Glue?
Contents
- 1 What is Elmer’s Clear Glue?
- 2 What is an Activator?
- 3 Common Activators for Elmer’s Clear Glue
- 4 How to Activate Elmer’s Clear Glue with Borax
- 5 How to Activate Elmer’s Clear Glue with Liquid Starch
- 6 Alternatives to Borax and Liquid Starch
- 7 Tips for Working with Activated Elmer’s Clear Glue
- 8 Potential Risks of Using Activated Elmer’s Clear Glue
- 9 Conclusion
In a world where creativity knows no bounds, Elmer’s Clear Glue emerges as the unsung hero of the crafting realm. This adhesive may seem unremarkable at first glance, but its versatility and ease of use make it a true game-changer. Whether you’re a DIY enthusiast, a teacher searching for the perfect classroom companion, or a crafting aficionado looking to elevate your projects, Elmer’s Clear Glue is the answer to your adhesive needs. Join us as we embark on a journey into the captivating world of Elmer’s Clear Glue, exploring its transparent magic and discovering the many ways it can bring your ideas to life.
Versatility and Strength:
Elmer’s Clear Glue boasts a water-based formula infused with polyvinyl acetate (PVA), ensuring safety for users of all ages. But don’t let its gentle nature fool you – this adhesive has the power to bond an array of materials with ease. From delicate paper and sturdy cardboard to fabric, wood, and even certain plastics, Elmer’s Clear Glue ensures a secure connection that withstands the test of time. It becomes an essential tool for crafts, scrapbooking, card-making, model-building, and so much more.
Flexibility and Protection:
Once dried, Elmer’s Clear Glue reveals its hidden superpower: flexibility. It embraces slight movements and bends without weakening the bond, offering unrivaled durability. But that’s not all – this adhesive also doubles as a sealant and protective coating. Apply thin layers of Elmer’s Clear Glue to your projects and watch as it dries into a glossy finish that adds a professional touch while safeguarding surfaces from harm.
Easy Cleanup:
Gone are the days of sticky residue and pesky stains. With Elmer’s Clear Glue, cleanup becomes a breeze. Its water-based nature means that any excess glue or spills can be effortlessly wiped away with a damp cloth or sponge before drying. This makes Elmer’s Clear Glue suitable for both indoor and outdoor projects, ensuring a mess-free experience every time.
Activating Elmer’s Clear Glue:
To unlock the full potential of Elmer’s Clear Glue, activation is key. Common methods involve using borax or liquid starch as activators, creating a solution that enhances the glue’s bonding capabilities. However, it’s important to consider any allergies or sensitivities when selecting the appropriate activator for your project.
What is an Activator?
Activators are the hidden heroes behind the scenes of many adhesive products, including Elmer’s clear glue. These mysterious substances are the key to unlocking the full potential of these magical adhesives. So, let’s pull back the curtain and shed some light on what exactly an activator is.
In the world of Elmer’s clear glue, an activator is a special ingredient that kickstarts the drying or curing process, ensuring that your creations stick together with strength and durability. It’s like a secret sauce that guarantees a solid bond.
So, what’s the secret behind this powerful activator? In Elmer’s clear glue, one common activator is a compound called polyvinyl acetate. This fancy chemical reacts with the adhesive properties of the glue when it comes into contact with air. This reaction, known as polymerization, causes the polyvinyl acetate molecules to link together, forming an unbreakable bond. It’s like witnessing chemistry in action.
But that’s not all. Other ingredients in Elmer’s clear glue also act as activators. Fillers, plasticizers, and solvents work their magic to enhance the performance and versatility of the glue. These little helpers ensure that your creations stick to various surfaces and give you the flexibility to craft without limits.
It’s important to note that different types of glues may require different activators to achieve that perfect bond we all desire. So, next time you grab that bottle of Elmer’s clear glue, remember that its activator is the key to unlocking its full potential.
Now armed with knowledge about activators, go forth and let your imagination soar. With Elmer’s clear glue by your side, there are no limits to what you can create. From dazzling crafts to DIY masterpieces, this versatile adhesive will be your trusty companion every step of the way.
Common Activators for Elmer’s Clear Glue
These incredible substances work hand-in-hand with Elmer’s clear glue, transforming it into a versatile material with endless possibilities. In this blog post, we’ll explore the world of activators, including common ingredients and how they unleash the magic of Elmer’s clear glue.
Borax:
First on our list is borax, a mineral that creates “borax water” when dissolved in water. When mixed with Elmer’s clear glue, borax water becomes a crosslinking agent, resulting in the creation of everyone’s favorite gooey substance—slime. Whether you prefer stretchy slime or fluffy slime, borax is your go-to activator.
Baking Soda:
If you’re looking for solid and sturdy results, baking soda is the activator for you. When combined with Elmer’s clear glue, this duo creates mixtures that harden when exposed to air. Perfect for papier-mâché or creating robust structures that can withstand the test of time.
Contact Lens Solution:
Yes, contact lens solution can be an activator for Elmer’s clear glue. The boric acid in contact lens solution reacts with the glue, resulting in a flexible and stretchy material similar to slime. So grab your favorite solution and get ready to stretch your creativity.
Liquid Starch:
Liquid starch is another fantastic activator that transforms Elmer’s clear glue into a sticky and moldable substance. This combination is commonly used in crafting projects like making ornaments or decorations. With liquid starch as your crafting companion, the possibilities are endless.
Exploring Beyond:
While borax, baking soda, contact lens solution, and liquid starch are the common activators for Elmer’s clear glue, don’t be afraid to experiment. Some crafters have found success with alternative activators such as laundry detergent, saline solution, or even vinegar. These ingredients can alter the texture, consistency, or drying time of the glue, allowing you to achieve unique effects and results.
How to Activate Elmer’s Clear Glue with Borax
Look no further than Elmer’s clear glue. This versatile adhesive is a staple in the crafting world, and by activating it with borax, you can take your DIY projects to a whole new level. In this article, we will guide you through the step-by-step process of activating Elmer’s clear glue with borax, allowing you to create magical slime and other exciting crafts.
Gather your materials:
Before embarking on your crafting adventure, ensure you have all the necessary materials within reach. Grab your Elmer’s clear glue, borax powder, water, measuring cups and spoons, mixing bowls, and stirring utensils. Having everything at your fingertips will make the process smooth and seamless.
Prepare the borax solution:
In a separate mixing bowl, combine warm water and borax powder. The ratio of water to borax depends on your desired consistency. Start with one cup of warm water and add one teaspoon of borax powder. Adjust the amount later if needed.
Mix the borax solution:
Stir the mixture until the borax powder completely dissolves in the warm water. Ensure there are no clumps or residue left behind—smooth sailing ahead.
Prepare the glue mixture:
Now it’s time to introduce the star of the show – Elmer’s clear glue. Pour half a cup (adjustable based on your needs) into another mixing bowl. The anticipation builds as you get closer to creating your magical craft.
Add the borax solution to the glue:
Slowly pour the prepared borax solution into the bowl of clear glue while stirring continuously. Observe as these two ingredients come together, transforming your glue into a mesmerizing gel-like substance. Witness the magic unfold before your eyes.
Mix and knead the slime:
Thoroughly mix the glue and borax solution using a stirring utensil or your hands. Initially, the slime may feel sticky, but don’t worry – keep kneading until it becomes less sticky and more stretchy. Feel the texture change as you mold your creation into a work of art.
Adjust the consistency if needed:
If your slime is too sticky or too firm, fear not – you have the power to adjust it. For a stickier texture, add a small amount of borax solution. If you desire a firmer consistency, incorporate a little more clear glue. Keep experimenting until you achieve the perfect balance.
How to Activate Elmer’s Clear Glue with Liquid Starch
Get your creative juices flowing and learn how to activate Elmer’s clear glue with liquid starch. With just a few simple steps, you’ll have a magical mixture that can be used for all sorts of exciting crafts and projects. Let’s dive in and discover the secrets of activating glue.
Step 1: Gather Your Supplies
First things first, gather all the materials you’ll need. You’ll need a bottle of Elmer’s clear glue, liquid starch, a mixing bowl, and a stirring utensil. Make sure you have everything handy before you begin.
Step 2: Pour the Glue
Pour the desired amount of Elmer’s clear glue into the mixing bowl. How much you pour will depend on how big your project is. So think about whether you’re making a little slime friend or a big masterpiece.
Step 3: Add Liquid Starch
Now comes the fun part. Slowly add liquid starch to the glue while stirring continuously. Start with a little bit and keep adding until you get the consistency you want. It’s like mixing magic potions.
Step 4: Mix, Mix, Mix.
Keep stirring until the glue and liquid starch are thoroughly combined. Make sure every bit gets mixed in so your glue is extra sticky and ready for action.
Step 5: Adjust as Needed
If your mixture looks too runny or not thick enough, don’t worry. Just add a little more liquid starch, a little at a time, until it’s just right. And if it becomes too thick, you can add a splash of water to thin it out.
Step 6: Unleash Your Creativity.
Congratulations. Your Elmer’s clear glue is now activated and ready for some crafty fun. Use it to make slime, create cool decorations, or stick things together. The possibilities are endless.
Alternatives to Borax and Liquid Starch
Look no further. In this article, we’ll delve into a world of possibilities that will unlock the full potential of your glue, enabling you to embark on captivating and mesmerizing projects. So, let’s dive into the enchanting realm of Elmer’s clear glue and uncover the perfect activator for your next crafty adventure.
Saline Solution: Unlocking the Power of Sodium Borate
First up is saline solution. This ordinary household item holds the key to activating your glue. Packed with sodium borate, it effortlessly transforms your clear glue into a slimy masterpiece. Simply add a few drops at a time to your glue, stirring continuously until it reaches the desired consistency. Remember to select a saline solution that contains sodium borate for optimal results.
Contact Lens Solution: A Magical Blend of Ingredients
Another alternative brimming with potential is contact lens solution. Like its counterpart, contact lens solution also boasts sodium borate, making it an ideal activator for Elmer’s clear glue. Add a few drops while stirring continuously to achieve that irresistible slimy and stretchy texture that will leave you mesmerized.
Baking Soda and Vinegar: A Foamy Delight
For those seeking a foamy texture in their slime, look no further than baking soda and vinegar. This dynamic duo combines in a dance of chemical reactions, creating an effervescent wonderland in your clear glue. Mix equal parts baking soda and vinegar separately before gradually incorporating the mixture into your glue, stirring continuously until you reach the desired consistency.
Laundry Detergent: A Surprising Gem
If you find yourself without any of the aforementioned alternatives, don’t fret. Laundry detergent can come to the rescue as an alternative activator. Seek out a detergent with borax as one of its ingredients, as this will provide the necessary activation for your clear glue. Add a small amount to your glue, mix well, and witness the transformation into a delightful slime-like texture.
Liquid Laundry Starch: Unleashing Creativity
Last but not least, liquid laundry starch offers another avenue to explore as an alternative activator for Elmer’s clear glue. Add a small amount of liquid laundry starch to your glue and mix until you achieve the desired consistency.
It’s important to note that not all liquid laundry starches may work, so a bit of experimentation may be required to find the perfect match.
Tips for Working with Activated Elmer’s Clear Glue
When activated, this glue becomes sticky and ready to use, opening up a world of creative possibilities. However, working with activated Elmer’s clear glue requires finesse and expertise to achieve flawless results. In this article, we will delve into the best tips for mastering the art of working with this versatile adhesive.
Start with a Pristine Workspace:
Before diving into your project, it is crucial to begin with a clean and dry workspace. Dust, dirt, and moisture can compromise the bond between the glue and your materials. Take a moment to wipe down your work surface with a clean cloth or mild detergent, ensuring a strong foundation for your creations.
Achieve the Perfect Consistency:
The key to success lies in using the right amount of activator. Too little can lead to a weak bond, while too much can make the glue overly wet and runny. Follow the manufacturer’s instructions carefully to strike the perfect balance. Start with a smaller amount of activator and gradually add more if needed, ensuring an ideal consistency that is both stretchy and slightly sticky.
Mix Thoroughly for Optimal Results:
After adding the activator, mix it thoroughly using a stir stick or even your hands. Leave no corner untouched as you scrape the sides and bottom of the container. This thorough mixing guarantees a consistent and reliable bond throughout your project.
Test Before You Apply:
Before committing to your project, always test the consistency of the glue. Lift a small amount with your fingers or a utensil to ensure it meets your desired texture. It should be pliable and slightly tacky without being excessively wet or runny. Adjust the amount of activator if necessary to achieve the perfect balance.
Work Efficiently:
Activated Elmer’s clear glue has a limited working time before it begins to dry. Plan your project accordingly and work with purpose and precision, ensuring that the glue does not harden before you have completed your masterpiece. This tip is particularly crucial for larger or more intricate projects where time is of the essence.
Immediate Spill Clean-up:
Accidents happen, and if you spill activated Elmer’s clear glue, act swiftly to clean it up. Use a damp cloth or paper towel to wipe away any excess glue before it dries. Once dry, removing the hardened glue can be challenging and may leave behind unsightly residue. Prompt clean-up ensures a tidy workspace and prevents any potential mishaps.
Potential Risks of Using Activated Elmer’s Clear Glue
Activated Elmer’s clear glue is a crafting superhero, but it’s crucial to remember that even heroes have their risks. In this comprehensive exploration, we will delve into the potential hazards of using this adhesive and offer valuable insights on how to maintain safety while creating your artistic masterpieces.
Skin Irritation and Allergic Reactions:
Similar to allergies towards cats or pollen, some individuals may be sensitive to specific glue ingredients. Before smearing activated Elmer’s clear glue on your skin, it is essential to perform a patch test on a small area to check for adverse reactions. Prioritizing safety is paramount in all creative endeavors.
Ingestion Dangers:
Curious children and mischievous pets should be kept away from this glue. The ingestion of activated Elmer’s clear glue can be harmful, especially for young children. It may contain toxic chemicals that could cause severe harm if swallowed accidentally. In such cases, immediate medical attention should be sought.
Eye Irritation and Injury:
Oops. Accidentally got glue in your eye? Rinse it out immediately with water and seek medical assistance if irritation persists. Remember, safety goggles aren’t just for science labs. Protecting your eyes during crafting activities is of utmost importance.
Inhalation of Fumes:
When activating this glue, it is crucial to be cautious of the fumes it releases. Volatile organic compounds (VOCs) present in the glue can irritate your respiratory system, leading to dizziness or headaches. To avoid these issues, use the glue in a well-ventilated area and make an effort not to inhale the fumes directly.
Surface Compatibility and Staining:
Activated Elmer’s clear glue works like magic on most surfaces, but it is always wise to perform a compatibility test on a small area before proceeding. Unexpected damage or staining can ruin your project, so taking this precautionary step is essential.
Proper Storage:
Avoid dried-out or leaking glue bottles by storing your activated Elmer’s clear glue in a cool, dry place away from direct sunlight or heat sources. Ensuring that the cap is tightly sealed is equally important. A well-maintained glue bottle ensures a hassle-free crafting experience.
Conclusion
Activating Elmer’s clear glue is a simple process that can bring your crafts to life. To activate the glue, all you need is a little bit of patience and the right ingredients. By following these steps, you’ll be able to unleash the full potential of this versatile adhesive.
Firstly, make sure you have a bottle of Elmer’s clear glue at hand. This adhesive is known for its strong bond and transparent finish, making it perfect for various art and craft projects.
Next, prepare a small bowl or container where you can mix the glue with the activating agent. The activating agent typically used with Elmer’s clear glue is borax solution. Borax is a natural mineral that helps create a cross-linking reaction with the glue, resulting in a firmer and more durable bond.
To make the borax solution, dissolve one teaspoon of borax powder in one cup of warm water. Stir until the powder is completely dissolved and set it aside.
Now comes the exciting part – mixing the glue and activating agent. Pour about half a cup of Elmer’s clear glue into your bowl or container. Slowly add small amounts of the borax solution while stirring continuously. You will notice that as you add the borax solution, the consistency of the glue will start to change.
Keep adding and stirring until you achieve your desired consistency. If you want a thicker slime-like texture, use less borax solution. For a stretchier and more pliable result, add more solution gradually.
Once you’ve mixed everything thoroughly, let your activated Elmer’s clear glue sit for a few minutes to allow it to fully develop its adhesive properties. During this time, any bubbles or air pockets will rise to the surface.
And there you have it – your activated Elmer’s clear glue is ready to be used. Whether you’re creating DIY slime or sticking together intricate paper designs, this adhesive will provide reliable bonding power.
Remember, always store your activated glue in an airtight container to prevent it from drying out. And if you ever need to reactivate the glue, simply add a small amount of the borax solution and mix it again.
So go ahead and unleash your creativity with Elmer’s clear glue. Activate it, experiment with different textures, and bring your artistic visions to life.