Are you tired of your rubber and metal projects falling apart? Whether you’re fixing a car part, working on a DIY project, or tackling a professional application, knowing how to glue rubber to metal is essential. Rubber offers unmatched flexibility and resistance, while metal provides strength and durability. Combining these two materials effectively requires the right techniques and materials to ensure a bond that stands the test of time.
In this complete guide, we’ll dive into the intricacies of gluing rubber to metal. We’ll explore the necessary tools and materials, uncover essential preparation steps, and reveal various adhesion techniques that guarantee success.
Materials and Tools:
Before we begin our adhesive adventure, let’s gather the necessary materials and tools for the job. Here’s what you’ll need:
- Rubber adhesive: Don’t settle for just any adhesive; opt for a high-quality product specifically designed for bonding rubber to metal. Look for labels that say “rubber-to-metal” or “rubber-to-metal bonding agents.”
- Rubber primer: Boost adhesion by preparing the rubber surface with a primer. Some rubber adhesives include it, but you can also purchase it separately.
- Metal surface cleaner: Before bonding anything, make sure your metal surface is squeaky clean. Use a mild detergent or a specialized metal surface cleaner to remove grease, oil, dust, or debris.
- Sandpaper: Give your metal surface some texture by lightly sanding it with fine-grit sandpaper. This step enhances adhesion by creating a rougher surface for the adhesive to grip onto.
- Clamps or weights: Depending on your project’s size and complexity, you might need clamps or weights to hold the rubber and metal together during the bonding process. Make sure they exert enough pressure without damaging either material.
Techniques:
Now that we have our trusty materials and tools ready, let’s dive into a foolproof process for bonding rubber to metal:
- Clean the metal surface: Start by giving your metal surface a thorough cleaning using a metal surface cleaner or mild detergent. This step ensures there are no pesky contaminants that could hinder proper adhesion.
- Roughen the metal surface: Time to give your metal some character. Gently sand the surface with fine-grit sandpaper, creating a textured surface that promotes better bonding.
- Prime the rubber: If your adhesive doesn’t include a rubber primer, don’t fret. Apply a thin layer of rubber primer to the rubber surface
Selecting the Right Adhesive for Bonding Rubber to Metal
Contents
- 1 Selecting the Right Adhesive for Bonding Rubber to Metal
- 2 Common Types of Adhesives Used for Bonding Rubber to Metal
- 3 Preparing the Surfaces for Gluing Rubber to Metal
- 4 Applying the Adhesive When Gluing Rubber to Metal
- 5 Holding the Materials in Place While the Adhesive Cures
- 6 Testing the Bond Strength After Gluing Rubber to Metal
- 7 Troubleshooting Tips for Gluing Rubber to Metal
- 8 Conclusion
Selecting the right adhesive for bonding rubber to metal is a critical step in ensuring a strong and durable bond. With several factors to consider, it’s essential to choose wisely to meet the specific project requirements and environmental conditions.
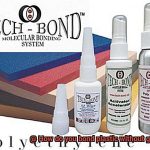
One popular option is cyanoacrylate, also known as super glue. It provides fast bonding and high strength, making it suitable for many rubber-to-metal bonding applications. Another reliable choice is epoxy adhesive. It offers excellent bonding strength and can withstand harsh environmental conditions. Epoxy adhesives are versatile and can bond various types of rubber effectively.
For more flexible rubber materials like silicone or neoprene, silicone-based adhesives are recommended. These adhesives offer good flexibility and resistance to high temperatures, creating a strong bond between rubber and metal.
Surface preparation is crucial for successful bonding. Clean both the rubber and metal surfaces thoroughly to remove any dirt or contaminants. Roughening the metal surface slightly with sandpaper enhances the adhesive’s grip.
To ensure optimal results, follow proper application procedures. Apply the adhesive evenly onto both surfaces using a brush or spatula, then firmly press them together to eliminate air bubbles. Use clamps or weights to hold the materials in place while the adhesive cures.
Testing and evaluation are essential steps after the adhesive has fully cured. By conducting small-scale tests or consulting with experts, you can assess the strength, flexibility, and durability of different adhesives on your specific rubber and metal combination.
Common Types of Adhesives Used for Bonding Rubber to Metal
Cyanoacrylate adhesive, also known as super glue, is a popular choice for bonding rubber to metal. This adhesive is known for its fast bonding time and strong bond. It works well for small bonding applications and can provide a durable bond between rubber and metal surfaces. However, it is not recommended for larger or high-stress bonding projects.
Epoxy adhesive is another common option for bonding rubber to metal. Epoxy adhesives are known for their exceptional strength and resistance to moisture, heat, and chemicals. They consist of two components, a resin and a hardener, which must be mixed together before use. Once mixed, the epoxy adhesive is applied to the rubber and metal surfaces and allowed to cure. This type of adhesive provides excellent bonding strength and durability.
Rubber-based adhesives are specifically formulated to bond rubber materials to various substrates, including metal. These adhesives typically have high flexibility and elasticity, allowing them to withstand the natural movements and vibrations that occur between rubber and metal surfaces. Rubber-based adhesives can be applied using different methods such as brush, spray, or roller, depending on the specific adhesive product. They provide a strong bond between rubber and metal surfaces.
Silicone adhesives are another option for bonding rubber to metal. Silicone adhesives offer excellent resistance to extreme temperatures, making them suitable for applications where the bonded materials will be exposed to heat or cold. Silicone adhesives also have good flexibility and can withstand vibrations. They are available in different forms such as paste, liquid, or sealant, and can be applied using various techniques such as spreading or caulking.
Polyurethane adhesives are known for their strong bonding capabilities and high resistance to impact and vibration. These adhesives provide excellent adhesion to both rubber and metal surfaces and offer good durability. Polyurethane adhesives come in different forms such as liquid or paste and can be applied using methods like brushing, spraying, or injection.
Lastly, neoprene-based adhesives are commonly used for bonding rubber to metal. Neoprene adhesives offer good resistance to heat, oil, and chemicals, making them suitable for various industrial applications. They have excellent bonding strength and flexibility, allowing them to withstand the movements and stresses between rubber and metal surfaces. Neoprene adhesives can be applied using methods like brushing or rolling.
Preparing the Surfaces for Gluing Rubber to Metal
Preparing surfaces for gluing rubber to metal requires careful attention to detail and thorough cleaning. To achieve a strong and lasting bond, both the rubber and metal surfaces must be free from contaminants. Here’s a step-by-step guide to help you get it just right.
- Cleaning the metal surface: Start by using a mild detergent or degreaser to remove any dirt, oil, or grease. Imagine this surface as a blank canvas that needs to be pristine. Scrub gently with a soft-bristle brush or sponge, ensuring you reach every nook and cranny. Rinse thoroughly with clean water to wash away all traces of the cleaning agent. Patience is key here – allow the surface to dry completely before moving forward.
- Preparing the rubber surface: If the rubber has a smooth surface, it’s time to add some texture for better adhesion. Grab some fine-grit sandpaper and lightly sand the rubber. Think of this as giving it a gentle massage – we want to create small grooves or roughness without causing any damage. After sanding, wipe away any dust or debris using a clean cloth or rag.
- Applying a primer: Now that both surfaces are clean and prepared, it’s time to bring in the secret weapon – a primer or adhesive promoter specifically designed for rubber-to-metal bonding. These products work their magic by creating a chemical reaction that enhances adhesion. Follow the instructions provided by the manufacturer for proper application. Take your time with this step – make sure you cover all areas that will come into contact with the adhesive.
- Allowing proper drying time: Once you’ve applied the primer, allow sufficient time for it to dry completely. Remember, this is not the moment for impatience. The drying time can vary depending on the product, so follow the instructions carefully. Rushing through this step could jeopardize the effectiveness of the bonding process.
Applying the Adhesive When Gluing Rubber to Metal
When it comes to gluing rubber to metal, applying the adhesive correctly is essential for creating a strong and durable bond. Let’s dive into the steps you need to follow to ensure a successful adhesive application.
First and foremost, cleanliness is key. Before applying the adhesive, make sure both the rubber and metal surfaces are thoroughly cleaned. Remove any dirt, dust, oil, or grease using a mild detergent or rubbing alcohol and a clean cloth. This step ensures that the adhesive can adhere properly to the surfaces.
Next, roughen up the metal surface slightly. This can be done using sandpaper or a wire brush. The goal here is to create a rough texture that provides a better bonding surface for the adhesive. This roughened surface allows for increased contact between the rubber and metal, enhancing the bond strength.
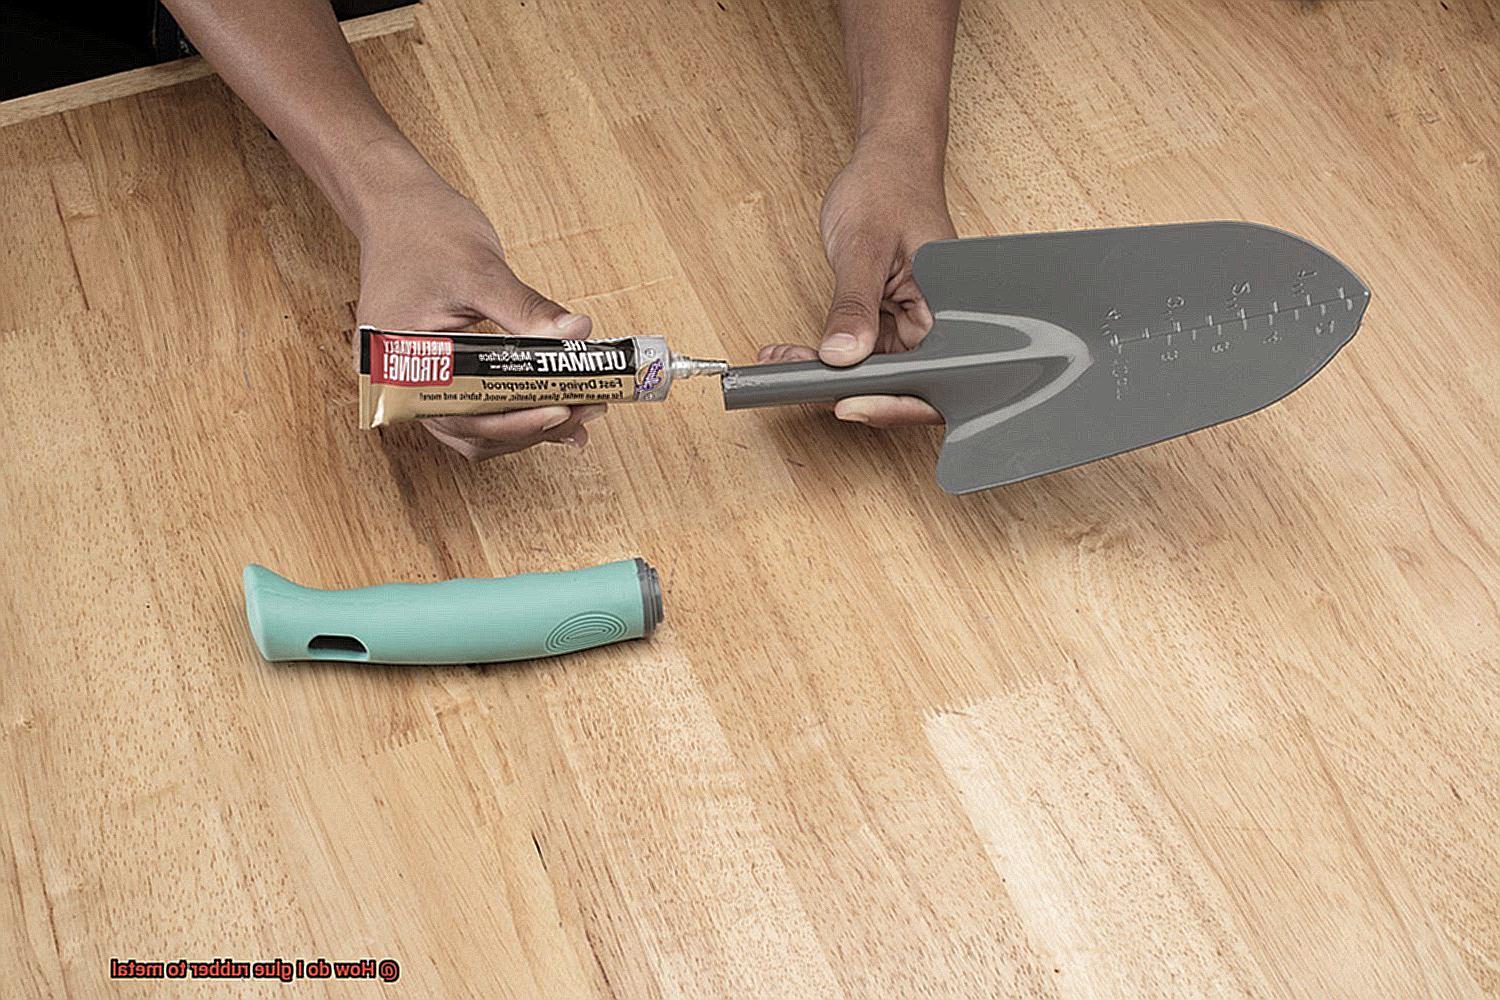
Now it’s time to choose the right adhesive for the job. Consider factors such as the specific rubber and metal being used and the intended application. There are various types of adhesives available, including epoxy, cyanoacrylate (super glue), and rubber cement. Each adhesive has its own unique properties and strengths, so select one that suits your needs.
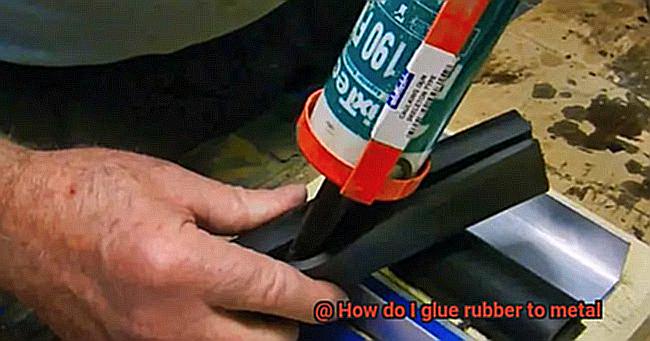
When applying the adhesive, be sure to follow the manufacturer’s instructions carefully. Some adhesives may require mixing or specific curing times. Apply the adhesive evenly and in a thin layer using a brush or spatula. This ensures that there is no excessive buildup that could compromise the bond strength.
After applying the adhesive, firmly press the rubber and metal surfaces together. Apply pressure evenly across the entire bonded area to maximize contact between the two materials. This step is crucial for creating a strong and reliable bond.
Depending on the adhesive used, you may need to clamp or hold the materials together while the adhesive cures. This prevents any movement or separation during the curing process, resulting in a stronger bond.
Now comes the waiting game. Allow sufficient time for the adhesive to cure completely before subjecting the glued assembly to any stress or load. The curing time can vary depending on the adhesive and environmental conditions, so be patient and follow the manufacturer’s recommendations.
Once the adhesive has fully cured, it’s important to test the bond strength. Gently pull or twist the rubber and metal surfaces to check if there are any signs of weakness or separation. If you detect any issues, it may be necessary to reapply the adhesive or seek professional assistance.
Keep in mind that different rubber compounds and metal surfaces may require specific adhesive formulations or surface preparations. When in doubt, don’t hesitate to consult with adhesive manufacturers or industry experts for tailored advice.
Holding the Materials in Place While the Adhesive Cures
When it comes to gluing rubber to metal, holding the materials in place while the adhesive cures is absolutely essential. This step ensures that the bond between the two materials is rock-solid and built to last. Lucky for us, there are a few nifty methods we can use to keep those materials locked together during the curing process.
One trusty method involves the use of clamps or vice grips. These bad boys provide a secure grip and apply pressure evenly across the surface, creating a bond that’s as strong as an ox. Just make sure to choose clamps or vice grips that match the size and shape of your materials. And don’t forget to throw some protective padding or blocks between the clamps and the materials to prevent any nasty damage.
If clamps aren’t your thing, fear not. Another option is to use weights or heavy objects to hold everything in place. This method works wonders when clamps are a no-go or when those shapes make it impossible to clamp effectively. Simply plunk those weights on top of the rubber and metal, and voila. They’ll stay in perfect contact with each other while the adhesive works its magic. Just remember to distribute those weights evenly, or you might end up with wonky results.
But wait, there’s more. In some cases, tape can save the day. This method is especially handy for smaller or more delicate pieces of rubber and metal. Grab some double-sided tape or duct tape, slap it on there, and you’ve got yourself a temporary bond until that adhesive cures completely. Keep in mind though, tape might not give you quite as strong of a bond as clamps or weights, so consider reinforcing it with another method if you’re feeling extra cautious.
No matter which method you choose, always follow the instructions from the adhesive manufacturer regarding curing time. Give that adhesive ample time to cure properly, and you’ll be rewarded with a bond that could withstand a hurricane. And hey, while the adhesive is curing, don’t even think about disturbing or moving those materials. That’s a surefire way to weaken the bond and end up with a less-than-ideal result.
Testing the Bond Strength After Gluing Rubber to Metal
When it comes to gluing rubber to metal, ensuring a strong bond is absolutely crucial. After applying the adhesive and giving it enough time to cure, testing the bond strength becomes essential. This step allows us to determine if the adhesive has successfully bonded the rubber to the metal surface and if it will withstand the intended use and environmental conditions.
There are a variety of methods available for testing the bond strength after gluing rubber to metal. One common method is the peel test, which measures the force required to peel the rubber away from the metal surface. This test is particularly useful when evaluating adhesives that are meant to provide a strong bond under shear or tensile stress.
To perform a peel test, a sample area of the glued rubber and metal should be prepared. A specialized testing machine called a peel tester can be used for this purpose. The tester applies a controlled force to gradually separate the rubber from the metal surface at a specific angle. By measuring the force required to initiate and complete the separation, we can gain insight into the bond strength.
Another method for testing bond strength is the lap shear test. This involves bonding two metal surfaces together with a layer of rubber adhesive in between. The bonded assembly is then subjected to shear stress by applying a force parallel to the plane of adhesion. The force required to cause separation between the metal surfaces indicates the bond strength of the adhesive.
To conduct a lap shear test, two metal specimens should be prepared with a layer of adhesive sandwiched between them. The specimens are securely clamped, ensuring uniform distribution of pressure across the bonded area. A testing machine equipped with grips or fixtures capable of exerting shear force is then used to apply pressure on one specimen while keeping the other stationary. The force required to cause separation between the two metal surfaces is measured, providing us with a quantitative value for the bond strength.
In addition to peel and lap shear tests, other methods such as tension, compression, and flexural tests can also be employed to evaluate the bond strength between rubber and metal surfaces. The choice of test method depends on the specific application requirements and the type of stress the adhesive will encounter.
It’s important to note that the bond strength test results can vary depending on factors such as adhesive type, surface preparation, curing conditions, and environmental factors. Therefore, it is advisable to consult the adhesive manufacturer’s guidelines and recommendations for proper testing procedures.
Troubleshooting Tips for Gluing Rubber to Metal
To achieve a strong bond between rubber and metal, proper surface preparation is crucial. Before applying the adhesive, thoroughly clean both surfaces using a mild detergent or rubbing alcohol to remove any dirt, grease, or contaminants that could hinder adhesion. Additionally, roughening the metal surface slightly using sandpaper or a wire brush will create a better bonding surface for the adhesive to adhere to. This step is particularly important because rubber has a smooth and non-porous surface, making it difficult for adhesives to stick properly.
Choosing the Right Adhesive:
Selecting the right adhesive is vital for successfully bonding rubber to metal. Different types of adhesives are available, including cyanoacrylate-based adhesives (super glue), epoxy adhesives, and polyurethane adhesives. It is crucial to choose an adhesive that is specifically designed for bonding rubber to metal and has good flexibility and strength. Following the manufacturer’s instructions regarding the amount and method of application is essential for achieving a strong bond.
Application Techniques:
When applying the adhesive, it is important to ensure an even layer on both the rubber and metal surfaces. Using a brush, roller, or spatula recommended by the manufacturer will help achieve this. After applying the adhesive, carefully align the rubber and metal surfaces together and apply pressure to ensure good contact between them. Depending on the size and shape of the objects being bonded, clamping or using weights may be necessary to maintain pressure during the curing process.
Curing Time:
Allowing sufficient curing time is crucial for the adhesive to fully bond between the rubber and metal surfaces. The curing time can vary depending on the type of adhesive used, so it is important to refer to the manufacturer’s instructions for specific drying or curing times. During this time, it is important to avoid subjecting the bond to stress or load, as it can weaken the adhesive bond.
Bond Strength Testing:
After the adhesive has fully cured, it is important to test the bond strength before subjecting it to any stresses or loads. Apply gradual pressure or stress to assess its integrity. If the bond seems weak or inadequate, it may be necessary to reapply the adhesive or explore alternative bonding methods. Identifying and troubleshooting any issues that may arise during the bonding process is essential for achieving a strong and durable bond when gluing rubber to metal.
jq8L9nP718g” >
Conclusion
Gluing rubber to metal may seem like a tricky task, but with the right approach, it can be easily accomplished. To ensure a strong and durable bond between these two materials, there are a few key steps you should follow.
Firstly, it is essential to clean the surfaces thoroughly before applying any adhesive. Use a mild detergent or rubbing alcohol to remove any dirt, grease, or oils that may hinder the bonding process. Once cleaned, make sure both the rubber and metal surfaces are completely dry.
Next, choose an appropriate adhesive that is specifically designed for bonding rubber to metal. There are various options available, such as epoxy adhesives or cyanoacrylate-based super glues. Consider factors such as the type of rubber and metal you are working with, as well as the intended use of the bonded materials.
Apply a thin layer of adhesive to both the rubber and metal surfaces using a brush or applicator. Be sure to spread it evenly and avoid applying too much pressure that could cause excess adhesive to squeeze out.
Once applied, carefully press the rubber and metal together, ensuring proper alignment. Apply firm and consistent pressure for a few minutes to allow the adhesive to set. Some adhesives may require additional curing time before they reach their maximum strength.
After allowing sufficient curing time, test the bond by gently pulling on the rubber piece. If it holds firmly without any signs of separation or weakening, then you have successfully glued rubber to metal.
Remember that each adhesive product may have specific instructions and recommendations from the manufacturer. Always read and follow these guidelines for optimal results.
In conclusion, gluing rubber to metal requires careful preparation, selection of suitable adhesives, proper application techniques, and patience during curing.