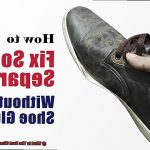
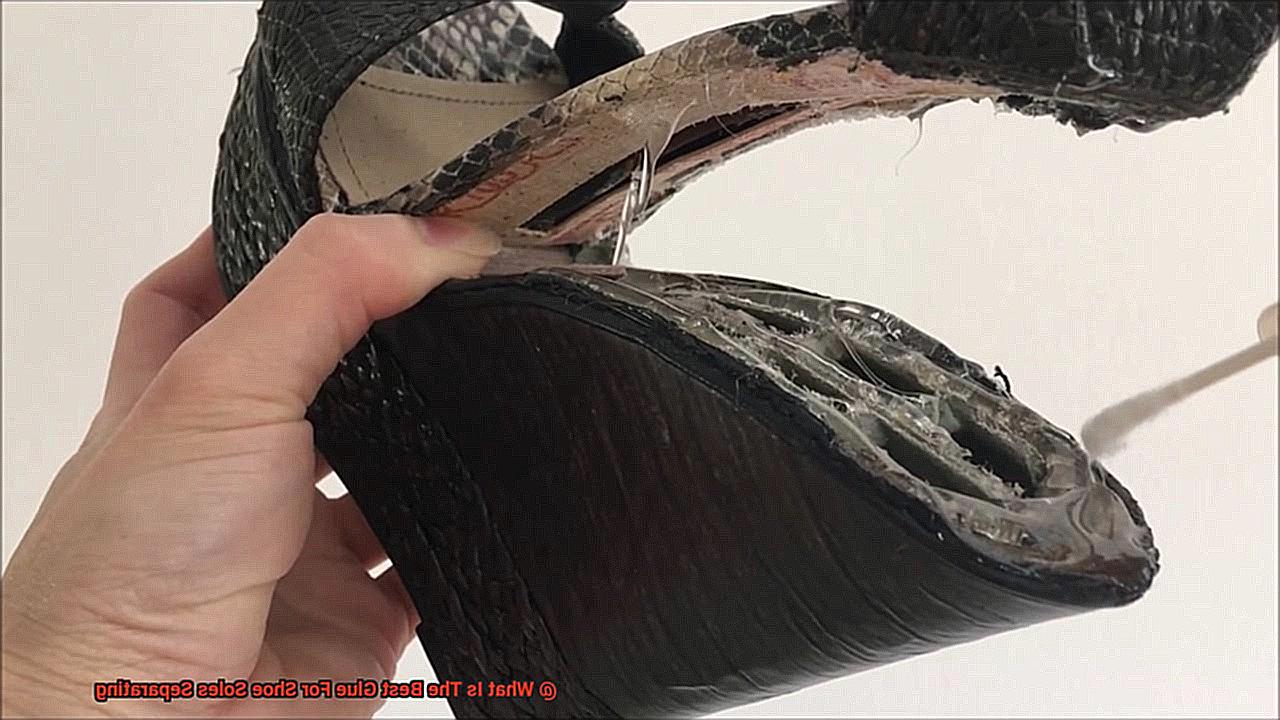
Are your favorite shoes falling apart?
It’s a bummer when the soles start peeling away from the rest of the shoe. But fear not.
I’m here to help you find the perfect glue to fix this nagging problem. With so many choices out there, it can be hard to know which one is truly the best for shoe sole separation.
That’s why I’ve done the research for you. In this blog post, we’ll dive into the top contenders, weighing their pros and cons, so you can confidently choose the glue that will keep your kicks looking fresh and fabulous.
Factors to Consider When Choosing the Best Glue for Shoe Soles Separating
Contents
- 1 Factors to Consider When Choosing the Best Glue for Shoe Soles Separating
- 2 Rubber Soles: Using Cyanoacrylate Glues for Optimal Bonding
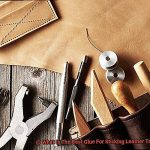
- 3 Leather Soles: The Benefits of Contact Cement Adhesives
- 4 Synthetic Materials: Finding the Right Plastic Adhesive
- 5 Avoiding Household Glues for Shoe Repairs
- 6 Preparing the Surface Before Applying the Glue
- 7 Applying the Glue: Following Manufacturer Instructions Carefully
- 8 Allowing Time for the Repair to Fully Cure
Don’t let a separating sole ruin your favorite pair of shoes. With the right glue, you can easily repair and restore them. In this step-by-step guide, we will explore the essential factors to consider when choosing the best glue for shoe soles separating. Let’s get started.
Material Compatibility:
Identify the material of your shoe sole before selecting a glue. Rubber, leather, and synthetic materials each require specific adhesives for optimal results. Using the wrong glue can compromise the repair and decrease its longevity.
Adhesive Strength and Flexibility:
Look for glues with high bond strength that can withstand everyday stresses. Choose a flexible adhesive that endures bending and flexing without cracking or losing its bond.
Waterproof and Weather Resistance:
To ensure your repair remains intact, select a waterproof and weather-resistant glue. Look for products that explicitly mention resistance to water, humidity, or extreme temperatures.
Quick Drying Time:
Consider your time constraints when choosing a glue. Opt for a drying time that aligns with your needs, whether it’s quick-drying within minutes or allowing several hours for full curing.
Easy Application:
Choose a glue that is easy to apply. Look for convenient applicator tubes or squeeze bottles for effortless spreading and even application. Avoid glues that require additional tools or brushes.
Longevity and Durability:
Select a glue known for its strong and long-lasting bond. Read reviews and seek recommendations from professionals to ensure it is built to last.
Safety Considerations:
Prioritize your safety by choosing a non-toxic, odorless glue that is safe to use in well-ventilated areas. Avoid glues with harmful chemicals or strong fumes.
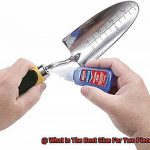
Rubber Soles: Using Cyanoacrylate Glues for Optimal Bonding
Have you ever experienced the frustration of your favorite pair of shoes falling apart at the seams? It’s a common problem that can be easily solved with the right adhesive. When it comes to bonding rubber soles, cyanoacrylate glues, also known as super glues, are the ultimate solution. With their fast-drying and strong adhesive properties, these glues have become the go-to choice for achieving optimal bonding. So, let’s dive into the steps you need to follow for successful bonding.
Step 1: Clean the Surfaces
Before applying the glue, it is crucial to ensure that both surfaces to be bonded are clean and free from any dirt, grease, or moisture. Take a clean cloth and a mild solvent to give those rubber soles a thorough wipe-down. This will help create a clean surface for the glue to adhere to.
Step 2: Apply a Thin Layer
Once the surfaces are clean and dry, it’s time to apply the cyanoacrylate glue. Remember, less is more. Applying a thin layer of glue evenly on both surfaces is key to achieving optimal bonding. You can use a brush or even a toothpick to spread the glue in small amounts. This technique ensures an even distribution and promotes a strong bond.
Step 3: Press and Hold
Now comes the crucial step – pressing the two surfaces together firmly. This is where the magic happens. Make sure to hold them in place for a few minutes to allow the glue to set properly. If needed, you can use clamps or tape to keep them secure while the glue dries. The pressure applied during this step enhances the adhesion between the rubber sole and the glued surface.

Step 4: Check Compatibility
It’s essential to note that not all rubber compounds bond well with cyanoacrylate glues. If you’re unsure about the compatibility of your rubber soles, it’s best to consult a professional or explore alternative adhesive options. Ensuring the right adhesive for your specific rubber compound will result in a more reliable and long-lasting bond.
Step 5: Remove Residue
Sometimes, cyanoacrylate glues can leave behind a white residue when they come into contact with certain materials. Don’t panic. This residue can be easily removed by gently rubbing the affected area with a cloth dampened with acetone or nail polish remover. This step will give your repaired shoes a clean and polished look.
Step 6: Store Properly and Stay Safe
To maintain the effectiveness of cyanoacrylate glues, it is important to store them properly. These glues should be kept in a cool and dry place, away from direct sunlight and extreme temperatures. Additionally, remember to prioritize safety. Always wear protective gloves when working with these glues and ensure you are in a well-ventilated area to avoid any accidental skin contact.
Leather Soles: The Benefits of Contact Cement Adhesives
Tired of your beloved shoes falling apart at the seams? Bid farewell to shoe repair shops and say hello to contact cement adhesives. In this article, we will delve into the advantages of using contact cement adhesives for attaching leather soles. Brace yourself for the game-changing glue that will revolutionize your footwear.
First and foremost, contact cement adhesives are engineered to forge an unyielding bond between two surfaces. When it comes to leather soles, this attribute is indispensable for longevity. Once the adhesive has fully cured, it establishes a permanent connection that can withstand the relentless wear and tear of daily use. No longer will you fret about your soles coming loose while gallivanting around town.
Flexibility is another paramount benefit of contact cement adhesives. Leather soles necessitate the ability to bend and flex harmoniously with the natural movement of your foot. Thankfully, contact cement offers this flexibility without compromising the bond between the sole and upper part of the shoe. It’s akin to embracing both a nimble and reliable companion.
Yet, that’s not all – contact cement adhesives also boast exceptional resistance to water and moisture. As we all know, water poses a grave threat to leather soles. However, with the steadfast adherence provided by reliable contact cement adhesive, you can rest easy knowing that your soles will remain stalwart even in damp conditions.
Not only are contact cement adhesives functional, but they also bestow an aesthetic advantage. They dry transparently, leaving no visible residue or marks on the leather sole. This results in a clean and professional finish that will make your shoes appear as though they have just sprung from their pristine box.
To ensure optimal results, it is imperative to dutifully adhere to the manufacturer’s instructions when employing contact cement adhesives. Applying an even layer of adhesive on both surfaces and allowing ample drying time before bonding them together will guarantee a secure and enduring union.
While contact cement adhesives are generally a reliable choice for leather soles, it is worth noting that they may not be suitable for all shoe types or materials. Consulting a professional or referring to the shoe manufacturer’s recommendations before applying any adhesive is always a prudent course of action.
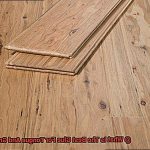
Synthetic Materials: Finding the Right Plastic Adhesive
Finding the right plastic adhesive for synthetic materials, such as shoe soles, is crucial for maintaining the integrity and durability of your favorite pair of shoes. With the right adhesive, you can say goodbye to sole separations and hello to long-lasting, sturdy shoes.
The first step in selecting the perfect adhesive is identifying the specific type of synthetic material used in your shoe sole. Different plastics have varying chemical compositions that can affect how well they bond with adhesives. Some common synthetic materials used in shoe soles include thermoplastic polyurethane (TPU), ethylene-vinyl acetate (EVA), and polyvinyl chloride (PVC).
For TPU shoe soles, which are known for their flexibility and abrasion resistance, a cyanoacrylate-based glue, also known as super glue, works wonders. This adhesive forms a quick and strong bond with TPU, ensuring that your sole stays securely attached to your shoe.
When it comes to EVA shoe soles, loved for their cushioning properties, solvent-based adhesives or epoxy-based glues are the go-to options. These adhesives provide a strong bond that can withstand the impact and pressure exerted on the shoe sole during daily use.
If you’re rocking PVC shoe soles, often found in more affordable footwear, a solvent-based adhesive or specialized PVC glue is recommended. These adhesives are specially formulated to create a strong bond with PVC, ensuring that your sole stays firmly in place.
In addition to considering the type of synthetic material, other factors should be taken into account when selecting a plastic adhesive. The application method and drying time of the adhesive can impact how quickly you can strut your stuff in your newly repaired shoes. Some adhesives require mixing before use, while others come pre-mixed for convenience.
To ensure a successful bond, thoroughly clean and prepare the surfaces to be bonded by removing any dirt, grease, or old adhesive residue. Following the manufacturer’s instructions for both the adhesive and your specific shoe material is crucial for achieving optimal results.
Avoiding Household Glues for Shoe Repairs
We all know the heartbreak of a broken sole, but before you reach for that trusty household glue, let me tell you why it’s time to break up with your DIY repair habits. Sure, household glues may have their place in other projects, but when it comes to shoe sole repairs, they’re just not going to cut it. So, let’s dive into the nitty-gritty of why these glues are a no-go for your precious kicks.
- Rigidity is the enemy: Shoe soles need a flexible adhesive that can handle the constant bending and flexing of your foot. Unfortunately, household glues don’t quite measure up in this department. They harden over time and become brittle, leaving your soles vulnerable to cracking and breaking under pressure. Say goodbye to those comfortable walks.
- Moisture and temperature troubles: Think about it – your shoes encounter all sorts of weather conditions, not to mention sweat. Household glues simply can’t handle this kind of moisture and temperature changes. The weak bond they form may result in the sole separating from the shoe altogether, leaving you barefooted and embarrassed.
- Not all materials are created equal: Shoe soles come in various materials like rubber, leather, or synthetic materials. Each material requires a specific adhesive for optimal bonding. Household glues may not adhere well or could even damage certain sole materials. That’s definitely not the outcome we’re going for.
- The professionals know best: Shoe manufacturers use specialized adhesives formulated specifically for shoe repairs. These adhesives have undergone rigorous testing to ensure durability and reliability. So, why not follow their lead and invest in a quality shoe adhesive designed for sole repairs? Your soles will thank you.
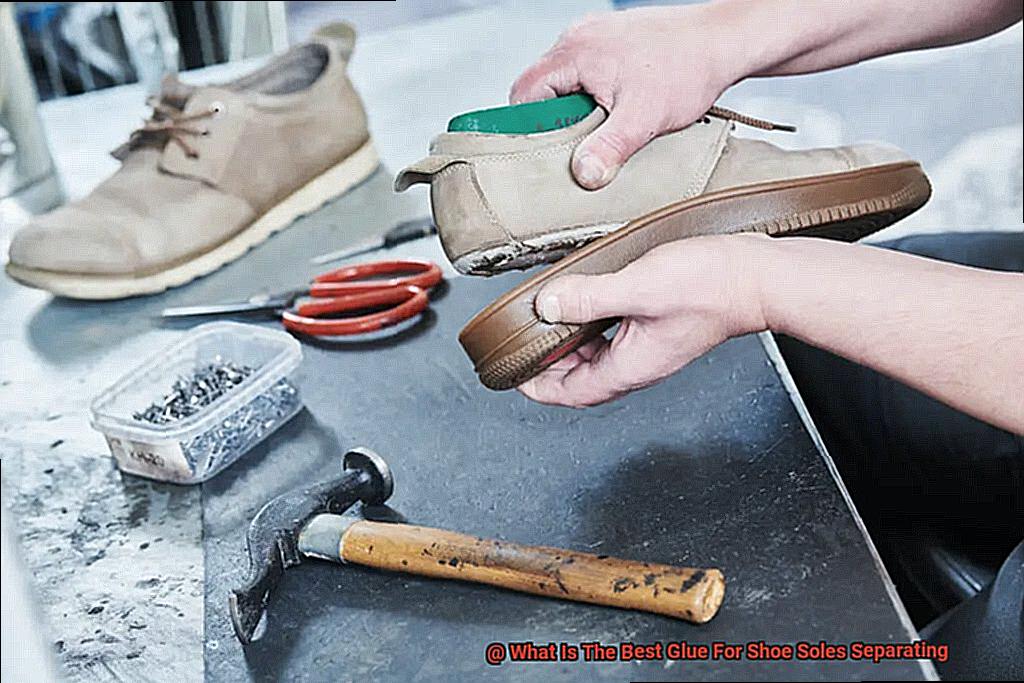
Preparing the Surface Before Applying the Glue
Say goodbye to those frustrating DIY repairs and say hello to a professional solution. In this guide, we will explore the proper way to prepare the surface of a shoe sole before applying glue for repair. Whether you’re an avid DIY enthusiast or simply want to learn more about glue, this article is for you.
Clean the surface:
To ensure a successful bond, start by thoroughly cleaning the shoe sole. Use a mild detergent or soap and warm water to remove dirt, dust, and debris. A clean surface is essential for optimal adhesion between the glue and the shoe sole.
Dry the surface:
Moisture is the enemy of adhesive bonding. After cleaning, make sure the shoe sole is completely dry. Use a clean cloth or paper towel to remove any excess moisture and allow it to air dry if necessary.
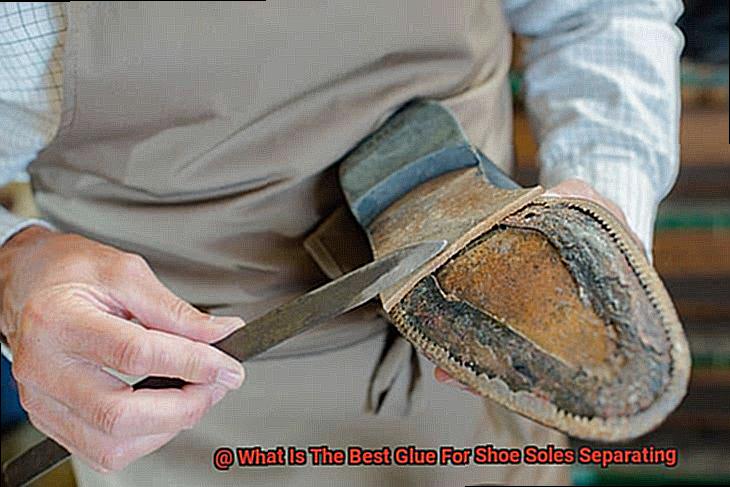
Roughen the surface:
Create a better bonding surface by gently roughening the shoe sole with sandpaper or a rough sponge. Be careful not to apply too much pressure or damage the material. This step enhances the adhesive properties of the glue by creating a slightly rough texture.
Remove dust and debris:
After roughening, use a soft brush or cloth to eliminate any loose particles. A clean and smooth surface is crucial for optimal adhesion between the shoe sole and the glue.
Consider using a primer:
For an even stronger bond, apply a suitable primer onto the prepared surface. Choose one that matches both the shoe sole material and the type of glue you’ll be using. Follow the manufacturer’s instructions for application and drying time.
Read and follow instructions:
Before applying any glue, read and follow the manufacturer’s instructions carefully. Different glues may have specific application methods and drying times. Adhering to these guidelines ensures the best results.
Applying the Glue: Following Manufacturer Instructions Carefully
I know, it may not sound like the most thrilling topic, but trust me, mastering this skill can save you money and keep your favorite pair of kicks in top shape.
So, why is it crucial to follow the manufacturer’s instructions when applying glue to reattach shoe soles? Let me break it down for you.
First and foremost, cleanliness is key. Before even thinking about glue, make sure to clean the area where the sole is separating from the shoe. It may seem obvious, but many people overlook this step. A little mild detergent or rubbing alcohol will do the trick in removing any dirt, oil, or debris that could hinder the adhesive process.
Now, let’s dive into the nitty-gritty of glue application. Each glue product comes with its own set of instructions, and they are not to be ignored. Some glues require a thin layer on both surfaces, while others only need one side coated. Paying attention to these details is crucial because they determine how well the glue will bond and hold.
Once you’ve applied the glue correctly, it’s time to join the separated parts together. This is where patience comes into play. Apply pressure on the sole and hold it firmly against the shoe for the recommended amount of time specified by the manufacturer. Trust me, this step is not one to rush through. Giving the glue enough time to bond effectively will result in a repair that stands the test of time.
But wait, there’s more. Environmental factors also play a role in glue application. Some glues require specific temperature ranges or humidity levels for optimal adhesion. Following these instructions is crucial because failing to do so can weaken the bond strength and lead to a less durable repair.
Last but not least, post-application care is essential. Avoid subjecting your newly glued shoes to excessive water or extreme heat during the initial curing period. Water can weaken the bond, and heat can cause the glue to soften or melt, resulting in a failed repair. Following the manufacturer’s instructions regarding post-application care will ensure that your repair lasts for as long as possible.
So there you have it, folks. By carefully following the manufacturer’s instructions when applying glue to reattach shoe soles, you’ll be well on your way to becoming a DIY shoe repair pro. Remember, cleanliness, correct application, proper bonding time, environmental considerations, and post-application care are all crucial steps in achieving a successful repair.
Allowing Time for the Repair to Fully Cure
Imagine this: you’ve just breathed new life into your worn-out shoe soles, eager to strut your stuff in your revitalized kicks. But hold on. Before you take that confident step, it’s crucial to understand the secret ingredient for long-lasting shoe sole repairs – allowing enough time for the repair to fully cure. In this article, we’ll delve into the importance of giving the repair sufficient time to cure, providing you with the knowledge to ensure your favorite pair of shoes remains intact and durable.
The Power of Curing:
Curing is the magical process that transforms a simple application of glue into a strong and durable bond between the sole and the shoe. Rushing this process compromises the effectiveness of the repair, resulting in a weak bond vulnerable to regular wear and tear.
Follow Instructions for Optimal Results:
Different glues have varying curing times. Some may need only a few hours, while others may require up to 24 hours or more. Patience is key. Follow the manufacturer’s instructions regarding recommended curing times for the specific glue being used.
Environmental Factors:
Temperature and humidity play a significant role in the curing process. Higher temperatures accelerate curing, while lower temperatures slow it down. To achieve optimal results, perform shoe sole repairs in a controlled environment with moderate temperature and humidity levels.
Apply Constant Pressure:
To ensure proper adhesion, place a weight or clamp on the repaired area while the glue dries. This constant pressure helps maintain an even bond between the sole and shoe, preventing any weak spots.
Extended Curing Periods:
Complex repairs or slow-curing adhesives may require an extended curing period. Leaving the repaired shoes undisturbed for several days allows for optimal curing, ensuring a robust and long-lasting bond.
The Importance of Patience:
Though tempting, avoid using or wearing the repaired shoes immediately. Premature use compromises the quality of the bond and leads to early failure. Remember, good things come to those who wait.
Post-Curing Inspection:
After the recommended curing time has passed, inspect the repaired area for any signs of weakness or instability before using or wearing the shoes. If concerns arise, it may be necessary to reapply the glue or seek professional assistance.