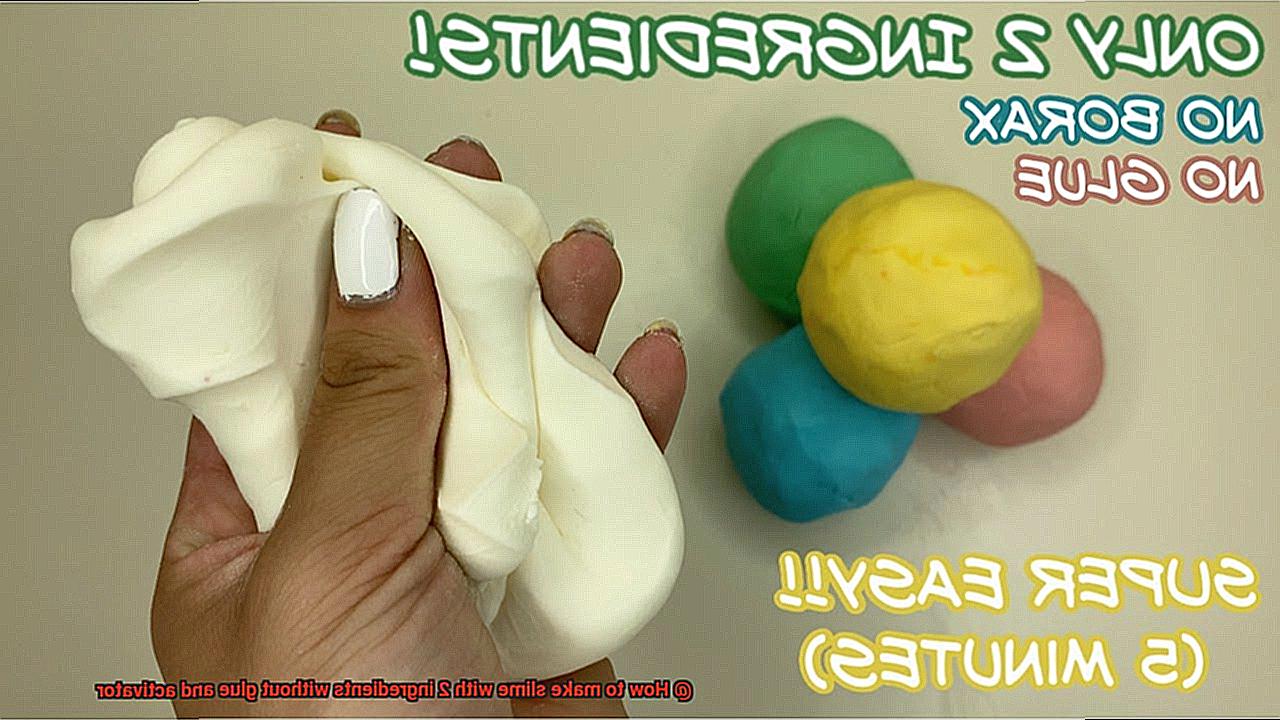
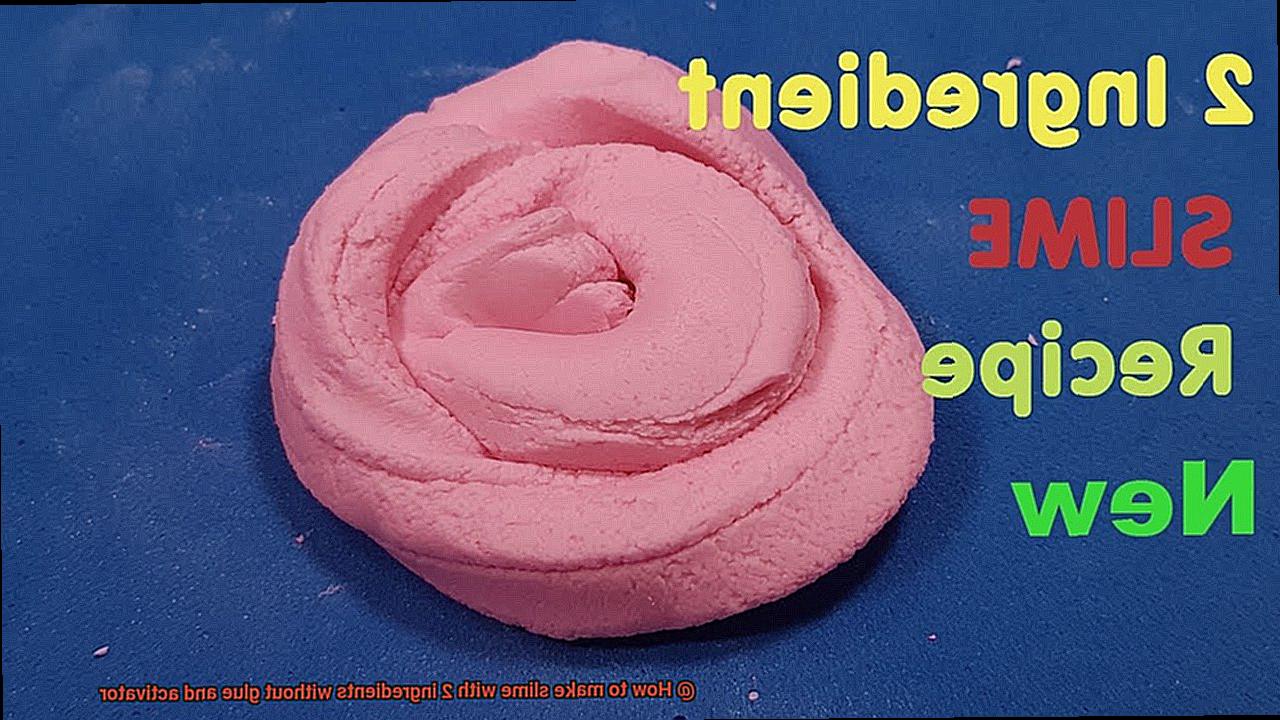
Ready to dive into the world of slime-making but missing the typical ingredients like glue and activator?
No worries. I’ve got you covered with a simple recipe that only requires two readily available ingredients.
Whether you’re looking for a fun activity to do with the kids or just want to unleash your inner child, this is the perfect solution. In this blog post, I’ll walk you through the step-by-step process of creating your own slime using items you likely already have in your kitchen.
So grab a mixing bowl and let’s get ready to make some seriously slimy magic.
Method 1: Cornstarch and Dish Soap
Contents
Slime-making has become an exhilarating pastime for both kids and adults. Traditional recipes often involve glue and activators, but there are alternative methods that create a slimy texture without these ingredients. In this guide, we will explore the remarkable technique of making slime using cornstarch and dish soap. This simple and mess-free method is perfect for those seeking the joy of slime-making with just two household items.
Step-by-Step Instructions:
Step 1: Gather your materials
To make slime with cornstarch and dish soap, collect the following:
- Approximately 1 cup of cornstarch
- Any brand of dish soap
- A mixing bowl
- A stirring utensil
Step 2: Pour cornstarch into a bowl
Begin by pouring a small amount of cornstarch into a mixing bowl. The quantity depends on the desired amount of slime, but starting with about 1 cup is recommended.
Step 3: Gradually add dish soap
Continuously stir the cornstarch while gradually adding dish soap. The required amount of dish soap varies depending on the desired consistency. Start with a small amount and slowly increase until the mixture comes together, forming a slime-like texture.
Step 4: Adjust consistency if needed
If the mixture becomes dry and crumbly, introduce a small amount of water to moisten it. Conversely, if it becomes too sticky, add more cornstarch. Remember to adjust the ingredients incrementally to achieve the desired consistency.
Step 5: Playtime with your slime.
Once you achieve the desired consistency, let the fun begin. Stretch it, mold it, or use cookie cutters to create various shapes. Unleash your imagination.
Tips for Achieving Desired Consistency:
- Begin with small amounts of dish soap and gradually increase until the desired texture is attained.
- For runny slime, add more cornstarch. For thicker slime, add more dish soap.
- Experiment with different ratios of cornstarch and dish soap to find your preferred consistency.
Safety Precautions:
Although this method uses non-toxic ingredients, it is crucial to supervise children while they play with slime and prevent ingestion. Additionally, keep in mind that this type of slime may not last as long as other varieties and may dry out over time. To maintain freshness, store it in an airtight container when not in use.
Method 2: Toothpaste and Water
Step 1: Gather your ingredients:
To embark on this slimy journey, all you need is toothpaste and water. Choose a white or clear toothpaste to preserve the final appearance of your slime. Before starting any project, it’s wise to gather all your materials within reach.
Step 2: Squeeze toothpaste into a bowl:
Prepare for some thrilling squeezing action. Grab your toothpaste tube and squeeze a generous amount into a mixing bowl. The more toothpaste you add, the more slime you’ll have to indulge in later.
Step 3: Add water gradually:
Now, it’s time to introduce H2O to the mix, drop by drop. As you pour water slowly into the bowl, stir constantly. Exercise caution not to flood the mixture, as it may transform your slime into a watery mess. Our goal is to achieve that perfect slime consistency.
Step 4: Stir until well combined:
Keep stirring until the toothpaste and water become inseparable companions. Observe in awe as the mixture thickens and becomes stickier. This is where the magic truly begins.
Step 5: Knead the slime:
Once your mixture reaches an enchanting slime-like consistency, liberate it from the bowl and commence kneading with your hands. Kneading activates the ingredients, yielding a more unified texture. Feel free to embrace the messiness and relish in the tantalizing tactile experience.
Step 6: Adjust the consistency if needed:
If your slime feels excessively sticky, fortify it with additional toothpaste to reclaim the desired thickness. Conversely, if it appears too dry, sprinkle a few droplets of water and knead once more until you achieve the perfect balance. Remember, experimentation is key to uncovering what works best for you.
You’ve triumphed in creating slime using toothpaste and water. While this method may not produce the same stretchy and elastic slime as traditional glue-based recipes, it still offers an enjoyable sensory experience. Don’t forget to store your captivating creation in an airtight container when not in use to prevent it from succumbing to dryness.
Method 3: Shampoo and Salt
Discover the wonders of making slime without glue and activator with Method 3: Shampoo and Salt. This straightforward and convenient method utilizes ingredients that are likely already present in your home. Let’s dive into the exciting process.
To create shampoo and salt slime, all you need are two simple ingredients: shampoo and salt. Opt for clear or white shampoo, as these yield the best results. As for the salt, both table salt and sea salt will work perfectly fine.
Begin by pouring a generous amount of shampoo into a mixing bowl, starting with around 1/2 cup. Gradually add salt to the shampoo while stirring continuously. The salt acts as a binding agent, enhancing the thickness of the mixture. Add it little by little until you achieve the desired consistency. Remember, the more salt you incorporate, the thicker your slime will become.
Continue stirring until the shampoo and salt are thoroughly combined. Observe as the mixture thickens and becomes delightfully sticky. Once you have achieved your desired consistency, remove the slime from the bowl and knead it with your hands. This step activates the slime and reduces stickiness.
If your slime is too sticky, simply add a small amount of salt while kneading until it attains the desired texture. Conversely, if your slime is too dry, adding a little more shampoo will soften it up.
Now, unleash your creativity. Stretch it, squish it, mold it – the possibilities are endless. While this type of slime may not possess the same stretchiness as its glue-based counterpart, it still offers hours of entertainment and sensory play.
To keep your slime fresh and pliable, store it in an airtight container when not in use. If your slime happens to dry out over time, just add a small amount of shampoo and knead it until it regains its desired consistency.
Comparing Results
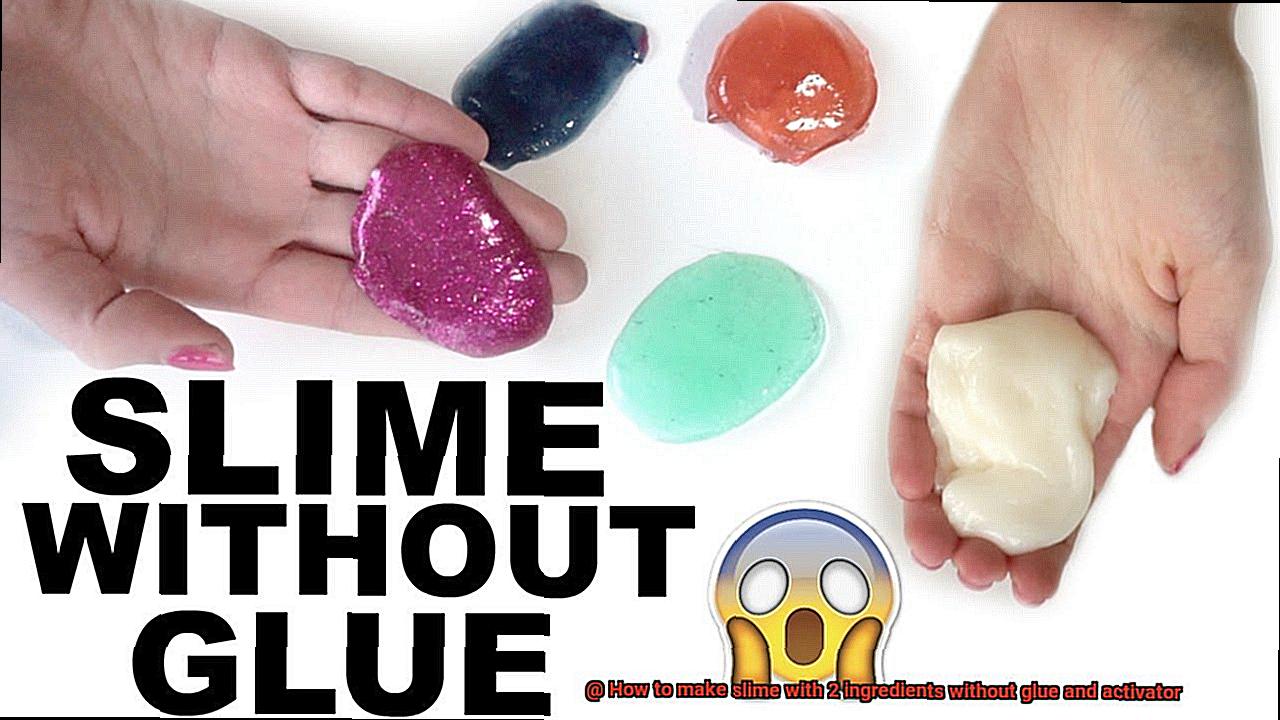
Say goodbye to traditional glue-based slime and activators – we’re diving into the world of alternative ingredients. In this captivating exploration, we will compare the outcomes and characteristics of making slime using cornstarch and water, toothpaste and salt, and the classic glue-based recipe. Get ready for a slimy adventure like never before.
Cornstarch and Water: Unleash the Magic of Oobleck
If you’re looking for a truly unique slime experience, cornstarch and water are your go-to ingredients. This magical combination creates oobleck – a substance that defies expectations. When poured gently, it behaves like a liquid, but when pressure is applied, it transforms into a solid. It’s like having two slimes in one. However, be prepared for a messier experience compared to glue-based slime.
Toothpaste and Salt: Surprising Sliminess at Your Fingertips
Who knew that toothpaste and salt could create slime? This unexpected duo brings toothpaste’s sodium lauryl sulfate to life, giving it a slimy consistency when mixed with salt. By adjusting the quantities of both ingredients, you can experiment with different textures – from slimy to stretchy. Keep in mind that toothpaste and salt slime might not have the same longevity as traditional glue-based slime.
Glue-based Slime: The Classic Stretchy Sensation
Ah, the classic recipe. Traditional glue-based slime has stood the test of time for good reason. It’s stretchy, squishy, and oh-so-satisfying to play with. With the right activator (such as borax or contact lens solution), you can achieve the perfect texture every time. Glue-based slime is known for its durability and long-lasting playability – perfect for endless hours of entertainment.
Benefits and Limitations:
Each method has its own advantages and drawbacks. Cornstarch and water create a unique texture that offers a mesmerizing sensory experience, but it can be messier to work with. Toothpaste and salt slime, on the other hand, are easier to handle, but they may not have the same stretchiness as glue-based slime. Traditional glue-based slime offers durability and longevity but requires an activator. By comparing these results, you can choose the method that aligns with your preferences.
Tips and Tricks:
Enhance your slime-making experience by adding a burst of color with food coloring or a sprinkle of sparkle with glitter. Experiment with different ratios of ingredients to achieve specific textures – the possibilities are endless. And don’t forget to store your slime in an airtight container to keep it fresh and pliable for future playtime.
Experimentation and Adjustments
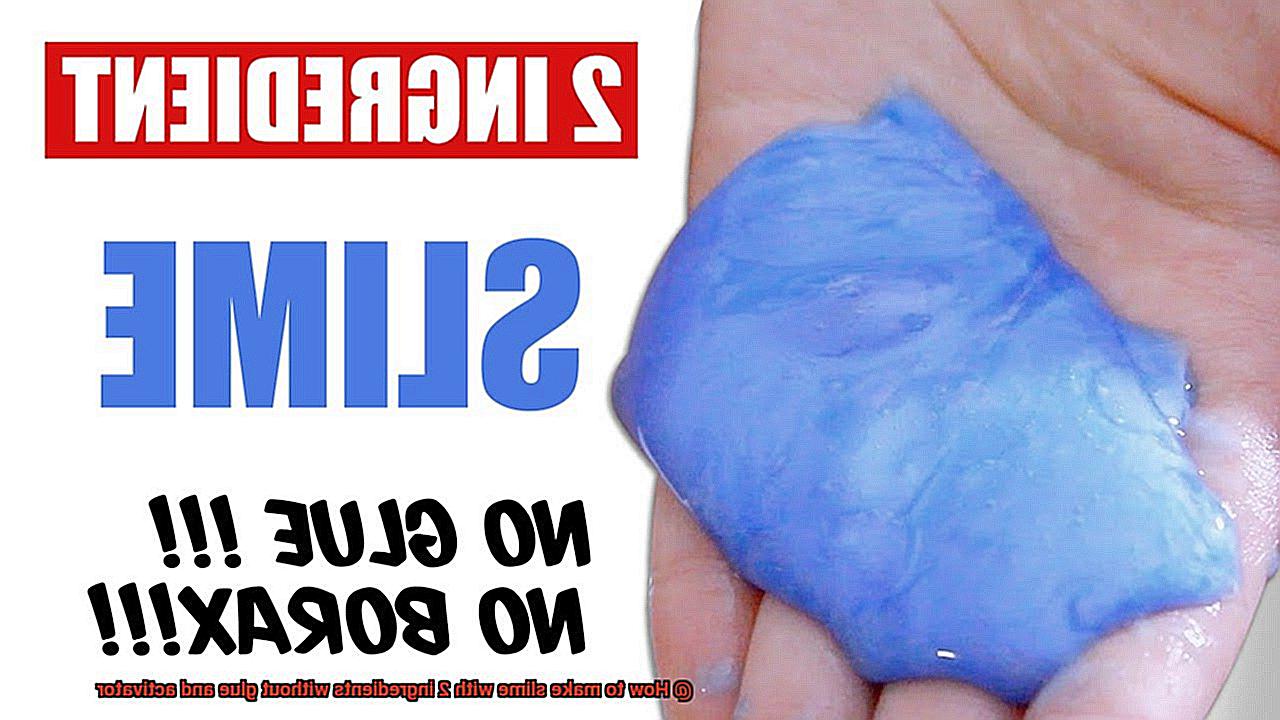
Today, we’ll embark on a thrilling adventure of making slime without glue or activators. Yes, you heard it right – no glue or activators required. So put on your lab coats and prepare for a wild and slimy ride.
Before we delve into the secrets of achieving that perfect consistency and texture, let’s talk about our trusty ingredients. One of the shining stars of this show is none other than cornstarch. This magical powder possesses the power to transform into a thick and gooey texture when mixed with water. It’s like science meets sorcery.
To begin your slime-making journey, mix equal parts cornstarch and water in a bowl. Stir it vigorously until it forms a thick paste-like mixture. But what if it’s too runny? Fear not, my friend. Simply add more cornstarch bit by bit until you reach that dreamy consistency. On the flip side, if your slime is as stiff as a board, add small increments of water until it becomes more pliable.
But hold on tight because we’re not done yet. There’s another versatile ingredient that can work wonders in slime-making – toothpaste. Who knew this humble bathroom staple had such hidden talents? Start by squeezing a small amount of toothpaste into a bowl and gradually add water while stirring continuously. Keep adjusting the amounts of toothpaste and water until you achieve that slimy texture you’ve been dreaming of.
But wait, there’s more. Liquid laundry detergent, shampoo, or even body wash can also be used to create that oh-so-satisfying slime. Mix a small amount of liquid laundry detergent with water until it transforms into a slimy masterpiece. And don’t be afraid to experiment with different ratios – this is all about finding your own unique recipe.
As you embark on your slime-making adventure, pay close attention to the changes in texture and consistency. Remember, the amount of each ingredient used will directly affect the final result. So don’t be afraid to add more of one ingredient or reduce the amount of another to achieve that desired outcome.
Experimentation is key in the world of slime-making without glue or activators. So unleash your inner scientist, try out different combinations and ratios, and let your creativity run wild. And most importantly, have fun with the process and enjoy the satisfaction of creating your very own slime using just two ingredients.
Storage Tips
Congratulations on successfully creating your own slime using only two ingredients, without glue or activator. Now, it’s time to learn how to properly store your squishy creation to keep it slimy and ready for playtime whenever you want. In this guide, we’ll share the ultimate storage tips that will maintain the texture of your slime and prevent it from drying out. Let’s dive in.
Container Selection:
To keep your slime safe and sound, choose an airtight container like a mason jar or a plastic container with a tight-fitting lid. Make sure the container is clean and free from any residue or leftover slime from previous adventures. This will ensure that your slime stays fresh and ready for action.
Temperature Considerations:
Slime is like a delicate creature that doesn’t appreciate extreme temperatures. Avoid leaving it in direct sunlight or exposing it to heat or cold for prolonged periods. Find a cozy spot at room temperature for your slime’s slumber, away from heaters or chilly windowsills. This way, it will maintain its perfect consistency and be ready for a squishy good time whenever you need it.
Say No to Air Exposure:
Air is the enemy when it comes to storing slime. It can dry out your precious creation faster than you can say “slime-tastic.” After each play session, seal your container tightly to prevent air from sneaking in and drying out the slime. For extra protection, cover the slime with cling film or plastic wrap before closing the lid securely.
Revive the Dryness:
Did your slime start feeling a bit dry over time? No worries. You can revive its squishiness by adding a few drops of water or a tiny amount of lotion. Gently knead it until it regains its desired consistency. But be cautious not to add too much moisture, or it might become sticky. A little bit of love and moisture will bring your slime back to life.
Separate Storage:
If you’re the adventurous type who loves experimenting with different colors or types of slime, it’s best to store them separately. Mixing slimes together can create a gooey mess and change their textures. So, give each slime its own cozy container, and they’ll happily coexist without any unexpected surprises.
Label Your Slime Friends:
Imagine having a collection of different slimes but not knowing which is which. To avoid this confusion, label your slime containers with the type of slime and the date it was made. This way, you’ll always know which one is ready for playtime and which may need a little refreshment.
Safety Precautions
Slime-making has taken the world by storm, captivating both kids and adults with its gooey allure. However, before you dive into this slimy adventure, it is crucial to prioritize safety to ensure a worry-free experience. In this comprehensive guide, we will explore essential safety precautions to take when making slime, with a particular focus on using glue as an ingredient.
Adult Supervision:
Embark on your slime-making journey under the watchful eye of an adult. Though the process may seem simple, certain ingredients can pose risks if mishandled. With an adult present, potential hazards are minimized, ensuring prompt action in case of any accidents.
Proper Ventilation:
Embrace your slimy creativity in a well-ventilated area to steer clear of inhaling any potentially harmful fumes emitted by the ingredients. Open windows or employ fans to circulate fresh air, keeping your breathing zone free from any unwanted odors.
Protective Gear:
Donning gloves and an apron can be a game-changer when it comes to protecting yourself from direct contact with the ingredients. Some individuals may have sensitivities or allergies, so taking precautions like these can effectively minimize any potential adverse reactions.
Choosing Safe Ingredients:
Opt for safe and non-toxic ingredients that won’t compromise your health or safety during slime-making adventures. Steer clear of household cleaning products, harsh chemicals, or mysterious substances that may cause skin irritation or other health issues. Stick to ingredients specifically designed for slime-making—labeled safe for children—ensuring a worry-free experience.
Skin Protection:
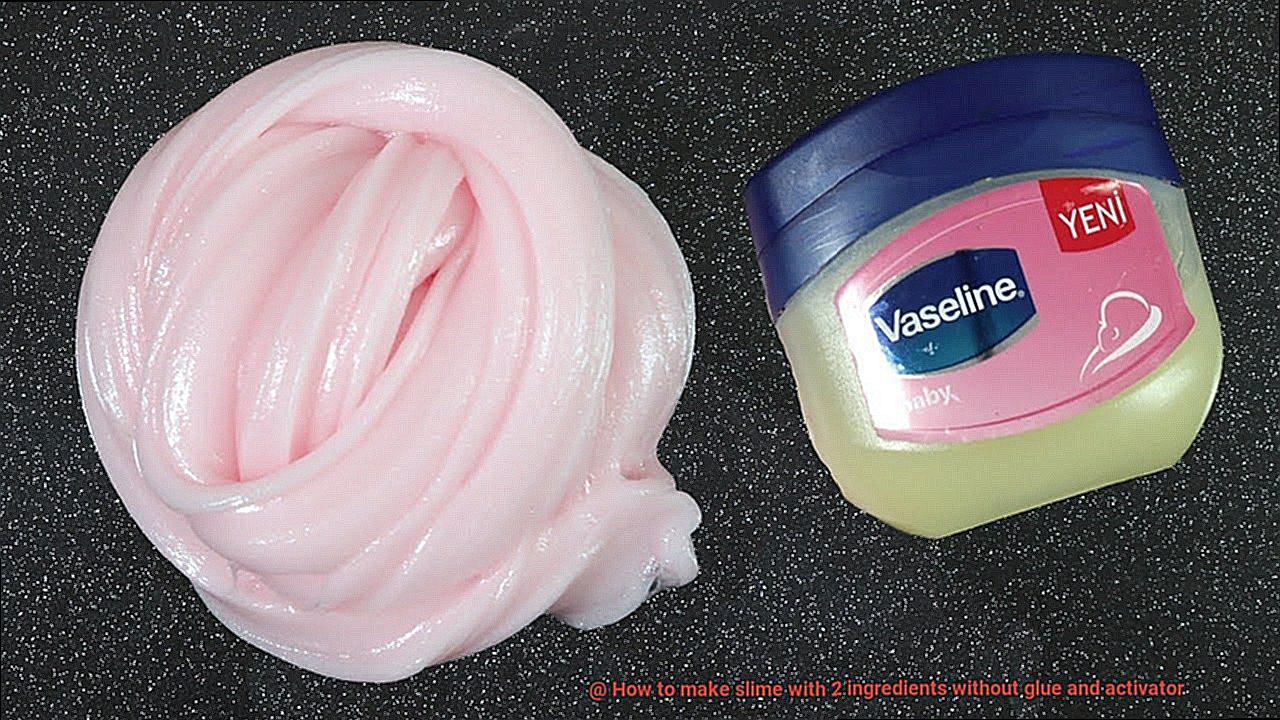
Before you embark on your slimy escapade, ensure your hands are thoroughly cleaned and dried to prevent any contamination. For those with sensitive skin, applying a thin layer of lotion or petroleum jelly creates a protective barrier between the slime and your skin, thwarting any potential irritation.
Hygiene Practices:
Maintaining impeccable hygiene throughout the slime-making process is paramount. Wash your hands before and after handling the ingredients, as well as any utensils or containers used. This meticulous attention to cleanliness minimizes the risk of transferring bacteria or other contaminants into your precious slime.
Storage and Disposal:
When the slimy fun comes to an end, store your creation in an airtight container, preventing it from drying out or falling victim to contamination. Remember to consult local regulations for proper disposal methods, as some slimes may require specific guidelines due to their unique ingredients.
Creative Additions and Variations
Get ready to embark on an enchanting and slimy adventure as we delve into the realm of creative additions and vibrant variations that will transform your basic slime recipe into a masterpiece. From explosive colors to mesmerizing textures, sparkling glitters, delightful scents, and even magical effects, prepare to take your slime game to new heights.
Bursting with Color:
Let’s kick off our slimy journey with an explosion of vivid hues. Immerse yourself in a kaleidoscope of possibilities by adding a few drops of food coloring, liquid watercolors, or acrylic paints to create slimes that are eye-catching and vibrant. Remember, a little goes a long way, so start with small amounts and gradually build up until you achieve the perfect shade.
Sparkle and Shine:
Who can resist the allure of shimmering sparkles? Elevate your slime creation with the addition of dazzling glitters. Choose from a mesmerizing array of colors and sizes to add that extra touch of pizzazz. But remember, moderation is key; too much glitter may compromise the texture of your slime.
Texture Exploration:
Craving a sensory adventure? Dive into a world of intriguing textures by incorporating foam balls into your slime. These delightful additions offer a satisfying crunch that will take your slime experience to the next level. Alternatively, experiment with small beads or sequins for a unique tactile sensation that will captivate your senses.
Aromatherapy Delights:
Why stop at visual and tactile sensations when you can indulge in aromatic bliss? Infuse your slime with delightful scents by adding a few drops of essential oils or extracts. Immerse yourself in relaxation with lavender, invigorate your senses with peppermint, or indulge in a burst of sweetness with bubblegum. The choice is yours to create a multisensory masterpiece.
Enchanting Wonders:
Prepare to be spellbound. Unleash your inner magician by incorporating enchanting effects into your slime. Glow-in-the-dark powder or UV-reactive pigments will transform your slime into a mesmerizing creation that captivates everyone around you. Imagine the awe and wonder as your slime glows and dances in the darkness, leaving all who witness it spellbound.
Conclusion
Creating slime with only two ingredients and without the need for glue or activator is not only fun, but also a great way to get creative and explore different textures.