Puzzles are more than just a way to pass the time; they’re a captivating fusion of challenge and artistic brilliance. But once you’ve conquered that final piece, a new question emerges: how can we safeguard our hard work and ensure its longevity? Enter the age-old debate of gluing puzzles. Puzzle enthusiasts everywhere ponder, “How many coats of glue should I apply?” Striking the perfect balance between too much and too little glue is key to preserving the puzzle’s integrity.
In this blog post, we’ll unravel the mysteries of applying glue coats, uncovering the optimal number that not only protects our masterpiece but also allows us to proudly display it for years to come.
Factors to Consider When Applying Glue
Contents
Completing a puzzle is a gratifying experience, and preserving it for display or future enjoyment requires careful consideration. Applying glue to secure the puzzle is a crucial step in ensuring its longevity. But how can you ensure the right amount of glue is applied? Let’s explore the essential factors to consider when applying glue to a puzzle.
Puzzle Material:
The material of the puzzle serves as the foundation for determining the number of coats required. Cardboard puzzles benefit from at least two coats to strengthen the puzzle and prevent separation over time. Wooden or plastic puzzles, on the other hand, may need only one coat for adequate adhesion.
Glue Type:
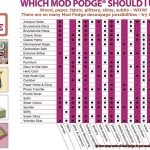
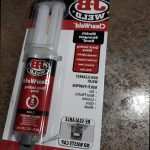
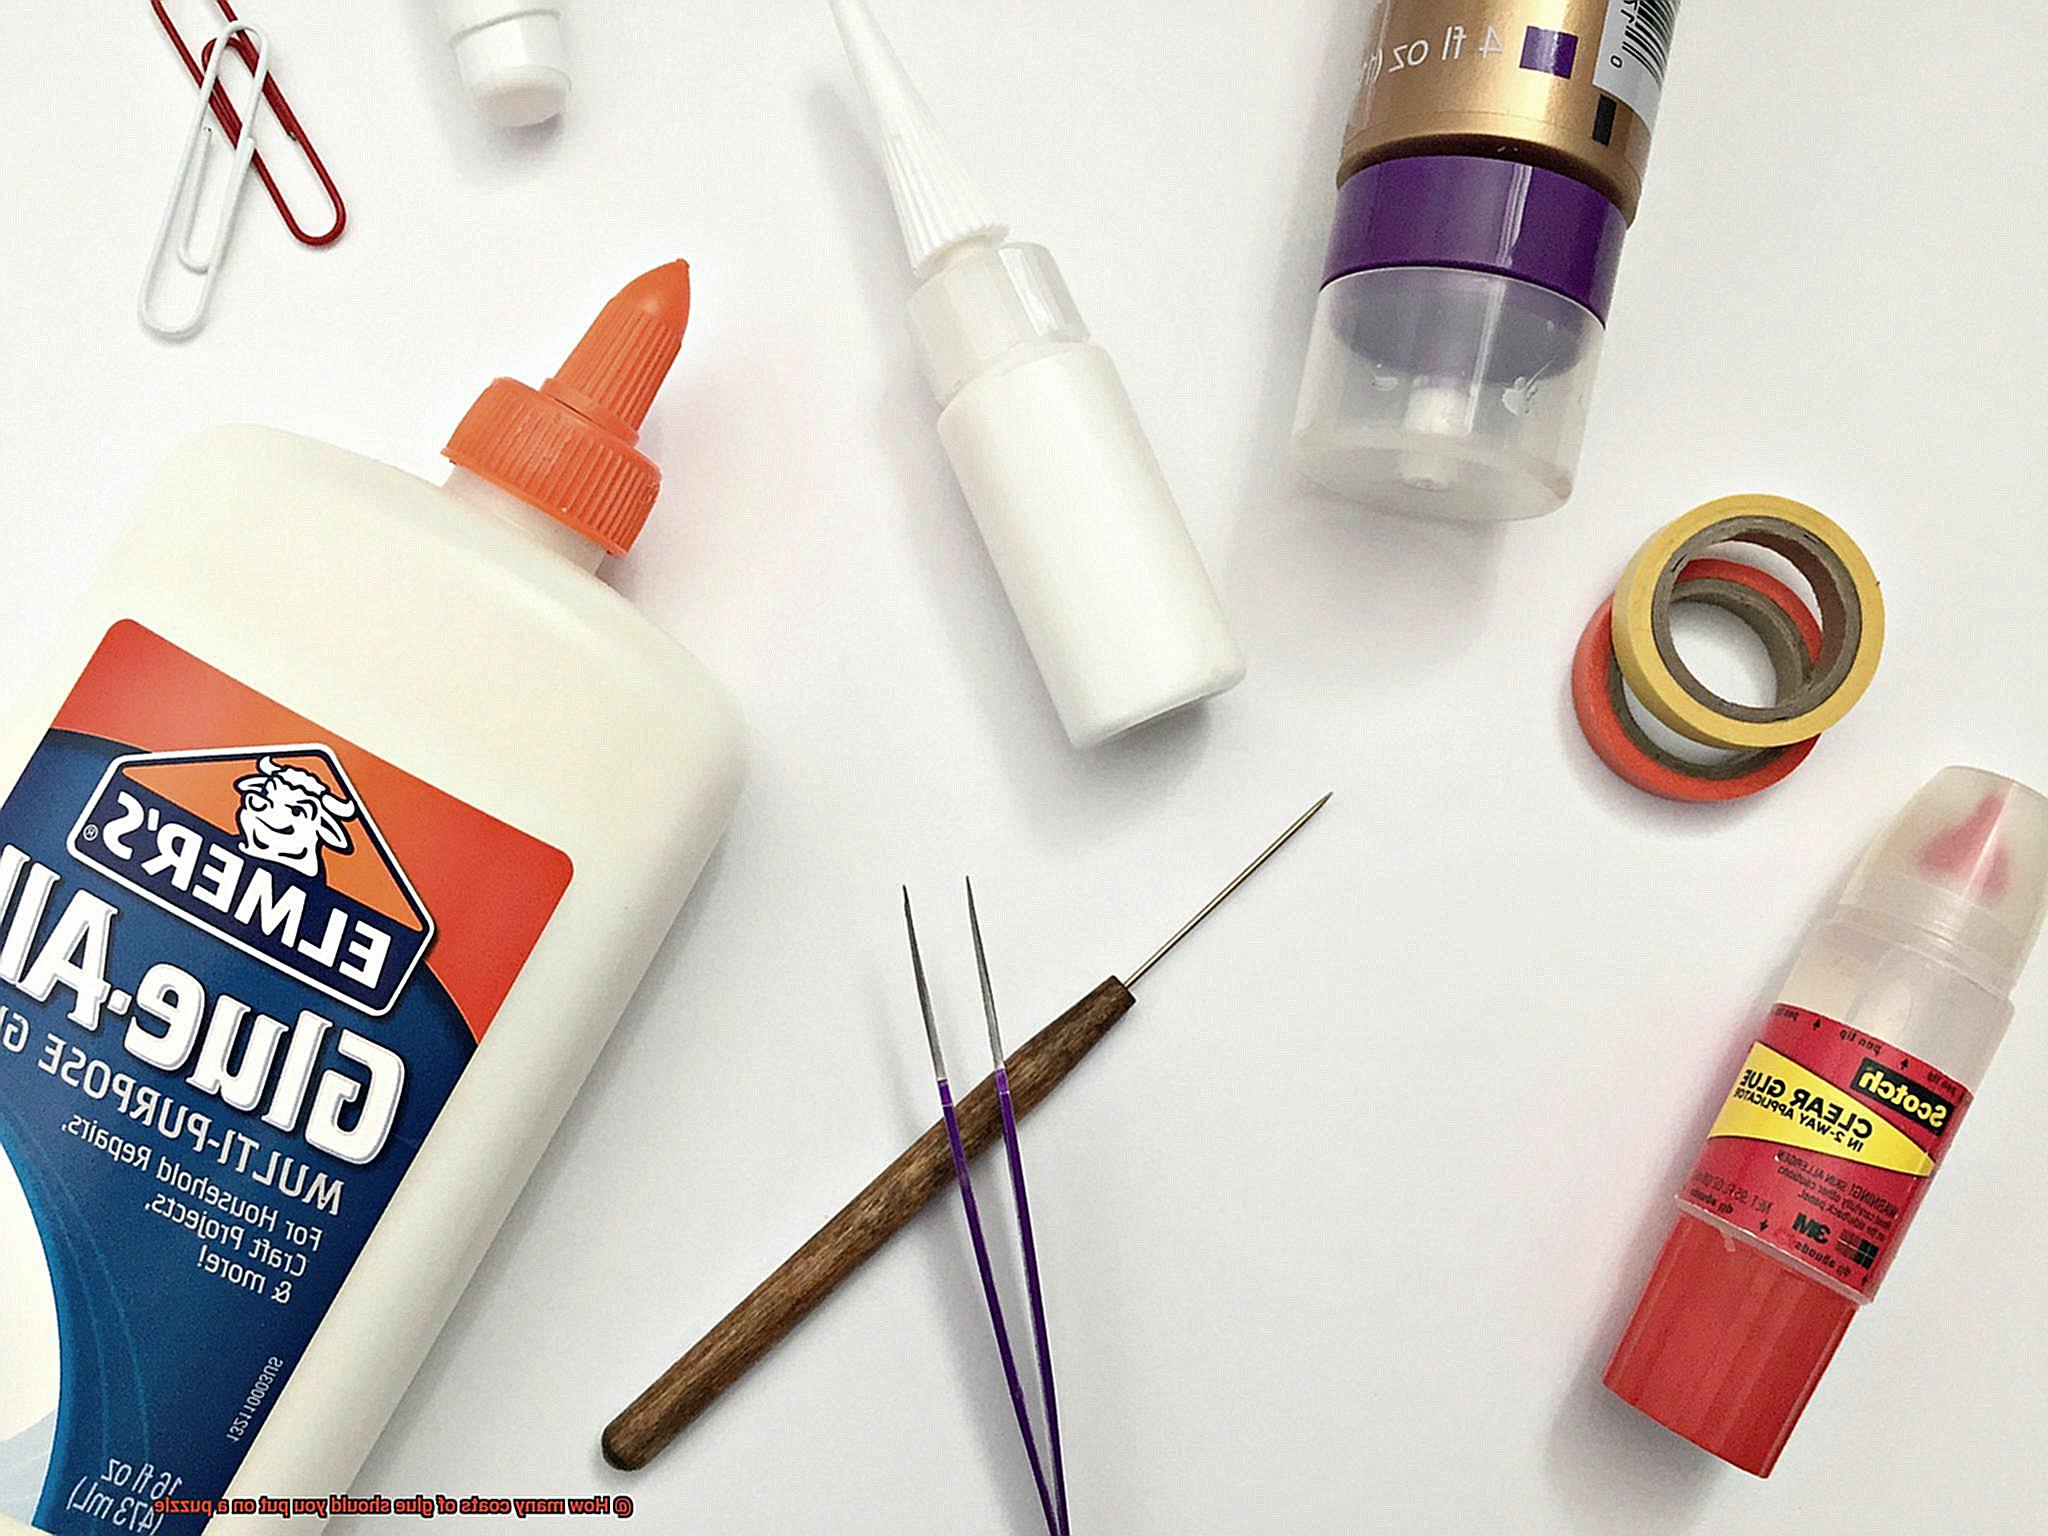
Choosing the right glue is paramount for successful adhesion. Puzzle conserver, mod podge, and white craft glue are popular options. Puzzle conserver provides a strong hold without damaging the puzzle’s surface. Mod podge is versatile and can be used for various crafting projects, including puzzles. White craft glue is accessible and dries clear. Different glues may require varying numbers of coats, so always follow the manufacturer’s instructions.
Application Method:
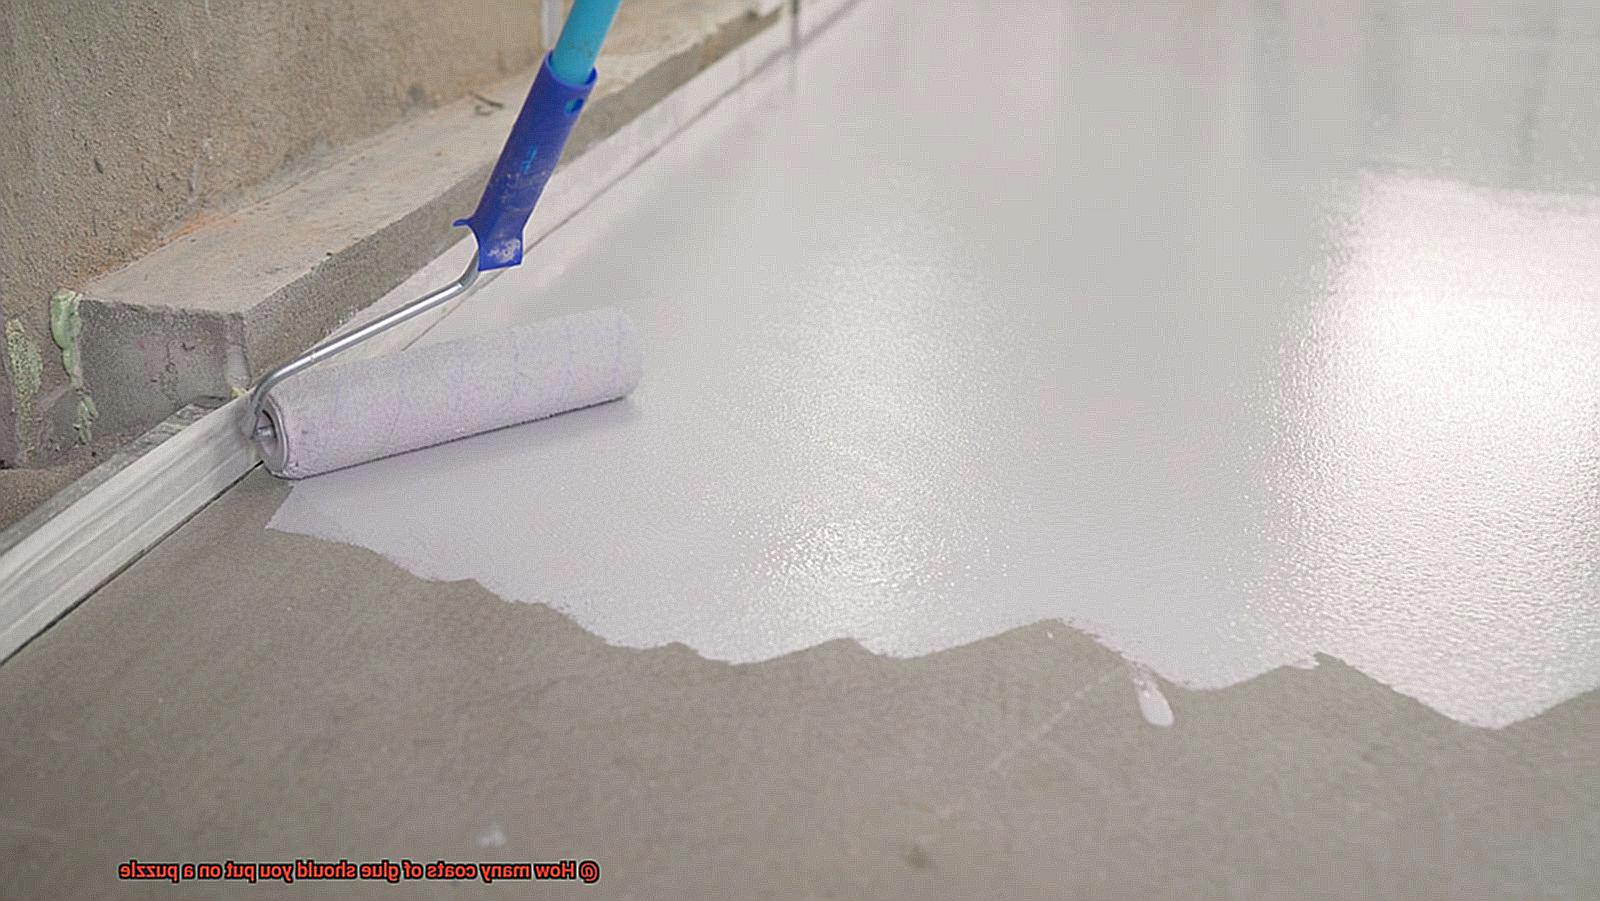
Applying a thin layer of glue evenly across the puzzle’s surface using a foam brush or sponge applicator is recommended. Allow the first coat to dry completely before assessing whether additional coats are necessary. Inspect the puzzle carefully to identify any loose areas that require extra sealing and apply additional coats selectively.
Puzzle Size:
The size of the puzzle affects its stability and durability. Larger puzzles with more pieces may require additional coats for added strength, preventing damage during handling or display.
Intended Use:
Consider your plans for displaying or using the puzzle. If framing and hanging on a wall, a few coats of glue should suffice. However, if the puzzle will be frequently handled or exposed to dust or humidity, additional coats may be necessary for enhanced protection.
The Ideal Number of Coats for Most Puzzles
Preserving a completed puzzle is like safeguarding a treasure, and applying the right amount of glue is crucial to its longevity. In this article, we will delve into the ideal number of coats for most puzzles, taking into account various factors such as puzzle type, piece size, and desired durability. So, let’s embark on a journey through the world of puzzle preservation.
Choosing the Right Glue:
To begin with, it’s important to select the right type of glue for your puzzle. Puzzle-specific glues are recommended as they are formulated to dry clear and provide a strong bond without damaging the puzzle. These glues typically require two coats for optimal results. However, if you’re using regular craft glue or Mod Podge, additional coats may be needed as they tend to dry thinner and may not provide as strong of a hold.
Factors to Consider:
The ideal number of coats for most puzzles depends on several factors. Let’s explore them:
- Puzzle Type: For standard jigsaw puzzles with cardboard pieces, two coats are usually sufficient. Applying a thin, even layer of glue to the front side of the puzzle helps hold the pieces together and prevent shifting or coming loose. Wooden or plastic puzzles may only require one coat due to their sturdier construction.
- Piece Size: Larger puzzle pieces may require fewer coats since they provide more surface area for the glue to adhere to. Smaller puzzle pieces may benefit from an extra coat to ensure a secure bond.
Drying Time:
After the first coat has dried completely (usually around 24 hours), a second coat can be applied to the backside of the puzzle. This reinforces the puzzle and provides additional stability. It’s crucial to allow each coat of glue to dry completely before applying another layer. Rushing the drying process can result in a tacky or sticky surface that attracts dust and debris.
Avoid Over-Gluing:
While it may be tempting to add extra coats of glue for added durability, too many coats can have negative consequences. Excessive glue can seep in between puzzle pieces, making them stick together permanently and making it difficult to dismantle or reassemble the puzzle in the future. Additionally, too much glue can cause warping or buckling of the puzzle board, especially if it is made of cardboard.
Testing and Quality Control:
It’s always a good idea to test a small area or spare puzzle piece with the chosen glue before applying it to the entire puzzle. This ensures that the glue adheres well and does not cause any unwanted effects. Following the recommended guidelines and using high-quality puzzle glues will help achieve the desired results.
Using Multiple Coats of Glue
Using multiple coats of glue can be a great way to ensure an effective and long-lasting bond for various projects. Whether you’re working on crafts, woodworking, or repairing broken items, multiple coats of glue can provide added strength and durability.
One of the main advantages of using multiple coats of glue is that it allows for a stronger bond between the surfaces being joined. Each coat of glue adds another layer of adhesive material, increasing the surface area of contact and creating a more secure connection. This can be particularly beneficial when working with porous materials or surfaces that have irregularities or gaps.
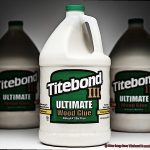
To achieve the best results when using multiple coats of glue, it’s important to follow some best practices. First, choose the right type of glue for your project. Different glues have different properties and are suitable for specific materials. For example, wood glue is ideal for woodworking projects, while fabric glue is better suited for textiles.

When applying each coat of glue, make sure to apply a thin and even layer. This helps to ensure proper coverage and prevents excess glue from seeping out and creating a messy finish. Use a brush or applicator with a flat edge to spread the glue evenly over the surface.
Allow each coat of glue to dry completely before applying the next one. The drying time will vary depending on the type of glue used, so it’s important to refer to the manufacturer’s instructions for guidance. Rushing the process and applying the next coat too soon can compromise the bond and result in a weaker connection.
It’s worth noting that using multiple coats of glue may not be necessary or suitable for all projects. Some materials or surfaces may not require additional layers of adhesive, while others may benefit from alternative bonding methods such as clamping or mechanical fasteners.
Ensuring Each Layer Has Dried Completely
If you want to guarantee that each layer of glue on your puzzle has dried completely, then look no further. In this blog post, we will guide you through the necessary steps to achieve a flawless and enduring finish that will exceed your expectations.
Step 1: Read the instructions carefully
Before delving into the gluing process, take a moment to peruse the instructions on the glue bottle. Different adhesives have distinct drying times and specifications, so it is vital to acquaint yourself with the specific guidelines for your chosen glue.
Step 2: Exercise the virtue of patience
Once you have artfully applied the initial layer of glue to your puzzle, it is time to flex your patience muscles. Allow ample time for this layer to dry completely before proceeding to the next coat. Typically, it is advised to wait at least 24 hours, but bear in mind that variables like temperature and humidity can influence drying times.
Step 3: Hands off.
As irresistible as it may be to touch or relocate your puzzle during the drying process, resist the urge. Any disruption can impede drying and potentially harm your precious puzzle pieces. Find a secure and undisturbed spot where your puzzle can bask in its drying glory.
Step 4: Confronting humidity head-on
If you reside in a particularly humid environment, you may need to extend the drying time to ensure thorough drying of each layer. Humidity has a knack for decelerating the process, so be mindful of this factor when planning intervals between coats.
Step 5: Embrace thinness
When applying subsequent layers of glue, remember that thinness is en vogue. Thick layers tend to dry more slowly and can leave you with a sticky finish. By applying thin, uniform coats of glue, you increase the likelihood of proper drying and achieve that velvety and resilient finish you desire.
Step 6: Conduct a moisture check
Before advancing to the next layer of glue, take a moment to scrutinize the puzzle’s surface. Be on the lookout for any glistening areas or patches that feel damp to the touch. These telltale signs indicate incomplete drying of the previous layer, signaling the need for further patience before adding another coat.
Using Specialized Puzzle Glue or Mod Podge
You’ve completed a stunning puzzle masterpiece, and now you’re looking for ways to preserve it for years to come. Don’t fret, fellow puzzle enthusiasts. In this article, we will explore the world of specialized puzzle glue and Mod Podge, focusing on the importance of applying the correct number of coats to ensure your puzzle remains intact and beautiful.
Read the Instructions:
To start off on the right foot, carefully read the instructions provided with your chosen adhesive. Each product may have specific recommendations regarding the number of coats required for optimal results.
Flex Your Patience Muscles:
Preserving your puzzle is a labor of love that requires patience. Rushing through the process can lead to uneven coverage or even damage to your hard-earned creation. Take your time and enjoy the journey.
Resist the Urge to Touch or Relocate:
Once you’ve applied your first coat, resist the temptation to touch or move your puzzle around. Disturbing it during the drying process can cause pieces to shift or become damaged. Let gravity and time work their magic.
Confronting Humidity Head-On:
Humidity can be a puzzle’s worst enemy during the drying process. It is crucial to work in a well-ventilated area with controlled humidity levels. If necessary, use a dehumidifier or fan to aid in drying.
Embrace Thinness in Glue Application:
When adding each coat of glue, remember that less is more. Applying a thin, even layer ensures optimal coverage without altering the appearance of your puzzle or making it difficult to frame.
Conduct a Moisture Check:
Before adding subsequent coats, make sure each layer has dried completely. A simple moisture check can be done by lightly touching an inconspicuous area. If it feels dry to the touch, you’re good to go.

Personal Preference and Additional Coatings
In this blog post, we will delve into the fascinating world of puzzle gluing and explore the advantages of using multiple coats of glue. Whether you desire a strong and durable finish or a subtle touch that maintains the puzzle’s original appearance, we have all the answers. So, let’s embark on this puzzle gluing journey together.
The Sturdy Shield: Building a Robust Puzzle Finish
- Optimal protection is achieved by applying two to three coats of glue.
- The first coat acts as a base layer, expertly sealing the puzzle pieces together.
- Additional layers reinforce the puzzle’s integrity, providing long-lasting defense against damage.
- Each coat adds stability and resistance against handling and environmental factors, ensuring your masterpiece remains intact.
Preserving the Puzzle’s Beauty: The Subtle Approach
- For those who prefer to maintain the puzzle’s original appearance, a single coat is ideal.
- A thin layer of adhesive securely holds the puzzle pieces together without compromising its visual appeal.
- This approach avoids excessive thickness that may alter the puzzle’s unique texture.
Beyond Protection: Additional Benefits of Multiple Coats
- Puzzles in high-traffic areas or frequently handled benefit from extra layers of glue.
- Additional coatings act as a barrier against wear and tear, guaranteeing a presentation that lasts.
- Multiple coats enhance durability in humid or temperature-fluctuating environments, preventing warping or distortion.
Also Read: How To Glue Plywood Together?
Conclusion
In conclusion, the number of coats you should apply to your puzzle depends on a variety of factors. The type of puzzle material, the glue you use, the size of the puzzle, how you plan to use it, and your personal preference all play a role in determining the ideal number of coats.
For most puzzles, two coats of puzzle-specific glue are recommended for optimal results. This ensures that the puzzle pieces are securely held together and won’t shift or come loose over time. However, if you’re using regular craft glue or Mod Podge, you may need to apply additional coats as these tend to dry thinner and may not provide as strong of a hold.
When applying the glue, it’s crucial to do so evenly and thinly across the surface of the puzzle. A foam brush or sponge applicator works best for achieving this smooth application. Remember to let each coat dry completely before adding another layer. Don’t rush this process. If you do, you might end up with a tacky or sticky surface that attracts unwanted dust and debris.
While multiple coats can enhance strength and durability, be careful not to over-glue. Too much glue can lead to pieces sticking together permanently or even warping the puzzle board itself. Finding the right balance between protection and preserving the puzzle’s beauty is key.
By considering these factors and following best practices, you can ensure that your completed puzzle remains intact and stunning for years to come.