Are you tired of your boring nail polish routine? Do you want to add some pizzazz to your nails without spending a fortune? Look no further. Fake nails are the perfect solution to spice up your style. But, gluing them on can be a tricky process that requires patience and precision. Don’t worry, because this blog post has got you covered with all the insider tips and tricks on how to glue on fake nails like a pro.
We’ll cover everything from choosing the right glue to prepping your nails before application, as well as the steps needed to apply fake nails flawlessly and make them last longer. With our help, you’ll be a pro in no time.
From acrylics to press-ons, there are many types of fake nails available. However, each type requires a different approach when it comes to gluing them on. That’s why we’re here to guide you through each type so that you can make an informed decision about which one is best for you.
Get ready to wow your friends with salon-quality nails that you’ve mastered from the comfort of your own home. So grab your fake nails and glue – it’s time to get started.
What You Need To Glue On Fake Nails
Contents
Get ready to achieve a salon-worthy manicure in the comfort of your own home by gluing on fake nails. However, before you get started, it’s crucial to have all the necessary items on hand. Here’s a list of what you need:
Firstly, make sure your natural nails are clean and dry. Use a nail file to shape them into your desired shape, and then choose the right size of fake nails for each finger. Getting the right fit is key so that the fake nails don’t look out of place.
Now, let’s dive into the items you require:
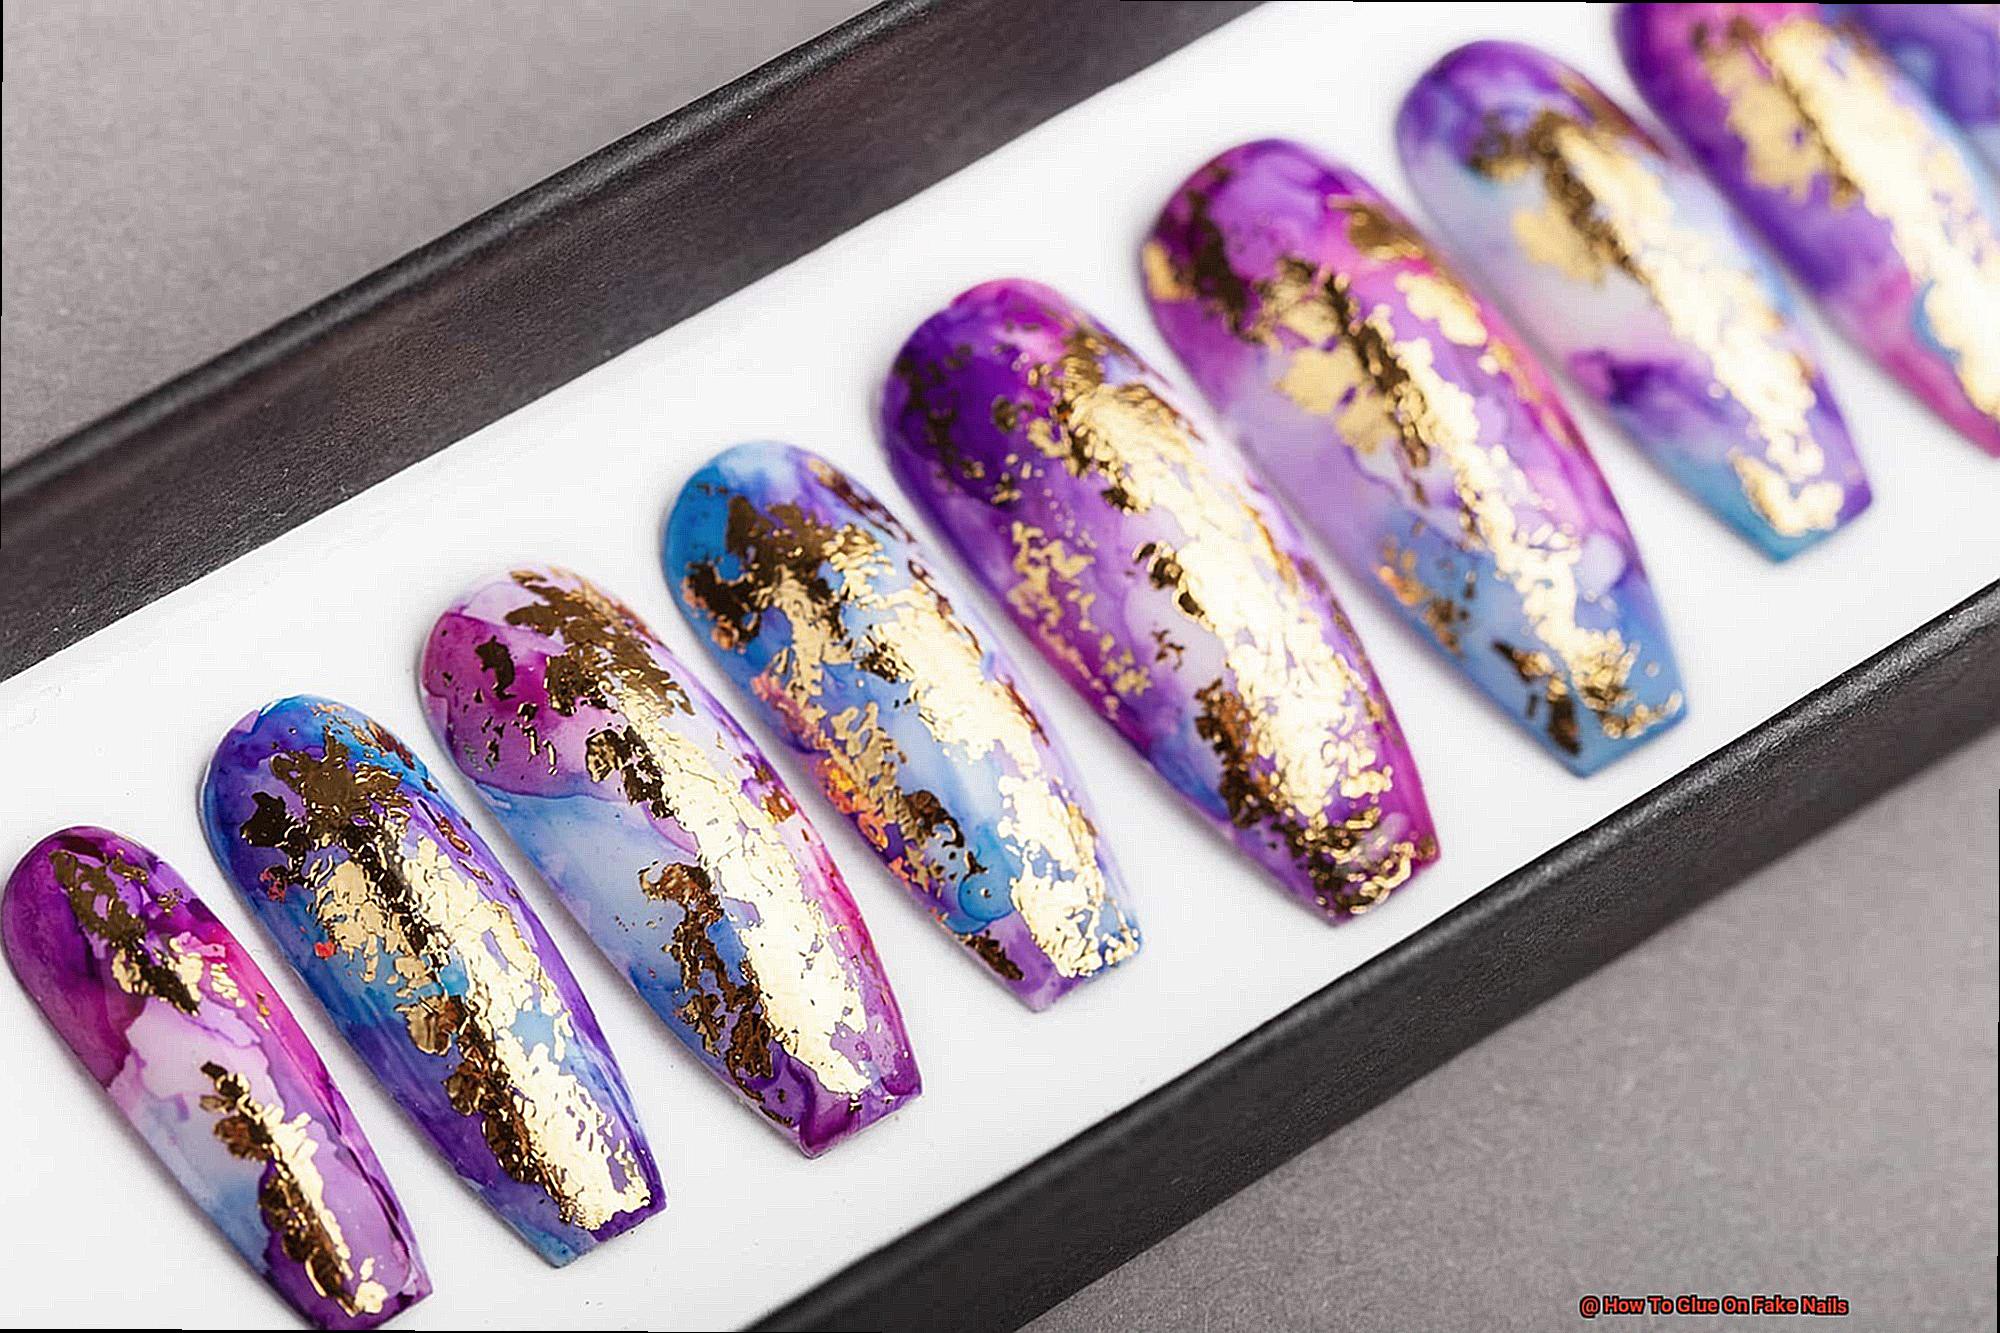
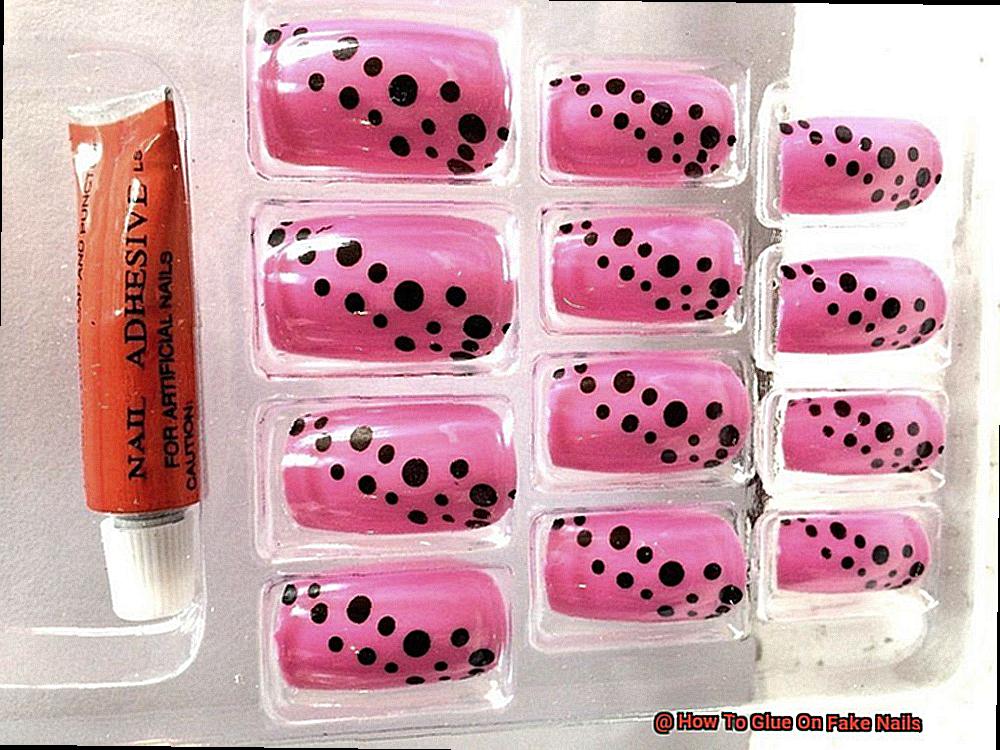
- Fake nails: You can opt for acrylics, gels, or press-ons – there’s an option for everyone’s preference and skill level.
- Nail glue: This is undoubtedly the most essential item required for gluing on fake nails. Choose a strong and long-lasting glue for the best results.
- Nail file: Before applying fake nails, ensure your natural nails are filed down and free from rough edges.
- Cuticle pusher: Pushing back cuticles creates a clean surface ideal for glueing on fake nails.
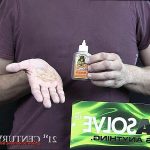
- Nail polish remover: It’s essential to remove any old nail polish from your natural nails before applying fake ones.
- Cotton swabs or pads: These are useful in cleaning up any excess glue around the fake nails.
- Nail clippers: You may need to trim the fake nails to fit your natural nail size and shape.
- Nail buffer: After applying fake nails, use a nail buffer to smooth out bumps or uneven surfaces.
With all these items on hand, you can easily glue on fake nails at home and achieve long-lasting results. Remember to take your time, be patient, and follow instructions carefully for a professional-looking finish.
Preparing Your Natural Nails for Fake Nails
Before you dive into applying them, it’s crucial to prepare your natural nails properly. This essential step will guarantee a seamless and long-lasting application, giving you the perfect manicure you’ve been dreaming of.
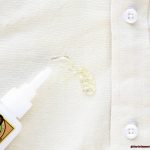
To start, remove any old nail polish or residue from your nails with a gentle nail polish remover. This ensures that the glue adheres correctly to your natural nails, creating a strong bond.
Next, trim your nails to your desired length and shape them with a nail file. Avoid filing aggressively as it can weaken your nails and cause breakage. Instead, use light pressure and file in one direction from the outer edge to the center of the nail.
After filing, use a cuticle pusher to gently push back your cuticles. This creates a larger surface area for the glue to adhere to and prevents air pockets from forming between your natural and artificial nails.
Once you’ve pushed back your cuticles, wash your hands thoroughly with soap and water to remove any debris or oils from your nails. Ensure that your hands are completely dry before proceeding with the glue application.
For an even better result, consider lightly buffing the surface of your nails with a buffer block. This creates a rough texture that helps the glue stick better, ensuring that your new fake nails stay put for as long as possible.
By following these simple steps, you’ll achieve stunning salon-worthy nails at home. Remember, taking time to prepare your natural nails is crucial for flawless and long-lasting results.
Choosing the Right Size of Fake Nails
Adding some extra glamour and style to your look with fake nails is a great idea. However, choosing the right size is crucial for a flawless and comfortable application.
To begin with, measuring your nail beds accurately before purchasing fake nails is essential. You can use a measuring tape or a ruler to measure the width of your natural nails.
Once you have the measurements, compare them to the sizes available in the fake nail kit.
Here’s an expert tip: it’s always better to go for a slightly smaller size than a larger one. A larger size may cause discomfort, and the fake nails may pop off easily. Don’t worry if you’re not sure which size to choose as most fake nail kits come with a variety of sizes. You can always try a few different sizes until you find the perfect fit.
Remember, choosing the right size is crucial for achieving a natural and comfortable look. So, keep in mind another factor while selecting the size of your fake nails – your lifestyle.
If you have an active lifestyle or work with your hands frequently, it’s recommended to opt for shorter nail lengths and avoid extremely long ones. Though longer fake nails may look beautiful, they can be impractical and may cause inconvenience during daily activities.
Applying the Glue to the Fake Nails
Applying them is a simple task, but the key to success is in the details. We’ve got you covered with the steps on applying glue to fake nails.
First and foremost, ensure that your natural nails and the fake nails are clean and dry. Any oils, lotions, or dirt can interfere with the adhesive’s ability to bond with the fake nails. Take a moment to wash your hands and let them dry completely.
Next, apply a small drop of glue to the center of the fake nail. Avoid using too much glue as it can cause the nail to lift or become lumpy. A little goes a long way when it comes to securing your fake nails.
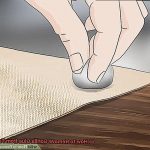
Now, carefully place the fake nail onto your natural nail, starting at the base of your nail bed and pressing down firmly. Hold the nail in place for around ten seconds, allowing the glue to dry and bond with your natural nail.
Repeat this process for each fake nail, ensuring that you apply enough glue to secure each one in place without using too much. Patience is vital in this process; take your time and ensure that each nail is secure before moving on to the next one.
Pressing the Fake Nail into Place
Achieving stunning and long-lasting manicures in the comfort of your own home has never been easier. One of the essential steps in this process is pressing the fake nail into place. Don’t worry; it’s a simple process that requires attention to detail and a steady hand.
First, ensure that your natural nails are clean and ready for application. After applying a small drop of glue to the center of the fake nail, carefully align it with your natural nail’s base to avoid any gaps or unevenness.
Now comes the fun part – pressing the fake nail into place. Gently press down on the nail and hold it firmly for a few seconds to allow the glue to dry and set. Be careful not to press too hard, as this can cause the glue to spread out and create a mess.
Once you’ve pressed the nail into place, use a cuticle stick or other tool to gently push back your cuticles and ensure that there are no air bubbles trapped underneath the fake nail.
This will help to ensure a smooth and even finish, leaving you with flawless and long-lasting manicures that look just like the real thing.
Finishing Touches with a File and Topcoat
But before you show off your beautifully long nails, let’s talk about the importance of finishing touches with a file and topcoat.
In section 7 of “How To Glue On Fake Nails,” we will discuss how to achieve that perfect, polished look. Filing your fake nails is crucial for achieving a smooth and even edge. A nail file is a tool that helps shape and smooth out the edges of your nails while removing any rough spots or bumps. By filing your nails in one direction, from the corner towards the center, and avoiding applying too much pressure, you can achieve a natural and flawless look.
Applying a topcoat is the final step in achieving a professional look for your fake nails. A topcoat is a clear polish that provides an extra layer of protection for your nails while giving them a glossy finish. By applying a thin layer over each nail, you can ensure that your manicure lasts longer and looks stunning.
DmYL70HeZg0″ >
Conclusion
In conclusion, gluing on fake nails can be a game-changer for your beauty routine. Not only is it an affordable way to elevate your look, but it’s also a fun activity that you can do from the comfort of your own home. With the right preparation and technique, you’ll be able to achieve stunning nails that are sure to turn heads.
When it comes to applying fake nails, choosing the right size and shape is key. Make sure to prep your natural nails properly by cleaning them and pushing back cuticles before applying glue. And speaking of glue, applying it flawlessly is crucial for a long-lasting hold. Remember to press down firmly for a few seconds after placing each nail.
But don’t just stop there. The finishing touches are what will really make your manicure stand out. File your nails in one direction for a smooth shape, and apply a topcoat for extra protection and shine.
There’s no need to feel intimidated by gluing on fake nails – whether you prefer acrylics, gels or press-ons, there’s an option for every skill level. So grab your favorite set of fake nails and let your creativity run wild.