Are you in a sticky situation with Gorilla Glue on your wall? Maybe you were trying to renovate, or perhaps your kids got a little too creative with their poster-hanging methods. Regardless of the reason, if you’re reading this article, you’re probably looking for a quick and easy solution to remove that stubborn glue from your wall.
Gorilla Glue is known for its strong hold, but it can be a real headache to remove once it dries on a surface. It’s frustrating to see an unsightly patch of glue on your painted walls or wallpaper, but don’t fret. In this article, we’ll explore the best ways to remove Gorilla Glue from your wall without causing any damage.
You’ll discover how household items like vinegar, baking soda and warm water can work wonders in removing Gorilla Glue. We’ll also discuss commercial products like acetone and sandpaper that can help take care of those pesky glue stains. Plus, we’ll share some tips and tricks to make the process easier and more effective.
So if you want to learn How to Remove Gorilla Glue from Wall, keep reading. You’ll soon be able to say goodbye to that unwanted adhesive mess on your walls.
What is Gorilla Glue?
Contents
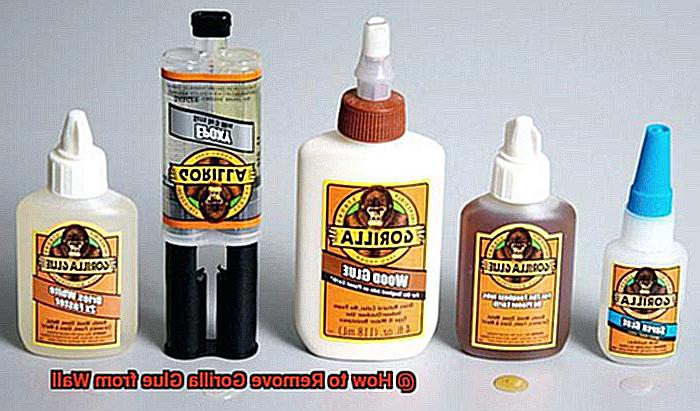
Look no further than Gorilla Glue. Introduced in 1999, this polyurethane-based adhesive has quickly become a go-to for professionals and DIY enthusiasts alike.
One of the standout features of Gorilla Glue is its water-activated formula. When it comes into contact with moisture, it expands and forms an incredibly strong bond that can withstand a significant amount of weight and pressure. This makes it ideal for bonding a wide variety of surfaces, including wood, metal, ceramic, and stone.

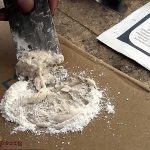
However, removing Gorilla Glue from a wall can be a challenge, especially if it has dried completely. Unlike other adhesives, Gorilla Glue does not dry; instead, it cures through a chemical reaction with moisture. This means that simply scraping or sanding the glue off the wall may not be enough and could potentially damage the surface underneath.
Thankfully, there are several methods you can try to remove Gorilla Glue from your walls effectively. One option is to use heat. By using a hairdryer or heat gun to warm up the glue and soften it, you can then use a scraper or putty knife to carefully remove the glue from the wall without damaging the surface underneath.
Another option is to use acetone, which is commonly used to remove adhesives. However, it’s important to note that acetone can also damage paint and other surfaces, so use caution when using this method. Apply a small amount of acetone onto a cloth and gently rub the affected area before wiping it away with a clean cloth.
If these methods don’t work, don’t worry. You can also try using sandpaper or steel wool to remove stubborn glue residue. While more time-consuming, this method can be effective in removing tough glue stains without causing any damage to the wall’s surface.
In conclusion, Gorilla Glue is a powerful adhesive that can bond to various surfaces with incredible strength and durability. While removing it from your walls can be challenging, the methods mentioned above can help you successfully remove it without causing any damage to the surface underneath.
How to Remove Gorilla Glue from Wall
Fear not, we’re here to help. Removing Gorilla Glue from a wall can seem like a daunting task, but with the right tools and techniques, it’s possible to tackle the problem effectively without damaging your wall. In this post, we’ll explore five subtopics to help you remove Gorilla Glue from your wall like a pro.
PAINTED WALLS
Let’s start with painted walls. The key here is to use a gentle touch. A razor blade or scraper can be used to scrape away at the glue. If that doesn’t work, using solvents like acetone or rubbing alcohol can dissolve the glue, making it easier to wipe away. But be careful not to scratch or damage the paint.
TEXTURED OR WALLPAPERED WALLS
Next up, we have textured or wallpapered walls. Scraping may not be an option here as it could cause damage. Instead, try using a heat gun or hair dryer to soften the glue before wiping it away gently with a cloth or sponge. It’s important to use low heat and avoid holding the heat source in one spot for too long, as this can cause damage to the wall.
UNFINISHED WALLS
For unfinished walls like drywall or plaster, you’ll need to approach the problem differently. Begin by using a plastic scraper or putty knife to remove as much of the glue as possible. Then, soak a cloth in warm water and apply it to the remaining glue. After a few minutes, gently scrape away at the softened glue.
CREVICES OR CRACKS
In some cases, Gorilla Glue may seep into small crevices or cracks in your wall. To tackle this type of glue, use a toothbrush or other small brush to work the glue out of the cracks. You may also want to consider using a solvent-based adhesive remover, but test it on an inconspicuous area first to ensure it doesn’t cause damage or discoloration.
PREVENTION
Finally, prevention is key when it comes to Gorilla Glue mishaps on your walls. Use Gorilla Glue sparingly and wipe away any excess immediately with a damp cloth. If you do accidentally get some on the wall, try to remove it as soon as possible before it dries and becomes more difficult to remove.
Heat Method
Fear not, for the heat method is here to save the day. As an expert in removing Gorilla Glue, let me guide you through this effective and easy-to-use method.
First things first, plug in your trusty hairdryer and set it to high heat. Hold it about an inch away from the glued area and move it back and forth over the glue for a few minutes. As the glue heats up, it will start to soften and loosen from the wall.
Once the glue has softened, it’s time to get scraping. Use a scraper or putty knife to gently remove the glue from the wall. Remember not to apply too much pressure as you scrape, as this can damage the wall surface. If the glue is being especially stubborn, don’t worry – just repeat the heating process a few times until all of it is gone.
It’s important to note that this method should only be used on surfaces that can tolerate heat, such as metal or glass. If your surface is painted or delicate, it’s best to use a different method that won’t cause any damage.
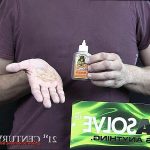
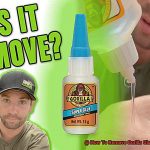
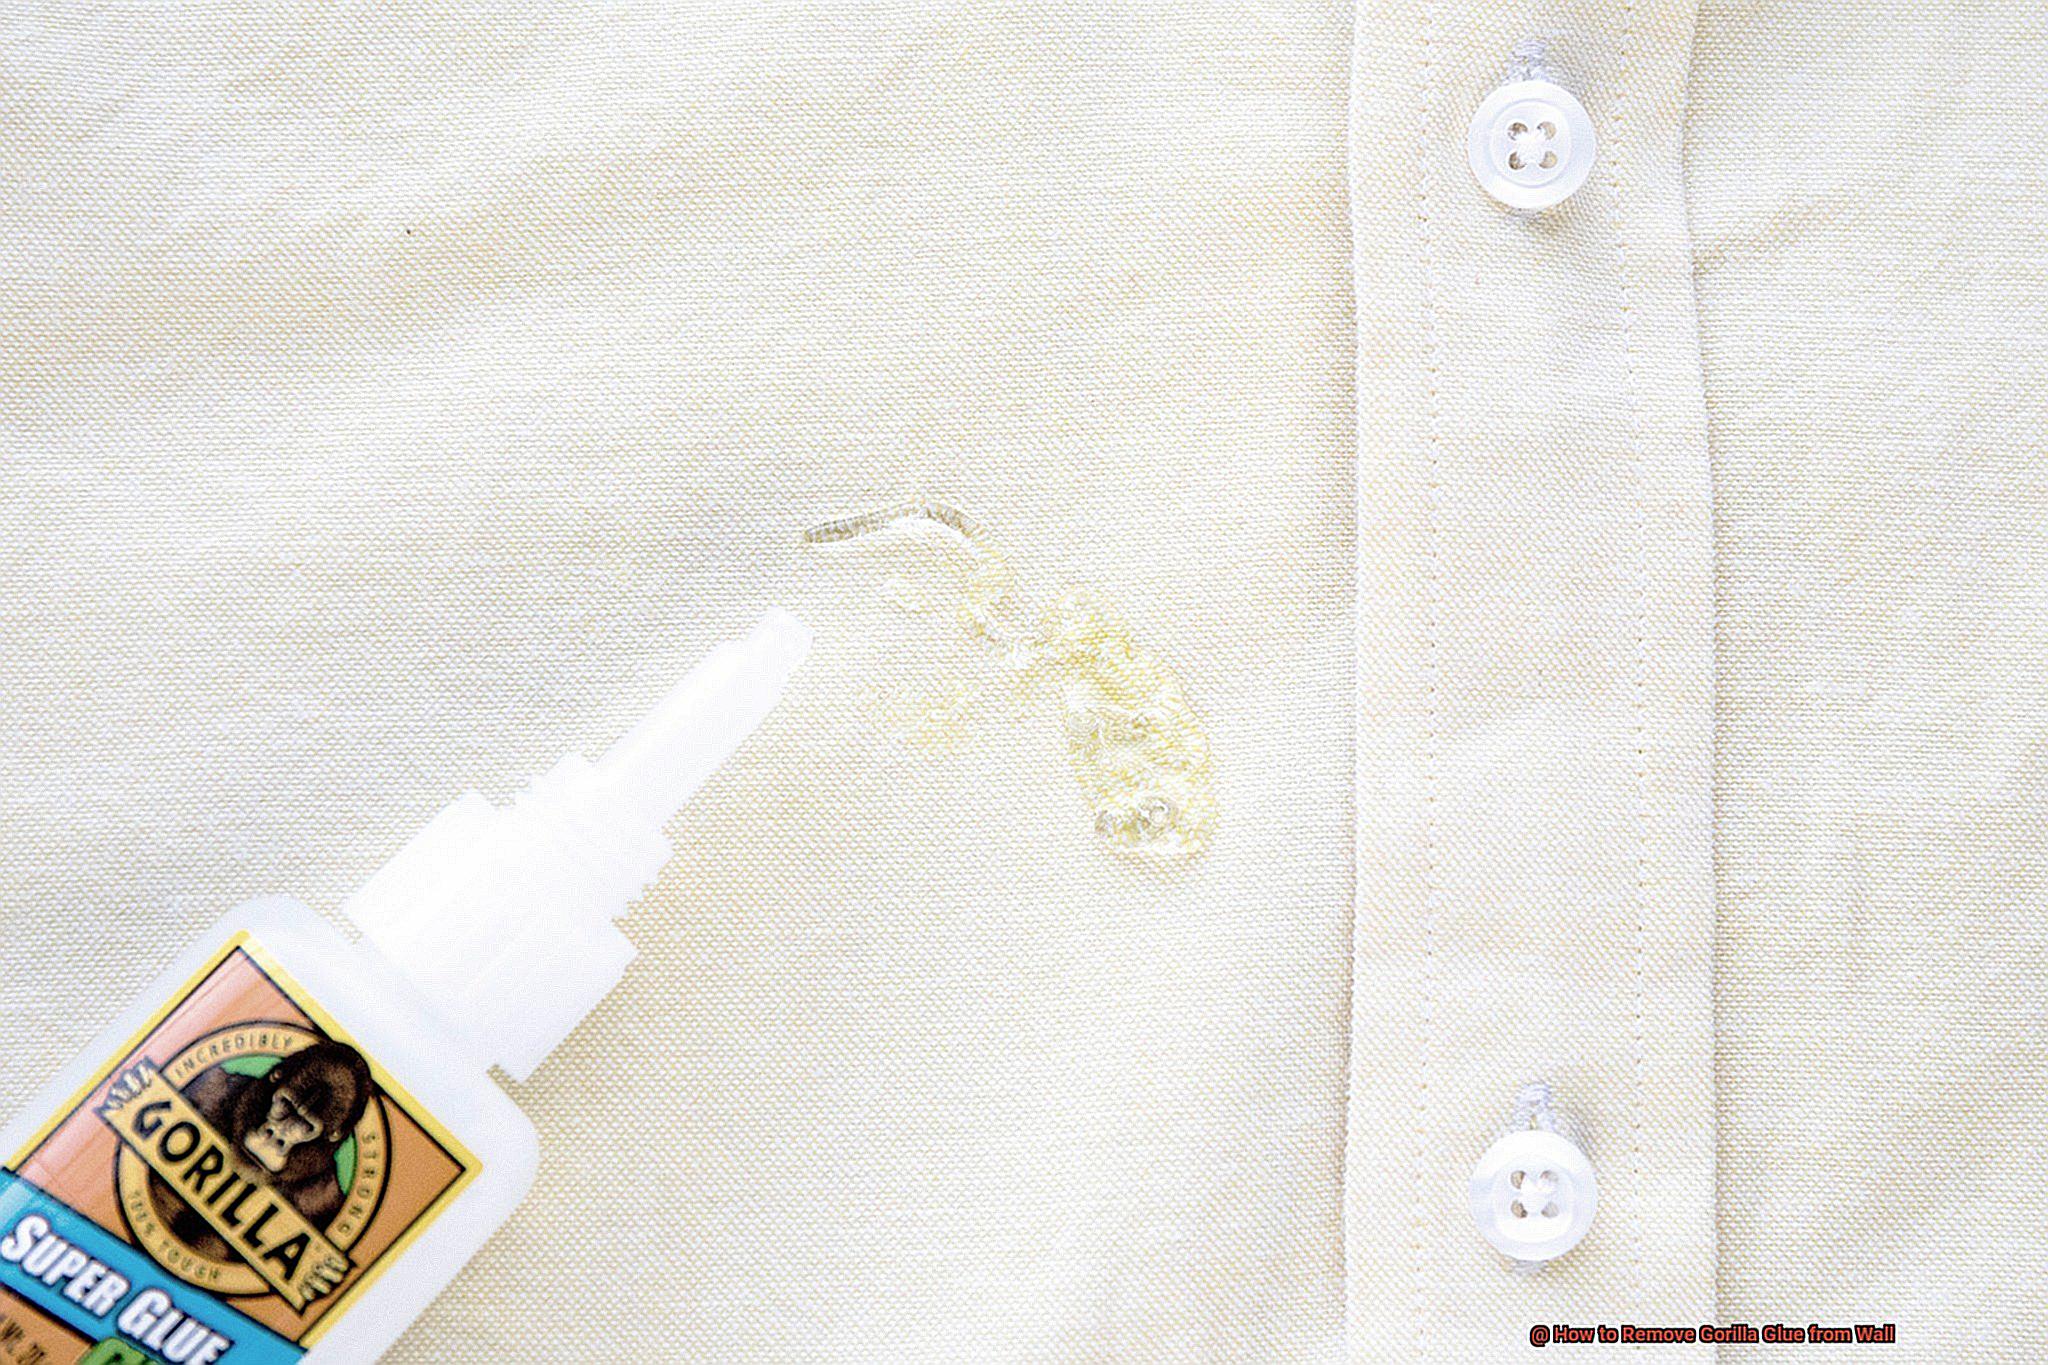
Acetone Method
Look no further than the Acetone method, one of the most popular ways to remove this stubborn adhesive from surfaces. But before you begin, it’s important to remember that acetone is a highly flammable and volatile substance, so it’s crucial to take proper safety precautions and handle it with care.
To get started, gather all the necessary supplies, including acetone, gloves, protective eyewear, a soft cloth or sponge, and make sure you’re in a well-ventilated area. Put on your gloves and protective eyewear and open up the windows or turn on a fan to ensure there’s plenty of fresh air circulating in the room.
Next, soak the soft cloth or sponge in acetone and gently dab it onto the Gorilla Glue on the wall. Remember not to rub too hard as this can damage the surface underneath or spread the glue around even more. Keep applying more acetone as needed and give it time to dissolve.
Once the Gorilla Glue has been softened by the acetone, use a scraping tool like a plastic scraper or putty knife to gently lift off the glue from the wall. Be careful not to apply too much pressure as this can cause damage. If there are any stubborn bits of glue left behind, repeat the process until all of it has been removed.
Finally, clean up any remaining residue with warm soapy water and a clean cloth. Rinse thoroughly with water and allow your wall to dry completely before painting or wallpapering again.
When using the Acetone method, remember to take proper safety precautions and handle this volatile substance with care. With these helpful tips and techniques, you can successfully remove Gorilla Glue from your walls without causing any damage.
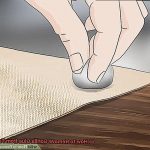
Sandpaper or Steel Wool Method
The sandpaper or steel wool method can come to your rescue. As a seasoned expert on this method, let’s dive into the steps to get your wall looking good as new.
First, assess the surface type you’re dealing with. If it’s smooth, sandpaper is your best bet. If it’s rougher, steel wool is the way to go. Choose the appropriate grit of sandpaper too – a higher number indicates a finer texture while a lower number indicates a coarser texture.
Next, dampen the affected area with warm water to soften the glue. Then, gently rub the affected area in a circular motion using either sandpaper or steel wool until the glue starts to loosen and come off. Don’t apply too much pressure or use a coarse grit sandpaper, as this could damage the wall surface.
Once the glue has been removed, clean the area with soap and water or a mild cleaning solution thoroughly to ensure no residue is left behind. Keep in mind that although this method may require some elbow grease and patience, it can be an effective way to remove Gorilla Glue from your wall.
Tips and Precautions
We understand how frustrating it can be. However, before jumping into the removal process, it is critical to follow some essential tips and precautions to avoid any mishaps.
Protect Yourself
First and foremost, protect yourself by wearing gloves and safety goggles. Gorilla Glue is a potent adhesive that can cause skin irritation or allergic reactions. So, it’s better to be safe than sorry.
Test on a Small Area
Before applying any chemical or solvent remover to the entire wall, test it on a small, inconspicuous area first. This will help you determine if the remover causes any damage to the wall’s surface.
Keep the Room Ventilated
While removing Gorilla Glue from walls, ensure proper ventilation in the room. Chemicals used for removing Gorilla Glue can emit strong fumes, which can be harmful if inhaled for an extended period. Therefore, open windows or use a fan to ventilate the area.
Use Plastic Scraper
Using a plastic scraper will help prevent any damage to the wall’s surface during removal. Metal scrapers can scratch or leave marks on the wall’s surface.
Follow Instructions Carefully
Always read and follow the instructions on the adhesive remover carefully. Overusing or misusing them can cause damage to your walls, paint, or wallpaper.
By following these tips and precautions, you can safely and effectively remove Gorilla Glue from your walls without causing any harm or damage.
After removing the Gorilla Glue from your wall, it is vital to clean the area thoroughly with soap and water. Any remaining chemical residue can cause further damage to your walls or paint.
Li3_SpYup18″ >
Conclusion
In conclusion, removing Gorilla Glue from your wall may seem like a daunting task, but fear not. With the right tools and techniques, you can tackle this sticky situation without damaging your precious walls. Gorilla Glue is a robust adhesive that bonds to various surfaces with incredible strength and durability. However, removing it from your walls can be challenging as it doesn’t dry; instead, it cures through a chemical reaction with moisture. This means that scraping or sanding the glue off the wall may not be enough and could potentially cause more harm than good.
Luckily, there are several methods you can try to remove Gorilla Glue from your walls effectively. You may have some household items like vinegar, baking soda, and warm water that can help you out. Alternatively, you could opt for commercial products like acetone or sandpaper or even use heat method using a hairdryer or heat gun. But remember to take precautions such as wearing gloves and safety goggles while testing solvents on small areas before applying them to the entire wall surface.
By following these tips and techniques mentioned in this article carefully, you can safely and effectively remove Gorilla Glue from your walls without causing any harm or damage.
And once you’re done cleaning up the glue residue with soap and water, make sure to give the area a thorough clean-up to avoid any remaining chemical residue that could cause further damage.