Do you have a cracked or broken ceramic item that you wish you could restore to its former glory? Whether it’s a cherished family heirloom or a favorite piece of kitchenware, gluing ceramic back together is a DIY project that anyone can tackle.
But before you dive in, it’s important to choose the right adhesive for the job. Not all glues are created equal when it comes to ceramics, so do your research and select an adhesive that’s specifically designed for this purpose. Once you have the right glue, make sure to properly prepare the surface by cleaning it thoroughly and removing any debris or oils.
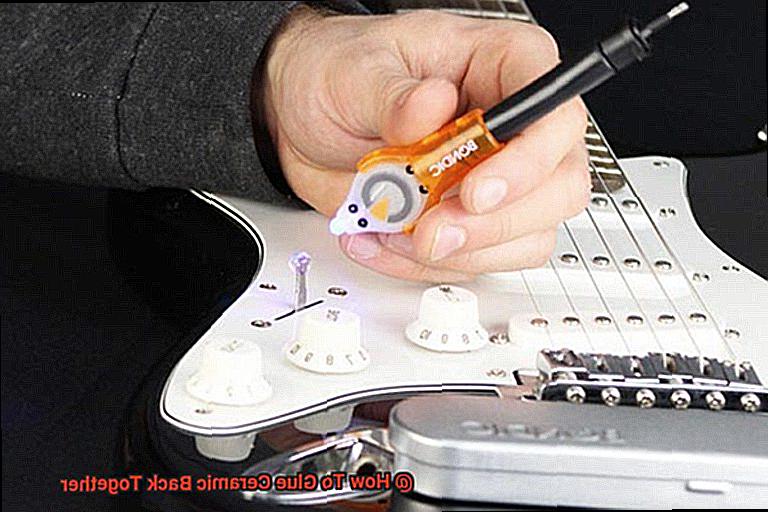
Applying the glue correctly is crucial as well. Be sure to follow the instructions carefully and give the adhesive enough time to dry completely before handling your newly repaired item.
But what if your ceramic piece is missing a chunk or has a large crack? Don’t worry – there are still options available to restore it. Specialized fillers can be used to replace missing pieces, while custom molds can be created for more complex repairs.
With some patience and attention to detail, gluing ceramic back together can transform broken pottery into a good-as-new masterpiece. So why not take on this rewarding project and bring new life to your beloved ceramic items?
What Types of Glue are Suitable for Ceramic Repairs?
Contents
- 1 What Types of Glue are Suitable for Ceramic Repairs?
- 2 Cleaning the Broken Pieces Before Gluing
- 3 Applying the Glue to the Broken Pieces
- 4 Pressing the Broken Pieces Together and Setting the Glue
- 5 Inspecting the Repair After Gluing
- 6 When is it Better to Replace an Item Rather than Repair it?
- 7 Conclusion
Repairing a broken ceramic item can be daunting, but with the right glue and a bit of patience, you can bring it back to life. However, not all glues are created equal when it comes to ceramic repairs. Each type has its unique strengths and weaknesses that you need to consider before making your choice.
Epoxy is a popular option for repairing ceramics. It’s a two-part adhesive that hardens into a durable bond, perfect for repairing chips and cracks or bonding broken pieces back together. Epoxy can be used on various surfaces such as porcelain, stoneware, and earthenware.
Cyanoacrylate, also known as super glue, dries quickly and forms a strong bond, making it ideal for small repairs like fixing hairline cracks or reattaching small pieces. However, it may not hold up well for larger repairs or heavy-duty use.
For more delicate ceramic items like figurines or decorative plates, clear drying PVA glue may be the best option. It’s water-based and dries clear, making it ideal for repairing items where the glue may be visible. However, it may not be as strong as other types of glue and may not hold up well for heavy use.
Specialized ceramic adhesives like Gorilla Glue Ceramic Bond and Devcon 2-Ton Epoxy are specifically designed for repairing ceramics. These adhesives are often heat-resistant and waterproof, making them ideal for items like mugs or vases that will be exposed to heat or moisture.
Choosing the right glue depends on the size and severity of the repair, as well as the intended use of the item once it’s repaired. Before making any major repairs, test the adhesive on a small area to ensure that it’s the right choice for the job.
Remember to clean both pieces of the broken ceramic thoroughly before applying any adhesive. Any dirt, dust, or grease can interfere with the adhesive process and weaken the bond. Once you’ve applied the glue, hold the broken pieces together firmly until the glue sets. This can take anywhere from a few seconds to several minutes, depending on the type of glue used.
However, if your item is particularly valuable or sentimental, it may be best to consult a professional restorer to ensure that the repair is done correctly. Moreover, in some cases, it may be more practical or cost-effective to replace the item entirely rather than attempting to repair it.
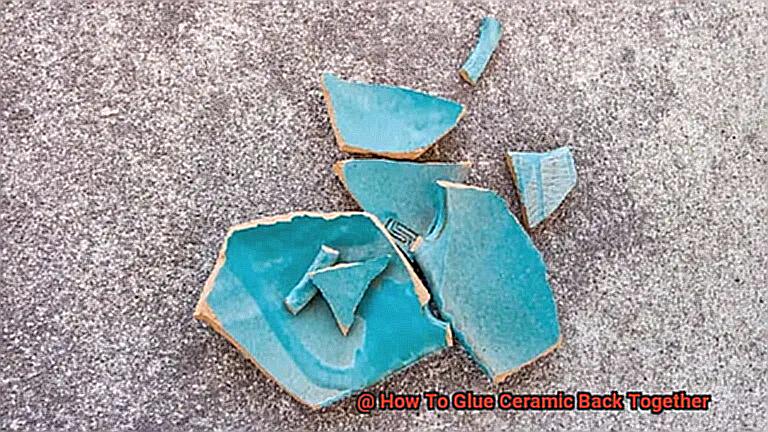
Cleaning the Broken Pieces Before Gluing
Don’t worry, with the right technique and glue, you can bring it back to life. However, before you start gluing, it’s crucial to clean the broken pieces correctly. In this article, I’ll guide you through the necessary steps for cleaning broken ceramic pieces before gluing them back together.
Cleaning the broken pieces before gluing is a crucial step in repairing ceramic items. The surface of the broken pieces needs to be free of any dirt, debris, or old glue residue to ensure that the new adhesive can bond securely. This step requires patience and attention to detail, but it is essential for a successful repair.
To begin cleaning the broken pieces, start by brushing off any loose debris or dust with a soft-bristled brush. It’s essential to remove any particles that could affect the adhesion of the glue.
Next, use rubbing alcohol and cotton swabs to clean the surface of each piece thoroughly. The alcohol will remove any dirt, oils, or old glue residue that may be present. This will ensure that the surface is clean and ready for the glue to bond securely.
If the piece has a glossy finish, sand down the area around the break with fine-grit sandpaper to create a rough surface that will allow the glue to adhere better. Be sure to wipe away any dust created by sanding before proceeding.
For pieces with intricate designs or hard-to-reach areas, use a toothbrush or small brush dipped in soapy water to gently scrub away any dirt or debris. This will ensure that even hard-to-reach areas are adequately cleaned without damaging the delicate surface.
Finally, rinse each piece with warm water and let them dry completely before proceeding with gluing. It’s crucial to allow enough time for the pieces to dry thoroughly as any moisture left on the surface can compromise the adhesive’s effectiveness.

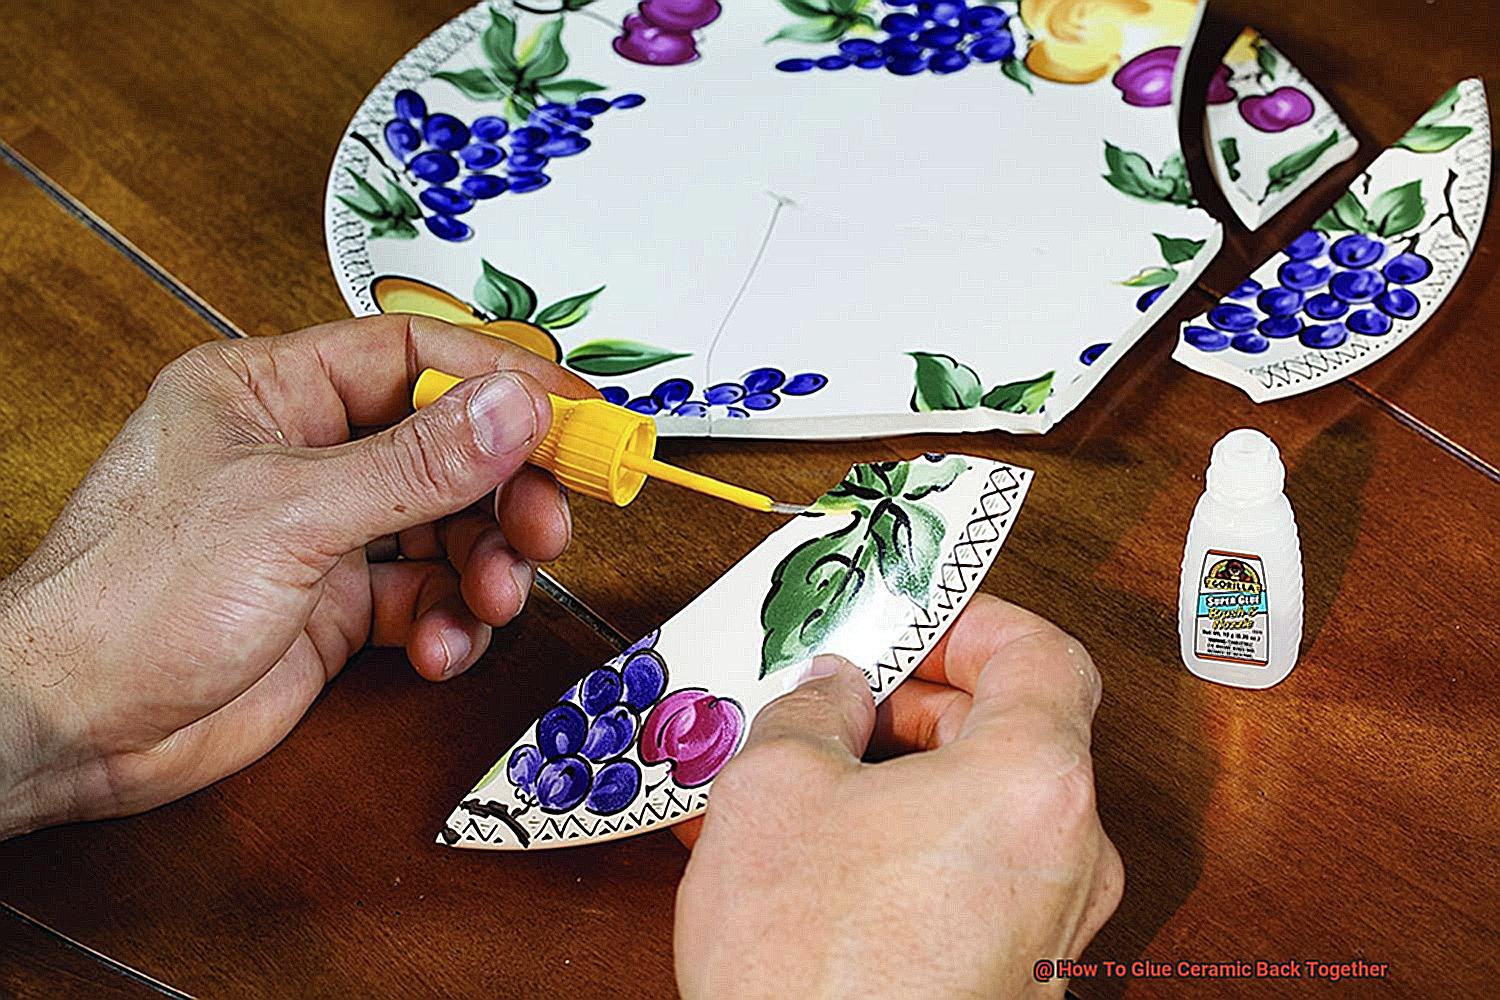
Applying the Glue to the Broken Pieces
Repairing a broken ceramic item can be a tricky process, but with the right tools and technique, you can restore it to its former glory. One of the most crucial steps in this process is applying the glue to the broken pieces. Here’s what you need to know.
To start with, it’s essential to ensure that the broken pieces are clean and free of any debris or dirt that could affect the bond. Use a soft cloth and rubbing alcohol to clean both pieces thoroughly.
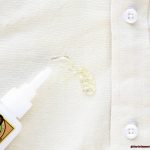
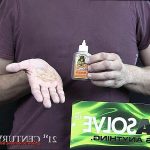
Next, apply a small amount of glue to one of the broken pieces. It’s important to use only a small amount of glue because too much can actually weaken the bond. You can use a toothpick or small brush to apply the glue evenly across the surface.
Once the glue is applied, carefully align the broken pieces and press them together firmly. Hold them in place for at least 2-3 minutes to allow the glue to set properly. If necessary, you can use masking tape to hold the pieces in place while the glue dries.
If there are any gaps between the broken pieces, you can fill them in using extra glue. However, be careful not to overdo it as too much glue can actually weaken the bond.
After the glue has dried completely, you can remove any excess using a sharp blade or sandpaper. Then, paint or decorate the item as desired.
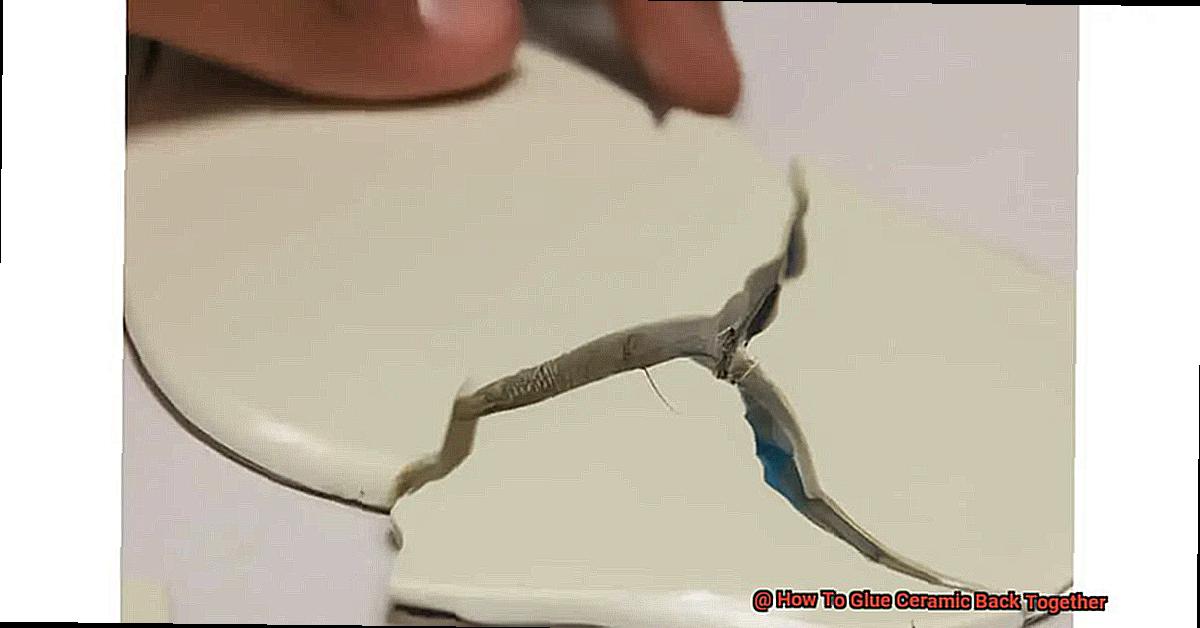
Pressing the Broken Pieces Together and Setting the Glue
Reviving a shattered ceramic item can be a daunting task, but with the right approach and techniques, you can transform it into a stunning masterpiece. Although applying glue to the broken pieces is crucial, pressing them together and setting the glue correctly is equally important. Let’s delve deeper into why this step is so crucial.
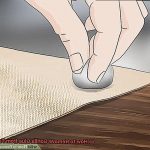
Pressing the broken pieces together is essential to ensure that they are properly aligned and that there are no gaps between them. Even the smallest gap can weaken the bond and make the item more prone to breaking again. Therefore, it’s important to hold the pieces together for a few minutes until the glue sets. This will give the glue enough time to form a strong bond and ensure that the pieces stay in place.
However, it’s crucial not to apply too much pressure when pressing the broken pieces together since this could cause the glue to squeeze out from the sides. If this occurs, it’s best to wipe away any excess glue with a damp cloth before it dries. This will help ensure that your restored item looks neat and tidy.
Once you’ve pressed the broken pieces together, it’s vital to leave them undisturbed for at least 24 hours to allow the glue to fully cure. During this time, it’s essential not to move or handle the ceramic as this could cause the pieces to shift and result in a weaker bond. By giving the glue enough time to cure, you’ll be able to restore your item to its former glory and enjoy it for years to come.
It’s worth noting that different types of glue may require longer curing times or different application techniques. So make sure you follow the manufacturer’s instructions carefully. Additionally, some types of ceramics may require specialized glues that are specifically formulated for their unique properties. Therefore, choosing the right type of glue for your project is just as critical as pressing the broken pieces together and setting the glue correctly.
In conclusion, pressing the broken pieces together and setting the glue correctly is a critical step in reviving a shattered ceramic item. By following these tips, you’ll be able to restore your item to its former glory and enjoy it for many years to come.
Inspecting the Repair After Gluing
You have successfully glued your shattered ceramic item back together, but the journey isn’t over yet. The next step is to inspect the repair thoroughly to ensure it’s done correctly. Inspecting the repair after gluing is an essential step that guarantees your item is restored to its former glory, and we’re here to guide you through the process.
To start, run your fingers over the glued area to check for any visible cracks or gaps. This tactile examination can detect any irregularities that may not be seen by the naked eye. If you feel any bumps or unevenness, it means that the glue hasn’t properly adhered to the ceramic, and you’ll need to reapply it.
Next, use a magnifying glass or flashlight to examine the area closely. This will help you detect any imperfections that may be too small to notice with your naked eye. Glue can sometimes dry in unexpected ways, so this step ensures that every corner of the repair is secure.
Once you’re satisfied with the repair, remove any excess glue that may have seeped out of the joint using a damp cloth or cotton swab. Leaving excess glue can affect the appearance of the repair and may make it more difficult to clean, so it’s essential to remove it before it dries.
Finally, allow enough time for the repair to dry completely before handling the ceramic piece. The drying time will depend on the type of glue used and the temperature and humidity of your environment. It’s vital to follow the manufacturer’s instructions on drying time and handling recommendations to avoid any mishaps.
Inspecting the repair after gluing is crucial in ensuring that the ceramic piece has been properly fixed. Checking for visible cracks or gaps, removing excess glue, and allowing enough time for drying are all crucial elements of this process. By following these steps, you can guarantee a successful repair that will last for years to come.
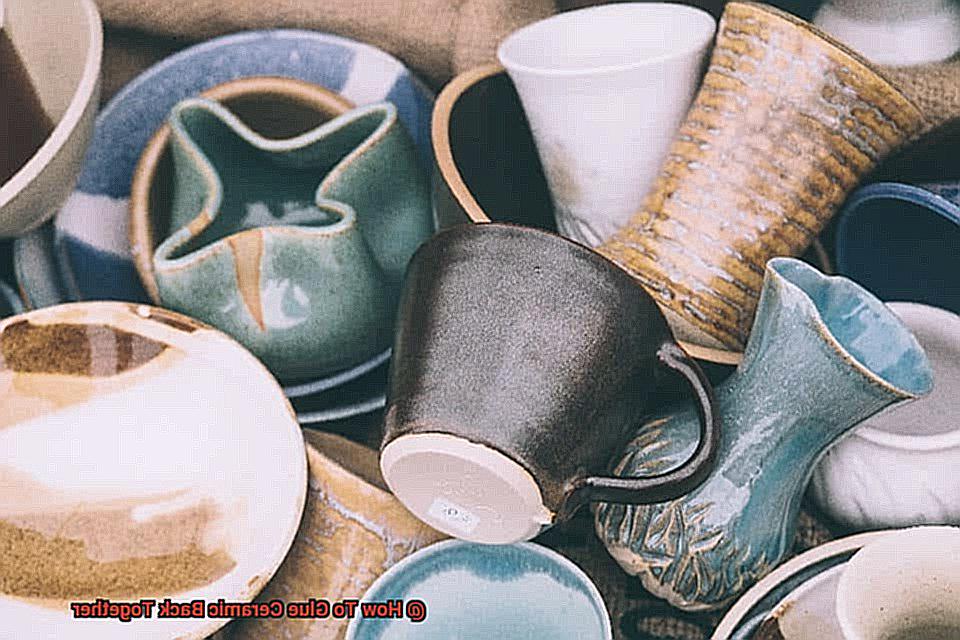
When is it Better to Replace an Item Rather than Repair it?

Ceramic items can be treasured possessions, evoking memories and emotions, adding aesthetic value to your home, or simply serving a functional purpose. But what happens when they break? The question arises: should you repair or replace it? As a specialist in this field, I’ve conducted extensive research and gathered useful insights to help you make the right decision.
The first thing to consider is the cost of replacement. If the ceramic item is inexpensive or easily replaceable, such as a coffee mug or vase from a discount store, repairing it may not be worth the time, effort, and cost. In such cases, it may be more practical to opt for replacement. However, if the item holds sentimental value or is an expensive piece of artwork, it could be worth trying to repair it.
Another crucial factor to evaluate is the extent of the damage. If the ceramic item is shattered into many pieces, it may be difficult or even impossible to restore it to its original condition. In these instances, replacement would be the better option. However, if it only has minor chips or cracks in one or two places, it may be feasible to fix it using glue or other adhesives.
Additionally, sentimental value should not be overlooked. If the broken ceramic item carries significant emotional weight or has been passed down through generations, repairing it could help preserve its sentimental value. Conversely, if it doesn’t hold much meaning to you or your family, replacing it may be a better option.
To sum up, deciding whether to replace or repair a broken ceramic item hinges on several factors. Take into account the cost of replacement, extent of damage, and sentimental value before making your decision.
H8LG3lFqQCs” >
Conclusion
In conclusion, repairing ceramic items can be a fun and fulfilling DIY project that anyone can take on. However, it’s important to choose the right adhesive for the job and properly prepare the surface before applying glue. With so many types of glue available, each with their own unique strengths and weaknesses, selecting the perfect one for your specific repair is crucial.
Don’t forget to clean the broken pieces before gluing. This step requires patience and attention to detail but is essential for a successful repair. Applying the glue correctly and pressing the broken pieces together firmly until the glue sets is equally important.
After gluing, inspecting the repair ensures that every corner of your beloved ceramic item is secure and free of excess glue. Ultimately, deciding whether to replace or repair a broken ceramic item depends on several factors such as cost of replacement, extent of damage, and sentimental value.