Do you dream of having luscious lashes but don’t want to break the bank on extensions? Fear not, because gluing on your own lashes is easier than you think. With the right tools and techniques, you can achieve a stunning fluttery lash look in no time.
You’re not alone if you feel intimidated by the prospect of applying false lashes. But with a few simple steps, you’ll be able to create a flawless and professional-looking finish. Whether you’re getting ready for a special occasion or just want to add some extra glam to your everyday look, mastering the art of gluing on lashes is a must-have skill.
In this blog post, we’ll guide you through everything you need to know about gluing on lashes. From selecting the perfect pair of falsies to choosing the right glue, we’ve got all your bases covered. We’ll also share some insider tips and tricks to help make the process smoother and more effective.
Whether you’re an absolute beginner or a seasoned pro looking for new insights, get ready to up your lash game like never before.
Let’s dive into this exciting world of false lashes and learn how to glue them on perfectly every time.
Choosing the Right Lashes
Contents
Well, hold on just a minute. Before you dive into the world of lashes, let’s consider a few important factors to help you choose the right ones for you.
Firstly, it’s important to think about the occasion or event you’ll be attending. Do you want to keep it natural for daytime wear, or are you looking to add some drama for a special night out? This will help determine the type of lashes to choose. If you’re new to wearing false lashes, strip lashes might be the easiest option to apply and work well in most situations.
Next up, let’s talk about your eye shape. Different lashes are designed to complement different eye shapes, so it’s essential to choose lashes that will enhance your natural beauty. For instance, if you have almond-shaped eyes, lashes that are longer in the center and shorter on the inner and outer corners would create a more balanced look.
The material of your chosen lashes is also an important consideration. Mink lashes are popular for their natural appearance and lightweight feel, but they can be expensive. Synthetic lashes are a more affordable option and come in a variety of styles, but they may not look as natural as mink lashes.
Lastly, we mustn’t forget about the adhesive that comes with the lashes. Some come with pre-applied adhesive, while others require you to apply it yourself. It’s crucial to choose an adhesive that is safe for use on your skin and won’t cause irritation or allergic reactions.
Remember, practice makes perfect when it comes to applying false lashes. Don’t be discouraged if it takes a few tries to get it right. Always have a steady hand and clear view of what you’re doing when applying them.
Gather the Necessary Tools
If you’re excited to add some extra length and volume to your lashes with falsies, you’ll need to gather the necessary tools before diving in. These tools are essential for ensuring that your eyelash application process is smooth and seamless. Here’s what you’ll need:
Firstly, choose false lashes that complement your eye shape and the look you’re aiming for. Next, invest in high-quality eyelash adhesive that is safe for use on your eyes. You don’t want to compromise your eye health by using low-quality glue.
Tweezers are a must-have tool when it comes to picking up and positioning false lashes on your lash line. Use them carefully to avoid poking yourself in the eye or misplacing the falsies.
Scissors are also handy if the false lashes are too long for your eyes. Trim them down to the desired length to achieve a natural look that matches the length of your natural lashes.
Mascara is an essential tool for blending your natural lashes with the false ones. It helps create a seamless look and gives your lashes an added boost of volume. And, of course, make sure to have makeup remover on hand in case you make a mistake or need to remove the lashes.
With all of these tools within easy reach, you can avoid any unnecessary interruptions or delays during the application process. Investing in high-quality products like adhesive can make all the difference in ensuring that your lashes stay put throughout the day without causing any discomfort or irritation.
Measuring and Trimming the Strip Lash
Measuring and trimming the strip lash is a crucial step in achieving a natural and comfortable fit, and it’s easier than you might think.
Before applying any glue, take the time to measure your strip lash against your natural lash line. Hold it up to your eye and check that it fits comfortably from the inner corner to the outer corner. If it’s too long, don’t worry – simply grab a pair of sharp scissors and carefully trim the outer edge until it lines up with the end of your natural lash line.
A word of caution: when trimming, be sure to only cut from the outer edge and avoid any hairs from the inner part of the lash. This will help maintain a natural look and prevent any discomfort or irritation to your eyes.
It’s better to start with a longer strip lash and gradually trim it down as needed, rather than starting with a short one that won’t reach the outer corner of your eye. After trimming, place the strip lash back on your natural lash line to check for proper fit before moving on to applying glue.
Taking the time to properly measure and trim your strip lashes will make all the difference in achieving a flawless and natural-looking application. And once you’ve nailed this step, you’ll feel like a true beauty pro.
Applying Glue to the Lash Band
Now that you have measured and trimmed your strip lashes to perfection, it’s time to apply the glue to the lash band. This step is crucial in achieving a flawless and long-lasting lash look. So, let’s dive into some tips and tricks for applying glue like a pro.
First things first, selecting the right type of glue is key to ensuring a comfortable application. With various options available in clear, black, or latex-free formulas, choose one that best suits your lashes and skin type.
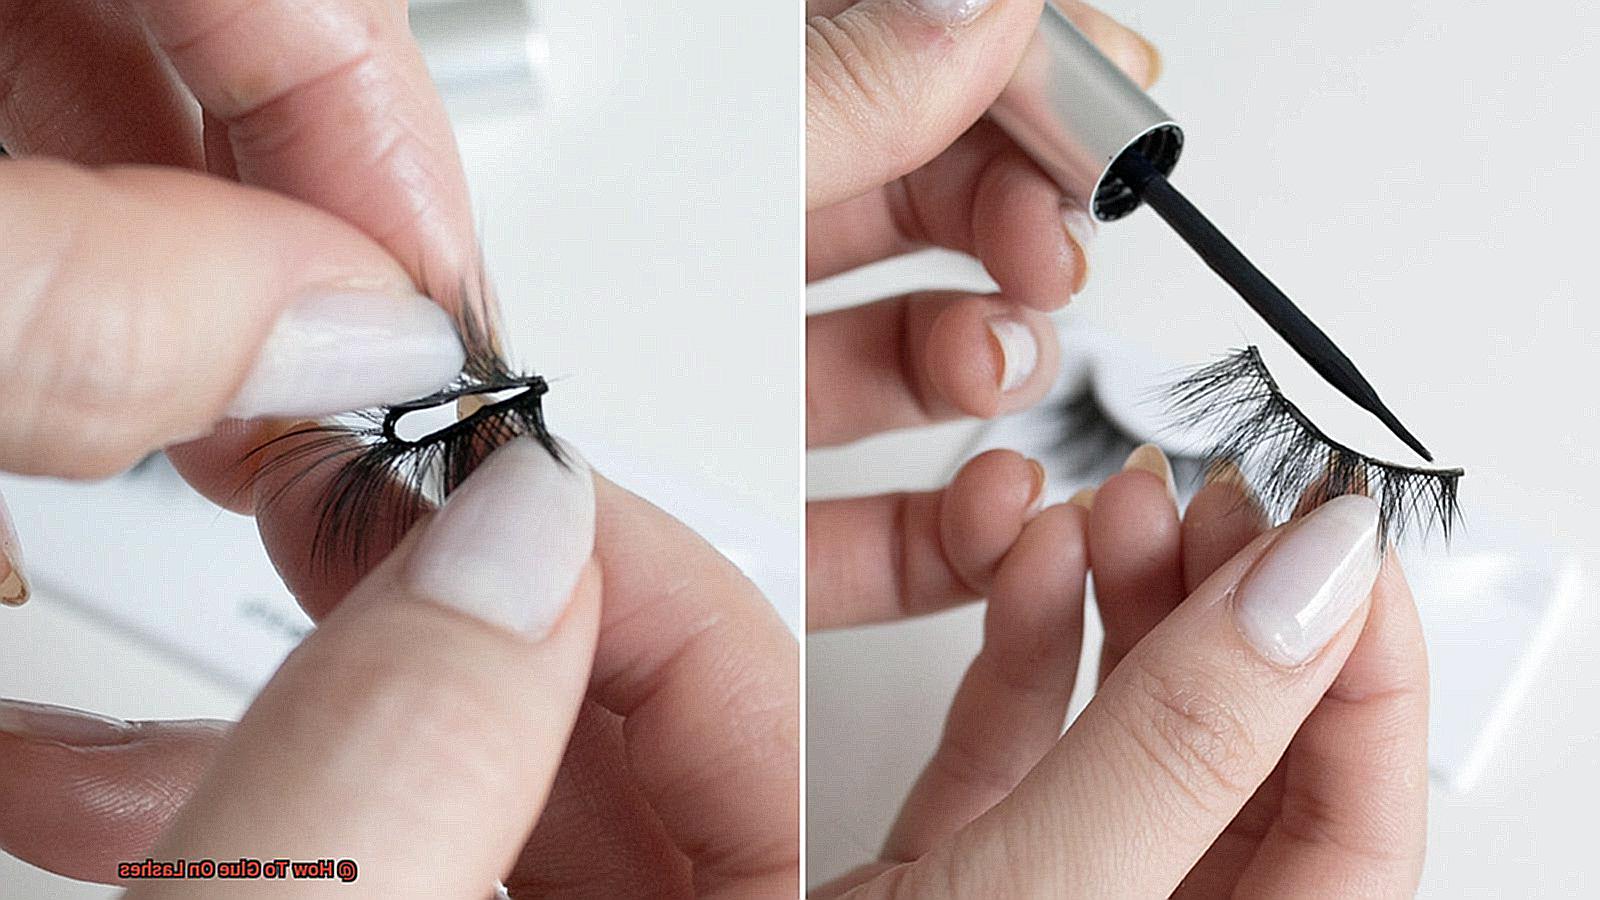
After choosing the perfect glue, it’s time to apply it to the lash band. Take a small amount of glue and place it on a clean surface or the back of your hand. Then, using tweezers or your fingertips, carefully dip the lash band into the glue while ensuring even application throughout the length of the band.
Remember not to go overboard with the glue. Strike a delicate balance between having enough glue to hold the lashes in place and avoiding any excess that could lead to clumping or discomfort. Let the glue dry for 10-15 seconds before placing the lashes on your eyelid. This will give it time to become tacky and adhere correctly to your skin.
If you are using individual lashes instead of a full strip, apply a tiny dot of glue to the base of each individual lash using a toothpick or small tool before placing them on your eyelid.
Placing the Strip Lash on Your Natural Lash Line
Firstly, it’s important to be patient and precise. Start by measuring the strip lash against your natural lash line, ensuring that it’s the right size for your eye. Trim any excess if needed to avoid poking into your inner or outer corner.
Now, it’s time to apply the glue. Remember, less is more when it comes to lash glue. Apply a thin layer onto the band of the strip lash and wait a few seconds for it to become tacky. This will make it easier to work with and ensure a stronger hold.
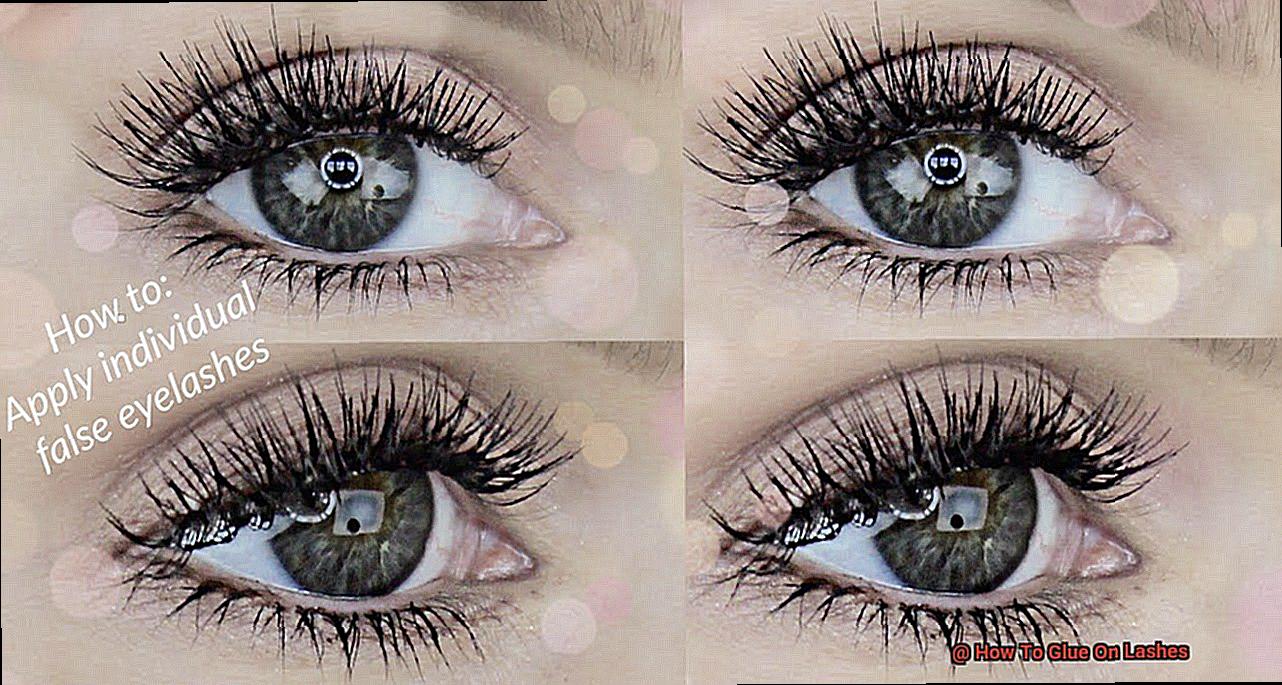
Using tweezers or your fingers, carefully place the strip lash onto your natural lash line. Starting from the outer corner of your eye, work inward towards your nose while applying gentle pressure to secure the lash in place. Make sure it’s centered and not poking into any corners for that natural look.
For those using individual lashes, the process is similar but requires a bit more patience. Pick up an individual lash with tweezers and dip the end into lash glue before carefully placing it onto your natural lashes. Start from the outer corner of your eye and work inward until you’ve achieved your desired look.
Remember, practice makes perfect when it comes to placing lashes. Don’t be discouraged if it takes a few tries to get it right. With these expert tips, you’ll be placing strip lashes and individual lashes like a pro in no time.
Applying Makeup and Removing Lashes
Adding false lashes to your makeup routine is a great way to elevate your look and make your eyes pop. But, how do you apply and remove them like a pro? With a few simple steps and some expert tips, you’ll be able to do it with ease.
Firstly, always apply your eye makeup before putting on your false lashes. This helps prevent any mascara from getting on your falsies and ensures your eyes look their best. When it’s time to apply your lashes, carefully remove them from their packaging and measure them against your natural lash line. If they’re too long, trim them down to size with a pair of scissors.
Now it’s time to apply the glue. Squeeze a small amount of lash glue onto the back of your hand or a clean surface, then use a pair of tweezers to dip the base of the false lashes into the glue. Wait a few seconds for the glue to become tacky before placing them onto your lash line, starting from the inner corner and working outwards.
Once your lashes are in place, gently press them down with your fingers or the end of your tweezers to ensure they’re secure. If you want to blend your natural and false lashes together, you can apply a coat of mascara.
When it’s time to remove your false lashes, be gentle to avoid damaging your natural lashes. Use a cotton swab or pad soaked in makeup remover or coconut oil to loosen the glue along the lash line. Then, use a pair of tweezers to carefully grip the outer corner of the false lash and gently pull it off, working towards the inner corner.
Finally, if you plan on reusing your false lashes, make sure to clean off any remaining glue with a cotton swab dipped in makeup remover or rubbing alcohol before storing them back in their packaging.
jfuoio_Ahlk” >
Conclusion
In conclusion, gluing on lashes is an affordable and convenient way to achieve a glamorous look. With these simple steps and expert tips, you can easily master the art of applying false lashes like a pro. The first step is to pick the perfect pair of lashes that suit your eye shape, occasion, and personal preference. Be sure to gather all the necessary tools such as high-quality adhesive, tweezers, scissors, mascara, and makeup remover.
Measuring and trimming the strip lash is a crucial step in achieving a natural and comfortable fit. Applying glue requires precision – less is more to avoid clumping or discomfort. When placing the strip lash on your natural lash line, gentle pressure starting from the outer corner of your eye working inward towards your nose will ensure a seamless application.
To elevate your look with false lashes, always apply your eye makeup before putting them on. Removing them requires gentle handling by using cotton swabs or pads soaked in makeup remover or coconut oil while carefully gripping the outer corner of the false lash before gently pulling it off.
Remember that practice makes perfect when it comes to applying false lashes so don’t be discouraged if it takes a few tries to get it right.