Are you wondering how to glue ceramic to wood? This blog post is just what you need. I’m here to show you the steps required for a successful bond.
It’s easier than you think – all you need is the right adhesive and materials.
Gluing ceramic tiles onto wood doesn’t have to be hard.
With the right knowledge and supplies, anyone can do it quickly and easily.
Start by making sure both surfaces are clean and dust-free.
Then select an appropriate adhesive – epoxy resin is usually the best choice since it creates a strong bond that’s also waterproof.
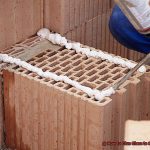
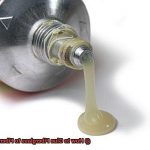
Spread a thin layer of adhesive on one side with a brush or spatula, then press the two surfaces together after they’ve dried for 10 minutes.
To keep them in place until the bond has set (24 hours), use clamps or weights.
Gluing ceramic pieces onto wood doesn’t have to be daunting.
Just follow these simple steps and you’ll soon create stunning projects that will last for years. So don’t wait any longer, get your supplies ready and start on your next project today.
Types of Glue: Adhesives for Ceramic to Wood
Contents
- 1 Types of Glue: Adhesives for Ceramic to Wood
- 2 Preparing Your Materials for Gluing
- 3 Applying the Glue: Step-by-Step Guide
- 4 Finishing Touches: How to Seal the Bond
- 5 Tips for Working with Ceramic and Wood
- 6 Troubleshooting Common Glue Issues
- 7 Alternatives to Glue When Gluing Ceramic to Wood
- 8 Conclusion
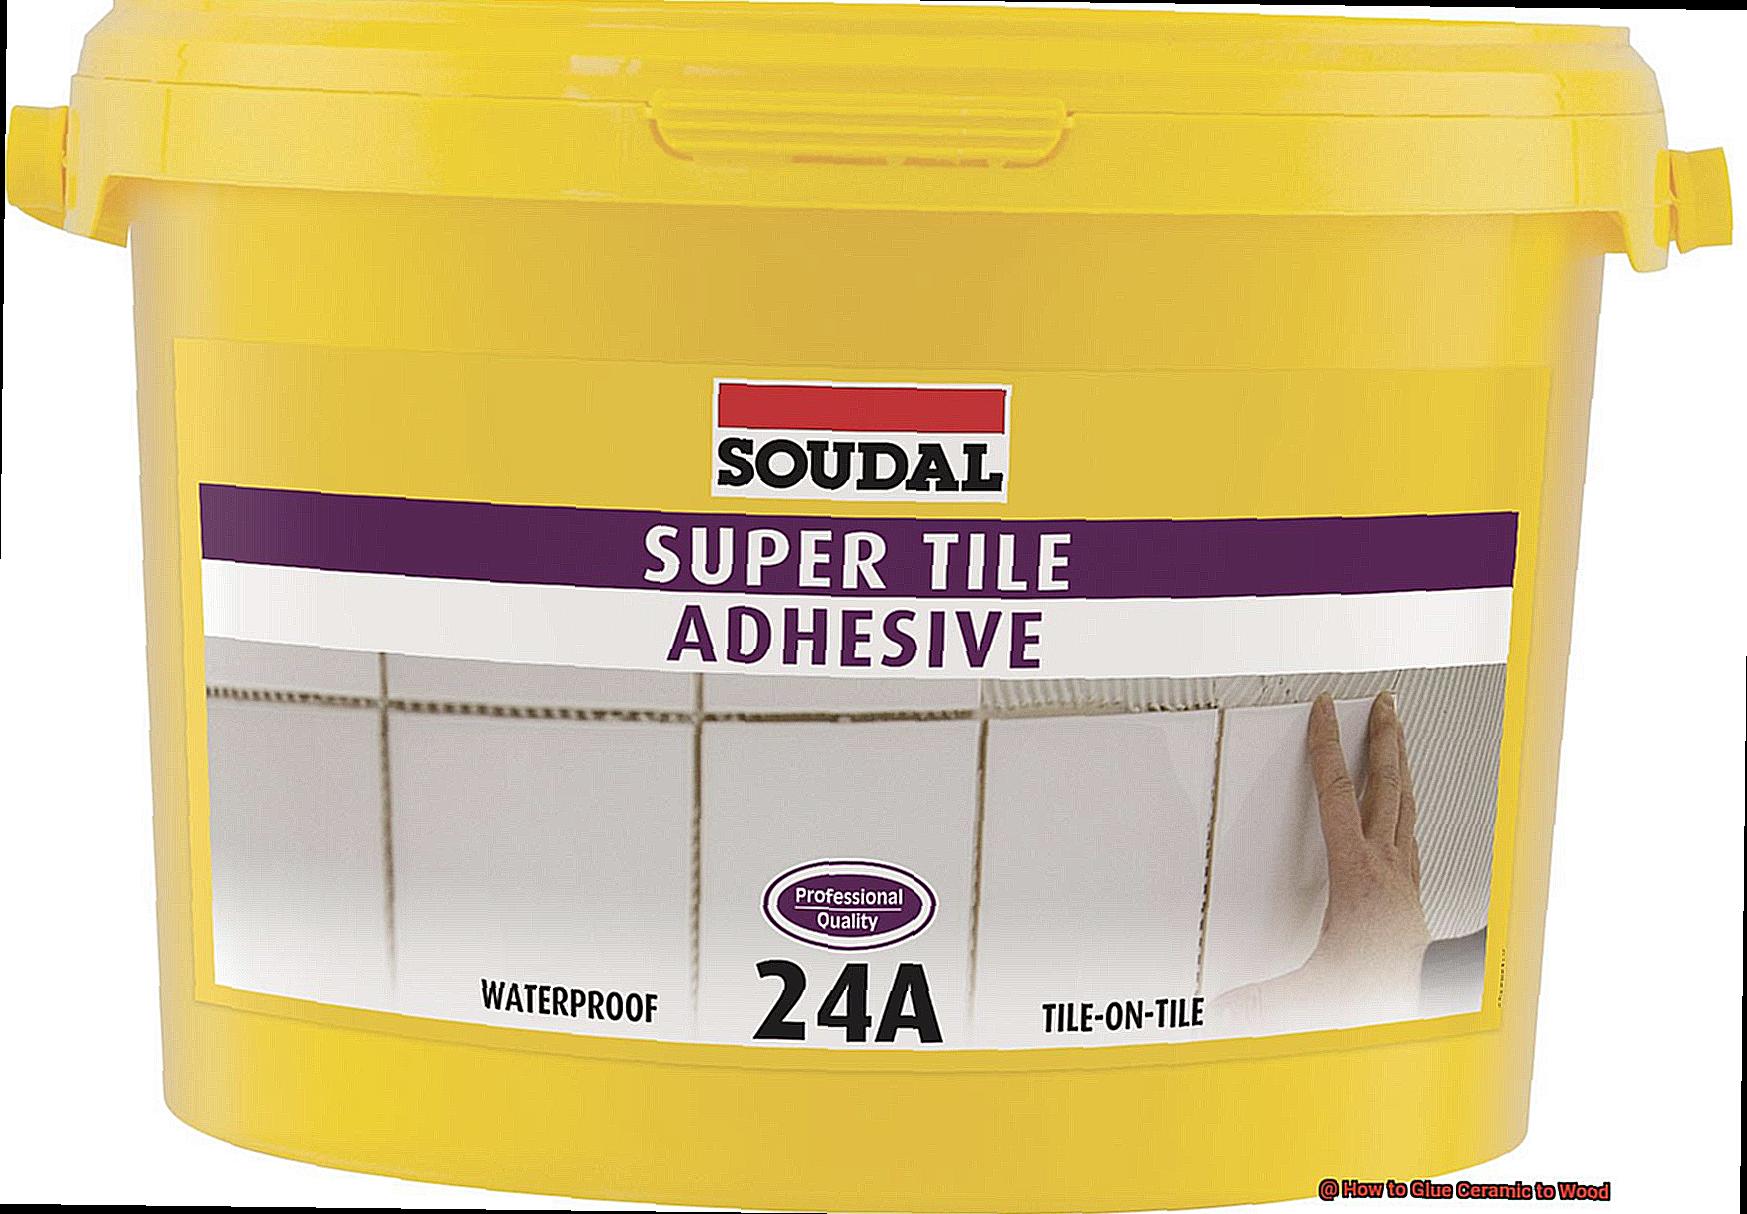
Are you looking for the perfect adhesive to bond ceramic to wood? Look no further. There are several types of glue that can be used for this purpose, each with its own unique benefits.
Epoxy is an excellent choice as it forms a strong bond and can be used on both porous and non-porous surfaces.
It’s also waterproof, making it perfect for wet environments.
Superglue is ideal for small projects or quick fixes since it dries quickly and provides a reliable bond.
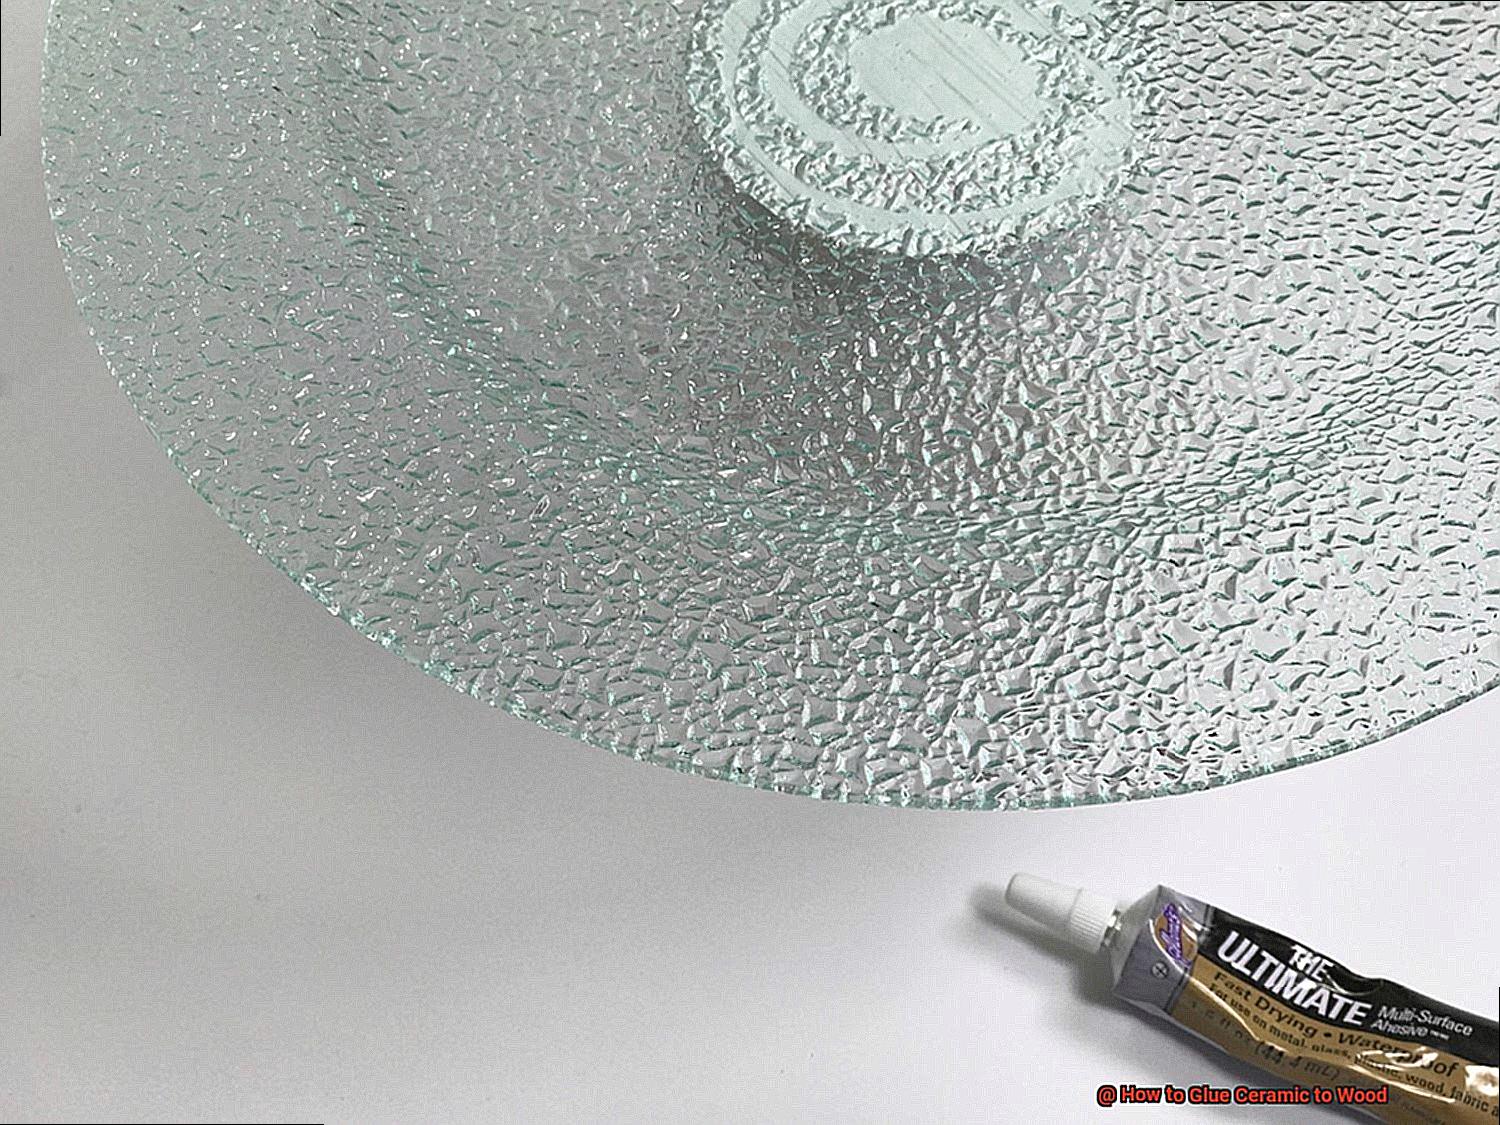
For larger projects, construction adhesive is the way to go.
This type of glue does not require nails or screws, but still offers a strong connection between the two materials.
No matter which glue you choose, make sure you read the instructions carefully before starting your project.
With the right adhesive and some patience, your ceramic-to-wood project will be complete in no time.
Preparing Your Materials for Gluing
Gluing ceramic and wood together is a tricky endeavor, but with the right preparation, you can achieve perfect results. Here’s how to do it:
- Start by wiping down both the ceramic and wood surfaces with a damp cloth. This will help remove any dirt or debris that could interfere with the bonding process.
- Then, sand down both surfaces using fine-grit sandpaper. This will create a rougher surface that will make it easier for the glue to adhere better.
- Now, apply a thin layer of adhesive to both surfaces as they are cleaned. Remember to spread it evenly and don’t use too much glue as this can cause problems later on.
- Finally, let the adhesive dry completely before starting your project.
This is an essential step because it ensures that your ceramic and wood pieces are properly bonded together.
Applying the Glue: Step-by-Step Guide
Whether it’s for a DIY project or just because, this step-by-step guide will help you get the job done.
First, make sure both surfaces are clean and free of any dirt and debris.
A damp cloth or brush will do the trick.
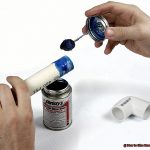
Then, use your foam brush to apply a thin, even layer of glue on both surfaces.
Press the ceramic down firmly onto the wood for several seconds to ensure that it is securely attached.
Now comes the waiting game. Allow the glue to dry completely before handling or using the piece – this can take up to 24 hours depending on the type of glue used and environmental conditions.
When it’s dry, use sandpaper to smooth out any rough edges if necessary.
Finishing Touches: How to Seal the Bond
Designing a stunning ceramic tile project is an exciting and rewarding task. But don’t forget the finishing touches.
Sealing the bond between the tile and wood helps protect it from moisture and other elements.
The best way to do this is to use a clear sealant or epoxy specifically designed for ceramic tiles.
Before applying the sealant, make sure both surfaces are clean and free of dust.
Use a brush or roller to spread a thin layer on both surfaces and allow each layer to dry completely before applying another layer.
Once all layers have been applied and dried, your project will be ready for years of enjoyment.
Tips for Working with Ceramic and Wood
Safety is paramount when working with ceramic and wood.
To keep yourself safe, make sure you wear protective gear such as gloves and safety glasses when handling adhesives or power tools.

It’s also essential to use the correct type of glue for the job.
For bonding ceramic to wood, a high-strength construction adhesive is best, but it’s important to use a waterproof sealant if the project will be exposed to moisture.
Before applying the glue, ensure both surfaces are clean and free of dirt or debris.
This is key to achieving a strong bond between the two materials.
After gluing them together, allow enough time for the glue to completely dry before handling or using the project.
Depending on which type of glue you use, this could take several hours to several days; plan accordingly and give yourself sufficient time for it to set properly.
When cutting ceramic tiles, a wet saw or diamond blade should be used for optimum results.
This will help guarantee that the edges are smooth and even, which is vital for forming a secure bond between tile and wood surfaces.
To get the best results possible, follow all manufacturer’s instructions when using any adhesive products.
Troubleshooting Common Glue Issues
Gluing ceramic to wood can be a tricky task, but with the right tools and techniques, you can achieve a strong bond without any hassle.
Here are some tips for troubleshooting common glue issues when working with these two materials.
- Start off by using a high-quality adhesive that is specifically designed for bonding ceramic to wood. This will ensure that the bond is secure and long-lasting.
- Before applying the glue, make sure both surfaces are clean and dry.
- If they are not even, use sandpaper or another tool to create an even surface before applying the adhesive.
- Additionally, fill any gaps between the ceramic and wood with silicone caulk or epoxy filler before gluing them together.
- When applying the adhesive, spread it evenly on both surfaces and allow it to set according to the manufacturer’s instructions before pressing the two pieces together and holding them in place until they are completely cured.
- Remember to use enough glue for a solid bond; if you don’t use enough glue, your project won’t last as long as it should.
Alternatives to Glue When Gluing Ceramic to Wood
There are a few options out there, each with its own advantages and disadvantages.
Epoxy, silicone, and acrylic-based adhesives are all viable options for this purpose.
Before deciding which one is right for your project, it’s important to do your research and weigh the pros and cons of each type.
Surface preparation is also key when bonding ceramic and wood together.
Make sure both surfaces are clean and free of any dust or debris before applying the adhesive.
If you don’t want to use glue, mechanical fasteners such as screws or nails can be used to attach ceramic pieces to wood surfaces.
For this purpose, clips or other specialized hardware can also be used.
To ensure a strong bond between the two materials, make sure to follow all instructions precisely regardless of the method chosen.
Conclusion
Gluing ceramic to wood may seem intimidating, but it’s actually quite straightforward with the right tools and experience.
Now that you’ve read this blog post, you have all the information you need to get started.
Just remember a few key steps: clean both surfaces before gluing them together, allow enough time for the glue to dry completely, and use a waterproof sealant or epoxy specifically made for ceramic tiles to protect your tile from moisture.
By following these steps and using the correct materials – epoxy, superglue, or construction adhesive – you can create beautiful projects that will last for years.