Do you need to bond rubber to concrete? If so, you’ve come to the right place. Gluing rubber to concrete can be tricky, but it’s possible with the right preparation and products.
In this blog post, we’ll go through all the steps necessary for gluing rubber together.
First, make sure both surfaces are clean and free of dust or debris.
Dirt and grime can prevent the glue from sticking, so it’s important to make sure everything is spotless.
Next, use a primer made specifically for gluing rubber to concrete.
Primers help create a stronger bond by filling in any tiny gaps or crevices.
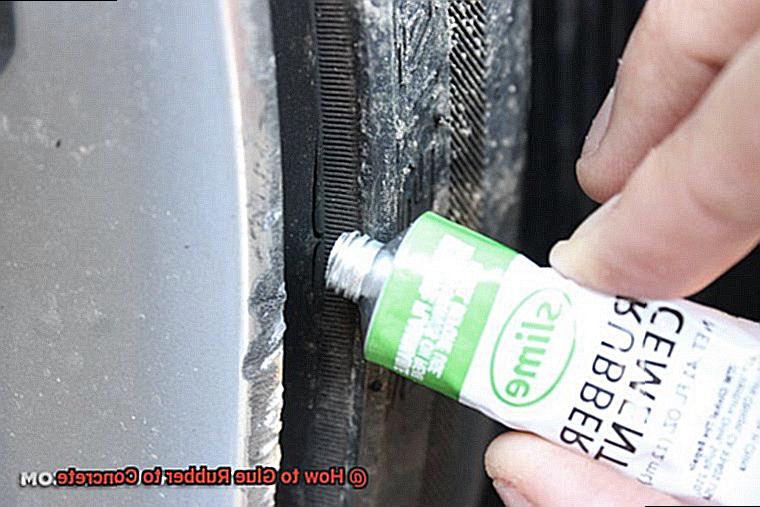
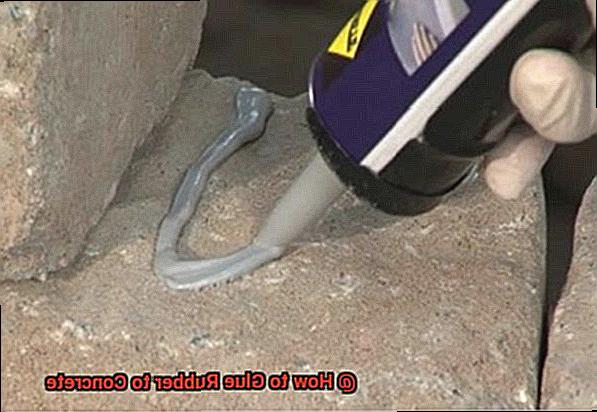
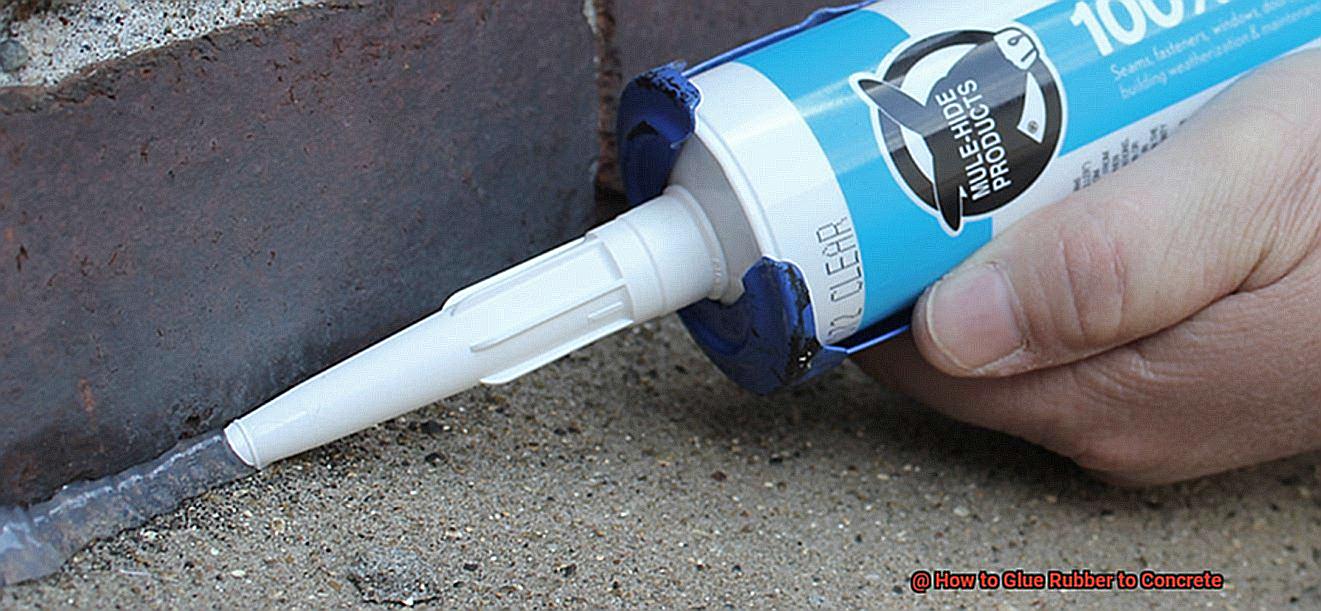
Once the primer is dry, apply an adhesive made for bonding rubber to concrete.
Read the instructions carefully before applying it – different adhesives have different application techniques.
Press the rubber into the concrete and hold it in place until it sets completely.
Allow time for curing after you’ve applied your glue and press on your rubber piece.
Depending on which brand of glue you use, this could take anywhere from 24 hours up to several days.
Once dry, your rubber should be securely attached to your concrete surface.
Gluing rubber to concrete might seem intimidating at first, but with these tips and tricks it doesn’t have to be. Follow these instructions and you’ll be able to attach any kind of rubber material quickly and easily.
What Materials Are Needed for Gluing Rubber to Concrete?
Contents
Gluing rubber to concrete may seem like a daunting task, but with the right materials and some patience, you can achieve great results.
To get started, you’ll need a few essential items.
First and foremost, you’ll need a high-strength adhesive such as liquid nails or epoxy.
This will be the glue that bonds the rubber to the concrete.
Additionally, you’ll need a primer to ensure that the adhesive adheres properly.
Just like painting your house, priming first is essential.
You may also require some additional items such as a putty knife or spatula for spreading the adhesive, sandpaper for smoothing out any bumps or ridges in the concrete’s surface, or a damp cloth for sweeping off any dirt or debris before applying the adhesive.
Preparing the Concrete Surface for Glue
Preparing the concrete surface for gluing rubber is like prepping a canvas before painting.
It’s an essential step that will ensure a strong, enduring bond between the two materials.
Start by clearing the surface of any dirt, dust, or debris with a wire brush or scrubbing pad.
Rinse off the surface with water and let it dry completely before applying glue.
If there are cracks or holes in the concrete, fill them with a patching compound.
Then use sandpaper to rough up the surface of the concrete so that it is easier for the glue to adhere.
These simple steps will create a perfectly prepared concrete surface ready for gluing rubber.
Applying the Adhesive
Installing rubber surfaces requires an adhesive that will provide a strong bond between the rubber and concrete.
To ensure a lasting bond, there are some important steps to take before applying the adhesive.
First, make sure your floor is clean and free of debris.
This will help create a secure connection between the two surfaces.
Then, apply an even layer of adhesive to the rubber surface with a brush or roller.
Allow the adhesive to dry completely before proceeding.
When ready, firmly press the rubber onto the concrete surface for optimal adhesion.
To ensure that the glue sets properly, let it cure for 24 hours before using or walking on it.
Curing and Drying Time
Creating a dependable rubber-to-concrete surface is like baking a cake – you need the correct ingredients, plus the right amount of time in the oven, to get the best result.
The curing process is no different; it’s all about allowing your glue to dry completely and form a strong bond between the rubber and concrete.
The time it takes for this process varies depending on what kind of glue you use – it could take just a few minutes, or several hours.
To ensure that your bond is safe, make sure you give it at least 24 hours before putting any weight or pressure on it.
During this time, keep the area free from dust and debris, while also avoiding any moisture that could interfere with bonding.
Once you’ve established that your glue has cured completely, you can move forward with using your newly glued rubber-to-concrete surface with confidence.
Tips and Tricks for Gluing Rubber to Concrete
How to Create a Strong Bond Between Rubber and Concrete
Gluing rubber to concrete can be a daunting task, but with the right equipment and techniques, you can create a lasting bond between the two surfaces.
To ensure a secure connection, use an adhesive that is strong enough for the job, such as epoxy or silicone adhesive.
Make sure both surfaces are free of dirt, dust, or debris before applying the glue in a thin and even layer.
Press the two surfaces together firmly for at least 30 seconds and secure with clamps or weights if necessary.
Finally, allow the glue to cure completely before using it—usually 24 hours is recommended.
Tips for Gluing Rubber to Concrete
Before gluing rubber to concrete, it’s essential that both surfaces are clean and free of any grime or debris.
A damp cloth should be able to remove any obvious dirt from both surfaces; however, for more stubborn stains or grime, use a mild detergent with warm water before wiping them down with a dry cloth.
This will create an ideal surface for your adhesive to adhere to for maximum durability and longevity.
Considerations for Gluing Rubber to Concrete
When selecting an adhesive for this project, make sure you choose one specifically designed for bonding rubber and concrete together safely—epoxy adhesives or liquid nails are generally considered the best options here.
Additionally, apply your adhesive in thin layers so that it doesn’t seep out from between the two surfaces when they’re pressed together firmly.
Obtaining Your Bond When Gluing Rubber To Concrete
Once your adhesive has been applied uniformly across both surfaces, press them tightly together for at least 30 seconds before allowing them to set properly without being disturbed too much.
If desired, use clamps or weights on top of your glued surface in order to hold everything in place while your glue sets—just make sure everything is secure before walking away.
In addition, if there is any excess glue between your two surfaces after they’ve been pressed firmly into place, use a putty knife or other similar device to remove it quickly without damaging anything else around it.
Gluing Rubber To Concrete
Once you’ve established your bond between rubber and concrete with the right adhesive and allowed time for everything else to be set properly into place without being disturbed too much, it’s time for one last step.
Giving your glue enough time to cure completely before trying any sort of usage—usually 24 hours is recommended here as well.
This will guarantee that your bond remains strong over time so that you can enjoy its benefits without worry.
Common Mistakes to Avoid When Gluing Rubber to Concrete
Gluing rubber to concrete can seem like a daunting task, but with the right tools and techniques, it can be done quickly and securely.
To help ensure success, here are seven common mistakes to avoid when gluing rubber to concrete.
- First, make sure that both surfaces are clean and free of any dirt or debris before beginning. This is essential for achieving a strong bond between the two materials.
- Second, choose an adhesive specifically designed for use on rubber and concrete, such as liquid nails or epoxy resin. This will ensure that your project is held together securely.
- Third, apply just enough adhesive to cover the entire surface area without any gaps or excess. Too much glue will result in a messy and uneven surface that will weaken the bond between the two materials.
- Fourth, allow enough time for the adhesive to fully cure before using your design. Depending on the type of adhesive used, this could take several hours or even days – be patient.
- Fifth, read and follow all manufacturer instructions closely. Each type of adhesive has its own instructions regarding how it should be used and what surfaces it should be applied on – make sure you follow them carefully.
By avoiding these common mistakes when gluing rubber to concrete, you can ensure that your projects turn out safe and secure every time.
Conclusion
Gluing rubber to concrete can be daunting, but with the right materials and techniques, you can confidently create a lasting bond.
Preparing both surfaces is key for successful adhesion, as is selecting the right adhesive.
And don’t forget to wear safety goggles when working with any type of chemical or adhesive.
For optimal results, make sure that both surfaces are clean before applying the glue.
Then give it time to dry completely—normally 24 hours—before attempting to use or move the glued object.