Have you been staring at that unsightly crack in your stunning granite countertop or table for far too long? Are you ready to learn how to fix it without breaking the bank? Well, you’re in luck. Gluing granite together is a cost-effective solution that can make your granite look brand new again.
However, before you start applying glue, there are a few crucial things you need to know. Firstly, not all glues are created equal. You must use a specially formulated granite adhesive that can withstand the test of time to get the job done right. Secondly, preparing the surface correctly is vital for a strong bond. You need to remove any dirt, debris, or old adhesive before applying the new glue.
Another important factor is the curing process. Gluing granite together requires patience because the glue needs time to dry and set properly. Rushing this process can lead to a weak bond that won’t last.
In this blog post, we’ll take an in-depth look at the steps involved in gluing granite together. We’ll discuss all the tools and materials you’ll need and go over each step of the process in detail. By the end of this post, you’ll have all the information necessary to fix that crack and restore your beautiful granite surface to its former glory.
So, let’s dive in.
What Type of Adhesive Should Be Used for Granite?
Contents

When it comes to gluing granite, choosing the right adhesive is crucial. With so many adhesives available in the market, it can be tough to know which one to pick. However, epoxy is the most commonly used adhesive for granite due to its strength and durability.
Epoxy is a two-part adhesive that consists of resin and hardener. When mixed, these two components create a bond that can withstand heavy use and extreme temperatures. This adhesive is also resistant to water, chemicals, and UV rays, making it ideal for indoor and outdoor applications.
It’s important to note that not all epoxies are created equal. Using the wrong type of epoxy can result in a weak bond that could cause your granite to crack or break over time. Therefore, it’s essential to choose an epoxy specifically designed for natural stone.
Before applying the adhesive, you must prepare the surfaces of the granite pieces carefully. Make sure they are clean and free from dirt or debris. If there are any cracks or chips in the granite, fill them with a color-matching epoxy filler before gluing the pieces together.
When applying the epoxy, it’s best to do so in thin layers using a small brush or applicator. Gradually build up the layers until there is enough adhesive to bond the two pieces of granite together. Apply enough pressure to ensure a strong bond.
Once you’ve applied the epoxy, be patient and allow it to cure properly. The curing time will depend on the specific type of epoxy being used, as well as the temperature and humidity of the environment. Be sure to follow the manufacturer’s instructions for curing time and allow enough time for the adhesive to set fully before using or moving the glued granite pieces.
While epoxy is the most popular adhesive for granite, there are other options available as well. Polyester resin is a single-part adhesive that dries quickly but may not be suitable for heavy-duty applications.
Cyanoacrylate glue or super glue is a fast-drying adhesive that forms a strong bond in seconds. However, it’s not recommended for large pieces of granite.
Lastly, polyurethane adhesive is a single-part adhesive that cures by reacting with moisture in the air, forming a strong bond that is resistant to water and chemicals.
Preparing the Surfaces for Gluing
Achieving a strong bond between two pieces of granite requires meticulous preparation of the surfaces to be glued together. The process comprises several steps that should be followed carefully to ensure the best results.
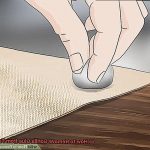
Firstly, it’s essential to clean the surfaces thoroughly using rubbing alcohol and a clean cloth. This step removes any dirt, dust, or grease from the surface of the granite. Before proceeding, make sure the area is entirely dry.
Next, roughen up the surfaces to ensure a better grip for the glue on the granite. You can use a diamond blade or sandpaper for this step, but remember to wear gloves and goggles as it can be dangerous.
After roughening up the surfaces, check for bumps or unevenness and smooth them out using sandpaper or a diamond blade. This will help achieve a better bond between the two pieces of granite.
Once you have prepared the surfaces, ensure they are entirely dry before applying glue. Any moisture on the surface weakens the bond between two pieces of granite. Use a hairdryer if necessary to dry off any moisture.
Applying the Epoxy Adhesive
When it comes to gluing granite, there’s no better option than epoxy adhesive. This mighty adhesive creates a bond that can withstand heavy weights and pressures, but it requires skill and caution when applying.
To begin with, you need to ensure that the surfaces of your granite pieces are clean and dry. Use a degreaser or alcohol to remove any dirt, grease, or oil on the surface. Then give the surface a good roughening up with sandpaper to create a better grip for the adhesive.
Mix the two parts of the epoxy adhesive according to the manufacturer’s instructions, being careful not to mix too much at once. Epoxy has a short working time before it starts to harden.
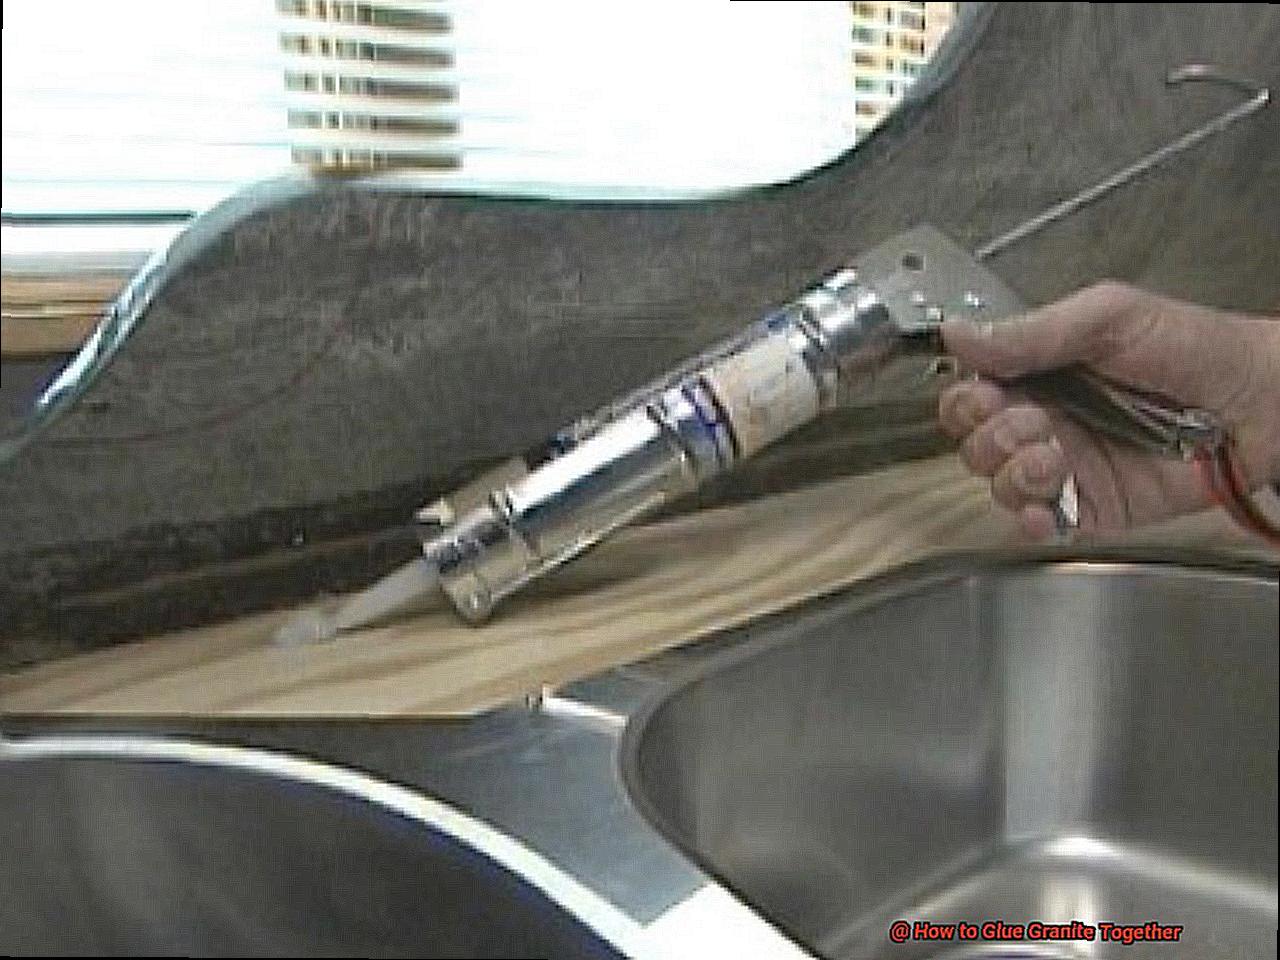
Using a small brush or spatula, apply a thin layer of epoxy adhesive on one of the granite pieces. Make sure to cover the entire surface but avoid over-applying as this can cause excess adhesive to seep out when you press the pieces together.
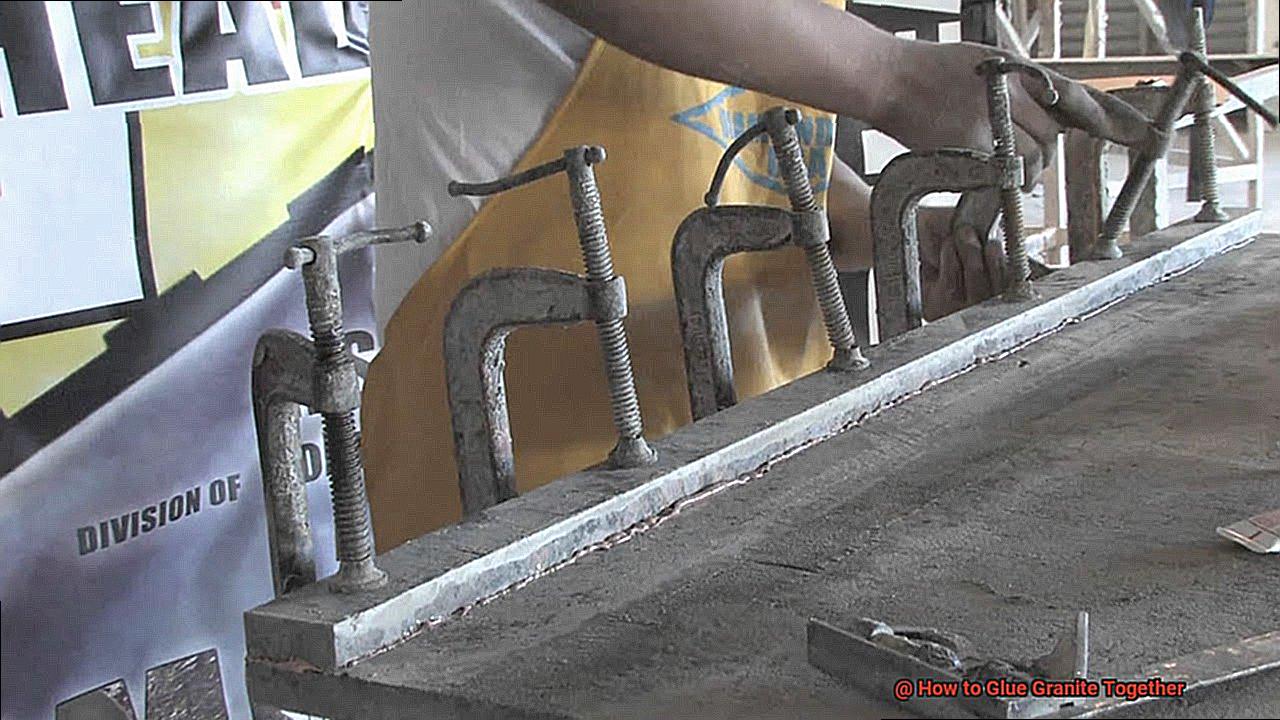
Now comes the moment of truth – carefully align and press the two granite pieces together. Apply pressure evenly across the entire surface using clamps or weights. Keep up the pressure for at least 24 hours to allow the adhesive to fully cure.
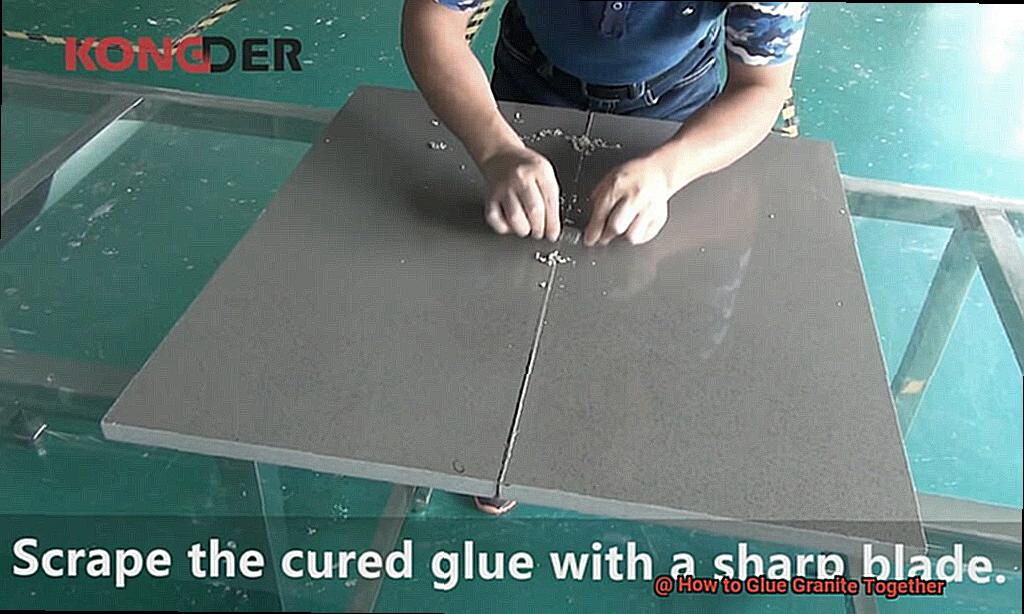
Once cured, you can remove any excess adhesive using a razor blade or sandpaper. The join should be smooth and level with no gaps or bumps.
Curing Time for the Adhesive
If you’re working on a granite project, you know that gluing the pieces together requires patience and attention to detail. One crucial factor to consider is the curing time for the adhesive. Curing time refers to the period it takes for the adhesive to fully harden and set, and it’s essential to wait until it’s complete before applying any pressure or stress.
The amount of time needed for curing can vary depending on several factors, such as the type of adhesive used, temperature, humidity levels, and size of the granite pieces being glued together. While most adhesives take between 24 to 48 hours to cure completely, it’s recommended to wait at least 72 hours for a strong and durable bond. Rushing the process can compromise the adhesive’s strength and cause your granite project to crack or break apart.
Environmental factors like cold temperatures and high humidity levels can also affect curing time. It’s best to avoid gluing during periods of extreme weather and ensure that there is no moisture or water present on the surfaces being glued together. This will help maintain the adhesive’s strength and ensure a long-lasting bond.
When considering curing time for adhesives, remember that patience is key. Waiting for at least 72 hours allows for a secure bond that can withstand pressure and stress without breaking apart.
Tips and Tricks for Glue Granite Together
When it comes to gluing granite together, it’s important to follow some key tips and tricks to ensure a successful and long-lasting bond. Here are five sub-sections that will help you achieve the perfect bond.
Choose the Right Adhesive
Not all adhesives are created equal, and some may not be strong enough to hold granite in place for the long term. Epoxy is the most commonly used adhesive for bonding granite because it is strong and durable. But it’s essential to make sure you choose an epoxy that is specifically designed for use with natural stone. This will ensure that the adhesive can withstand the weight and pressure of heavy objects.
Prepare the Surface
Before applying the adhesive, prepare the surfaces you will be bonding thoroughly. This means cleaning them with a degreaser and sanding them lightly with a fine-grit sandpaper to create a rough surface that the adhesive can grip onto. Be sure to remove any dust or debris before applying the adhesive. If there are any cracks or chips, fill them in with a color-matching epoxy filler.
Apply the Adhesive Carefully
When applying the adhesive, use just enough to create a strong bond without creating a mess. It’s important to practice on a small, inconspicuous area before attempting to glue larger pieces of granite together. Use a small brush or spatula to apply the adhesive evenly, and make sure it covers the entire surface area.
Clamp Tightly
Once you have applied the adhesive, clamp the surfaces together firmly to ensure a strong bond. This may require specialized clamps designed specifically for granite or other heavy materials. Make sure that everything is aligned properly before tightening the clamps, and leave them undisturbed until the adhesive has fully cured. This may take several hours or even overnight, depending on the type of adhesive you are using.
Finish with a Color-Matched Filler
If you want a professional-looking finish, consider using a color-matched filler to fill in any gaps or seams between the bonded surfaces. This will help to create a seamless look and ensure that your repair or project looks as good as new.
Troubleshooting Common Issues with Glued Granite
Granite is a popular choice for countertops and other surfaces due to its durability, beauty, and resistance to scratches and heat. However, even with its remarkable qualities, granite is not impervious to problems when it comes to gluing it together.
One of the most common issues with glued granite is discoloration. This can happen if the adhesive used does not match the color of the granite or when it is applied unevenly. To avoid this problem, it is essential to use a high-quality adhesive that matches the color of your granite and apply it evenly. By doing so, you can ensure that your surface has a consistent color throughout.
Another issue that may arise is bubbling or blistering in the adhesive. This can occur when air becomes trapped between the granite and the adhesive during application. To prevent this problem, it is vital to apply the adhesive evenly and use a roller or clamp to press the granite firmly into place. Doing so will help guarantee that no air pockets are left behind.
Cracking or splitting of the granite is another common issue that can happen during installation.
This usually occurs when too much pressure is applied during installation or if the adhesive used is not strong enough to support the weight of the granite.
To avoid this problem, use a high-strength adhesive that can support the weight of your granite surfaces. Additionally, steer clear of applying excessive pressure during installation.
Z_mXLTVMx2k” >
Conclusion
In conclusion, gluing granite together can be a game-changer for reviving your countertops or floors. But before you jump into the glueing process, there are some essential things to keep in mind.
Firstly, not all adhesives are equal. You need to choose a specially formulated granite adhesive that can stand the test of time and withstand pressure and stress without cracking or breaking apart.
Secondly, surface preparation is key. You must remove any dirt, debris, or old adhesive from the surfaces before applying the new glue. Also, make sure that the surfaces are clean, dry and leveled.
When it comes to choosing an adhesive for granite, epoxy is your best bet due to its strength and durability. However, not all epoxies are created equal. Using the wrong type of epoxy can lead to a weak bond that won’t last long.
Patience is crucial when it comes to curing time for adhesives. Waiting at least 72 hours allows for a secure bond that will maintain the beauty and durability of your granite surfaces for years to come.