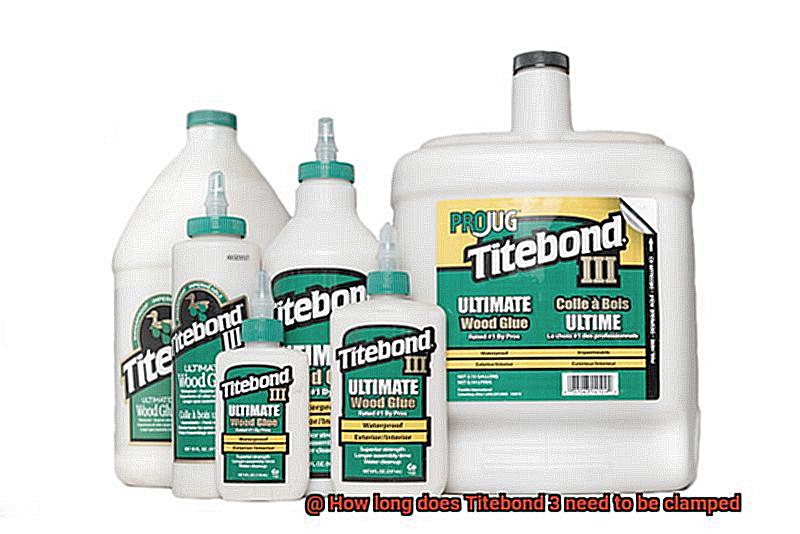
Welcome to our blog post about the incredible world of Titebond 3 and its clamping requirements.
If you’re a woodworking enthusiast or a DIYer, chances are you’ve encountered this popular adhesive that’s renowned for its exceptional bond strength and versatility. But have you ever wondered how long it needs to be clamped for optimal results?
So grab your adhesive, clamp, and join us as we unveil the secrets to achieving flawless bond strength with Titebond 3.
What is Titebond 3?
Contents
- 1 What is Titebond 3?
- 2 Factors Affecting Clamping Time for Titebond 3
- 3 Recommended Clamping Time for Titebond 3
- 4 Longer Open Time for Titebond 3
- 5 Applying Pressure When Clamping
- 6 Avoid Over-clamping
- 7 Wiping Away Excess Glue
- 7.1 Step 1: Patience is Key – Allow the Glue to Fully Cure
- 7.2 Step 2: Scrape Away Large Blobs or Drips with Precision
- 7.3 Step 3: Unleash the Power of Water – Moisten a Cloth or Sponge
- 7.4 Step 4: Conquer Stubborn Glue Spots with Soaking Techniques
- 7.5 Step 5: Ensure Complete Drying for a Flawless Result
- 8 Leaving the Assembly Undisturbed
- 9 Conclusion
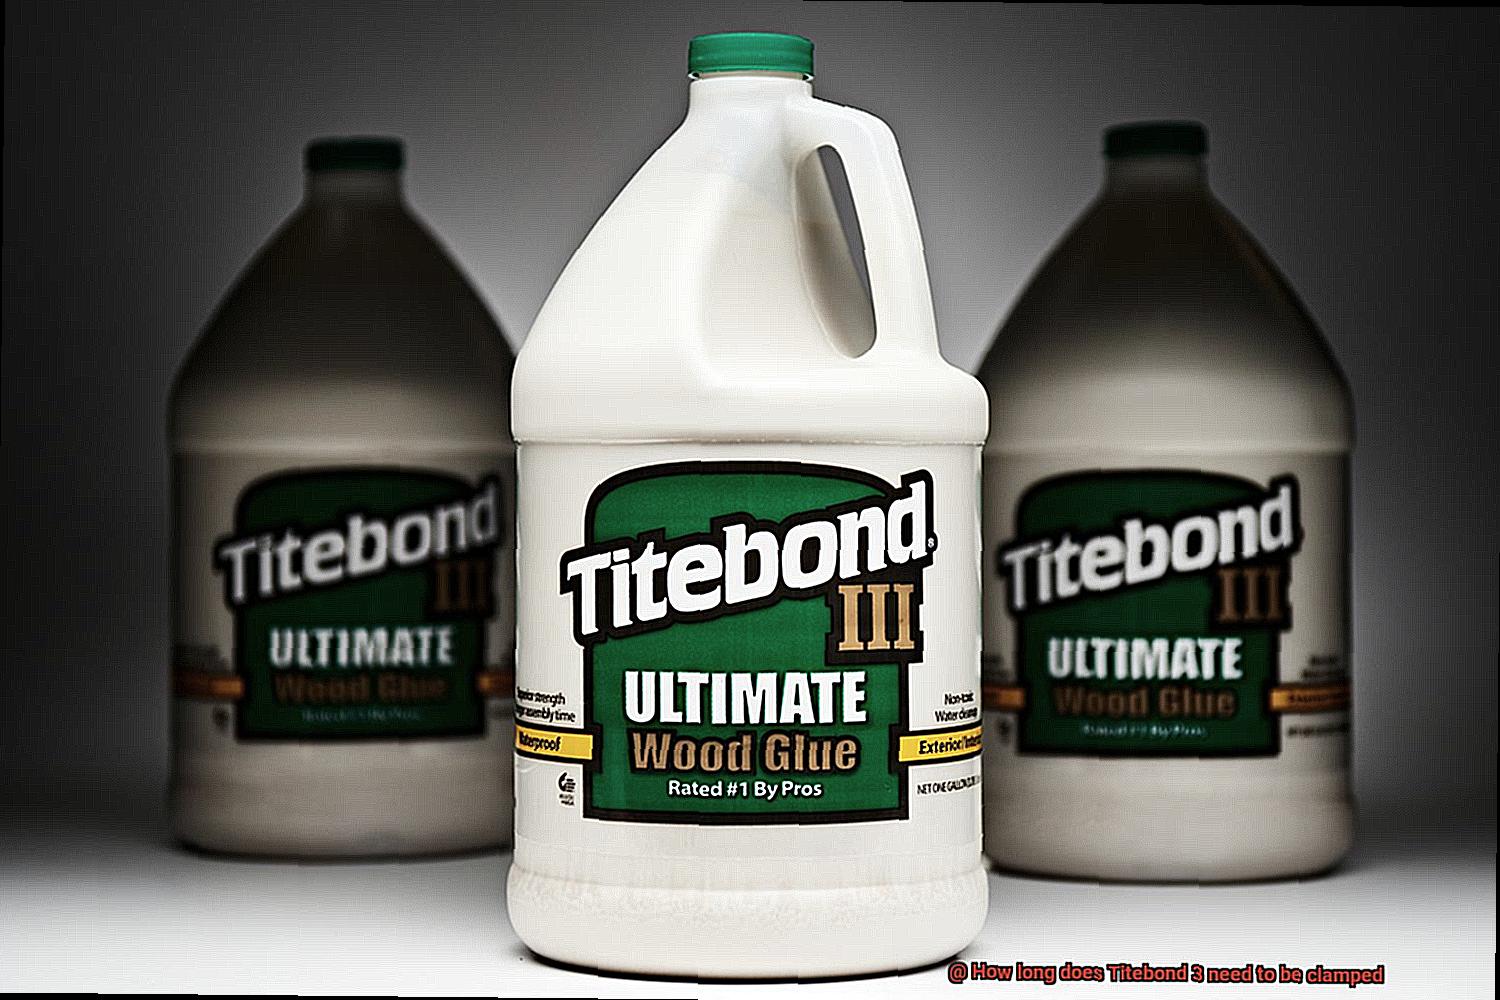
Titebond 3 is not your average adhesive; it’s a powerhouse when it comes to woodworking projects. Crafted by the experts at Franklin International, this waterproof glue is specifically engineered to provide unparalleled strength and resistance to water, making it the go-to choice for outdoor applications or projects that may encounter moisture.
What sets Titebond 3 apart is its ability to create a bond that surpasses the strength of wood itself. This makes it extraordinarily effective at joining different wood pieces together, whether you’re constructing furniture or working on intricate cabinetmaking. By forming an unbreakable bond, Titebond 3 ensures the structural integrity of your finished masterpiece, providing added stability and longevity.
But Titebond 3 doesn’t just stop at strength—it’s also incredibly user-friendly. With its thick consistency, this adhesive allows for effortless application without excessive dripping or running. Whether you’re working on a vertical or overhead project, Titebond 3 stays in place, minimizing the risk of the adhesive sliding before it sets. Additionally, its extended open time gives you ample opportunity to position your pieces precisely before clamping them together.
Titebond 3 cures through a fascinating process called cross-linking, which occurs in the presence of moisture. This means that to achieve its maximum strength, the adhesive requires some level of moisture. What’s more, moisture activates Titebond 3’s remarkable waterproof properties, ensuring that your bond remains intact even when exposed to water or high humidity.
Versatility is another key feature of Titebond It can be used on a wide range of wood species, including hardwoods, softwoods, plywood, and MDF (medium-density fiberboard). Moreover, it can even be utilized in combination with other materials like metal or ceramics, although proper surface preparation may be necessary for optimal adhesion.
When it comes to safety, you can breathe easy. Titebond 3 is considered non-toxic and emits no harmful fumes during use. However, it’s always wise to work in a well-ventilated area and avoid prolonged skin contact. Remember, adhering to the manufacturer’s instructions for proper handling and disposal is crucial.
Factors Affecting Clamping Time for Titebond 3
When it comes to woodworking, choosing the right adhesive is crucial. And if you’ve opted for Titebond 3, you’ve made a wise decision. But did you know that several factors can impact the clamping time for Titebond 3? Let’s delve into these factors and explore how they can influence your glue-up process.
Firstly, the type of wood you’re working with plays a significant role. Dense and oily woods like oak or walnut have slower curing times compared to softer, more porous woods such as pine or cedar. The surface characteristics of the wood can affect how well the adhesive penetrates and bonds.
Moisture content is another critical factor. Wood with high moisture content can hinder the adhesive’s curing process and result in longer clamping times. It’s essential to ensure that the wood has a moisture content of around 6-8% for optimal adhesion and faster curing.
Temperature and humidity levels in your working environment also come into play. Higher temperatures generally speed up the curing process, while lower temperatures can slow it down. Similarly, high humidity levels can extend clamping time as excess moisture in the air interferes with efficient curing.
Proper glue application is vital for faster clamping times. Applying an even layer of Titebond 3 on both surfaces ensures proper adhesion. Uneven application or excessive glue can lead to longer clamping times as the adhesive needs more time to dry and cure.
The complexity of the joint being glued together also affects clamping time. Simple joints may require less time compared to intricate or tight-fitting joints. Complex joints often have less exposure to air and slower evaporation of moisture, prolonging the curing process.
Applying sufficient pressure during clamping is crucial for optimal results. Adequate pressure ensures proper contact between the glued surfaces and helps squeeze out excess glue. Using clamps or other suitable tools to apply pressure can expedite the curing process.
Lastly, the thickness of the glue layer matters. A thicker layer of Titebond 3 will take longer to cure compared to a thin, even layer. It’s recommended to apply a thin layer of glue for faster curing and stronger bonds.
Recommended Clamping Time for Titebond 3
With its strong bond and versatility, it’s a go-to choice for both beginners and seasoned woodworkers alike. But what’s the secret to getting the best results? It all comes down to the recommended clamping time.
So, what exactly is the recommended clamping time for Titebond 3? Typically, it falls within the range of 30 minutes to 1 hour. However, it’s important to note that this can vary depending on several factors. Let’s dive into some of these factors and why they matter.
- Temperature: The temperature in your workspace can affect how quickly the glue sets. Higher temperatures can accelerate the drying process, while colder temperatures can slow it down. So, take a look at the thermostat and adjust your clamping time accordingly.
- Humidity: Just as temperature plays a role, so does humidity. In general, higher humidity levels can extend the clamping time, while lower humidity levels can speed it up. Keep an eye on your hygrometer and make adjustments accordingly.
- Wood Type: Different types of wood have different absorption rates. Some woods may absorb moisture from the glue more quickly, while others may take longer. Take this into consideration when determining your clamping time.
- Glue Application: The thickness of the glue layer can also impact clamping time. Thicker layers may take longer to dry, while thinner layers may dry more quickly. Be mindful of how much glue you apply to ensure an optimal bond.
- Joint Complexity: Complex joints with multiple surfaces coming together may require longer clamping times to ensure a strong bond throughout all areas of the joint.
- Pressure During Clamping: Applying even pressure during clamping is crucial for achieving a strong bond with Titebond Uneven pressure can result in weak spots and compromised adhesion. Use clamps or other pressure-applying tools to distribute the force evenly across the glued surfaces.
Now that you know some of the factors to consider, how do you know when your project is good to go? While Titebond 3 can develop initial strength within the recommended clamping time, it’s best to leave the clamped pieces undisturbed for at least 24 hours. This will ensure a strong and durable bond that will stand the test of time.
And don’t forget about excess glue. As you clamp your project together, some glue may squeeze out. Be sure to wipe off any excess glue with a damp cloth before it dries. This will help maintain the appearance of your project and prevent any interference with the bond strength.
Longer Open Time for Titebond 3
As a woodworker, you know that time is the ultimate challenge when it comes to glue application. The open time, or the precious moments you have to work with Titebond 3 before it sets, can make or break a project. But fear not. In this comprehensive guide, we will delve into effective techniques and factors that can extend the open time of Titebond 3, allowing you to unleash your creativity without rushing against the clock.
Back Priming:
One technique that can significantly prolong the open time of Titebond 3 is back priming. This method involves applying a thin coat of glue to both surfaces to be bonded and allowing it to partially dry for about 10 minutes. Then, apply a fresh layer of glue before joining the pieces together. By doing this, the partially dried glue creates a bond with the fresh layer, extending the overall open time and giving you more maneuverability to perfect your alignment.
Cooler Temperatures:
Consider working in cooler temperatures to slow down the drying time of Titebond Heat accelerates the curing process, so a cooler environment will buy you more time to align and adjust the pieces before clamping. However, remember to strike a balance as excessively low temperatures can compromise bond strength and durability.
Controlled Spread Rate:
Using a lower glue spread rate is another effective way to extend open time. Many woodworkers tend to apply excess glue, resulting in faster drying times and messy squeeze-out. By using a controlled and conservative amount of adhesive, you’ll have less cleanup to do and more precious moments to perfect your alignment.
Wood Type Considerations:
Different wood species have varying levels of absorbency when it comes to glue. Dense hardwoods or oily woods can quickly soak up moisture from Titebond 3, leading to faster drying times. In such cases, applying a second coat of glue or utilizing back priming can ensure a strong and lasting bond.
Applying Pressure When Clamping
In the world of woodworking, the glue you choose can make or break the final outcome of your project. Titebond 3 is a popular choice for its exceptional strength and durability. However, what many woodworkers may not realize is that applying the correct amount of pressure when clamping with Titebond 3 is crucial for achieving a strong and reliable bond. Let’s delve into the details and explore the art of applying pressure when clamping.
The Importance of the Right Amount of Pressure:
Applying the appropriate amount of pressure is essential in ensuring a secure bond between the two surfaces being joined. It also serves to squeeze out excess glue, resulting in a tight and even bond. Moreover, proper clamping pressure aids in the curing process of the glue, allowing it to reach its maximum strength.
The Recommended Clamping Pressure:
For Titebond 3, it is recommended to apply clamping pressure within the range of 100-150 psi (pounds per square inch). This range allows for adequate distribution of the glue and creates a solid bond between the surfaces.
Achieving the Proper Clamping Pressure:
Various clamping methods can be employed, such as bar clamps, pipe clamps, or specialized woodworking clamps. The choice of clamp depends on the size and shape of your project. To ensure even distribution of pressure across the joint, cauls or blocks of wood can be used.
What Happens When Too Little Pressure is Applied?
Insufficient pressure can result in weak spots or gaps in the bond. The glue may not spread evenly, leading to areas with poor adhesion. Furthermore, the bond may not fully cure, compromising its strength.
What Happens When Too Much Pressure is Applied?
Excessive pressure can cause excessive glue squeeze-out, weakening the bond. Over-tightening clamps can result in deformation or damage to your project. Additionally, applying too much pressure can cause the glue to spread unevenly, resulting in an uneven bond.
Clamping Time and Curing:
The recommended clamping time for Titebond 3 is a minimum of 30 minutes to achieve good initial bond strength. However, for optimal strength, it is advisable to keep Titebond 3 clamped for a longer duration, preferably overnight or up to 24 hours. It is important to consider factors such as temperature and humidity, as they can affect the curing time.
Avoid Over-clamping
When it comes to using the remarkable Titebond 3 glue, avoiding over-clamping is key. This superhero of wood glues, with its Herculean bonding strength and lightning-fast drying time, has become a favorite among woodworkers worldwide. But here’s the catch – while applying adequate pressure is crucial for a solid bond, over-clamping can turn your project into a major disappointment.
Picture this: you’re diligently clamping together a stunning piece of furniture, exerting all your might to ensure a tight joint. But guess what? You’ve gone overboard and squeezed out excessive glue from the joint, resulting in weak and inadequate adhesive coverage. Talk about a buzzkill.
Not only that, but over-clamping can also lead to excessive moisture evaporation. This means that the glue dries too quickly, potentially compromising the strength of your bond. And that’s not what we’re aiming for, right?
To avoid these sticky situations (pun intended), it’s crucial to adhere to the manufacturer’s guidelines for clamping time. These recommendations take into account factors like temperature and humidity, which can impact drying time. So don’t underestimate their importance.
Now, I understand the temptation to leave those clamps on for longer just to be safe. But hold your horses – exceeding the recommended clamping time can result in over-drying and make it challenging to rectify any misalignments in the joint. That’s definitely not what we want.
So here’s my advice: remove the clamps once the glue has fully cured, which typically takes around 24 hours. Trust me, it’s worth the wait for that rock-solid bond that Titebond 3 is famous for.
In conclusion, my fellow glue enthusiasts, remember to steer clear of over-clamping when using Titebond 3 glue. Stick to the manufacturer’s guidelines, take temperature and humidity into account, and give your project the time it needs to cure properly. Your woodworking masterpieces deserve nothing less.
Wiping Away Excess Glue
Discover the secret to achieving a flawless finish on your woodworking projects. Say goodbye to unsightly globs of dried glue with our step-by-step guide on wiping away excess Titebond 3 glue. Grab your tools and get ready to create a clean and professional look.
Step 1: Patience is Key – Allow the Glue to Fully Cure
Achieving a clean finish starts with patience. Titebond 3 typically cures in 24 hours, but don’t forget to consider factors like temperature and humidity. Allowing the glue enough time to dry and harden will make the cleanup process much easier.
Step 2: Scrape Away Large Blobs or Drips with Precision
Get rid of visible blobs or drips of dried glue by delicately using a sharp chisel or scraper. Take care not to damage the wood surface as you remove these imperfections, ensuring your project remains flawless.
Step 3: Unleash the Power of Water – Moisten a Cloth or Sponge
Step 4: Conquer Stubborn Glue Spots with Soaking Techniques
For stubborn or older dried glue spots, soak the area with warm water for a few minutes. This will soften the glue, making it more pliable for removal. Remember, gentle cleaning is key; avoid excessive force or abrasive materials that could harm the wood surface.
Step 5: Ensure Complete Drying for a Flawless Result
After wiping away all traces of excess glue, allow the wood surface to dry completely before proceeding with other steps, such as sanding or applying finishes. This guarantees that the glue residue won’t interfere with subsequent processes or compromise the final quality.
Leaving the Assembly Undisturbed
Leaving the Assembly Undisturbed: The Key to a Strong Bond with Titebond 3
Congratulations. You’ve chosen Titebond 3, the superhero of wood glues, to bring your woodworking project to life. You’ve carefully applied the glue and clamped the assembly tight, ready to create a bond that will withstand the test of time. But here’s the secret ingredient for success: leaving the assembly undisturbed.
Why is this so important? Let’s break it down. When you apply Titebond 3 and clamp the assembly, a chemical reaction occurs between the glue and the wood fibers. This reaction is what gives you that unbeatable bond and durability. But for this reaction to take place effectively, you need to give it time and space to work its magic.
Here’s why leaving the assembly undisturbed is crucial:
- Optimal bonding: By keeping the assembly undisturbed, you allow the glue to penetrate deep into the wood fibers, creating a strong and secure bond. Any movement or disturbance during clamping and drying can disrupt this bonding process and weaken the joint.
- Time for curing: Titebond 3 requires time to cure fully. While it may be tempting to rush the process and move on to the next step of your project, patience is key here. The recommended clamping time is at least 30 minutes to an hour, but for maximum bond strength, it’s best to leave the assembly undisturbed for a longer period, preferably 24 hours. This allows the glue to fully cure and reach its maximum strength.
- Avoiding weak joints: Disturbing the assembly before the glue has fully cured can result in weaker joints that are prone to failure in the future. Imagine spending hours on your woodworking masterpiece only to have it fall apart because you rushed the drying process. Trust me, it’s not a pretty sight.
So, how can you ensure that your assembly remains undisturbed during the drying process? Here are a few tips:
- Choose a well-ventilated, controlled environment for your project. Temperature and humidity can affect the curing time of Titebond 3, so make sure to work in conditions that are suitable for optimal drying.
- Avoid applying stress or pressure to the glued joint. This means no moving, bumping, or jostling the assembly until the glue has fully cured.
- Plan your project timeline accordingly. If you’re on a tight schedule, make sure to allocate enough time for the glue to cure properly. Remember, good things come to those who wait.
gnG0FNxisvk” >
Conclusion
The clamping time for Titebond 3 is an important factor to consider when working on woodworking projects. It ensures that the glue sets properly and creates a strong bond between the materials being joined together. The recommended clamping time for Titebond 3 is at least 30 minutes. However, it’s always best to follow the manufacturer’s instructions for specific applications.
During this clamping period, it is crucial to apply consistent pressure to ensure even distribution of the adhesive and prevent any gaps or weak spots in the bond. This will ultimately result in a more durable and reliable connection between the pieces of wood or other materials.
While waiting for the glue to dry and set, it’s essential to resist the temptation to remove the clamps too soon. Rushing this process can compromise the integrity of the bond and lead to potential failure down the line. Patience is key when working with Titebond 3, as allowing sufficient clamping time will yield better results in terms of strength and longevity.
In addition to following proper clamping procedures, it’s also important to consider environmental factors that may affect drying times. Factors such as temperature and humidity can influence how quickly Titebond 3 dries and sets. It’s advisable to work in a well-ventilated area with moderate temperatures and humidity levels within the range specified by the manufacturer.
In conclusion, Titebond 3 requires a minimum clamping time of 30 minutes for optimal bonding results. Taking this time allows for proper adhesion between materials, ensuring a strong and reliable connection.