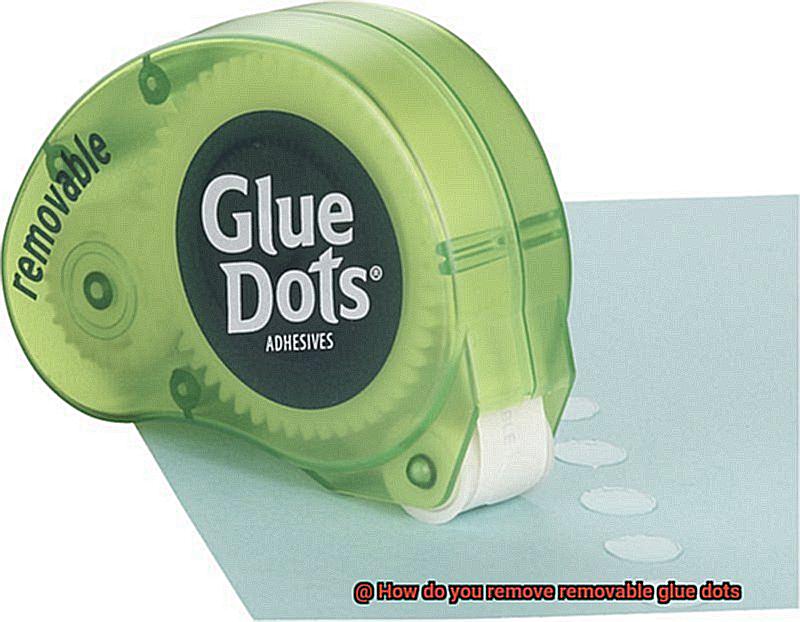
Title: Sticky Situations Solved: How to Remove Removable Glue Dots
Introduction:
Contents
- 0.1 Introduction:
- 0.2 Method 1: Gentle Peeling
- 0.3 Method 2: Heat and Rub
- 0.4 Method 3: Sticker Solutions
- 0.5 Method 4: Multipurpose Magic
- 1 What are Removable Glue Dots?
- 2 The Peeling or Rolling Method
- 3 The Heat Method
- 4 The Solvent Method
- 5 The Oil Method
- 6 Adhesive Remover or Goo Gone
- 7 Safety Precautions
- 8 Testing the Method Beforehand
- 9 Conclusion
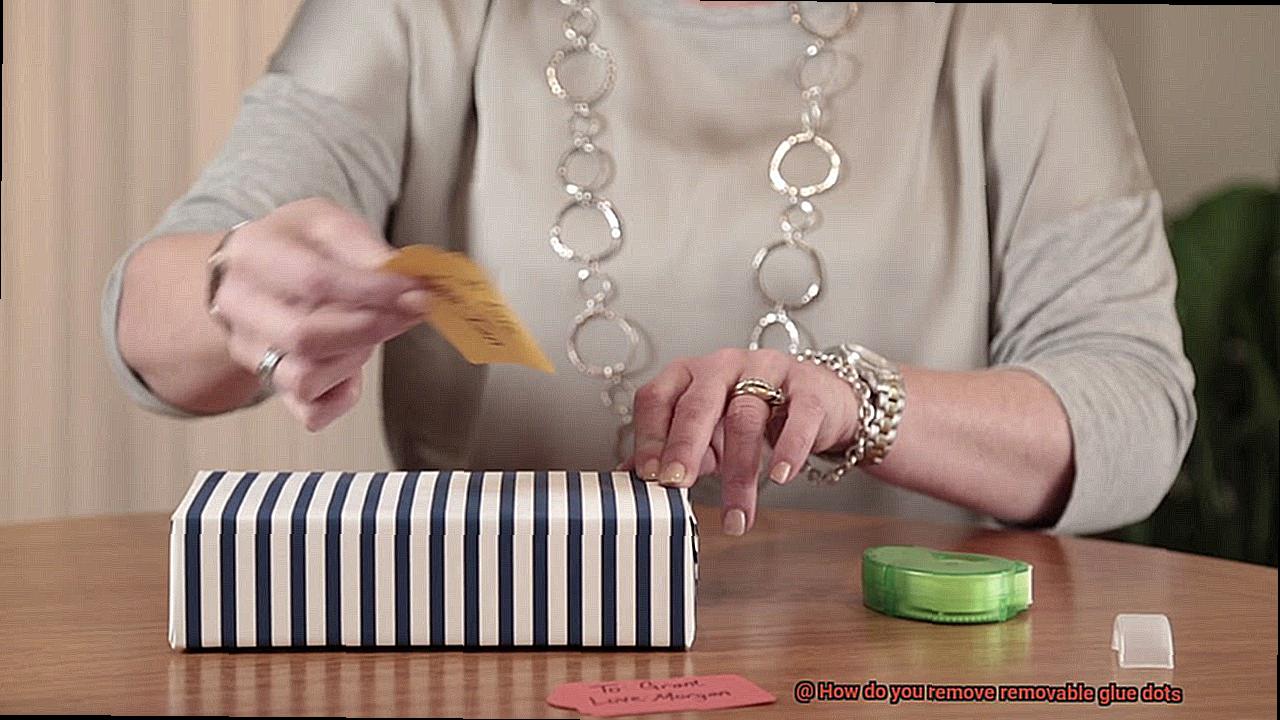
We’ve all experienced it – the frustration of peeling off a sticker or price tag, only to be left with sticky residue. Those pesky removable glue dots can be a real headache when it comes to removing them without leaving behind a mess. But fear not, my friends. In this blog post, we’ll dive into the best methods for bidding farewell to those stubborn adhesive spots and ensuring a clean finish.
From delicate surfaces to stubborn glue remnants, we’ve got you covered. So grab your patience and get ready to conquer those sticky situations.
Method 1: Gentle Peeling
Let’s start with the basics – gently peeling off the glue dot. Find a corner or edge of the dot and use your fingernail or a plastic scraper to lift it slowly. Apply gentle pressure to avoid any damage. Peel away the dot carefully, making sure not to tear it. If there’s still some residue left behind, don’t worry – we have a solution for that too.
Method 2: Heat and Rub
When those glue dots refuse to budge, it’s time for some heat action. Grab your trusty hairdryer or heat gun on low to medium heat and aim it at the dot for a few seconds. The warmth will soften the adhesive, making removal easier. Once warmed up, use a soft cloth or your fingertips to gently rub away the softened glue dot. And if there’s still residue clinging on, our next method will save the day.
Method 3: Sticker Solutions
Sticky residue is no match for our sticker solutions. Soak a cloth in rubbing alcohol or nail polish remover and dab it onto the leftover adhesive. Let the solution work its magic by penetrating the sticky mess. Then, using circular motions, gently rub away the residue until it lifts off completely. Remember to test the solution on a hidden area first to avoid any damage.
Method 4: Multipurpose Magic
Don’t have adhesive removers on hand? No problem. Everyday household items can come to your rescue. Mix warm water with mild dish soap and apply the solution to a cloth or sponge. Gently rub the glue dot until it disappears. Rinse with clean water and pat dry.
With these tried-and-true methods, you’ll be saying goodbye to those sticky situations in no time. So go ahead, tackle those removable glue dots like a pro and enjoy a residue
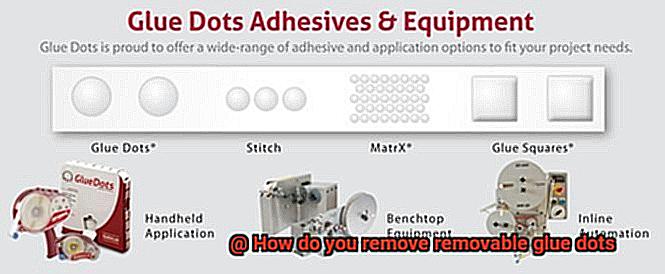
What are Removable Glue Dots?
Finding the perfect adhesive for temporarily sticking lightweight objects can be a daunting task. Traditional glue can leave behind a sticky mess or damage surfaces when removed. Luckily, Removable Glue Dots come to the rescue. In this blog post, we will explore the world of Removable Glue Dots, uncovering their uses, benefits, and removal techniques.
Versatile and Convenient:
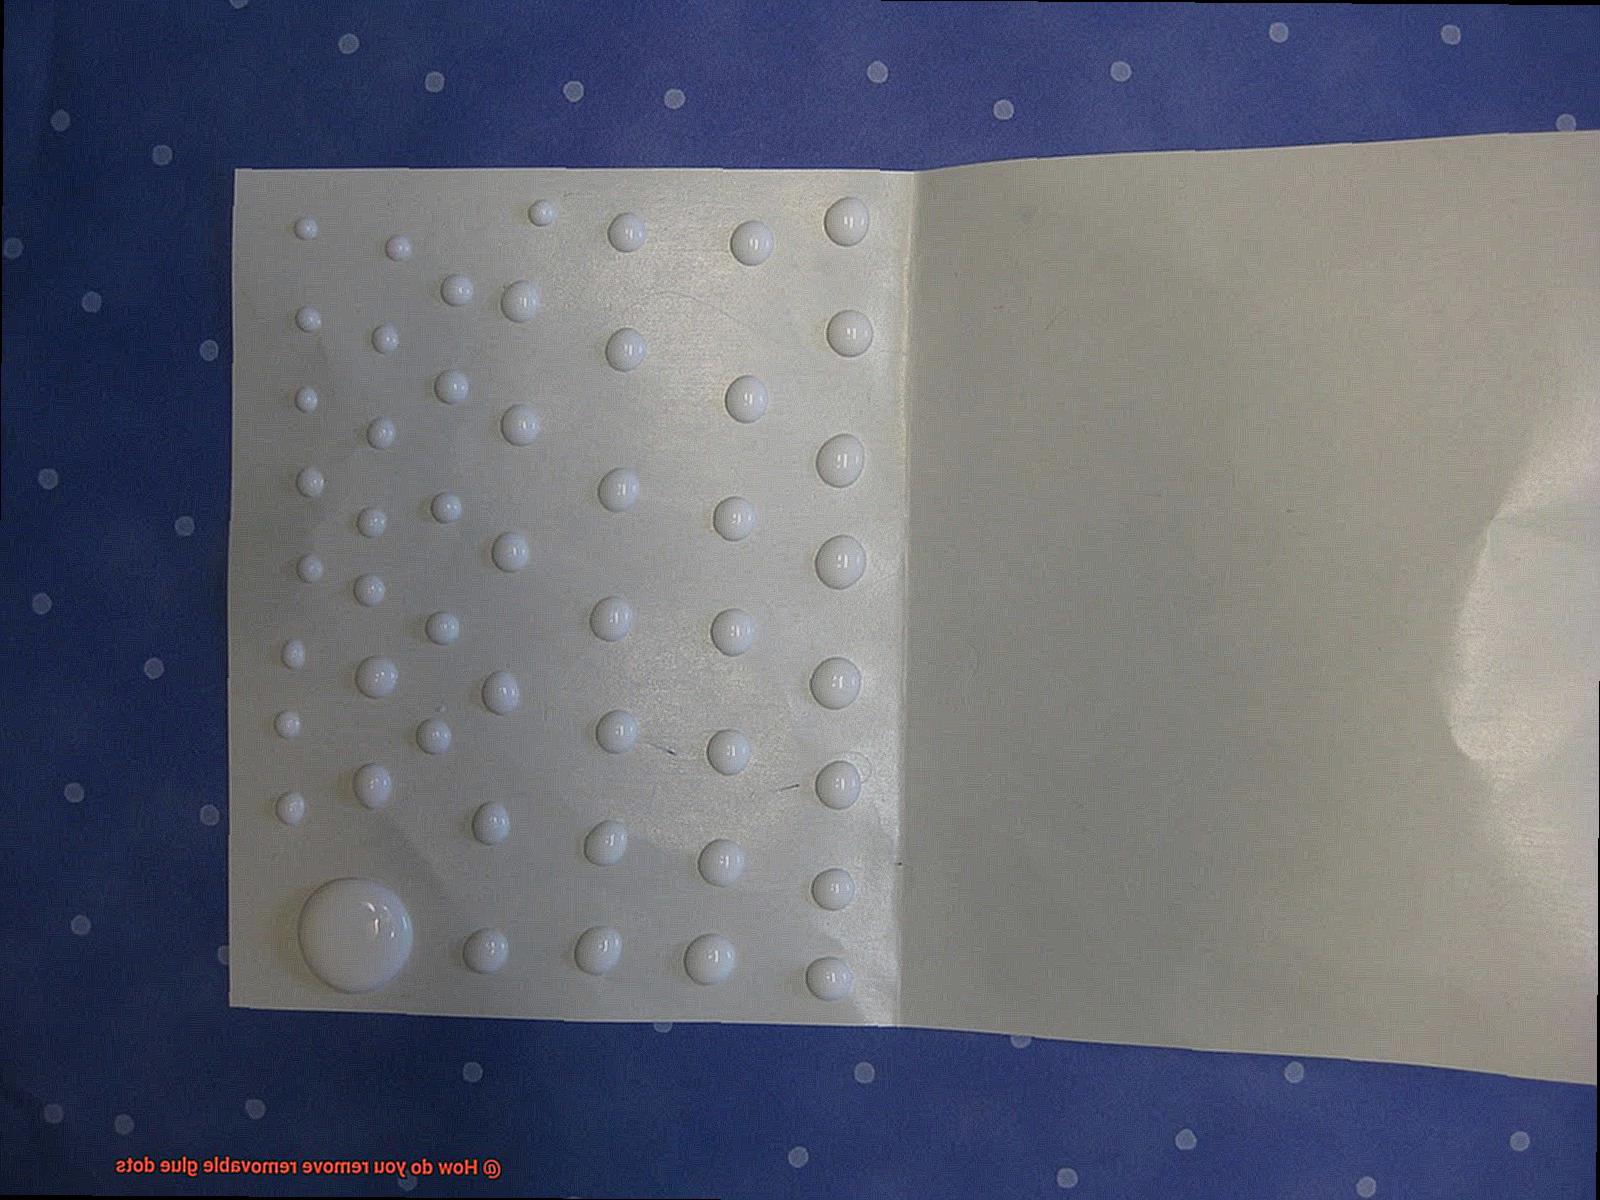
Removable Glue Dots are small circular dots or strips made from a special low-tack adhesive. This unique formulation allows for easy removal without causing any damage or leaving behind residue. Simply peel off the backing material to expose the sticky side of the dot.
Applications:
The possibilities with Removable Glue Dots are endless. These versatile little dots can be used to attach photos or artwork to walls or scrapbooks, secure decorations for parties or events, mount posters or signs temporarily, and even organize cables or cords. They are your go-to solution for all your temporary bonding needs.
Strong Bond, Clean Removal:
Removable Glue Dots offer the best of both worlds – a strong bond and easy removal. Unlike tape or regular glue, these dots won’t dry out or lose their stickiness over time. They can withstand temperature changes and humidity without losing their effectiveness. So you can have peace of mind knowing that your objects will stay in place until you’re ready to remove them without any messy residue left behind.
Removal Techniques:
Removing Removable Glue Dots is a breeze with a few simple techniques. You can gently lift one edge of the dot and roll or peel it off the surface. If you want to speed up the process, apply some heat with a hairdryer or heat gun to soften the adhesive. Alternatively, solvents like rubbing alcohol or oils like vegetable oil can help dissolve the adhesive for a clean removal.
The Peeling or Rolling Method
Fear not. We have the secret weapon that every DIY enthusiast needs – the Peeling or Rolling Method. This method is perfect for eliminating glue dots from smooth surfaces like glass, plastic, or metal. Get ready to dive into the process and equip yourself with the skills to save the day.
Step-by-Step Instructions:
Gather your supplies:
- Clean, dry cloth or paper towel
- Plastic scraper or credit card
- Rubbing alcohol or adhesive remover (if needed)
Loosen the glue dot:
- Gently lift the edge of the glue dot using your fingernail or the plastic scraper.
- Apply minimal pressure to avoid surface damage.
Peel it off:
- Slowly peel off the glue dot using your fingers or the plastic scraper.
- For stubborn dots, apply a small amount of rubbing alcohol or adhesive remover.
- Dampen a cloth or paper towel with the solution and gently rub it on the glue dot until it dissolves.
Try the rolling method (for large areas):
- Roll a small section of the glue dot between your fingers until it forms a ball.
- Continue rolling and picking up more glue dots until they are all gone.
Clean any residue:
Tips for Successful Removal:
Patience is key: Take your time to avoid tearing or residue.
Test first: Ensure no damage or discoloration by testing a small area beforehand.
Seek professional advice: Some surfaces may need specialized care or alternative methods.
Safety first: Wear gloves and work in a well-ventilated area when using adhesive removers.
Store wisely: Keep glue dots away from heat and moisture to maintain their effectiveness.
The Heat Method
The Heat Method is a powerful technique that can banish those stubborn glue dots from your surfaces, leaving them clean and residue-free. Say goodbye to the frustration of sticky messes and hello to a quick and easy solution. With just a few simple tools and some heat, you’ll be able to save the day.
First, let’s talk about using a hairdryer. Set it to a low or medium heat setting and hold it a few inches away from the glue dots. Move it back and forth, ensuring that the heat evenly covers the surface. As the glue dots heat up, they become soft and pliable. Now, it’s time to take action. Use your fingers or a plastic scraper to gently lift and peel off those pesky glue dots.
Next up, we have the trusty iron for fabric or clothing. Set it to a low or medium heat (always check the fabric’s recommended temperature) and place a clean cloth or paper towel over the glue dots. Carefully press the heated iron onto the cloth, applying gentle pressure. The heat will work its magic, softening the glue dots and making them easy to remove with your fingers or a plastic scraper.
For delicate surfaces like glass or plastic, it’s time to bring out the big guns – the heat gun. This powerful tool emits a concentrated stream of hot air that targets those stubborn glue dots. Hold it at a safe distance from the surface and move it in a sweeping motion, ensuring that the heat is evenly distributed. As the glue dots warm up, their grip weakens, allowing you to effortlessly peel them off using your fingers or a plastic scraper.
But before you dive into superhero mode, remember to exercise caution. Always follow safety guidelines provided by the manufacturer for any heating tools you are using. And don’t forget to test the heat method on a small, inconspicuous area of the surface first to ensure no damage or discoloration occurs.
The Solvent Method
Rubbing Alcohol – The Mighty Solvent:
One of the most effective solvents for removing removable glue dots is rubbing alcohol. This superhero solvent contains isopropyl alcohol, a magical force that breaks down adhesive properties. To unleash its power, dampen a clean cloth or cotton ball with rubbing alcohol and gently dab it onto the glue dots. Let it work its magic for a few minutes before peeling off the glue dots with your fingers or a plastic scraper.
Acetone – Handle with Care:
Another mighty solvent is acetone, commonly found in nail polish remover. However, be cautious as this solvent may not be suitable for all surfaces. Test it on a small inconspicuous area first to ensure compatibility. Once confirmed, apply acetone to the glue dots using a cloth or cotton ball and let it work its wonders. Remember, a little goes a long way.
Commercial Adhesive Removers – The Professional’s Choice:
For those seeking a ready-made solution, commercial adhesive removers are here to save the day. Designed specifically for removing glue dots, these removers pack a powerful punch with their specially formulated solvents. Follow the manufacturer’s instructions carefully, and watch as these professional-grade solutions dissolve the adhesive, leaving your surfaces clean and ready for action.
Safety First:
While the Solvent Method is super effective, it’s important to handle solvents with caution. Work in a well-ventilated area and avoid direct contact with your skin or eyes. Protect surrounding surfaces that may be affected by the solvent. When in doubt, seek professional advice or consult the manufacturer of the surface you are working on.
The Oil Method
Imagine the frustration of dealing with stubborn glue dots that just won’t budge. Fear not. In this comprehensive guide, we will introduce you to the remarkable Oil Method – a simple yet effective technique to bid farewell to these adhesive annoyances. So grab your favorite oil from the kitchen and get ready to conquer those sticky situations.
The Supplies You’ll Need:
Your choice of oil – whether it’s versatile vegetable oil or luscious olive oil, both work wonders.
A clean cloth or sponge for flawless application.
A trusty scraper or your nimble fingers for gentle removal.
Step-by-Step Guide:
Begin by applying a small amount of oil onto the glue dots using a cloth or sponge. Ensure every nook and cranny of the glue dot is covered, allowing the oil to work its magic for a few minutes.
Now, it’s time to unleash your magic touch. Carefully peel off small and manageable glue dots using your fingers. For larger or more stubborn dots, call in reinforcements like a scraper or your well-manicured fingernails, always handling with utmost care.
Remember, slow and steady wins the race. If any resistance is encountered, pause and apply more oil to further soften the adhesive’s grip.
Once you’ve successfully banished all those pesky glue dots, give your surface a final touch-up by cleaning it with soap and water to eliminate any trace of oily residue.
Tips and Tricks:
- The Oil Method works wonders on non-porous surfaces like gleaming glass, shiny metal, and sturdy plastic.
- For porous surfaces such as delicate fabrics or elegant wood finishes, it’s best to consult manufacturer instructions or explore alternative methods tailored specifically for these surfaces.

Adhesive Remover or Goo Gone
Choosing between adhesive remover and Goo Gone can make your life easier when it comes to removing those stubborn glue dots without damaging surfaces. These two products are specially designed to dissolve and remove adhesives, leaving your surfaces clean and glue-free.
Let’s delve into the process of removing removable glue dots with adhesive remover and Goo Gone:
- Application: Both adhesive removers and Goo Gone come in liquid form, allowing for easy application. Simply squeeze a small amount onto the glue dot and let it sit for a few minutes.
- Breaking down the adhesive: These products work their magic by penetrating the glue dot and breaking down the adhesive. This process loosens the grip of the glue dot on the surface, making it easier to remove.
- Removal process: After allowing the product to do its job, use a soft cloth or sponge to gently scrub the area. You’ll notice that the glue dot starts to lift off effortlessly. For larger or more stubborn glue dots, you may need to repeat the process or use a plastic scraper or credit card to carefully scrape off the residue.
Now, let’s explore the advantages and disadvantages of each method:
Adhesive Remover:
- Advantages:
- Specifically designed for removing adhesives.
- Effective on various surfaces like glass, metal, plastic, and wood.
- Can tackle stubborn or larger glue dots.
- Disadvantages:
- Some adhesive removers may have a strong odor.
- Certain types may not be suitable for all surfaces, so testing is crucial.
Goo Gone:
- Advantages:
- Trusted brand widely used for removing sticky residue.
- Effective on various surfaces.
- Versatile; can also remove tape residue or sticker residue.
- Disadvantages:
- May require more effort for larger or stubborn glue dots.
- Extra caution needed on delicate or painted surfaces.
Both adhesive removers and Goo Gone are excellent options for removing removable glue dots. Remember to read the instructions and test them on a small, inconspicuous area before applying to the entire surface. This will ensure compatibility and prevent any potential damage.
Once all the glue dots have been removed, clean the surface with mild soap and water to remove any remaining residue from the adhesive remover or Goo Gone.
Safety Precautions
Removing glue dots can be a sticky situation, but with the right safety precautions, you can breeze through the process without any mishaps. In this article, we’ll explore essential measures to consider when removing glue dots. So, grab your gloves, put on your goggles, and let’s get started.
Protect Your Hands:
Wearing gloves is crucial to prevent direct contact with the glue dots and any potential irritants or chemicals involved in the removal process. This simple precaution keeps your hands safe and free from any potential skin reactions.
Shield Your Eyes:
Safety goggles are not just for science experiments. When removing glue dots, wear protective eyewear to shield your eyes from accidental splatters or contact with the glue dots or removal substances. Your eyes will thank you.
Work in a Well-Ventilated Area:
Good airflow is essential during glue dot removal to prevent inhaling fumes or strong odors associated with certain adhesives. Open windows or use fans to improve air circulation and reduce potential health risks.
Gather Your Tools:
Before starting the removal process, gather all necessary tools and materials such as adhesive removers, scrapers, cotton swabs, and anything specific to your chosen method. Having these readily available streamlines the process and minimizes delays or accidents.
Follow Instructions Carefully:
Different adhesive removers may have varying application methods and safety guidelines. To ensure safe and effective removal, read and follow the instructions provided with the adhesive remover carefully. Prioritizing safety guarantees optimal results.
Mind Flammability:
If using chemical-based adhesive removers, be aware of their flammability. Keep them away from open flames or any potential sources of ignition to prevent accidents. Safety always comes first.
Proper Disposal:
Dispose of used cotton swabs, scrapers, or other materials properly. These items may contain residual adhesive or chemicals, so it’s important not to leave them lying around where they can pose a risk to others. Dispose of them responsibly.
Testing the Method Beforehand
We’ve all been there. But fear not, there’s a solution. By testing the removal method beforehand, you can save yourself from potential damage and frustration. In this blog post, we’ll delve into why testing is crucial and how it can prevent disasters. So, grab your lab coat (or just an apron) and let’s get started.
The Importance of Testing:
Preventing Surface Damage:
Picture this – you finally manage to remove the glue dots from your beloved wooden table, only to discover unsightly marks or discoloration left behind. Testing the removal method beforehand is key to avoiding such disasters. Apply a small amount of the chosen method to an inconspicuous area on the surface and observe for any adverse reactions. No negative effects? Proceed with confidence knowing your method is safe for the entire glue dot area.
Considering Different Surface Materials:
Not all surfaces are created equal when it comes to adhesive removal. Glass may require a different approach than fabrics or delicate surfaces. Testing the removal method beforehand allows you to consider the specific material of your surface and choose an appropriate method accordingly. This consideration ensures that you won’t accidentally cause harm or unintended consequences while trying to remove those stubborn glue dots.
Saving Time and Effort:
Let’s face it – removing glue dots can be a time-consuming and frustrating process. Don’t waste hours rubbing away at those sticky dots only to realize your chosen method is ineffective or damaging. Testing beforehand saves valuable time and effort in the long run. Find the most suitable and efficient method through testing, ensuring a successful removal process.
aMgth8XVq74″ >
Conclusion
Removing removable glue dots can be a sticky situation, but fear not, for I am here to guide you through the process. These pesky little adhesive circles may seem stubborn, but with the right techniques and a touch of patience, you’ll have them gone in no time.
One method to remove removable glue dots is by using heat. Grab yourself a hairdryer and set it to low or medium heat. Gently warm up the glue dot for a few seconds, being careful not to overheat it. Once the adhesive has softened, take a clean cloth or paper towel and slowly peel off the glue dot from one edge to another. Voila. The glue dot should come off easily without leaving any residue behind.
If you don’t have access to a hairdryer, fret not. Another effective way to remove these stubborn dots is by using rubbing alcohol. Grab some cotton balls or a soft cloth and soak it in rubbing alcohol. Place the soaked cotton ball on top of the glue dot and let it sit for a few minutes. The alcohol will help break down the adhesive, making it easier to remove. Once the glue dot has loosened up, gently peel it off using your fingers or a pair of tweezers.
For those who prefer natural remedies, there’s also an option for you. You can use cooking oil or olive oil as an alternative method to remove removable glue dots. Simply apply a small amount of oil onto the glue dot and let it sit for a few minutes. The oil will work its magic by loosening up the adhesive bond. Afterward, use your fingers or a soft cloth to gently rub off the glue dot until it comes off completely.
Now that you’re armed with these handy techniques, go forth and conquer those pesky removable glue dots. Remember to approach each removal process with care and patience so as not to damage any surfaces or leave behind any residue.