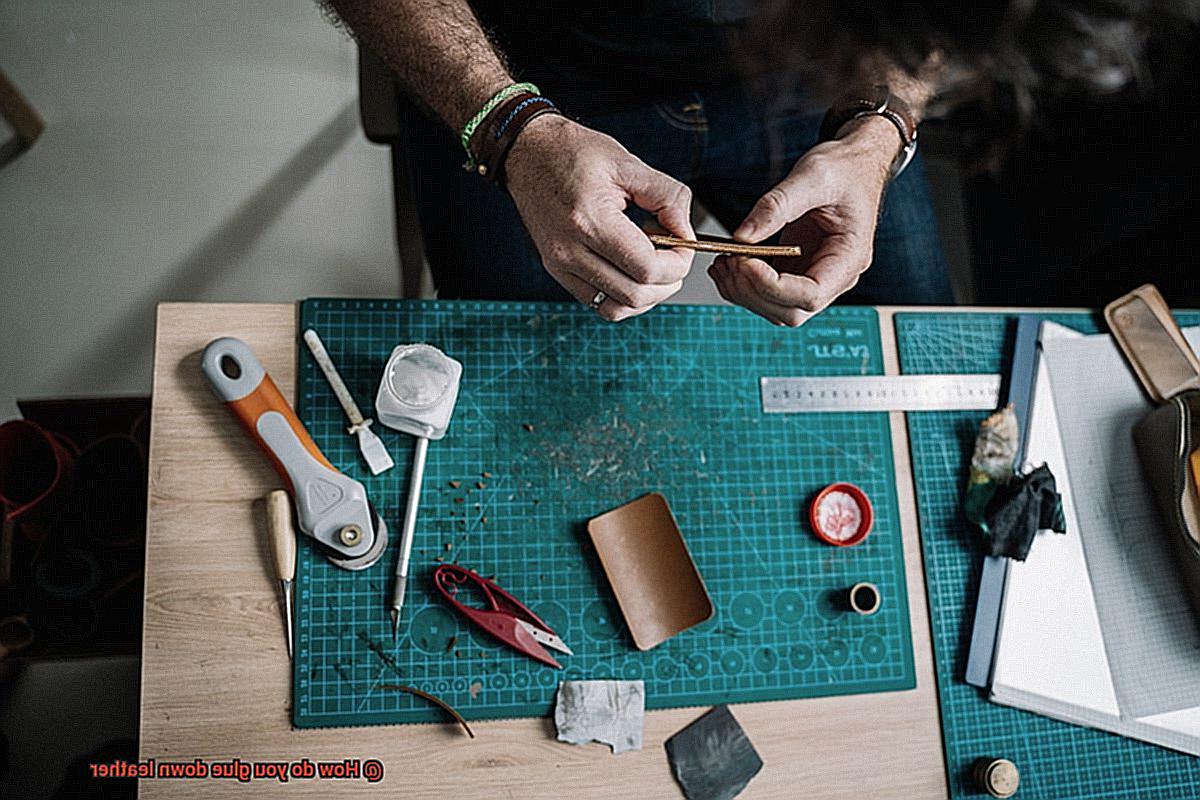
Ever wondered how the fusion of artistry and practicality creates timeless masterpieces that captivate the eye? Enter the captivating world of leatherwork, where each stitch and connection tells a story. Among the essential techniques that bring leather creations to life, one stands above the rest: gluing down leather.✨
There’s an almost enchanting quality in bonding supple leather to various surfaces, seamlessly blending elegance with durability. Today, we embark on a journey into the art of gluing down leather, unveiling the secrets behind achieving flawless adhesion – even for those new to this craft.
Whether you’re mending a cherished leather jacket, personalizing accessories, or crafting awe-inspiring projects, mastering the gluing technique is crucial for success. But it takes more than just adhesive and leather – it demands skill, precision, and a sprinkle of finesse.
In this blog post, we explore the step-by-step process of gluing down leather. From selecting the perfect glue and preparing surfaces to applying adhesive like a seasoned surgeon, we’ll dive into indispensable tips and tricks for achieving professional-looking results every time.
Main Points:
- The Power of Perfect Adhesive: Discover an array of adhesives used for gluing leather and find your project’s ideal match.
- Prepping Surfaces for Success: Unveil secret techniques for prepping both leather and surfaces to maximize adhesion strength, ensuring longevity and reliability.
- Mastering Application: Learn the art of applying adhesive with finesse – creating bonds capable of withstanding time’s relentless test.
- Advanced Adhesive Techniques: Dive deep into advanced techniques such as edge gluing, reinforced stitching, and precise joins – all vital for achieving flawlessness in your finished piece.
Preparing the Leather for Gluing
Contents
Unlock the secrets to achieving a strong and long-lasting bond when gluing leather by mastering the art of proper preparation. In this step-by-step guide, we will delve into the essential techniques and tips to ensure optimal adhesion and durability.
Step 1: Cleanse for Success
Start by giving your leather surface a thorough cleaning. Banish dirt, oils, and residue using a mild soap or specialized leather cleaner. This meticulous cleansing not only removes impurities but also primes the surface for superior glue adhesion.
Step 2: Roughen Up with Sanding
To enhance the grip of the glue, lightly sand the smooth surface of the leather. Gently roughen it up with fine-grit sandpaper, creating tantalizing textures that embrace the adhesive. Remember to tread lightly so as not to mar the beauty of the leather.
Step 3: Strip Away the Past (if applicable)
If you’re working with previously finished leather, it’s essential to strip away any existing coatings or finishes before gluing. Harness the power of a leather deglazer or acetone to reveal a clean and porous surface, ready to bond seamlessly with the adhesive.
Step 4: Dryness is Key
Before embarking on your gluing journey, ensure that your leather surface is completely dry. Moisture can wreak havoc on adhesive properties. Grant your leather ample time to air dry naturally or gently pat it dry with a clean cloth.
Step 5: Conditioner: A Gateway to Adhesion
Pamper your leather and amplify its receptiveness to adhesive by applying a whisper-thin layer of leather conditioner or preparer. Experience the transformation as it softens and conditions your leather, creating an ideal canvas for bonding.
Step 6: Compatibility Test: A Sneak Peek into Success
Before diving headfirst into gluing the entire surface, conduct a compatibility test. Choose an inconspicuous area and apply a small amount of glue. Observe its effectiveness and drying time, ensuring a harmonious match between glue and leather for ultimate success.
Step 7: Harmonize with Manufacturer’s Instructions
Different adhesives have their own unique personalities, complete with specific preparation techniques and application methods. Embrace their quirks by faithfully following the manufacturer’s instructions. This dance of harmony guarantees optimal bonding strength and longevity.
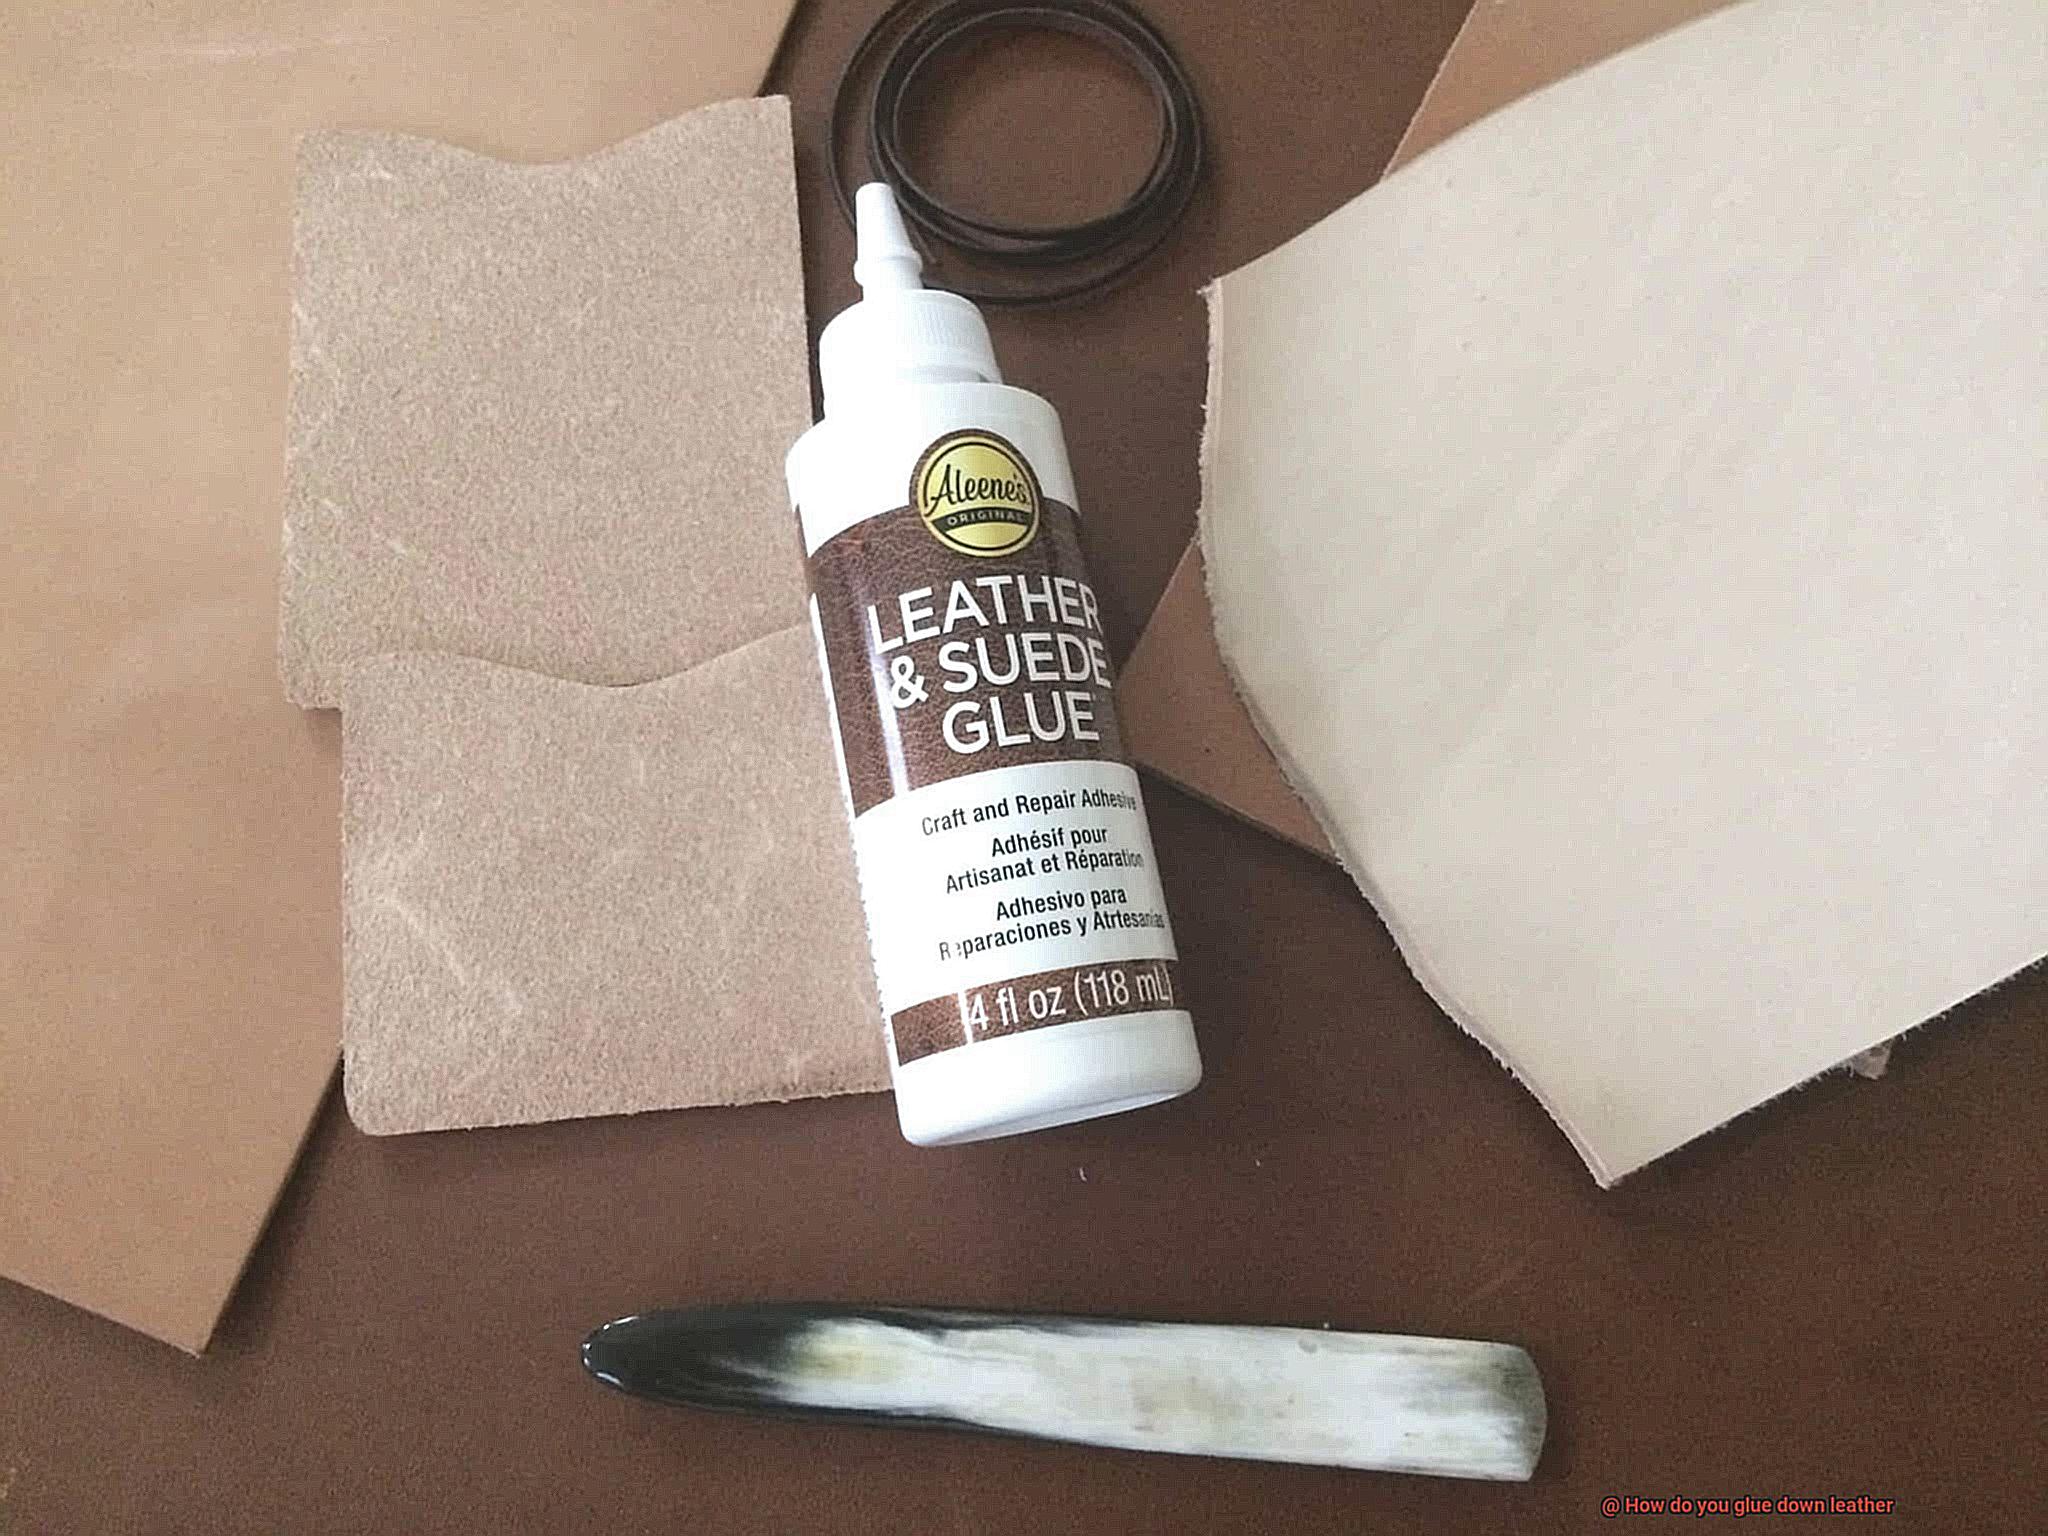
Choosing the Right Adhesive
When it comes to creating a bond that withstands the test of time, selecting the right adhesive is paramount. The adhesive you choose can make or break your leather project, determining its strength, durability, and even flexibility. In this comprehensive guide, we will explore the critical factors to consider when choosing the right adhesive for gluing leather. From contact cement to epoxy resin, flexible adhesives, and surface preparation, we’ll cover it all. So, let’s embark on a journey to discover the secrets of adhesive mastery.
Contact Cement: Unleashing the Powerhouse
Contact cement takes center stage as one of the most powerful adhesives for gluing leather. With its instant bonding capabilities, this adhesive forms an unyielding connection when the surfaces meet. If you seek reliability and long-lasting results, contact cement is your mighty ally in leatherworking projects.
Epoxy Resin: Where Strength Meets Versatility
For those seeking a bond that transcends traditional boundaries, epoxy resin emerges as a formidable contender. Comprising a resin and a hardener, this two-part adhesive concocts a bond that defies limits. Perfect for adhering leather to non-porous materials like metal or plastic, epoxy resin ensures strength without sacrificing versatility.
Flexible Adhesives: Embracing Gentle Resilience
When delicacy meets durability, flexible adhesives like rubber cement and fabric glue rise to the occasion. These adhesives offer the much-needed flexibility for projects that demand movement without compromising the bond’s integrity. Additionally, they delicately safeguard against damage or discoloration of the precious leather.
Compatibility Matters: The Perfect Match
In the realm of adhesive selection, compatibility reigns supreme. Each type of leather possesses its own unique texture and finish, necessitating adhesives tailored to its specific characteristics. Suede and nubuck leathers, for instance, require specialized adhesives designed to preserve their delicate nature and exquisite finish.
Proper Preparation: Laying the Foundation for Success
Before embarking on the adhesive application journey, meticulous surface preparation is key. To ensure an impeccable bond, cleanse the leather of any dirt, oils, or finishes that might impede the process. Armed with a gentle detergent or leather cleaner and a soft cloth, transform your leather into a pristine canvas ready for bonding.
Applying Contact Cement
If you’ve ever wondered how to achieve a strong and lasting bond when gluing down leather, look no further than the art of applying contact cement. In this captivating guide, we will delve into the secrets of successfully using this powerful adhesive. Prepare to be amazed as we unveil the key steps and techniques that will elevate your leatherworking to new heights. So, grab your tools, put on your creative hat, and let’s embark on a journey of leather-bonding mastery.
Cleanliness: The Foundation of Success
Imagine trying to build a sturdy house on a shaky foundation. That’s exactly why cleanliness is crucial when it comes to applying contact cement. Before diving into the glueing process, make sure your work surface is clean and dry. Banish any dust, dirt, or moisture that could undermine the effectiveness of the adhesive. Trust me, investing a little extra time in this preparatory step will pay dividends in the quality of your final product.
Ventilation and Safety: A Breath of Fresh Air
As you unleash the power of contact cement, be mindful of its fumes. These potent odors are not something you want to inhale for an extended period of time. To protect yourself and ensure a pleasant working environment, either find a well-ventilated space or don a mask. Safety should always be at the forefront of your mind as you embark on your leather-bonding adventure.
The Art of Precision: Thin and Even Application
Now it’s time to showcase your prowess in applying contact cement with precision and finesse. To achieve professional-grade results, aim for a thin and even layer of adhesive on both the leather and the surface you want to bond it to. Consider employing a brush or roller for seamless application that ensures consistent coverage. Remember, contact cement bonds instantly upon contact, so accuracy is paramount.
Patience: The Virtue That Strengthens Bonds
In a world of instant gratification, patience may seem like a lost virtue. However, when it comes to applying contact cement, patience is the secret ingredient that leads to a stronger bond. After applying the adhesive, resist the urge to rush ahead. Allow it to dry completely according to the manufacturer’s instructions, taking into account factors such as temperature and humidity. This waiting game will reward you with a bond that can withstand the test of time.
Using Leather Glue
Today, we embark on a journey into the realm of leather glue, where artistry and craftsmanship come together to create perfectly bonded leather creations. So grab your favorite leather project and prepare to be amazed as we unravel the mysteries of this specialized adhesive.
The first step on our quest to leather bonding greatness is selecting the right glue for the job. With a multitude of formulas tailored to different leather types and thicknesses, choosing the perfect one is essential. Whether you’re working with supple lambskin or robust cowhide, there’s a glue out there waiting to bring your vision to life.
But before we delve into the magical world of adhesives, let’s not forget the importance of cleanliness. A pristine surface is the foundation for a strong bond. So grab your trusty leather cleaner or mild soap and water, and give those surfaces a thorough scrubbing. Bid farewell to dirt, oil, and residue as you prepare your leather for its transformative journey.
Now that our surfaces are gleaming with purity, it’s time to unleash the power of leather glue. Armed with a brush or a small spatula, we spread a thin and even layer of this enchanting adhesive onto both surfaces. Remember, my friends, even distribution is key to achieving a bond that will stand the test of time.
But wait. Before we join these leather companions together, let us embrace the virtue of patience. Allow the glue to reach its tacky state, a process that may take anywhere from 5-10 minutes. The brand you’re using may influence this timeline, so resist the urge to rush and savor this moment of anticipation.
Now comes the moment we’ve all been waiting for – the union of two leathery souls. With utmost care and precision, align the pieces flawlessly, ensuring a match made in adhesive heaven. Apply firm pressure across the entire surface, sealing the bond with unwavering strength.
Ah, but what’s this? Excess glue daring to mar our masterpiece? Fear not, for we possess the power to vanquish such intruders. Swiftly grab a damp cloth or sponge and erase those unwanted remnants before they have a chance to solidify. Behold, your project is restored to its immaculate state.
Utilizing Epoxy Adhesives
In our previous section, we delved into the intricate world of leather glue. Now, it’s time to explore another adhesive superhero in the realm of leather craftsmanship – epoxy adhesives. Known for their incredible bonding capabilities and durability, epoxy adhesives are a go-to choice when it comes to securing leather surfaces with unwavering strength. So, grab your apron and let’s dive into the steps necessary to properly utilize epoxy adhesives when bonding leather surfaces.
Step 1: Preparing the Surface
Cleanliness is next to godliness when it comes to achieving a strong bond. Take a moment to cleanse the leather surface with a mild soap and water solution, banishing any dirt, oil, or debris that might hinder the bond. Allow the leather to dry completely, like a blank canvas ready for a masterpiece.
Step 2: Roughening Up the Leather
Just like a warrior sharpens their sword before battle, roughening up the leather surface helps create more area for the adhesive to grip onto, resulting in an unbreakable bond. Grab some sandpaper or an abrasive material and gently roughen the surface. But remember, we’re aiming for a light touch here – no need to turn your leather into a battlefield.
Step 3: Mixing and Applying Epoxy Adhesive
Epoxy adhesives are a dynamic duo – a resin and a hardener. Follow the manufacturer’s instructions diligently, ensuring you mix the components in the recommended ratio. One small slip in this chemistry experiment could jeopardize your bond.
Once your epoxy adhesive is mixed to perfection, it’s time to apply it to your leather surfaces. With the precision of an artist’s brushstroke, spread a thin and even layer of epoxy adhesive on both surfaces that require bonding. Be generous enough to cover the surface adequately, but not too excessive that it oozes out like an overfilled sandwich. No one wants a leaky bond.
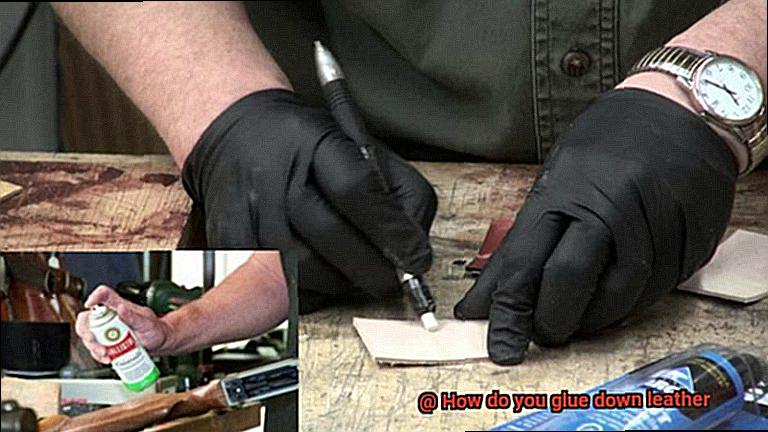
Testing the Adhesive
Today, we embark on a quest to unravel the secrets of adhesive testing and its paramount significance in your leatherworking odyssey. Just as a master swordsman hones their blade, testing your adhesive guarantees unyielding bonds that will stand the test of time. So, gather your leather and don your expert caps as we delve into the world of adhesive testing before gluing down leather.
Cleanliness: The Key to Divine Adhesion
In the realm of adhesive mastery, cleanliness reigns supreme. Imagine preparing a blank canvas for a masterpiece. Dirt, dust, and oils must be banished to ensure optimal bonding. Begin by cleansing the surfaces that will be joined using a gentle soap and water solution. Remember to thoroughly dry the leather before proceeding.
The Sacred Ritual of the Test Piece
Behold, the sacred ritual of the test piece. Choose a small sacrificial patch of leather resembling your project’s type and thickness. This offering shall provide insight into the adhesive’s effectiveness and compatibility.
Spreading the Enchantment
Now, let us unleash our artistic prowess in applying the adhesive. With precision akin to a painter’s brushstroke, evenly spread a modest amount over the test piece’s surface using a brush or applicator. Embrace generosity tempered by exactitude.
Patience: A Virtue Rewarded
In this realm, patience is indeed a virtue. Follow faithfully the drying instructions bestowed upon us by the adhesive’s creator. Each adhesive possesses its unique timetable for transformation. Pay heed to these instructions, for they hold the key to success. During this interlude, observe how well the adhesive forges an unbreakable bond between the leather fragments.
The Crucible of Strength
Once time has run its course, the crucible of strength awaits. Gently pull on the test piece, and let the truth be revealed. Should it withstand your delicate tugs, rejoice. A resolute bond proclaims the adhesive’s suitability for gluing down leather.
Applying the Adhesive
As a skilled leather artisan, you know that choosing the right adhesive and ensuring a long-lasting bond is essential. So, let’s dive into the process together and discover the secrets of successful leather bonding.
To start off, selecting the perfect adhesive is paramount. Leather requires a specialized adhesive formulated specifically for bonding this unique material. Don’t settle for anything less than an adhesive designed for leather if you want a strong and durable bond that will stand the test of time.
Now that you have your adhesive in hand, it’s time to prepare the leather surface for bonding. Just like a master swordsman sharpens their blade before battle, cleaning the leather is crucial. Use a gentle leather cleaner or rubbing alcohol to eliminate any dirt, oil, or contaminants that could hinder the bonding process. This step sets the stage for a flawless bond.
With the surface prepped, it’s time to apply the adhesive. Remember, less is more in this case. Apply a thin, even layer of adhesive over the area where you’ll be gluing down the leather. Avoid the temptation to slather on too much adhesive, as it can seep through and create a messy appearance or compromise the flexibility of the material.
Now comes the moment of truth – firmly pressing the leather onto the glued surface. Whether you choose to use a trusty roller or apply pressure evenly with your hands, the goal is to eliminate any air bubbles and ensure maximum contact between the leather and the adhesive. This step guarantees a secure bond that will withstand even the toughest challenges.
Patience is key – allow ample drying time for the adhesive to fully cure. Each adhesive has its own recommended drying time, so be sure to follow the manufacturer’s instructions closely. Rushing this step can lead to weaker bonds and disappointment in the long run. Remember, good things come to those who wait.
Once the adhesive has dried completely, it’s time for a meticulous inspection. Take a close look for any areas that may require additional bonding. If you spot any, apply a small amount of adhesive to those areas and repeat the bonding process. It’s always better to be safe than sorry when it comes to ensuring a flawless bond.
Securing a Strong Bond
Today, we embark on a quest to unveil the secrets of securing a bond that will stand the test of time. Just as a warrior carefully selects their weapon, choosing the right adhesive is crucial in ensuring a bond that can withstand any challenge. So, let us sharpen our skills and prepare ourselves for an extraordinary journey into the art of gluing down leather.
The Power of a Strong Bond:
Picture this: you’ve poured your heart and soul into creating a stunning leather piece, only to have it fall apart due to a feeble bond. Devastating, isn’t it? That’s why securing a strong bond is paramount when gluing down leather.
It guarantees durability, longevity, and the ability to withstand the rigors of daily use. A strong bond transforms your leather creations into formidable warriors prepared for any adventure.
Unleashing the Right Adhesive:
To achieve an unyielding bond, you must wield the right adhesive for the task at hand. Leather glue, contact adhesive, or fabric glue are all formidable choices. Each possesses unique strengths and qualities that suit different applications. Explore these options and experiment until you find your preferred weapon of choice.
Preparing for Battle:
Before embarking on your gluing endeavor, it is crucial to prepare your leather surface meticulously. Cleanse it from dirt and oils that could hinder bonding. By creating a pristine canvas, you ensure optimal adhesion – a rock-solid foundation for your masterpiece.
Mastering the Technique:
With your leather surface primed and ready, it’s time to apply the glue skillfully. Whether you choose to wield a brush or a spatula, evenly spread the adhesive onto both surfaces to be bonded. Remember, an even application ensures uniform strength throughout the bond. Embrace your inner artist and apply glue with precision akin to a painter’s brushstrokes.
Testing the Boundaries:
Now comes the defining moment – applying pressure to forge an unbreakable bond. This step is not to be taken lightly. Harness the power of clamps, weights, or your own hands to exert pressure on the glued surfaces. Allow the bond to solidify and fortify. It is in these moments that true warriors are forged.
MSdheu6dVI4″ >
Conclusion
When it comes to gluing down leather, there are a few key steps you need to follow. First and foremost, make sure you have the right adhesive for the job. Look for a high-quality leather glue that is specifically designed for bonding leather materials together.
Next, prepare the surface of the leather by cleaning it thoroughly. Use a mild soap and water solution to remove any dirt or oils that may hinder the adhesive’s effectiveness. Once clean, allow the leather to dry completely before moving on to the next step.
Before applying the glue, test it on a small, inconspicuous area of the leather to ensure compatibility and avoid any potential damage or discoloration. Once you’re confident in your choice of adhesive, apply a thin layer evenly onto one side of the leather that needs to be glued down.
Press firmly on the glued section and hold it in place for a few minutes to allow the adhesive to bond properly. You can use clamps or heavy objects to provide additional pressure if needed. Be careful not to apply too much pressure as it may cause excess glue to squeeze out from under the leather.
After allowing sufficient drying time as per the manufacturer’s instructions, check if the bond is secure by gently pulling on the glued section. If it holds firm without any signs of lifting or peeling, then congratulations – your leather is successfully glued down.
Remember, patience is key when working with adhesives. Allow ample time for drying and curing before subjecting your newly bonded leather piece to stress or strain. And always follow safety precautions mentioned on the product label.
In conclusion, gluing down leather requires attention to detail and proper preparation. By choosing the right adhesive, cleaning and testing beforehand, applying an even layer of glue, providing adequate pressure during bonding, and allowing sufficient drying time – you’ll achieve a strong and durable bond that will withstand everyday use.