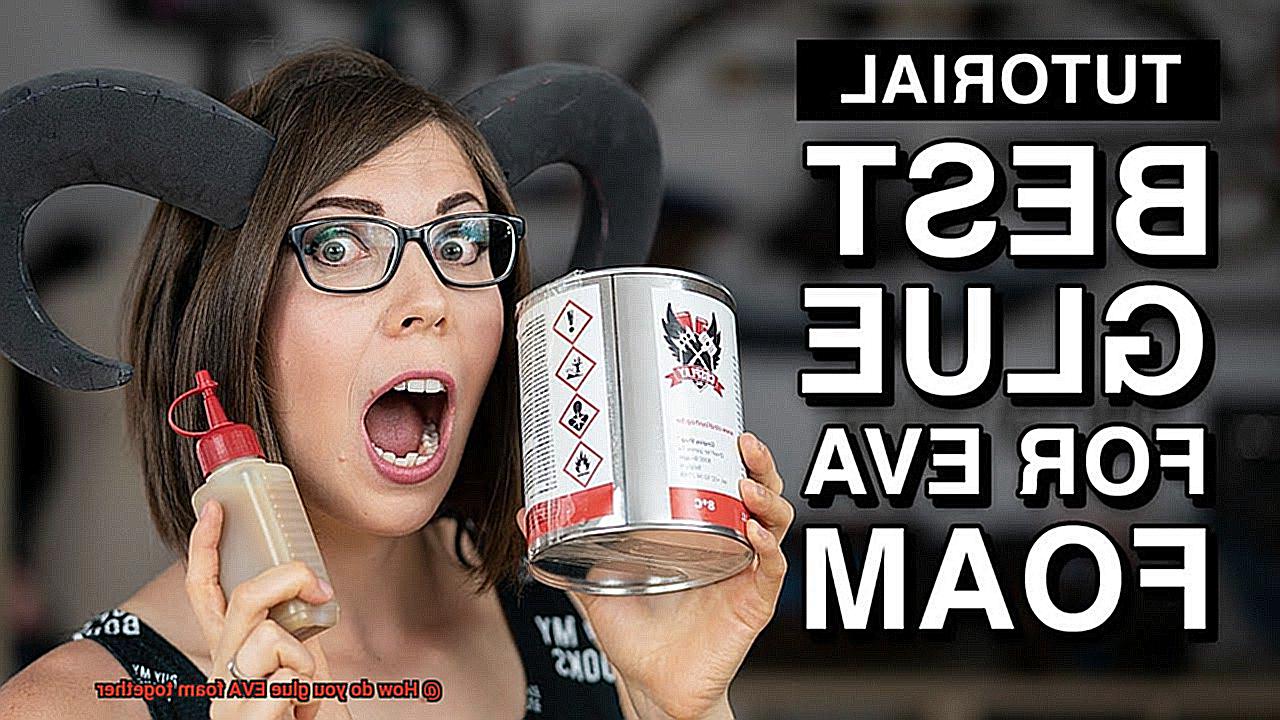
Are you a DIY enthusiast who loves making props, costumes, or cosplay items using EVA foam? If you are, then you know how crucial it is to glue the foam pieces together seamlessly. EVA foam, also known as ethylene-vinyl acetate foam, is an incredibly versatile and flexible material that can withstand water and last for years. However, finding the right adhesive that bonds EVA foam flawlessly can be a daunting task.
But don’t worry; this blog post will take you on a journey into the world of EVA foam and teach you how to glue it together like a pro. We’ll explore different types of adhesives that work best with EVA foam and explain how to use them correctly. From hot glue to contact cement and even the lesser-known but highly effective E6000 adhesive – we’ve got you covered.
We’ll also share some dos and don’ts when applying adhesive to EVA foam so that your finished product looks perfect every time. And of course, safety comes first. We’ll provide some tips on how to stay safe while working with chemical adhesives.
Whether you’re an experienced crafter or just starting out, this post will help you take your craft to the next level by mastering the art of gluing EVA foam together. So let’s dive in.
What is EVA Foam and Why do People Glue it?
Contents
- 1 What is EVA Foam and Why do People Glue it?
- 2 Different Types of Adhesives for Gluing EVA Foam
- 3 Contact Cement as an Option to Glue EVA Foam Together
- 4 Hot Glue: Pros and Cons for Gluing EVA Foam
- 5 Water-Based Adhesives: A More Eco-Friendly Option
- 6 Preparing the Surface Before Gluing EVA Foam Together
- 7 Applying the Adhesive Evenly for a Strong Bond
- 8 Allowing Sufficient Time for the Adhesive to Dry
- 9 Conclusion
EVA foam, also known as ethylene-vinyl acetate foam, is a wonder material that is soft, flexible, and lightweight. It is a closed-cell foam available in different densities and colors, and it can be easily cut, shaped, and molded to fit various needs. EVA foam has become increasingly popular in recent years due to its versatility and durability.
One of the primary reasons why people use EVA foam is its shock-absorbing properties. It is commonly used in footwear, sports equipment, and protective gear such as helmets and knee pads. Additionally, EVA foam is popular in crafts, cosplay, and DIY projects because of its ease of use and affordability.
People glue EVA foam for several reasons. One reason is to create a larger piece by combining smaller pieces. This can be useful in projects where a specific size or shape is required. Another reason is to add layers for extra cushioning or support.
There are several options available when it comes to gluing EVA foam together. Contact cement is one of the most popular choices as it creates a strong and durable bond. However, it’s essential to choose the right type of contact cement for the job as some may not be suitable for use with EVA foam. Another option is using hot glue, which is easy to apply and can bond pieces of EVA foam quickly. However, it may not be as durable as contact cement and may not work well for larger projects.
For those who prefer eco-friendly options, water-based adhesives are available that can be used with EVA foam. These adhesives are non-toxic and easy to clean up.
Different Types of Adhesives for Gluing EVA Foam
When it comes to creating projects with EVA foam, choosing the right adhesive is crucial for ensuring the success and longevity of your creation. Here are five sub-sections that explain the different types of adhesives that can be used for gluing EVA foam together:
Contact Cement
This powerful adhesive is a popular choice for bonding EVA foam because it creates a strong and permanent bond. It’s ideal for larger projects where durability is key. When using contact cement, it’s important to apply it to both surfaces that need to be glued and allow it to dry before joining them together. However, due to its strong fumes, it should only be used in a well-ventilated area.
Hot Glue
Hot glue is a versatile adhesive that dries quickly and can be easily applied using a hot glue gun. It’s perfect for smaller projects and provides a strong bond that can withstand moderate stress. However, it may not be as durable as contact cement and may not be suitable for heavy-duty applications.
Super Glue
Also known as cyanoacrylate glue, super glue is an excellent adhesive for bonding small pieces of EVA foam together. It dries quickly and creates a strong bond, but may not be the best option for larger projects.
Epoxy
Epoxy is a two-part adhesive that creates a durable and waterproof bond, making it ideal for larger projects or when a waterproof bond is necessary. However, epoxy takes longer to dry than other adhesives and requires mixing before use.
Spray Adhesive
Spray adhesive is an easy-to-use option that provides even coverage over large areas of EVA foam. It creates a temporary bond that allows for repositioning before it dries completely. However, it may not provide the same level of strength as other adhesives.
It’s important to note that not all adhesives are suitable for all types of EVA foam. Some adhesives may melt or damage certain types of foam, so always test a small area first before applying the adhesive to the entire project. Additionally, always follow the manufacturer’s instructions when using any type of adhesive.
Contact Cement as an Option to Glue EVA Foam Together
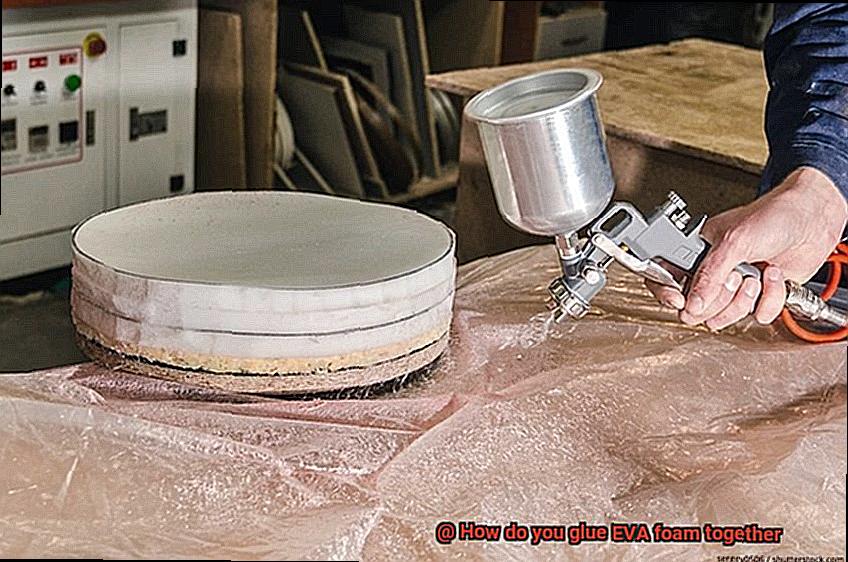
Contact cement might be the perfect solution for you. This type of glue is widely used in various projects that require a long-lasting hold, thanks to its chemical reaction that creates a permanent bond between surfaces.
To ensure a successful application, it’s important to apply the contact cement evenly and thinly to both surfaces. You can use a brush or roller to achieve an even coat. Let the glue dry completely before pressing the two pieces of foam together, making sure to align them correctly since the bond is permanent.
As with any adhesive, contact cement can be messy. It’s crucial to work in a well-ventilated area and wear gloves to protect your hands. Be mindful of cleaning up any excess glue immediately with a solvent like acetone because dried glue can be difficult to remove.
Hot Glue: Pros and Cons for Gluing EVA Foam
If you’re in search of a quick and easy adhesive for your EVA foam projects, hot glue may seem like the perfect solution. However, before you break out the glue gun, it’s important to evaluate the pros and cons of using this popular adhesive.
Let’s begin with the advantages. One of the most significant benefits of hot glue is its rapid drying time. Unlike other adhesives that can take hours or even days to fully set, hot glue hardens in just a matter of minutes. This makes it an ideal choice for busy creatives who need to complete projects quickly.
In addition to its speedy drying time, hot glue creates a strong bond between two pieces of foam. This is particularly important for projects where durability is critical, such as costume making or prop building. Furthermore, if you need to remove the glue, it can easily be reheated with a heat gun or hair dryer.
However, there are some downsides to using hot glue for EVA foam that should be taken into consideration. One potential issue is that the glue can melt the foam if applied too heavily or exposed to high temperatures. This can result in a weakened bond or even damage to the foam itself. Additionally, hot glue may not be suitable for projects that will be exposed to extreme temperatures, as it can become brittle and break down over time.
Water-Based Adhesives: A More Eco-Friendly Option
Water-based adhesives may be the solution you’ve been looking for. These adhesives are made from natural or synthetic polymers and water, making them non-toxic and easy to clean up with just soap and water. Additionally, they have a low VOC content, which means they don’t release harmful chemicals into the air.
When it comes to gluing EVA foam together, PVA glue is a popular choice among water-based adhesives. This type of glue is commonly used for paper and wood projects but can also be used for foam. Its clear and flexible properties make it perfect for EVA foam projects that require some flexibility. It’s also relatively inexpensive and readily available in most craft stores.
Acrylic glue is another option for bonding EVA foam to other materials like fabric or plastic. It’s waterproof, making it an ideal choice for outdoor projects or items that will be exposed to moisture. However, it can be pricier than PVA glue and may not dry as quickly.
It’s important to keep in mind that water-based adhesives may not be as strong as solvent-based ones. Therefore, testing the strength of the bond before using the item for its intended purpose is crucial. Additionally, some water-based adhesives may take longer to dry than solvent-based ones, so patience is key when using them.
Preparing the Surface Before Gluing EVA Foam Together
Before you begin creating, it’s essential to prepare the surface properly for a strong and durable bond. Fear not, as it’s a straightforward process that can easily be achieved by following these easy steps:
Step 1: Clean the Surface
The first step is to ensure that the surface is clean and free of any dust, dirt, or debris. A damp cloth or sponge is perfect for wiping it down.
Step 2: Sand it if Necessary
If the foam has a smooth surface or has been treated with any kind of coating or finish, it may need a light sanding. Sanding will roughen up the surface and provide more area for the glue to adhere to.
Step 3: Remove Residue
After sanding, use a clean cloth or sponge to remove any residue left by the sandpaper. This step helps ensure that there are no particles left on the surface that could interfere with the bond.
Step 4: Smooth Out Rough Spots
If there are any rough spots or bumps on the surface, they should be smoothed out using fine-grit sandpaper. This ensures that the surface is even and creates an even application of glue.
Step 5: Proper Ventilation (if using solvent-based glue)
If you’re using a solvent-based glue such as contact cement, proper ventilation is essential. Solvent-based glues produce fumes that can be harmful if inhaled in large amounts.
Applying the Adhesive Evenly for a Strong Bond
It’s essential to apply the adhesive evenly for a strong bond. Here are some tips to help you achieve this:
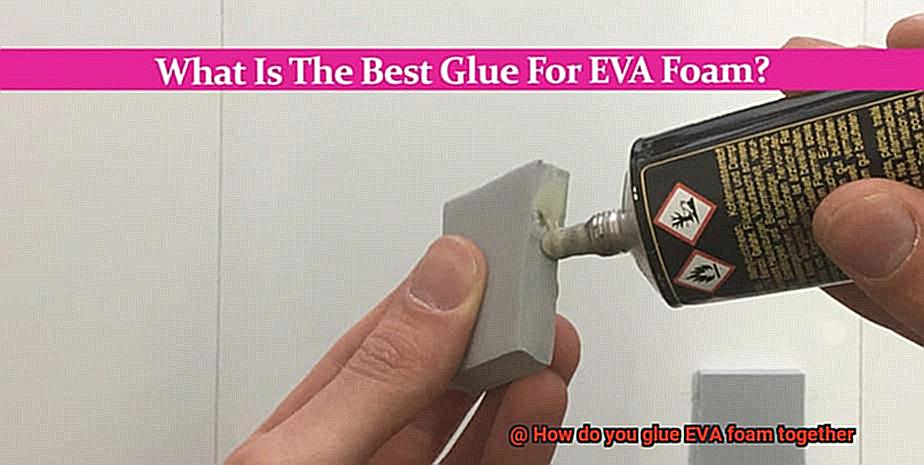
Preparation is key. Take the time to clean the surfaces you’ll be gluing with a damp cloth, removing any debris or dust. Sanding may also be necessary to smooth out any rough spots.
Now onto the fun part – applying the adhesive. Contact cement is a popular choice for EVA foam as it creates a permanent bond. To ensure even distribution, use a toothed trowel or notched spreader to create ridges in the adhesive and prevent air pockets from forming.
Apply the adhesive evenly to both surfaces that will be bonded together, using either a brush or roller. Remember to work in a well-ventilated area and follow the manufacturer’s instructions for drying time.
Once the adhesive has dried, carefully align the two pieces of foam and press them firmly together. Apply even pressure across the entire surface and use clamps or weights to hold the pieces in place while the adhesive sets.
Allowing Sufficient Time for the Adhesive to Dry
To ensure a strong and long-lasting bond between your foam pieces, you must allow sufficient time for the adhesive to dry. Rushing the drying process can compromise the quality of the bond and lead to a weaker hold.
Different types of adhesives require different drying times, so it’s important to check the manufacturer’s instructions and follow them carefully. If you’re unsure, err on the side of caution and give it more time to dry.
When gluing larger pieces of foam together, patience is key. It’s best to leave the foam undisturbed for at least 24 hours to allow for a full cure. This will ensure that the adhesive has fully cured before any pressure is applied to the bond.
If you’re in a hurry and need to speed up the drying process, there are a few things you can do. First, make sure that the environment is dry and warm. This will help the adhesive cure faster. You could even use a hairdryer on a low heat setting to gently blow warm air over the glued area. But be careful not to overheat the foam as this could cause it to melt or warp.
Conclusion
In conclusion, bonding EVA foam can seem like a daunting task for DIY enthusiasts. However, with the right adhesive and technique, it’s possible to achieve flawless results every time. EVA foam is a versatile material that can withstand water and last for years, making it a popular choice for crafting, cosplay, and DIY projects.
This blog post has explored various types of adhesives that work best with EVA foam and provided step-by-step instructions on how to use them correctly. From contact cement to hot glue and water-based adhesives, each option has its pros and cons.
Choosing the right type of adhesive is crucial as some may not be suitable for use with EVA foam. Additionally, preparing the surface before applying adhesive is essential to ensure a strong bond. Patience is also key when allowing sufficient time for the adhesive to dry fully.
Whether you’re an experienced crafter or just starting out, mastering the art of gluing EVA foam together will take your craft to the next level. With this guide’s help, you’ll be able to create flawless projects every time while staying safe by following manufacturers’ instructions and working in well-ventilated areas.
So what are you waiting for? Let’s get started on our next project. With these tips and tricks up your sleeve, you’ll be able to tackle any gluing challenge with confidence and ease.

