You’ve got two pieces of plexiglass and you want to join them together like a boss.
Well, you’ve come to the right place. In this blog post, we’re going to spill the beans on how to bond those bad boys together.
We’re talking about creating a bond that’s so strong, it’ll make other materials green with envy. Whether you’re a seasoned pro or just dipping your toes into the world of plexiglass projects, we’ve got your back with some super simple methods that will have your pieces sticking together like glue (literally).
So put on your safety goggles and let’s dive into the wonderful world of bonding plexiglass.
What is Plexiglass?
Contents
Plexiglass, also known as acrylic glass or PMMA (polymethyl methacrylate), is a remarkable material that has revolutionized various industries. With its exceptional optical clarity, strength, and durability, plexiglass has become a popular choice for applications ranging from architecture to automotive. In this article, we will explore the wonders of plexiglass and delve into the art of bonding two pieces together.
Unveiling the Marvels of Plexiglass:
- Transparency: Plexiglass boasts a transparency rate of approximately 92%, surpassing regular glass. This exceptional clarity makes it perfect for creating windows, skylights, and architectural elements that require unobstructed views and natural light.
- Impact Resistance: Unlike glass, plexiglass is significantly more durable and can withstand greater forces without shattering. Its resilience makes it a safer option for environments where breakage is a concern, such as schools and hospitals.
- Versatility in Shaping: Plexiglass is like a sculptor’s dream. It can be easily cut, drilled, shaped, and molded into various forms and sizes, allowing for limitless creative possibilities. From elegant curves to intricate designs, plexiglass can bring any vision to life.
- Weather Resistance: Rain or shine, plexiglass stands strong. It exhibits excellent resistance to UV radiation, retaining its clarity and strength even when exposed to sunlight for extended periods. This makes it an ideal material for outdoor signage, protective barriers, and greenhouses.
- Chemical Resistance: Plexiglass laughs in the face of chemicals. It can withstand a wide range of chemicals without degradation, making it an essential material in laboratories, medical devices, chemical storage containers, and other applications where chemical resistance is crucial.
The Art of Bonding Plexiglass:
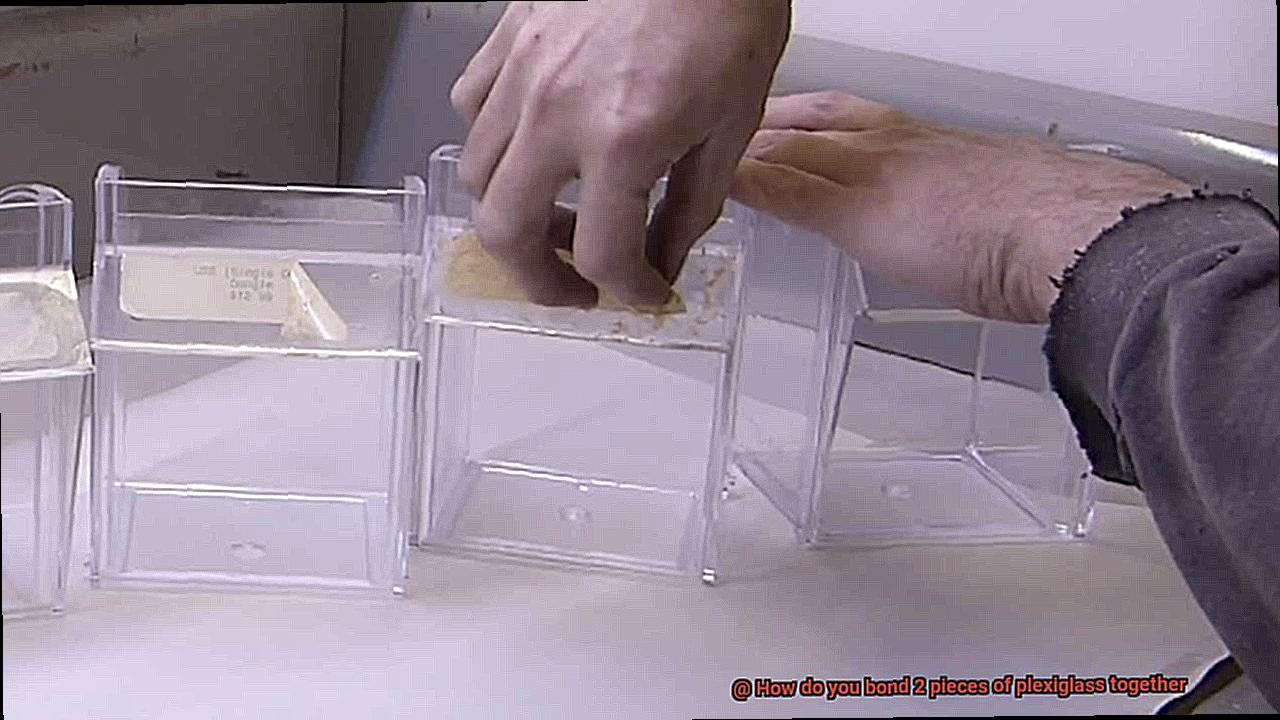
- Solvent-Based Adhesives: These specialized adhesives chemically soften the surface of plexiglass, allowing two pieces to fuse together when pressed firmly. Cleanliness is crucial before bonding, ensuring a strong bond that withstands time.
- Two-Part Epoxy Adhesive: The dynamic duo of resin and hardener creates a powerful adhesive that bonds plexiglass effectively. Cleanliness and even pressure are vital for a successful bond, resulting in a seamless connection.
- Mechanical Fasteners: When joining thicker pieces of plexiglass or when extra strength is required, screws or bolts can come to the rescue as mechanical fasteners. Proper drilling techniques and the use of washers or spacers ensure a secure bond that withstands pressure.
- Heat Welding: This technique involves melting the edges of plexiglass with heat and pressing them together to create a strong bond. However, caution and expertise are necessary to avoid damaging the material, requiring skilled hands for a flawless fusion.
Benefits of Bonding Plexiglass Together
Step into the captivating world of plexiglass, where strength, beauty, and versatility intertwine. In this blog post, we’ll delve into the multitude of benefits that come from bonding plexiglass together, opening up a realm of possibilities for your projects. From heightened strength and durability to enhanced aesthetics and ease of maintenance, the art of bonding plexiglass showcases its invisible bond and transforms your creations. So, let’s plunge into the magic of this extraordinary union.
Increased Strength and Durability:
By bonding two pieces of plexiglass together, you forge an unyielding structure capable of withstanding heavy loads and harsh conditions. The seamless joint created through bonding minimizes the risk of breakage or cracking under pressure or impact. This newfound resilience ensures peace of mind, knowing that your plexiglass creation can conquer any challenge.
Enhanced Aesthetic Appeal:
Bid farewell to unsightly screws or conspicuous fasteners. Bonding plexiglass results in flawless joints that exude elegance and sophistication. Whether employing plexiglass for decorative or architectural purposes, the bonded pieces merge seamlessly, creating a smooth and continuous surface that deceives the eye into perceiving a singular entity.
Versatility in Design:
The ability to bond multiple pieces together grants you boundless design freedom. No longer confined by standard-sized sheets, you can fashion unique shapes and configurations that stand out from the crowd. With bonded plexiglass, your imagination is the only limit as you create bespoke products or awe-inspiring installations.
Improved Resistance to Moisture and Chemicals:
The tight seal forged by bonding plexiglass acts as a fortress against moisture and chemicals attempting to infiltrate the joints. This advantage proves invaluable in applications where exposure to water, humidity, or corrosive substances is commonplace. By fortifying against unwanted elements, bonded plexiglass maintains its structural integrity and longevity.
Ease of Maintenance:
Maintaining and cleaning bonded plexiglass is a breeze. The absence of visible seams or gaps minimizes areas prone to accumulating dirt or debris. Furthermore, the bonded structure’s sturdiness diminishes the need for frequent repairs or replacements. With less time spent on maintenance, you can focus on cherishing your plexiglass creation.
Improved Safety:
Bonded plexiglass eliminates sharp edges and protrusions, rendering it safer in environments where accidental contact or injury is a concern. Schools, hospitals, and public spaces can benefit from the smooth and seamless joints created through bonding, ensuring the well-being of individuals who interact with the material.
Preparing the Plexiglass for Bonding
Step into the enchanting realm of plexiglass, where strength and beauty intertwine to create a versatile material that can be bonded together, unlocking a world of endless possibilities for your projects. By fusing two pieces of plexiglass, you forge an unbreakable bond that enhances its strength and durability, allowing it to withstand heavy loads and harsh conditions with ease. Say goodbye to unsightly screws or visible fasteners, as bonding plexiglass results in flawless joints that exude elegance and sophistication, seamlessly merging the pieces into a singular entity.
Preparing the Surfaces:
But before you dive into this magical process, it is crucial to prepare the surfaces properly. Let’s explore the essential steps to ensure a strong and durable bond between the plexiglass sheets.
Cleaning the Surfaces:
To start, wipe down both sides of each sheet with a clean, lint-free cloth dampened with a mild detergent or rubbing alcohol. This removes any dirt, dust, or grease that could compromise the adhesive’s effectiveness.
Sanding or Scoring:
Enhance adhesion by lightly sanding or scoring the surfaces of the plexiglass sheets. Use fine-grit sandpaper in a circular motion or a scoring tool to create small grooves or scratches on the surface. Be cautious not to apply excessive pressure or create deep scratches that could weaken the plexiglass.
Applying a Solvent:
Consider applying a solvent specifically designed for acrylics or plexiglass. These solvents temporarily dissolve the top layer of the material, creating a chemical bond when it re-solidifies. Gently wipe a small amount of solvent onto the bonding area and allow it to evaporate completely before proceeding with adhesive application.
Masking Off:
In some cases, masking off certain areas of the plexiglass sheets is necessary to prevent contact with adhesive. Use masking tape or a similar material to cover the sections that need to remain adhesive-free. Ensure that the tape is firmly pressed down and leaves no adhesive residue.
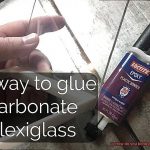
Solvent-Based Adhesive Method
Today, we embark on an exciting adventure into the realm of solvent-based adhesive, where we’ll uncover the secrets to bonding plexiglass with finesse and precision. So, grab your goggles and let’s dive into this enchanting process.
Step 1: Prepare the Surfaces
To ensure a flawless bond, we must first cleanse our plexiglass pieces. Grab some mild detergent and water, and give those surfaces a thorough cleaning. Say goodbye to dust, dirt, and grease – we want our bond to be as pure as a unicorn’s tear.
Step 2: Choose the Perfect Adhesive
With a plethora of solvent-based adhesives available, finding “the one” may seem daunting. Fear not. Seek out adhesives specifically designed for acrylics or plexiglass – these gems will grant you optimal bonding strength and crystal-clear clarity. Remember, we’re aiming for magic here.
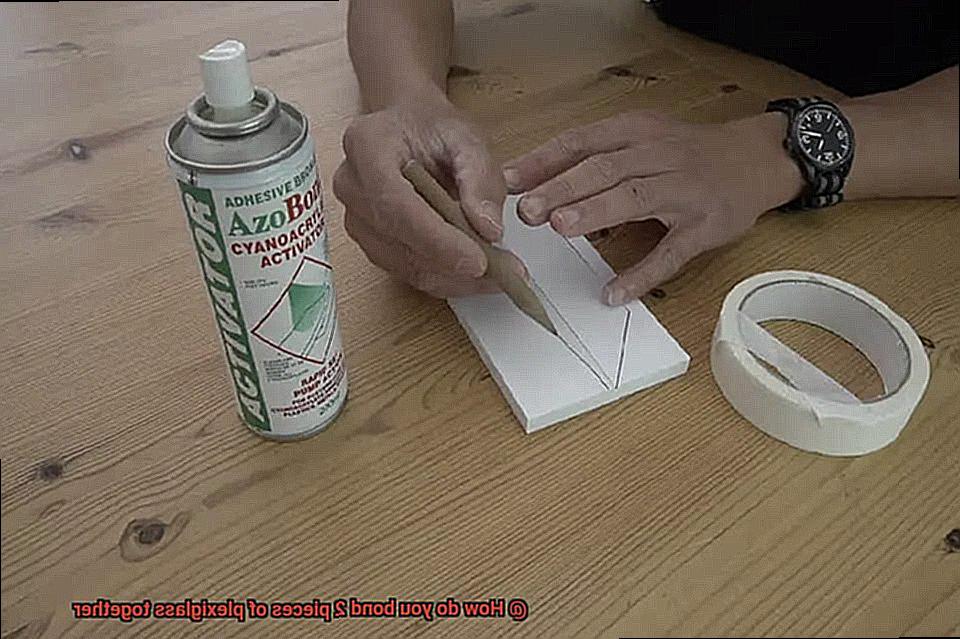
Step 3: Apply the Adhesive
Now comes the exhilarating part – applying the adhesive. Grab your trusty brush or applicator and gently spread that liquid gold onto one of the plexiglass surfaces. Make sure to apply it evenly, like an artist delicately painting their masterpiece.
Step 4: Allow for Solvent Evaporation
Patience is key in this magical endeavor. Give your adhesive ample time for solvent evaporation – this ensures any excess solvents vanish into thin air, leaving behind a robust and transparent bond. Check the manufacturer’s instructions for guidance on timing; after all, even wizards need a little guidance sometimes.
Step 5: Align and Press Together
With solvent evaporation complete, it’s time for the grand finale – bringing our plexiglass pieces together. Carefully align them, ensuring a precise fit. Then, with a touch of finesse and a sprinkle of charm, apply gentle pressure to press the pieces firmly together. Watch as they merge seamlessly, creating a bond that’s stronger than a knight’s armor.
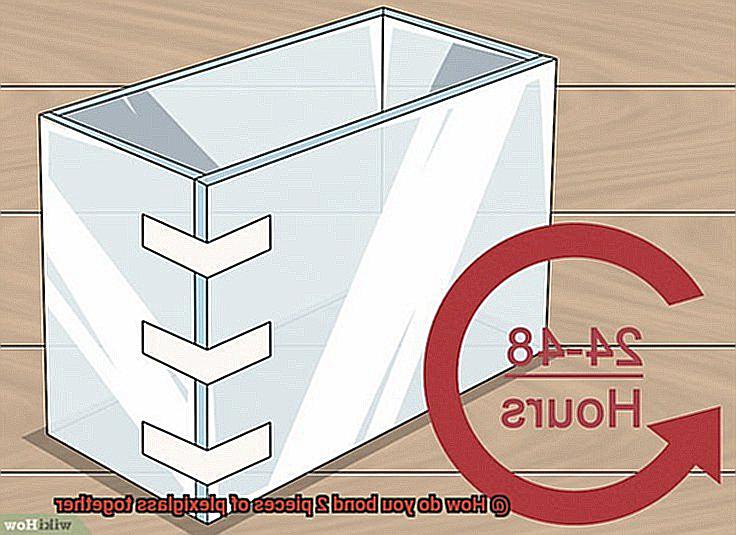
Step 6: Allow for Curing Time
Just as a spell needs time to work its magic, our adhesive needs time to cure. Consult your adhesive’s instructions for recommended curing times, adjusting for environmental conditions. Resist the urge to test the strength prematurely – be patient, my friends.
Step 7: Clean Up and Revel in the Magic
As you marvel at your flawless plexiglass creation, take a moment to clean up any adhesive residue. Follow the adhesive manufacturer’s recommendations for suitable solvents and safety guidelines – we want this magic to be safe and sparkly.
Epoxy Adhesive Method
The Epoxy Adhesive Method is a powerful spell that brings plexiglass pieces together in a bond so strong, it’ll make other adhesives green with envy. Like any good potion, preparation is key. Start by cleansing the surfaces of the plexiglass with a mild detergent and water, banishing any dirt, dust, or grease. Dry them thoroughly before moving on to the next step.
Now it’s time to mix the magic ingredients – the resin and hardener. Follow the manufacturer’s instructions carefully, as the mixing ratio can vary. Typically, equal parts of resin and hardener are used, but always double-check to be sure.
With your trusty brush or applicator, apply an even layer of the epoxy adhesive to one of the plexiglass surfaces. Cover it entirely to ensure a strong bond. Now, with utmost care, position the second piece of plexiglass on top.
To activate the enchantment of the epoxy adhesive, you must apply pressure. Use clamps or place heavy objects on top of the bonded plexiglass pieces. This pressure will squeeze out any air bubbles and ensure a tight bond.
Now comes the test of patience – a virtue only true wizards possess. Consult the manufacturer’s instructions for the recommended curing time. Keep the plexiglass in a controlled environment with stable temperature and humidity levels during this period.
After the curing time has elapsed, it’s time to check if your bond is as strong as a dragon’s grip. Gently tap or apply slight pressure to the bond area. If it feels secure and shows no signs of separation or weakness, congratulations. You have successfully united your plexiglass pieces.
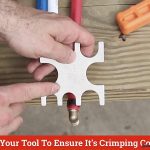
Mechanical Fasteners Method
Prepare to be amazed as we delve into the different types of mechanical fasteners and their enchanting powers. Grab your toolbox, my friends, for we are about to embark on a magical journey.
Picture this: screws, bolts, rivets, and clamps. These are the mighty warriors in our arsenal, each possessing unique strengths that make them perfect for the task at hand. From their gleaming heads to their sturdy bodies, these fasteners are ready to join forces and create the unbreakable bond we seek.
Now, if you choose screws or bolts as your trusty allies, pay heed to this crucial step: pre-drill holes in the plexiglass before attempting any fastening. This act of precision will safeguard against cracks and splits that could shatter our dreams. So let us take a moment to craft these perfect portals through which our fasteners shall pass.
The unsung heroes of plexiglass bonding. With their secure grip and unwavering loyalty, they provide a permanent bond that withstands the test of time. But beware, dear friends. Choose the right size and type of rivet for the thickness of your plexiglass, for only then can true magic be unleashed.
And what about clamps, you may ask? Ah, these ingenious contraptions hold our precious pieces of plexiglass in a tender embrace while the adhesive cures. With their steadfast grip and unwavering pressure, they ensure an even bond that leaves no room for weakness or imperfection.
Before we summon the magic of these mechanical fasteners, let us cleanse the surface of our plexiglass from all impurities. No dirt or debris shall tarnish our bond. For it is on a clean canvas that true artistry can flourish.
Now, my fellow artisans of adhesive, remember this: the use of mechanical fasteners may reveal their presence on the surface of our plexiglass masterpiece. But fear not, for sometimes a touch of magic should be seen by all.
Heat Welding Method
Prepare to be amazed as we dive into the mystical world of heat welding, a powerful technique that creates an unbreakable bond between two pieces of plexiglass. Say goodbye to messy glues and adhesives, for with the flick of a heat gun and a touch of finesse, you can achieve a clean and seamless finish that will leave others spellbound.
To embark on this magical journey, you will need a few essential tools. Your trusty companion will be the heat gun, emitting hot air that softens the edges of the plexiglass. Don’t forget to equip yourself with gloves to protect your hands and safety goggles to shield your eyes.
Before diving into the enchantment, it is essential to prepare the plexiglass surfaces. Begin by cleansing both pieces with mild soap and water, ensuring they are free from dirt, oils, and debris. Once clean, mark the areas you wish to join, ensuring they are flat and flawless. Smooth out imperfections using sandpaper or a file if needed.
Now, let the magic begin. Put on your safety gear and hold the heat gun 2-4 inches away from the plexiglass surface. Turn it on at a low setting and move it slowly across the marked area, evenly distributing the heat. Watch in awe as the plexiglass becomes pliable and glossy before your eyes. Be cautious not to overheat or melt it.
Once the desired level of softness is achieved, swiftly remove the heat gun and press the two pieces of plexiglass firmly together. Maintain pressure as they cool and solidify their bond. You can use clamps or weights to keep them in place during this magical transformation.
Perform a gentle tap or bend test after cooling to ensure a secure bond free from cracks or separation. If all is well, you have successfully mastered the art of heat welding plexiglass.
Best Practices When Bonding Plexiglass Together
When it comes to bonding plexiglass together, there are several best practices to consider in order to achieve a strong and durable bond. By following these practices, you can ensure that your plexiglass creations will withstand the test of time.
- Choose the Right Adhesive: There are different types of adhesives available for bonding plexiglass, including solvent-based adhesives, UV-curing adhesives, and epoxy adhesives. Each type has its own advantages and disadvantages, so it is important to choose the one that suits your specific needs.
- Prepare the Surfaces: Before applying the adhesive, it is crucial to properly prepare the surfaces that will be bonded. Clean the plexiglass pieces thoroughly to remove any dirt, grease, or contaminants using a mild detergent or specialized plexiglass cleaner. Additionally, lightly sanding the surfaces with fine-grit sandpaper can help create a rougher texture that enhances adhesion.
- Apply Adhesive Properly: When applying the adhesive, it is important to use a thin layer to avoid excess glue that can seep out or create air bubbles. Use a brush or applicator to evenly spread the adhesive across the entire bonding area, ensuring full coverage.
- Press Firmly and Apply Even Pressure: After applying the adhesive, press the two pieces of plexiglass firmly together. This helps ensure proper contact between the surfaces and promotes a strong bond. Clamps or weights can be used to apply even pressure during the curing process.
- Follow Manufacturer’s Instructions: It is important to follow the manufacturer’s instructions regarding curing time and any additional measures required. Some adhesives may require curing under UV light or applying heat for optimal bonding strength. Allow sufficient time for the adhesive to fully cure before subjecting the bond to heavy loads or stress.
- Consider Mechanical Fasteners as an Alternative: While adhesives are a popular choice, mechanical fasteners such as screws, bolts, and rivets can also be used for bonding plexiglass. These provide a secure hold but may create visible holes and require additional steps for proper installation.
- Test the Bond: Before applying any heavy loads or stress, it is essential to test the strength of the bond. Gently apply pressure or perform a small-scale stress test to ensure the bond holds up. If the bond fails, consider reevaluating the adhesive choice or application technique.
iOmshhTDrMA” >
Conclusion
When it comes to bonding two pieces of plexiglass together, there are a few methods you can use.
One popular option is using a solvent-based adhesive specifically designed for plexiglass. This type of adhesive chemically bonds the two pieces together, creating a strong and durable connection.
Another method is using an acrylic cement or glue, which works by softening the plexiglass surface and fusing it together. Additionally, you can also try using double-sided adhesive tape or mechanical fasteners like screws or bolts to secure the pieces in place.
Whichever method you choose, make sure to clean the surfaces thoroughly and follow the instructions carefully for best results.