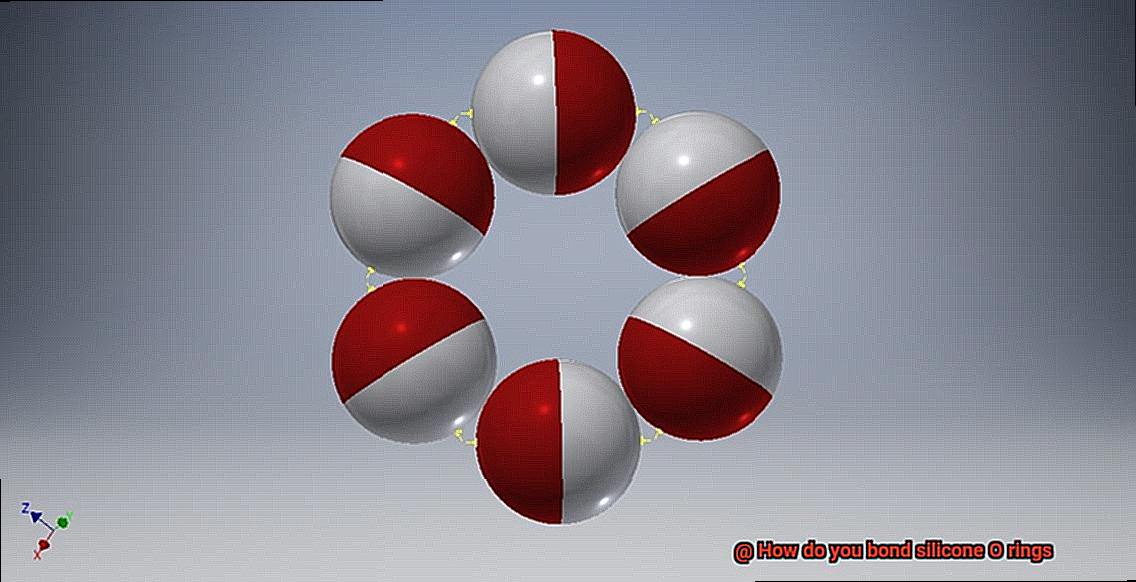
Picture this: you’re working on a project, and suddenly you realize that your silicone O-rings need a little extra love to seal the deal. That’s where bonding comes in. By creating a rock-solid connection between two silicone surfaces, you can wave goodbye to leaks and say hello to an unbeatable seal. In this blog post, we’re going to spill the beans on everything you need to know about bonding silicone O-rings. Whether you’re an engineer, a manufacturer, or just plain curious, get ready to dive into the secrets of achieving the perfect bond.
Cleaning the Surfaces Before Bonding
Contents
- 1 Cleaning the Surfaces Before Bonding
- 2 Using Adhesives to Bond Silicone O Rings
- 3 Applying Pressure to Promote Good Contact
- 4 Curing Time for Adhesive Bonding
- 5 Vulcanization Bonding of Silicone O Rings
- 6 Preparing the O Ring for Vulcanization
- 7 Heating the O Ring to the Recommended Temperature
- 8 Maintaining the Temperature During Curing Time
- 9 Conclusion
One often overlooked step in bonding silicone O rings is cleaning the surfaces before applying adhesive. The cleanliness of the surfaces directly affects the adhesive’s effectiveness and the overall bond strength. In this article, we will explore why cleaning surfaces is crucial and provide tips for achieving a successful bond.
Why Clean Surfaces?
- Maximizing Adhesion: Contaminants like dirt, dust, oil, and grease create a barrier between the adhesive and the surface, leading to weak or failed bonds. Thoroughly cleaning the surfaces ensures optimal adhesion.
- Longevity and Durability: A clean surface allows for a strong bond with the silicone O ring, ensuring longevity and durability. Without proper cleaning, the bond may weaken over time, compromising performance.
Cleaning Methods:
- Removing Loose Particles: Wipe the surface with a clean cloth or use compressed air to blow away loose particles. This eliminates visible dirt and dust that could interfere with bonding.
- Silicone-Specific Solvents: Use solvents designed for silicone surfaces to remove grease, oil, or residues. These solvents won’t react with silicone and won’t leave residue hindering adhesion.
- Proper Cleaning Technique: Apply solvent to a clean cloth and gently wipe the surface. Avoid excessive force or vigorous scrubbing to prevent damage. Ensure solvent evaporates completely before proceeding.
Additional Considerations:
- Heavily Soiled Surfaces: Ultrasonic cleaning or immersion in a compatible solution may be necessary for heavily soiled surfaces. Ensure these methods don’t damage silicone materials.
- Prevent Recontamination: After cleaning, handle surfaces with clean gloves or tools to avoid recontamination. Even small traces of oils or dirt can compromise bond strength. Don’t touch or place anything on cleaned surfaces until adhesive has cured.
Using Adhesives to Bond Silicone O Rings
Bonding silicone O rings using adhesives is like creating a masterpiece. It requires the right tools, proper preparation, and a touch of finesse. Silicone O rings are like the superheroes of the sealing world. They can withstand high temperatures, chemicals, and compression set like nobody’s business. But even superheroes need a sidekick, and that’s where adhesives come into play.
Silicone-based adhesives are specifically formulated for bonding silicone materials. They offer excellent adhesion strength, flexibility, and resistance to high temperatures. For a quick and strong bond, cyanoacrylate adhesives, also known as super glue, might be your go-to option. However, not all super glues are suitable for bonding silicone. You’ll need specialized formulations designed specifically for silicone materials.
Another option worth exploring is two-part epoxy adhesives. These bad boys consist of a resin and a hardener that need to be mixed together before application. They offer excellent bond strength and resistance to chemicals and high temperatures.
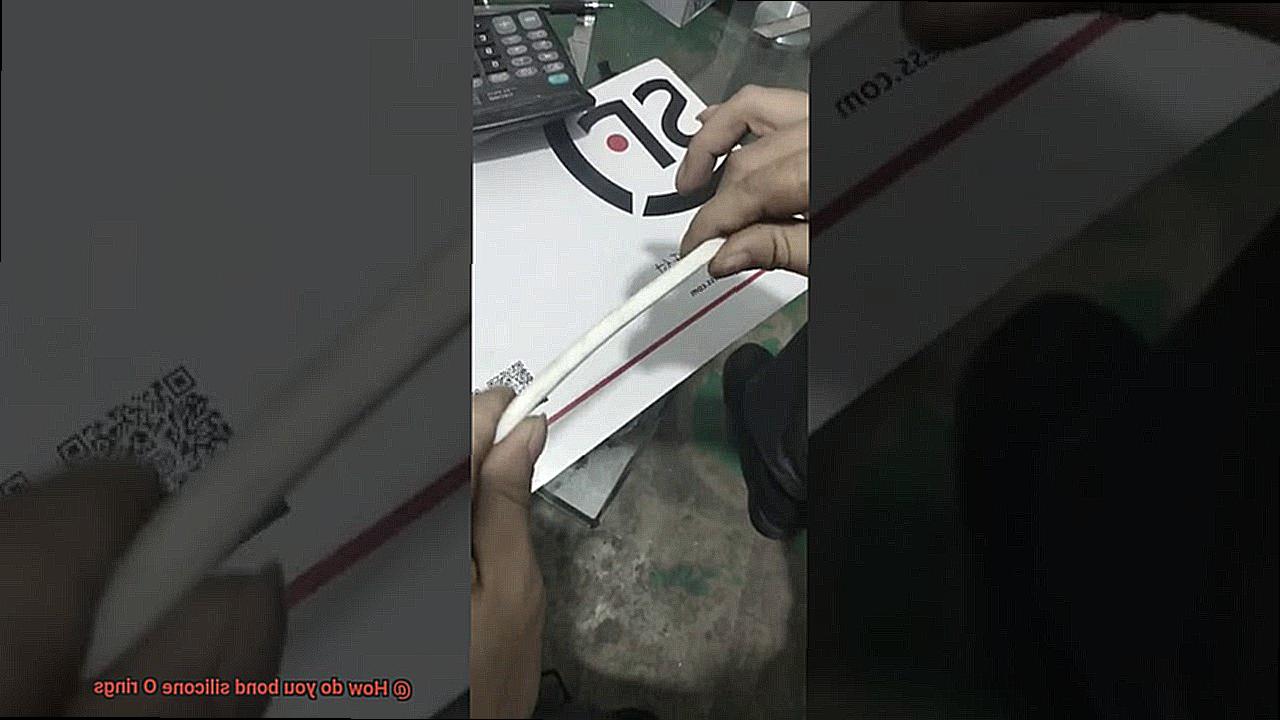
But before you dive into the adhesive world, remember that cleanliness is key. Properly clean and prepare the surfaces to be bonded. Remove any dirt, grease, or contaminants that could interfere with the bonding process. And don’t forget to roughen the surface slightly to enhance adhesion strength.
When applying the adhesive, follow the manufacturer’s instructions like your success depends on it. Apply the adhesive evenly and avoid going overboard with it. And most importantly, give the adhesive enough time to cure or dry before subjecting the bonded O ring to any stress or pressure.
While adhesives can work wonders for bonding silicone O rings, they might not be suitable for all applications. Mechanical methods like compression or interlocking designs may be preferred in some cases. So, consider the specific requirements of your application before jumping into the adhesive world.
Applying Pressure to Promote Good Contact
When it comes to bonding silicone O rings, applying pressure is a vital step to ensure good contact and a strong bond. Just like a puzzle, every piece needs to fit perfectly to create a masterpiece. In this case, the pressure helps remove any air bubbles or gaps between the surfaces being bonded, allowing for maximum adhesion. So, if you’re ready to dive into the world of glue and O rings, let’s explore some practical advice on how to apply pressure correctly for a successful bond.
Choose the Right Method:
There are different methods of applying pressure, depending on your specific application and the materials involved. One popular method is using clamps or vices to hold the O ring in place while the adhesive cures. This ensures constant pressure is applied evenly across the entire surface. However, it’s crucial to choose the right type of clamp or vice that can exert enough pressure without damaging the delicate O ring or the substrate.
Protect and Distribute Pressure:
To further enhance pressure distribution and protect the surface of the O ring, consider using a soft pad or material between the clamp and the O ring. This simple step helps distribute pressure more evenly and prevents any indentations or marks on the surface. It’s all about finding that perfect balance between pressure and protection.
Explore Pressurized Chambers:
Another method worth exploring is using a press or pressurized chamber. This technique is particularly useful for large-scale production or when bonding multiple O rings simultaneously. By utilizing a pressurized chamber, you can achieve uniform pressure distribution, which is crucial for obtaining a strong bond.
Harness the Power of Heat:
In some cases, applying heat along with pressure can work wonders for bonding silicone O rings. Heat helps activate certain types of adhesive and improves their bonding properties. However, it’s important to carefully follow the manufacturer’s instructions regarding temperature limits and duration of heat application. Excessive heat can damage the integrity of the O ring, so finding the right balance is essential.
Allow Sufficient Curing Time:
Once you’ve applied pressure, it’s crucial to allow sufficient curing time for the adhesive to fully bond. Rushing this step can result in a weak bond that may fail under stress or over time. Patience is key when it comes to creating a strong and long-lasting bond.
Curing Time for Adhesive Bonding
In the realm of adhesive bonding, curing time is the key to achieving a strong and durable bond. When it comes to silicone O rings, understanding the factors that influence curing time is essential for optimal adhesion. So, put on your lab coat and let’s explore the fascinating world of glue.
Types of Adhesives and their Curing Mechanisms:
Silicone O rings can be bonded using various adhesives, each with its own unique curing mechanism. Two-part silicone adhesives require mixing a base and a curing agent before application. The curing time for these adhesives can vary from minutes to hours, depending on the product and manufacturer’s instructions. This type of adhesive offers flexibility and control over curing time.
Accelerating the Curing Process:
When time is of the essence, heat can be employed to speed up the curing process. However, caution must be exercised to avoid damaging the O ring or affecting its performance. Heat sources such as ovens or heat guns can be used, carefully controlling the temperature to achieve optimal results.
The Speedy Alternative:
For industries requiring fast production turnaround times, UV-curable adhesives offer a quicker option for bonding silicone O rings. These adhesives cure upon exposure to ultraviolet light, often in a matter of seconds or minutes. This game-changing technology revolutionizes efficiency in adhesive bonding.
Factors Affecting Curing Time:
Several factors come into play when determining the curing time for adhesive bonding. Temperature plays a significant role, with higher temperatures generally accelerating the process. However, it’s crucial to stay within the recommended limits set by the adhesive manufacturer to avoid compromising bond strength.
Humidity also influences curing time, as some adhesives require specific humidity levels for optimal bonding. Ensuring proper surface preparation, including cleaning and degreasing both the O ring and substrate, is vital to achieving a strong bond. Any contaminants or residues on the surfaces can hinder the adhesive’s curing process.
The Art of Testing:
To truly master the art of bonding silicone O rings, preliminary testing is essential. Performing trials before applying the adhesive to the actual O ring and substrate helps determine the ideal curing time and conditions for a specific application. This ensures a successful bond with optimal curing time, maximizing bond strength and durability.
Vulcanization Bonding of Silicone O Rings
Prepare to be amazed by the power of heat and pressure in creating a strong and durable bond between these essential components. In this article, we will explore the step-by-step process, from surface preparation to adhesive application and curing. By the end, you’ll have a deeper appreciation for the art behind vulcanization bonding.
Step 1: Cleanliness is Key
To ensure a successful bond, it is crucial to start with clean surfaces. Using a specially formulated solvent or cleaner for silicone materials, remove any dirt or oils that could compromise the bond. This step sets the foundation for a strong and reliable connection.
Step 2: The Perfect Mix
Vulcanization bonding involves a two-part adhesive system—a base and a curing agent. Following the manufacturer’s instructions, mix the adhesive components in the correct ratio. This careful preparation ensures proper activation of the adhesive and optimal performance.
Step 3: Applying the Adhesive
With the adhesive mixed and ready, apply a thin and even layer to both surfaces that need to be bonded. Utilize a brush, roller, or any suitable applicator to ensure an even distribution of the adhesive. Uniform application is crucial for a strong and uniform bond.
Step 4: Bringing it Together
Once the adhesive is applied, bring the surfaces together. Secure them with clamps or any suitable means to ensure proper contact between the surfaces. This step guarantees intimate surface adhesion, essential for a durable bond.
Step 5: Heat Things Up
Now comes the exciting part—applying heat. Heat the assembly to a specific temperature, typically between 150°C and 200°C (300°F and 400°F). This temperature range enables the adhesive to cure and form a powerful bond between the surfaces. As heat triggers a chemical reaction in the adhesive, it crosslinks and hardens, creating a resilient connection.
Step 6: Strength and Flexibility
The result of vulcanization bonding is a bond that combines exceptional strength with flexibility. This makes it an ideal choice for silicone O rings. The bond withstands heat, chemicals, and environmental factors, ensuring the longevity and performance of the O rings.
Preparing the O Ring for Vulcanization
Prepare to be amazed by the remarkable process of vulcanization bonding, where heat and pressure work their magic to transform ordinary silicone O rings into unbreakable comrades. In this captivating article, we will embark on a journey through the meticulous steps of preparing an O ring for vulcanization, from the meticulous cleaning of surfaces to the precise application of adhesive and its subsequent curing. By the end, you’ll find yourself marveling at the artistry behind this process and gaining a newfound admiration for its strength and durability.
Step 1: Cleanliness is Key
Just like a virtuoso musician tuning their instrument before playing a symphony, we must prepare our surfaces with utmost care. The secret lies in cleanliness – banishing any trace of dirt or oils that could sabotage our bond. Armed with specialized solvents or cleaners designed for silicone materials, we meticulously cleanse away impurities. This crucial step lays the groundwork for an unyielding and trustworthy connection.
Step 2: Roughen Up
Once our surfaces are pristine, it’s time to give them a little rough love. Using fine-grit sandpaper or a wire brush, we gently roughen the surface of the O ring. This creates a texture that enhances the bond strength between the O ring and the adhesive. Think of it as adding grip to a handshake – it ensures a firm and secure connection.
Step 3: The Perfect Mix
Ah, now it’s time to unleash our inner chemist. Vulcanization bonding dances to the tune of a two-part adhesive system – a base and a curing agent. Following the manufacturer’s instructions with unwavering precision, we blend these components in just the right ratio. This meticulous preparation ensures that our adhesive awakens fully and performs at its peak.
Step 4: Applying the Adhesive
With our adhesive concoction mixed to perfection, it’s time to spread its magical elixir onto both surfaces yearning to be united. Armed with brushes, rollers, or any suitable applicator that fits our fancy, we coat these surfaces with a thin and even layer of adhesive. Each stroke is deliberate and calculated – ensuring that every nook and cranny receives an equal dose of bonding power. Uniformity is key; after all, only through uniform application can we forge an unbreakable alliance.
Step 5: Bringing it Together
Now, the moment we’ve all been waiting for – the grand unification. With adhesive applied, we bring our surfaces together, like star-crossed lovers finally finding their destined embrace. But this union must not be left to chance; we secure it with clamps or any means necessary to ensure a perfect connection. In this step, we guarantee intimate adhesion between the surfaces – an essential foundation for a bond that will endure.
Step 6: Heat Things Up
Heating the O Ring to the Recommended Temperature
Today, prepare to unlock the secrets that lie beneath the surface of unbreakable bonds – the art of heating the O ring to perfection. Get ready to embark on a thrilling journey as we explore the significance of this step and delve into the diverse methods used to achieve unparalleled results.
The Science Behind Heat Activation:
Curious minds may ponder why heating an O ring is essential for successful bonding. Brace yourselves, for the answer lies in surface activation. Just as a warm embrace brings people closer, heating the O ring awakens its surface, creating an inviting environment for adhesive mastery. This activation enhances adhesion and fortifies the bond, cementing its strength.
Methods that Ignite Brilliance:
Now that we grasp the importance of heating, let’s traverse the terrain of tried-and-true methods. Picture this: using a heat gun or hot air blower, guiding a controlled stream of warmth onto the O ring’s surface, coaxing it gently into readiness for bonding. Alternatively, imagine placing the O ring in an oven or heating chamber, enveloping it in a cocoon of controlled temperature perfection. The method you choose depends on personal preference and adherence to the adhesive manufacturer’s recommendations.
Temperature Precision and Timing Finesse:
The recommended temperature range fluctuates based on the adhesive employed. Hence, consulting manufacturer instructions or seeking expert counsel is paramount. Take heed. Overheating spells catastrophe. To reach the optimal temperature range, a few minutes typically suffice.
A Word of Caution:
Like any grand adventure, risks loom on the horizon. Overheating can deform or degrade an O ring’s silicone material, compromising its vital sealing properties. Hence, tread with caution and adhere diligently to the recommended temperature range provided by the adhesive manufacturer. After all, we wouldn’t want our beloved O rings to lose their enchantment, would we?
Maintaining the Temperature During Curing Time
Today, we embark on a journey into the intricate world of maintaining temperature during the curing time for bonding silicone O rings. Prepare to discover the hidden techniques that will enable you to create unbreakable bonds that withstand the test of time. So grab your adhesive and prepare to be amazed as we delve into the fascinating realm of temperature control.
Step 1: Embrace the Temperature Range:
To begin our quest for perfect curing, it is vital to acquaint ourselves with the recommended temperature range for your specific silicone adhesive. Typically, this falls between a cozy 70°F to 90°F (21°C to 32°C). This sweet spot serves as the optimal environment for curing, ensuring the adhesive achieves its full potential. Remember, knowledge is power.
Step 2: Mastering Ambient Temperature:
Maintaining the desired temperature range requires mastering the art of ambient temperature control. In colder environments, summon the warmth of heat lamps or embrace the comfort of heating pads to raise the temperature. On the flip side, if faced with scorching heat, call upon air conditioning or cooling fans to beat the heat and keep temperatures in check. Your curing process will thrive in this controlled climate.
Step 3: Consistency is Key:
In this magnificent pursuit of perfect bonds, consistency reigns supreme. Temperature fluctuations can wreak havoc on your curing process and compromise bond strength. To ensure a stable and controlled environment throughout the entire curing process, consider utilizing thermostats or temperature control systems. With unwavering consistency, success is within your grasp.
Step 4: Surface Temperature Sensitivity:
Before commencing with the adhesive application, take a moment to assess both surfaces’ temperature. It is essential that both surfaces are at room temperature to ensure an optimal bonding experience. Should one surface deviate significantly from room temperature, exercise patience and allow it time to adjust. Rapid temperature changes can disrupt the delicate curing process, so a moment of tranquility will yield remarkable results.
Step 5: Adhesive-Specific Instructions:
The path to greatness is paved with careful attention to detail. Pay heed to any adhesive-specific instructions provided by the silicone adhesive manufacturer. These guidelines are meticulously crafted to optimize the curing process and maximize bond strength. Skipping this crucial step would be a disservice to your adhesive journey.
vntP1FfYud0″ >
Conclusion
In conclusion, bonding silicone O-rings requires careful consideration and the use of appropriate techniques. By following these steps, you can ensure a strong and reliable bond:
- Clean the surfaces: Before bonding, make sure to thoroughly clean the silicone O-ring and the mating surface. Any dirt, oil, or contaminants can hinder the effectiveness of the bond.
- Choose the right adhesive: Select an adhesive specifically designed for bonding silicone materials. Silicone adhesives are formulated to provide excellent adhesion and flexibility.
- Apply the adhesive: Use a brush or applicator to evenly apply a thin layer of adhesive onto both surfaces that will be bonded together. Make sure to cover the entire area without applying excessive amounts.
- Allow for curing time: After applying the adhesive, allow it to cure according to the manufacturer’s instructions. This ensures that the bond reaches its maximum strength and durability.
- Test the bond: Once cured, perform a thorough inspection and test the bond’s integrity before putting it into service. This will help identify any potential issues early on and prevent failures in critical applications.
Remember, proper bonding techniques are crucial for ensuring optimal performance and longevity of silicone O-rings. By following these guidelines, you can achieve reliable bonds that withstand various environmental conditions and mechanical stresses.