Are you in the midst of a DIY project that requires the bonding of wood to concrete? If so, Liquid Nails may be just the construction adhesive you need. This popular and trusted product has been used by professionals and homeowners alike for decades. But, the question remains – can Liquid Nails adhere wood to concrete?
Let’s start by examining what makes up this versatile adhesive. Liquid Nails is a synthetic polymer that offers both strength and flexibility. It can be applied to a variety of surfaces such as metal, brick, wood, and concrete, making it an ideal choice for numerous projects. Not only does it provide a strong hold, but it also boasts excellent weather resistance and can endure extreme temperatures.
So, when it comes to using Liquid Nails on wood to concrete applications, the answer is yes – it can certainly do the job. However, there are some crucial steps you must take before applying the adhesive. The surface must be clean and dry beforehand; this means removing any dirt or debris from both the wood and concrete surfaces.
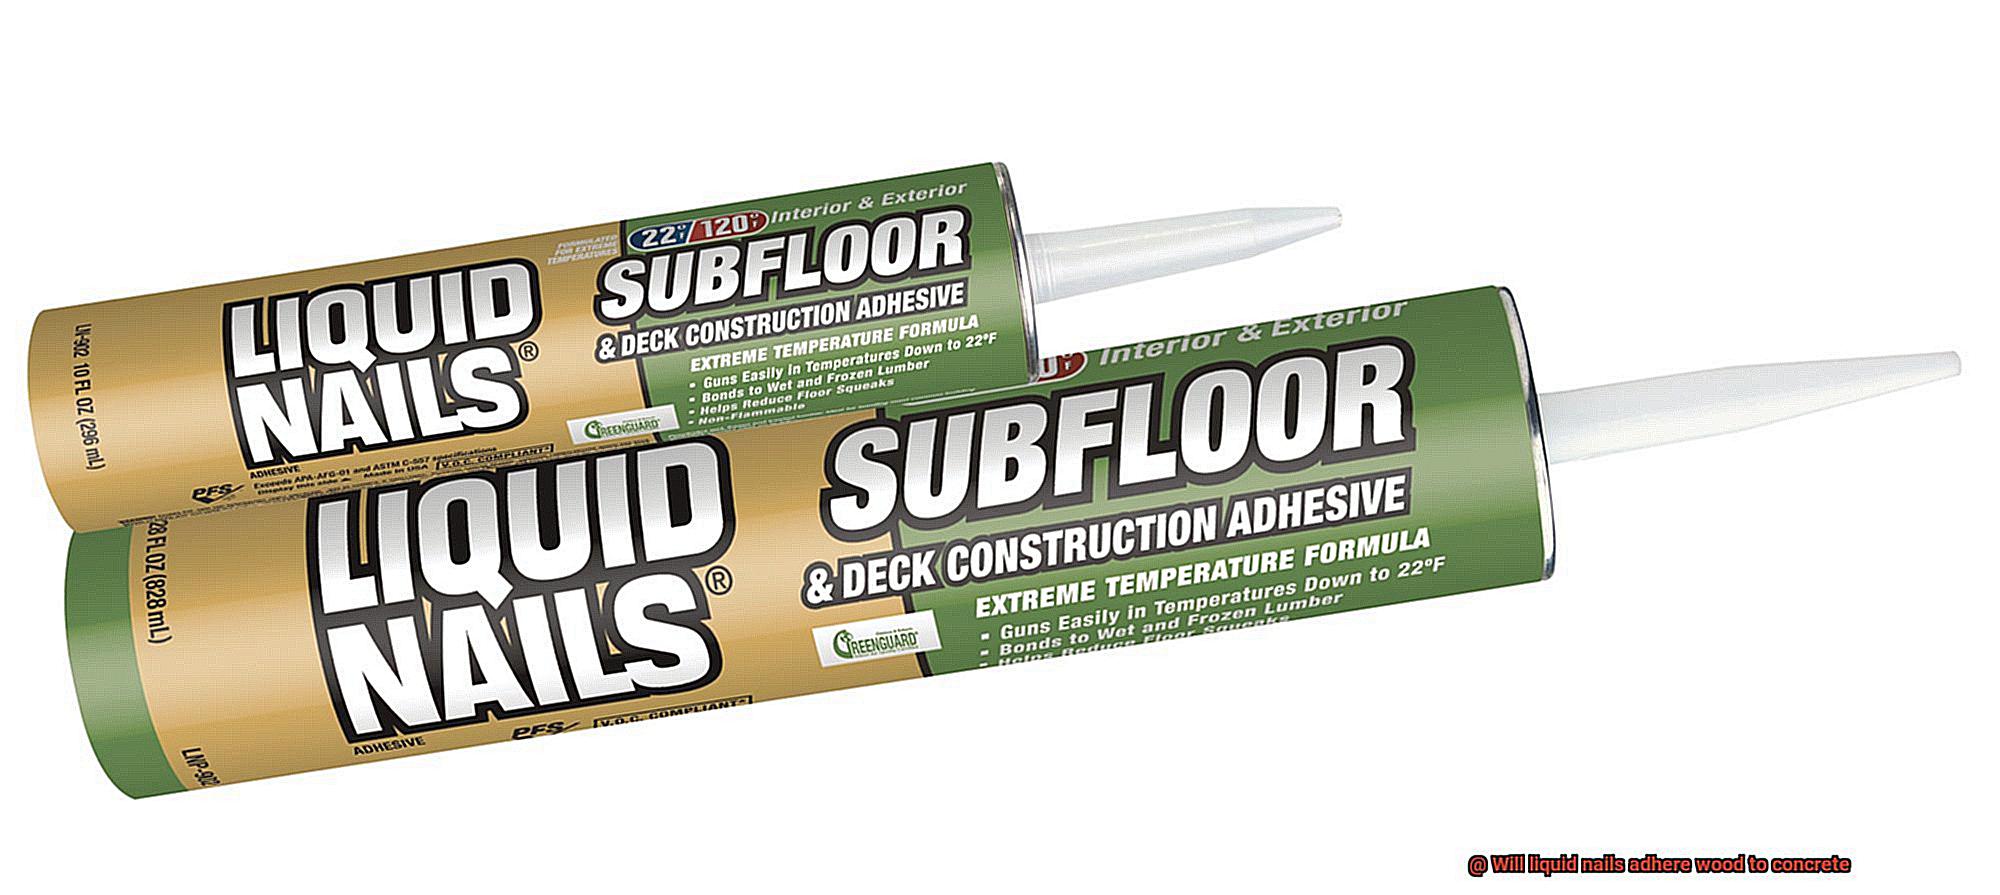
Another important factor to consider is which type of Liquid Nails to use. For wood to concrete applications, we recommend using Liquid Nails Heavy Duty Construction Adhesive. This specific product provides an incredibly robust bond that is designed specifically for heavier materials like wood and concrete.
In conclusion, with proper preparation and application techniques along with the right product choice (Liquid Nails Heavy Duty Construction Adhesive), your project will undoubtedly succeed. So go ahead – get creative with your DIY endeavors.
What is Liquid Nails?
Contents
If you’re looking for a heavy-duty adhesive that can bond different types of materials together, Liquid Nails should be your go-to brand. Whether you’re a contractor or a DIY enthusiast, this versatile construction adhesive is perfect for any project that requires a permanent hold.
What sets Liquid Nails apart from other construction adhesives is its strength and versatility. It comes in various formulations, each designed to suit a specific type of application. For instance, there are Liquid Nails products specifically formulated for use on concrete surfaces, while others are designed for use on wood or metal surfaces. Some Liquid Nails products are also waterproof, making them perfect for use in areas that tend to get wet, such as bathrooms and kitchens.
Liquid Nails is easy to apply and dries clear, making it an excellent choice for projects where aesthetics are important. To use the adhesive, ensure that the surfaces you want to bond are clean and dry. Choose the right type of Liquid Nails for your project and apply it in a zig-zag pattern on the surface of the material you want to bond leaving enough space around the edges for expansion.
Then press firmly onto the other surface and hold it in place for at least 24 hours while the adhesive cures. Whether you need to install baseboards and crown molding or attach drywall and subflooring, Liquid Nails can help you get the job done with ease.
Preparing the Surface for Adhesion
When it comes to bonding different materials, using the right adhesive is crucial. And while Liquid Nails is a reliable and versatile adhesive for heavy-duty bonding, preparing the surface for adhesion is just as important. In fact, it’s the key to a permanent hold. So, let’s dive into the steps necessary to prepare your wood and concrete surfaces for adhesion using Liquid Nails.
Firstly, start by cleaning the concrete surface. Use a broom or vacuum cleaner to remove any debris, dirt, or dust. For best results, use a degreaser or concrete cleaner to remove any stains or grease. It’s crucial to allow the surface to dry completely before proceeding.
Next, lightly sand the concrete surface with medium-grit sandpaper. This step creates a rough surface that provides better grip for the adhesive and increases bonding strength. After sanding, use a clean rag to wipe away any remaining dust particles.
Then, apply a layer of primer on the concrete surface. The primer acts as a bonding agent between the concrete and adhesive, ensuring a long-lasting bond that can withstand the test of time.
Now, it’s time to prepare the wood surface by sanding it lightly until you create a rough surface. This step also helps in increasing bonding strength between wood and adhesive.
Once both surfaces are ready, apply a generous amount of Liquid Nails on one of the surfaces. Then, press both surfaces together and hold them firmly for at least 24 hours until the adhesive dries completely.
Choosing the Right Type of Liquid Nails
If so, selecting the right type of adhesive is crucial for achieving a strong and long-lasting hold. With so many options available on the market, it can be overwhelming to decide which one is the best for your project. In this blog post, we’ll guide you through the factors you need to consider when choosing the right type of Liquid Nails for bonding wood to concrete.
One of the most important factors to consider is surface compatibility. Not all Liquid Nails products are created equal, and each one is designed for specific materials such as wood, metal, plastic, or concrete. Therefore, it’s essential to select an adhesive that works well with both wood and concrete. Look for a product that specifically mentions compatibility with these two materials.
Another vital factor is the strength of the bond required. The nature of your project determines the necessary strength of your adhesive. If you’re building a birdhouse, you may not need heavy-duty adhesive. However, if you’re constructing a deck or installing fence posts, you definitely need a higher strength adhesive that can withstand weight and weather conditions. Heavy-duty Liquid Nails products are recommended for bonding wood to concrete as they offer maximum bonding strength and can sustain heavy loads.
Drying time is another critical consideration when selecting a Liquid Nails product. Some adhesives dry faster than others, which can be important if you’re working on a tight schedule or need to apply multiple layers. If time is an issue, choose an adhesive that dries quickly and sets fast.
While cost shouldn’t be the only factor in your decision, it’s still an important consideration. Cheaper adhesives may seem appealing, but they may not offer the same quality and performance as more expensive products. Don’t compromise on quality in favor of cost. Choose a product that fits your budget but also meets your requirements for strength and durability.
Applying the Liquid Nails Correctly
To ensure a strong and lasting bond between wood and concrete, there are a few essential steps you need to follow.
The first step is to prepare the surfaces properly. This means thoroughly cleaning and drying both surfaces before applying the adhesive. Any dirt, debris, or moisture can weaken the bond over time, so it’s crucial to make sure both surfaces are clean and dry before moving on to the next step.
Next, it’s time to apply the Liquid Nails. Using a caulk gun for precise application, apply the adhesive in a zigzag pattern on the wood surface. Leave enough space around the edges to avoid any excess adhesive from seeping out when pressed against the concrete. This helps ensure that the adhesive will spread evenly and create a strong bond.
After applying the Liquid Nails, press the wood firmly onto the concrete surface and hold it in place for at least 24 hours. This will allow the adhesive to fully cure and create a robust bond between the two surfaces. But remember that temperature and humidity can impact the curing time and strength of the bond, so it’s important to apply Liquid Nails when the temperature is between 60-90 degrees Fahrenheit and when humidity is below 60%.
Curing and Finalizing the Bond
In the previous section, we covered the application process. However, curing and finalizing the bond are just as critical as the application process. In this section, we will elaborate on why it’s vital to give your adhesive enough time to dry and cure correctly, and how to finalize the bond for maximum effectiveness.
Firstly, let’s talk about curing. This step is critical in ensuring that your liquid nails will create a robust bond between your wood and concrete surfaces. Depending on the temperature and humidity levels of your environment, curing can take anywhere from 24-48 hours or longer. During this time, it’s essential to keep your surfaces in place and avoid any movements that may disrupt the bond. Also, be sure to keep your surfaces clean and free from any dust or debris that may affect adhesion.
Once the adhesive has fully cured, it’s time for finalizing the bond. This means inspecting the surfaces to ensure that they have bonded correctly and making any necessary adjustments. If there are any gaps or spaces between the wood and concrete, these can be filled with additional liquid nails or a suitable filler material.
It’s important to note that while liquid nails can create a strong bond between wood and concrete, it’s not recommended for areas with constant exposure to water or moisture. In such cases, a waterproof adhesive specifically designed for this purpose should be used.
Pros and Cons of Using Liquid Nails for Wood-to-Concrete Adhesion
Liquid Nails could be your go-to solution. But, before you start sticking materials together, it’s essential to understand the pros and cons of using this adhesive.
One of the main benefits of using Liquid Nails is its strong initial bond. It creates a robust hold right after application, eliminating the need to wait for it to dry or cure. What’s more, Liquid Nails is versatile and can be used on multiple surfaces, including wood, concrete, ceramic, metal, and more.
Another advantage is its waterproof nature. Being water-resistant means it can hold up in wet areas like bathrooms and outdoor spaces without losing its strength. Additionally, this adhesive remains flexible even after drying, allowing it to expand and contract with changes in temperature and humidity.
However, there are some downsides to consider when using Liquid Nails for wood-to-concrete adhesion. One disadvantage is that it may not be as strong as other adhesives like epoxy or polyurethane. While it may work well for light-duty applications, it may not be suitable for heavy loads or high-stress areas.
Another con is that it can take longer to cure than other adhesives. While the initial bond may be strong, it can take up to 24 hours for the adhesive to fully cure and reach maximum strength. This can be inconvenient if you require immediate use of the bonded materials or need a quick fix.
Lastly, using Liquid Nails can be messy and challenging to remove if you make an error during application. It’s crucial to read and follow the manufacturer’s instructions carefully to avoid any mishaps.
uSvLCbE1g6s” >
Conclusion
To sum it up, Liquid Nails is an exceptional adhesive that can bond wood to concrete with ease. Its durability, adaptability, and weather resistance make it perfect for a wide range of DIY projects. However, proper preparation and application techniques must be followed to achieve a robust and long-lasting hold.
To ensure a secure bond, both surfaces should be clean and dry before applying the adhesive. Choosing the right type of Liquid Nails is also crucial for your project’s success. For wood to concrete applications, we highly recommend using Liquid Nails Heavy Duty Construction Adhesive as it provides maximum bonding strength.
Using a caulk gun to apply the adhesive in a zigzag pattern on the wood surface will give you precise application control. Pressing the wood firmly onto the concrete surface and holding it in place for at least 24 hours allows the adhesive to cure completely and create a sturdy bond between the two surfaces.
While there are some drawbacks to using Liquid Nails such as its curing time and potential messiness during application, its benefits outweigh them. Its strong initial bond, waterproof nature, versatility, and flexibility make it an excellent choice for bonding wood to concrete in various DIY projects.