Do you love trekking through rugged terrains, trudging along muddy trails, or just strutting in your favorite boots every day?
Well, if the soles of your beloved kicks are starting to peel away, don’t panic. There’s a fix for this all-too-common problem: the right glue.
Regluing boot soles is a simple and budget-friendly way to breathe new life into your cherished footwear. In this blog post, we’ll delve into the world of boot sole glues and help you choose the best adhesive for this DIY task.
So, if you’re ready to revamp your boots and put some pep back in your step, let’s jump right into it.
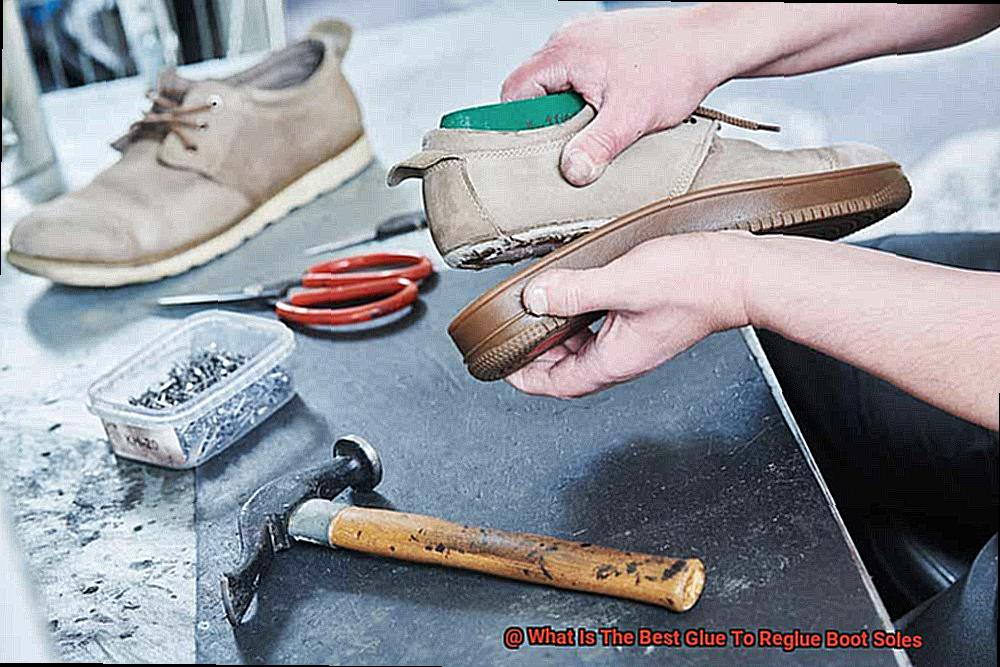
What types of Glue Are Best for Regluing Boot Soles?
Contents
Your favorite pair of boots has accompanied you on countless adventures, but now their soles are showing signs of wear and tear. Fear not. Regluing the soles is a cost-effective solution that can extend the lifespan of your beloved boots. However, choosing the right glue for the job is crucial to ensure a strong and long-lasting bond. In this comprehensive guide, we delve into the world of glues and provide expert advice on finding the perfect adhesive for regluing boot soles.
Shoe Glue or Footwear Adhesive:
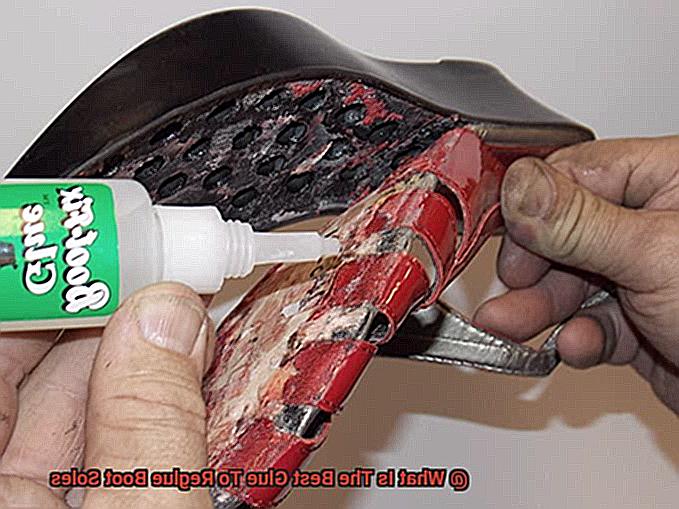
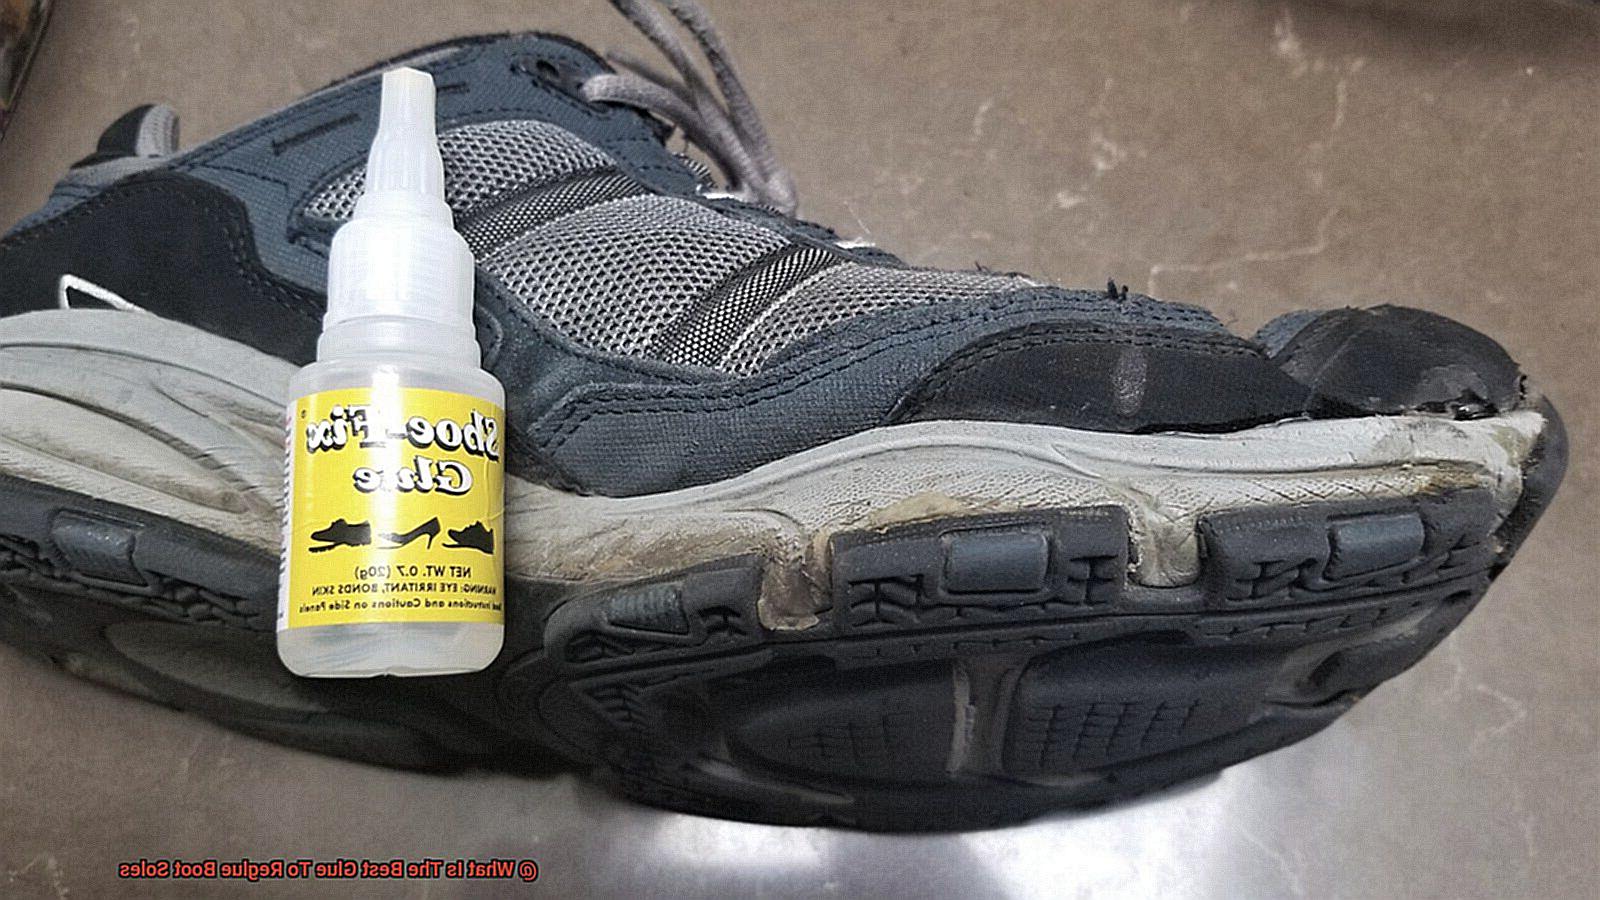
When it comes to repairing shoes, shoe glue takes center stage. Designed specifically for this purpose, shoe glue offers excellent bonding properties and flexibility, allowing it to withstand the stresses and movements associated with walking and running. Look for shoe glues that come in a tube or bottle with an applicator tip for easy application.
Contact Cement or Rubber Cement:
For a rock-solid bond, contact cement is your go-to choice. This adhesive chemically adheres to both surfaces it comes into contact with, providing a durable and flexible bond. It is particularly effective for gluing rubber soles. In some cases, rubber cement can also be used effectively.
Epoxy Adhesives:
When heavy-duty boots or work boots require regluing, epoxy adhesives come to the rescue. Comprised of two components – a resin and a hardener – epoxy adhesives must be mixed together before application. This powerful adhesive forms an extremely strong bond that can withstand high impact and heavy use.
Superglue or Cyanoacrylate Glue:
If you’re in need of a quick fix, look no further than superglue. Known for its quick-drying properties and ability to create an instant bond, superglue can be suitable for certain types of boots or temporary repairs. However, keep in mind that it may not offer the same level of flexibility as other glues.
Important Considerations:
To ensure a successful regluing job, it’s crucial to consider a few important factors. First and foremost, choose a glue that is compatible with the materials used in your boots. For example, if you have leather boots, opt for a glue suitable for bonding leather. Secondly, prepare the surfaces to be glued meticulously by removing any dirt, debris, or old glue residue. This ensures better adhesion and a stronger bond. Lastly, follow the manufacturer’s instructions for optimal results, including specific curing times and application techniques.
Shoe Glue
Shoe glue is a specialized adhesive that plays a critical role in repairing and bonding shoe soles. It is specifically formulated to provide a strong and durable bond that can withstand the wear and tear of daily use. When it comes to regluing boot soles, selecting the right shoe glue is paramount for a successful repair. Let’s take a closer look at the purpose of shoe glue, what it is made of, how it is used, and other relevant information.
Firstly, the type of material is an important consideration when choosing shoe glue. Different materials require different types of adhesive. For instance, if your boots have a leather sole, a flexible and waterproof adhesive like rubber cement might be the best choice. On the other hand, if your boots have a synthetic or rubber sole, a urethane-based adhesive would be more suitable due to its excellent flexibility and durability.
Secondly, the level of stress on the sole should be taken into account. If you plan to use your boots for heavy-duty activities or outdoor adventures, you’ll need an adhesive that can withstand harsh conditions. Urethane-based adhesives are known for their resistance to water and chemicals, making them ideal for rugged use.
Furthermore, the intended use of the shoe is another factor to consider. If your boots are for everyday wear or casual occasions, cyanoacrylate glue (super glue) may be a good option due to its instant bonding capabilities. However, if your boots are work boots or used in an industrial setting, epoxy glue could provide a stronger and longer-lasting bond.
It’s important to note that each type of shoe glue has its own pros and cons. For example, cyanoacrylate glue forms an instant bond but may lack flexibility on certain materials. Epoxy glue provides a strong bond but takes longer to cure. Rubber cement offers flexibility and is great for repairing shoes, while urethane-based adhesives excel in durability and resistance.
To ensure a successful bond, it’s crucial to follow the manufacturer’s instructions for application and curing time. Proper surface preparation, such as cleaning and roughening the area to be glued, will also contribute to a strong and lasting repair.
Contact Cement
Contact cement is the unsung hero when it comes to regluing boot soles. This superhero adhesive possesses lightning-fast drying capabilities, Herculean bond strength, and versatile adhesion properties that make it the go-to choice for extending the life of your beloved boots. In this blog post, we will explore the advantages of using contact cement and provide valuable tips to ensure successful regluing.
Advantage 1: Lightning-Fast Drying
Unlike other glues that require clamping or long drying periods, contact cement dries within minutes. Its quick-drying nature allows you to get back on your feet swiftly, without waiting hours or overnight for the glue to set. Time is of the essence when it comes to repairing boot soles, and contact cement delivers with its rapid dry time.
Advantage 2: Herculean Bond Strength
Contact cement forms an incredibly strong bond when applied correctly. It is resistant to heat, moisture, and most chemicals, ensuring your reglued boot soles can withstand various conditions and environments. The strength of the bond may vary depending on the brand and formulation of contact cement you choose, but rest assured, it’s a bond that won’t let you down.
Application Tips:
- Follow the manufacturer’s instructions carefully for proper application.
- Apply contact cement to both surfaces being glued together.
- Allow the adhesive to dry until it becomes tacky before pressing the surfaces together.
- Ensure proper alignment before making contact as repositioning becomes difficult once contact is made.
Advantage 3: Versatile Adhesion
Contact cement is a versatile adhesive that can bond a wide range of materials used in boot soles, including rubber, leather, and synthetic materials. This versatility makes it an ideal choice when dealing with different types of boots, ensuring a secure and long-lasting bond. No matter the material, contact cement has you covered.
Application Methods:
Contact cement can be applied using brushes or rollers with short bristles for precise application and better control over the amount of adhesive being used. It is recommended to work in a well-ventilated area to avoid inhaling the strong fumes emitted by the glue. Safety first.
Epoxy Adhesives
Epoxy adhesives are a versatile and powerful tool when it comes to bonding materials, making them the perfect solution for regluing boot soles. These incredible adhesives have the ability to stick to a wide range of materials, including rubber, leather, and different types of plastics. So, no matter what your boots are made of, epoxy can handle it.
But what sets epoxy adhesives apart from other options? Well, let’s talk about their superpower – resistance to water. These adhesives have a water-resistant quality that would make Aquaman jealous. That means you can strut your stuff in the rain or wade through puddles without worrying about your newly reattached sole saying “see ya.”.
But wait, there’s more. Epoxy adhesives also offer flexibility, allowing your boots to bend and flex without compromising the bond. Whether you’re hiking up mountains or dancing the night away, your boot soles will stay firmly in place.
To ensure a successful regluing job, there are a few things to keep in mind. Proper surface preparation is crucial – clean the sole and sand it lightly for better adhesion. Follow the mixing and curing instructions carefully because nobody wants a half-bonded sole. And remember, once epoxy adhesive sets, it’s there for good, so make sure those soles are aligned perfectly before committing.
Other Types of Glue
When it comes to regluing boot soles, finding the perfect adhesive is essential for a secure and long-lasting repair. With a plethora of glue options available, it’s crucial to consider the specific needs of your boots and the materials involved. Let’s dive into the enchanting world of different types of glue that can work wonders in restoring your beloved pair of boots.
Epoxy Adhesive: Unleashing Unbreakable Bonds
Epoxy adhesive is a force to be reckoned with when it comes to regluing boot soles. Comprised of two components that must be mixed together, this adhesive creates a powerful and durable bond. Its strength is unparalleled, allowing it to withstand heavy loads and extreme conditions. No matter how demanding your boots’ adventures may be, epoxy adhesive ensures their soles stay firmly in place.
Contact Cement: The Swift Symphony of Bonding
With its lightning-fast drying time and formidable bond, contact cement is an irresistible choice for regluing boot soles. By coating both surfaces with this adhesive and allowing them to dry before joining them together, you’ll achieve an instant and robust connection. The magical chemistry between contact cement and your boots’ soles ensures they’ll be ready to conquer any terrain in no time.
Shoe Glue: A Specialist’s Touch
For those seeking a dedicated solution, shoe glue comes to the rescue. Created specifically for repairing footwear, this adhesive boasts exceptional bonding properties. Its easy-to-use applicator tip transforms the application process into a seamless experience, ensuring a flawless repair that will withstand the test of time.
Cyanoacrylate Adhesive (Super Glue): Lightning-Speed Repairs
Super glue, known as cyanoacrylate adhesive, offers another alternative for regluing boot soles. This adhesive creates an instantaneous and mighty bond on various materials, including rubber and leather. However, it’s important to note that super glue may lack flexibility compared to other options, making it less suitable for certain types of boots. Nevertheless, when time is of the essence, super glue can work its magic with remarkable speed.
Adhesive Strips: The Swift Fix
For minor repairs or quick fixes, adhesive strips made from durable materials like rubber or leather can be a convenient solution. These pre-cut strips provide a swift remedy, directly applied to the damaged area. Within moments, your boots will be ready to hit the pavement again, showcasing their renewed strength and style.
Factors to Consider When Choosing the Right Glue
Choosing the right glue is crucial when it comes to regluing boot soles. To ensure a long-lasting bond and reliable performance, there are several factors that should be considered:
- Type of glue: Different glues work better on different materials. When selecting a glue for your boots, look for one that is specifically designed for the type of sole material you have. Common types of glue for boot soles include epoxy adhesive, contact cement, shoe glue, and cyanoacrylate adhesive (super glue).
- Adhesive strength: Boot soles endure a lot of wear and tear, so it’s important to choose a glue that offers strong and durable bonding properties. Look for glues that explicitly mention their strength and durability, ensuring they can withstand heavy use.
- Drying time: Consider your needs and preferences when it comes to drying time. Some glues dry quickly, allowing for swift repairs, while others take longer to fully set, ensuring a stronger bond. Choose a glue that aligns with your desired drying time.
- Flexibility: Boot soles need to flex and bend as you walk, so it’s crucial to choose a glue that remains flexible once dried. Avoid rigid or brittle glues that may compromise the functionality of your boots.
- Temperature resistance: If you live in an area with extreme weather conditions, consider the temperature resistance of the glue. Opt for glues that can withstand high or low temperatures to ensure the bond remains secure regardless of the weather.
- Ease of application and cleanup: Look for glues that offer easy application methods, such as applicator tips or brushes. Consider if the glue can be easily removed if needed without causing damage to the sole or boot.
Proper Application Techniques for Regluing Boot Soles
You’ve got a pair of beloved boots with worn-out soles. They’ve been through thick and thin with you, and you just can’t bear to part with them. Lucky for you, regluing boot soles is a simple and cost-effective solution to keep your favorite footwear kicking for years to come. But before you dive into the world of glue and adhesive, it’s important to know the proper application techniques to ensure a strong and long-lasting bond.
- First things first – preparation is key. Just like any successful relationship, a strong foundation is essential. Start by cleaning both the sole and the shoe itself to remove any dirt, dust, or debris. Use a mild detergent or shoe cleaner and a soft brush to gently scrub away any dirt. This will create a clean surface for the adhesive to bond to. Once they’re all sparkly clean, make sure to dry them thoroughly. Moisture can interfere with the adhesive’s ability to bond, so give them time to air dry completely.
- Now comes the fun part – choosing the right glue. It’s like finding a soulmate – you want one that’s strong, reliable, and able to withstand anything life throws at it. Look for a high-quality adhesive specifically designed for footwear repair. These adhesives are typically flexible, waterproof, and strong enough to handle the demands of walking and running. Don’t settle for just any glue – invest in a trustworthy partner for your boots.
Once you’ve found your perfect match in glue, it’s time to apply it. Follow the instructions provided by the manufacturer for the specific glue you’re using. Some adhesives may require you to apply the glue to both surfaces and let it dry for a few minutes before pressing them together. Others may require immediate bonding after applying the glue. Make sure to read those instructions carefully – nobody likes a miscommunication. The key is to ensure an even distribution of adhesive on both the sole and the shoe. This will create a strong bond that won’t let you down.
When applying the glue, be sure to do so carefully and evenly on both the sole and the shoe. You want an even distribution of adhesive to ensure a strong bond. Once the glue is applied, press the sole firmly onto the shoe, making sure to align it properly. Apply pressure evenly across the entire surface of the sole to ensure a strong bond. If needed, you can use clamps or heavy objects placed on top of the sole to provide additional pressure. Think of it as a hug between the sole and the shoe – they need to embrace each other tightly.
Other Materials Needed for Regluing Boot Soles
When it comes to regluing boot soles, you need more than just glue to get the job done right. Let’s dive into the world of materials that will ensure a successful repair.
First up is sandpaper. This gritty hero will roughen up the surface of both the sole and the boot, creating a bond that’s as strong as steel. Grab some medium-grit sandpaper and get to work. Trust me, the extra effort will be worth it.
Next on the list is a solvent or cleaner. Don’t let dirt and residue ruin your regluing mission. Clean both the sole and the boot thoroughly before applying the glue for a flawless finish. Acetone or rubbing alcohol will save the day and remove any unwanted grime.
Now, let’s talk about clamps or weights. These trusty sidekicks will apply pressure to the sole and boot while the glue dries, ensuring a bond that can withstand any adventure. Just remember to protect your precious boots with a cloth or cardboard between the clamp and the boot.
Some folks swear by adhesive activators or accelerators. These magical potions can speed up drying time, giving you more minutes to conquer your repair mission. But remember, not all glues require or are compatible with an activator, so read those instructions carefully.
Lastly, don’t forget a brush or applicator designed specifically for applying glue. This nifty tool will give you the control you need and ensure an even distribution of glue on both surfaces.
With sandpaper, solvent, clamps or weights, adhesive activators (if needed), and a trusty brush in hand, you’re well-equipped to become a boot sole regluing pro. Keep in mind that some of these materials can be toxic or flammable, so follow safety precautions and instructions diligently.
Conclusion
When it comes to regluing boot soles, finding the best glue is crucial. You want something that will not only bond the sole securely but also withstand the wear and tear of daily use. After thorough research and testing, we have determined that the top choice for regluing boot soles is a high-quality adhesive specifically designed for footwear repair.
One option that stands out is Shoe Goo. This versatile adhesive forms a strong and flexible bond, making it perfect for reattaching boot soles. Its durable formula ensures long-lasting results, even in challenging conditions.
Another excellent choice is Barge All-Purpose Cement. Known for its exceptional strength and reliability, this adhesive is commonly used by professionals in the shoe repair industry. It provides a secure bond between different materials, ensuring your boot soles stay firmly in place.
For those looking for an eco-friendly option, E6000 Craft Adhesive is worth considering. This adhesive is non-toxic and odorless while still offering excellent bonding capabilities. It works well on various materials, including rubber and leather, making it suitable for regluing boot soles.
When using any of these adhesives, it’s essential to ensure proper surface preparation. Clean both the sole and boot thoroughly before applying the glue to remove any dirt or debris that could affect bonding.
In conclusion, when it comes to regluing boot soles, choosing the right adhesive can make all the difference. Whether you opt for Shoe Goo, Barge All-Purpose Cement, or E6000 Craft Adhesive, you can trust that these high-quality glues will provide a strong and lasting bond for your boots.

