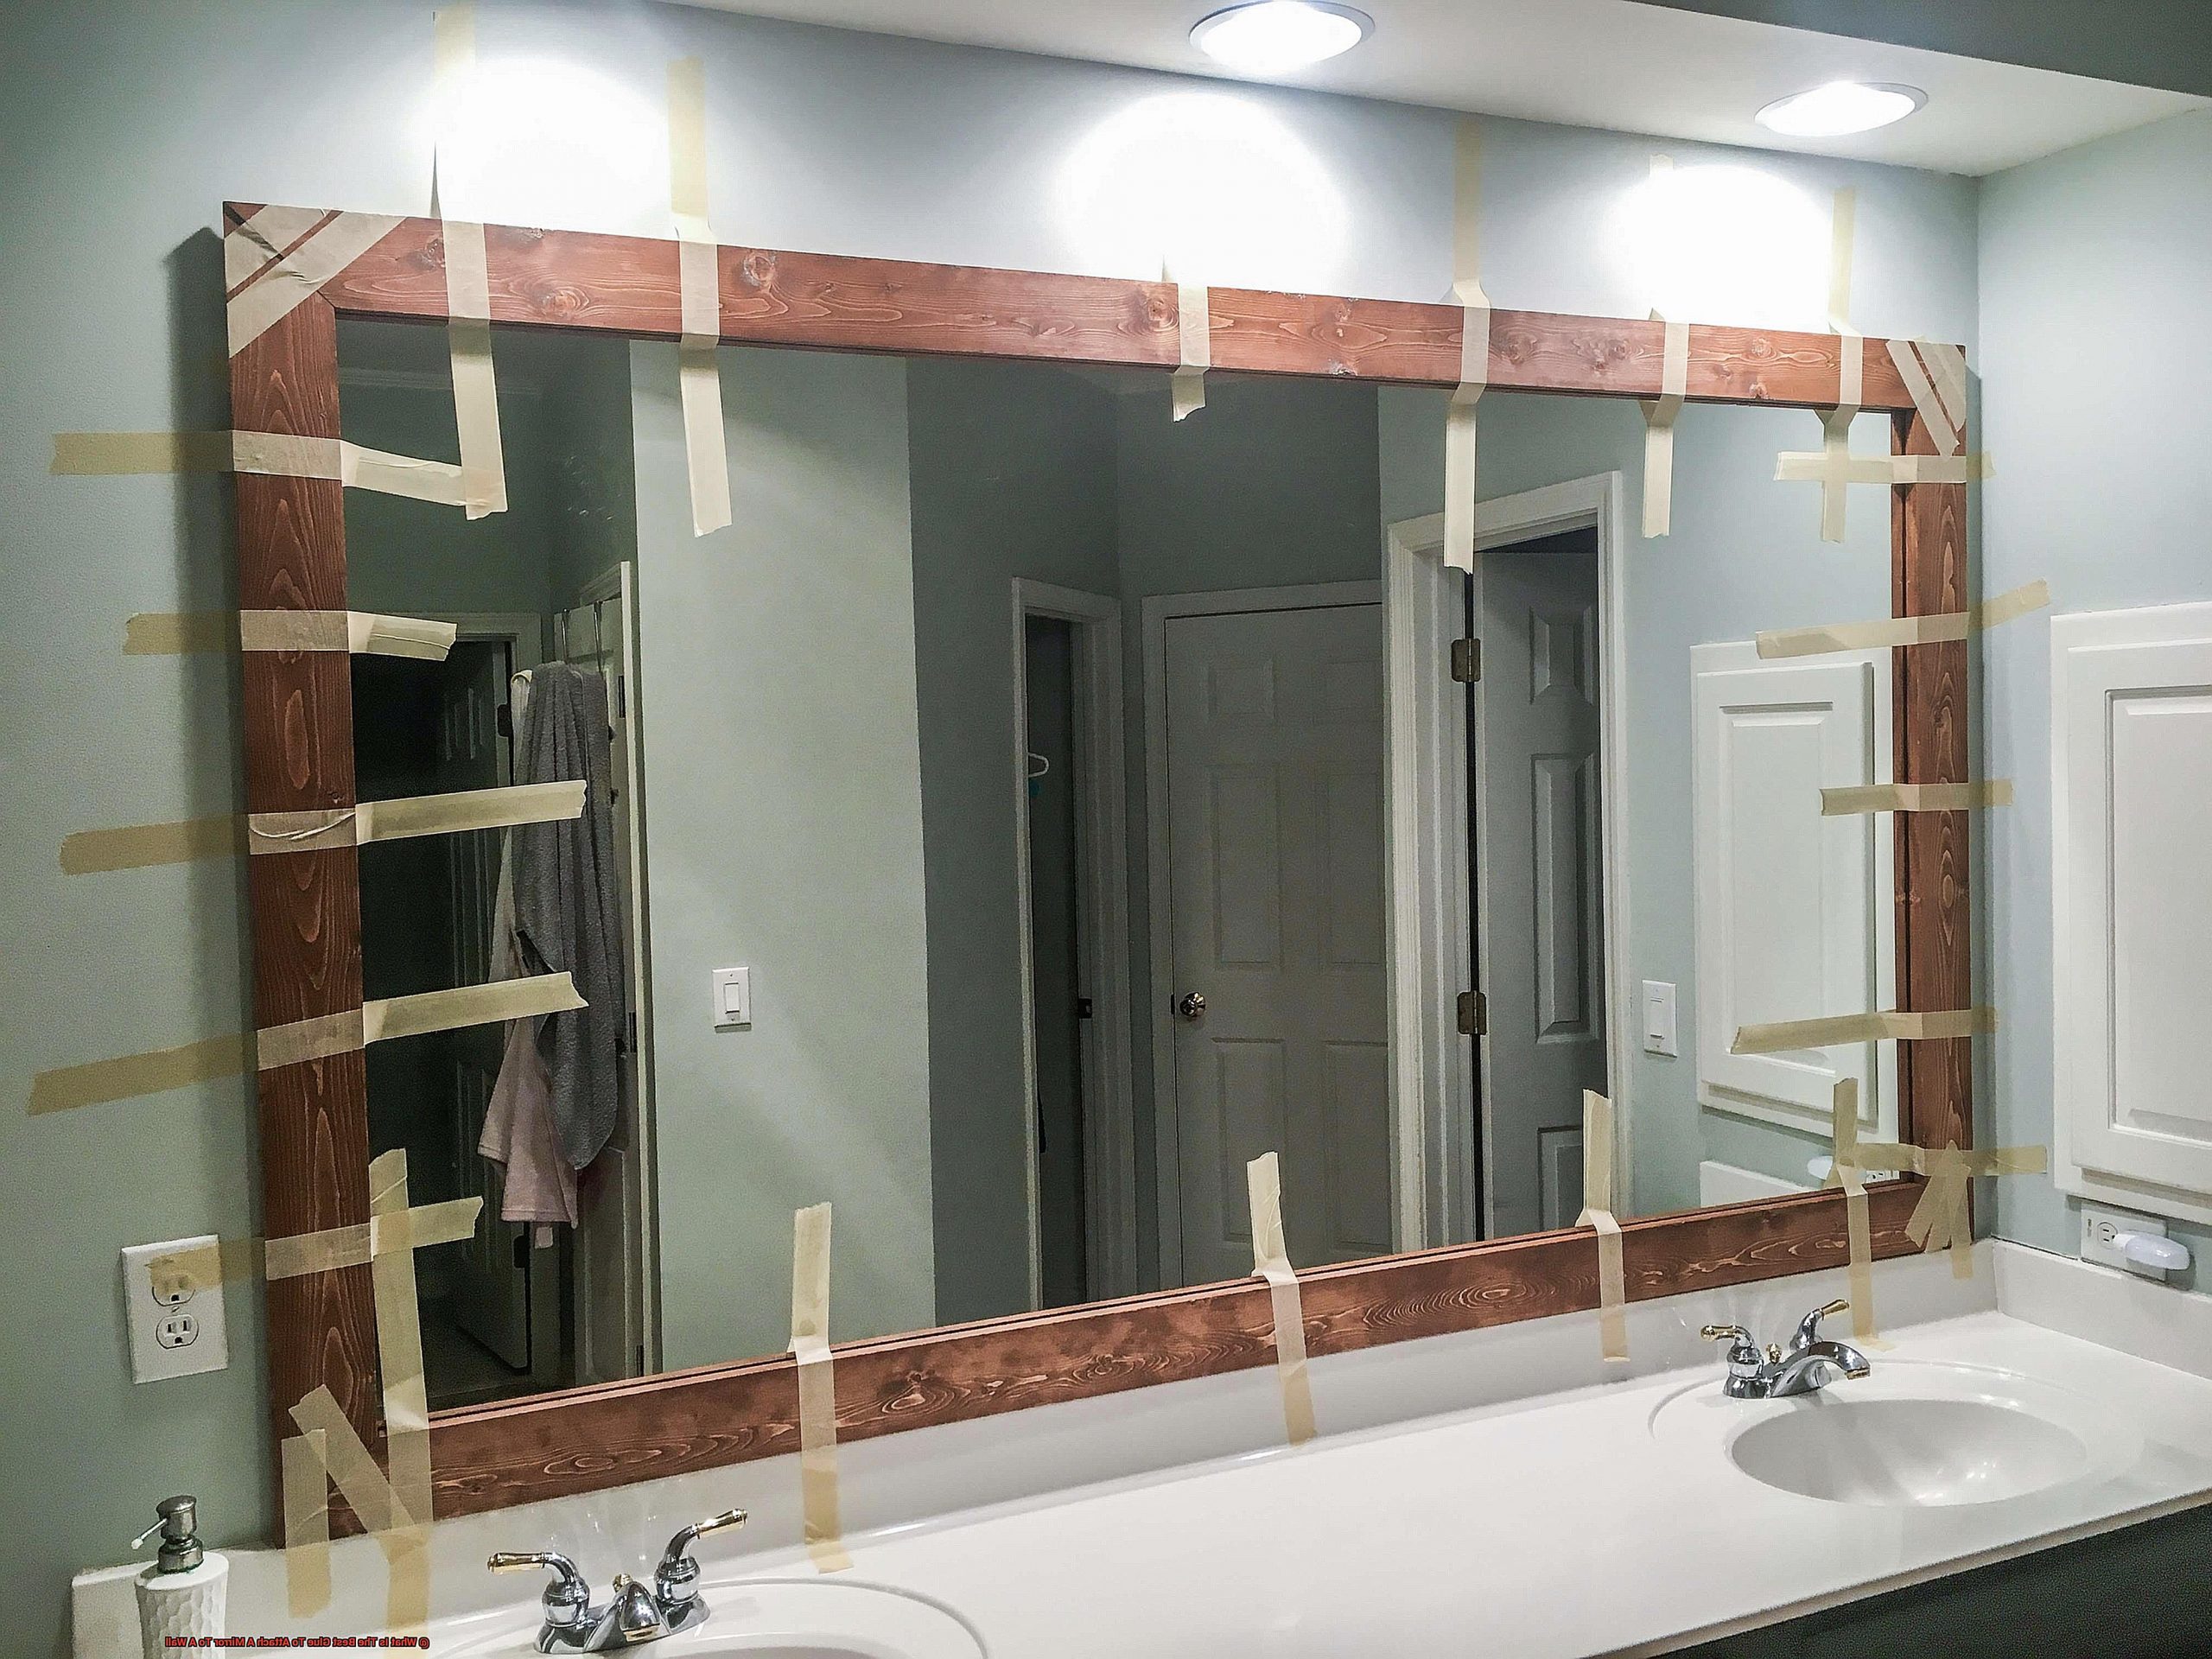
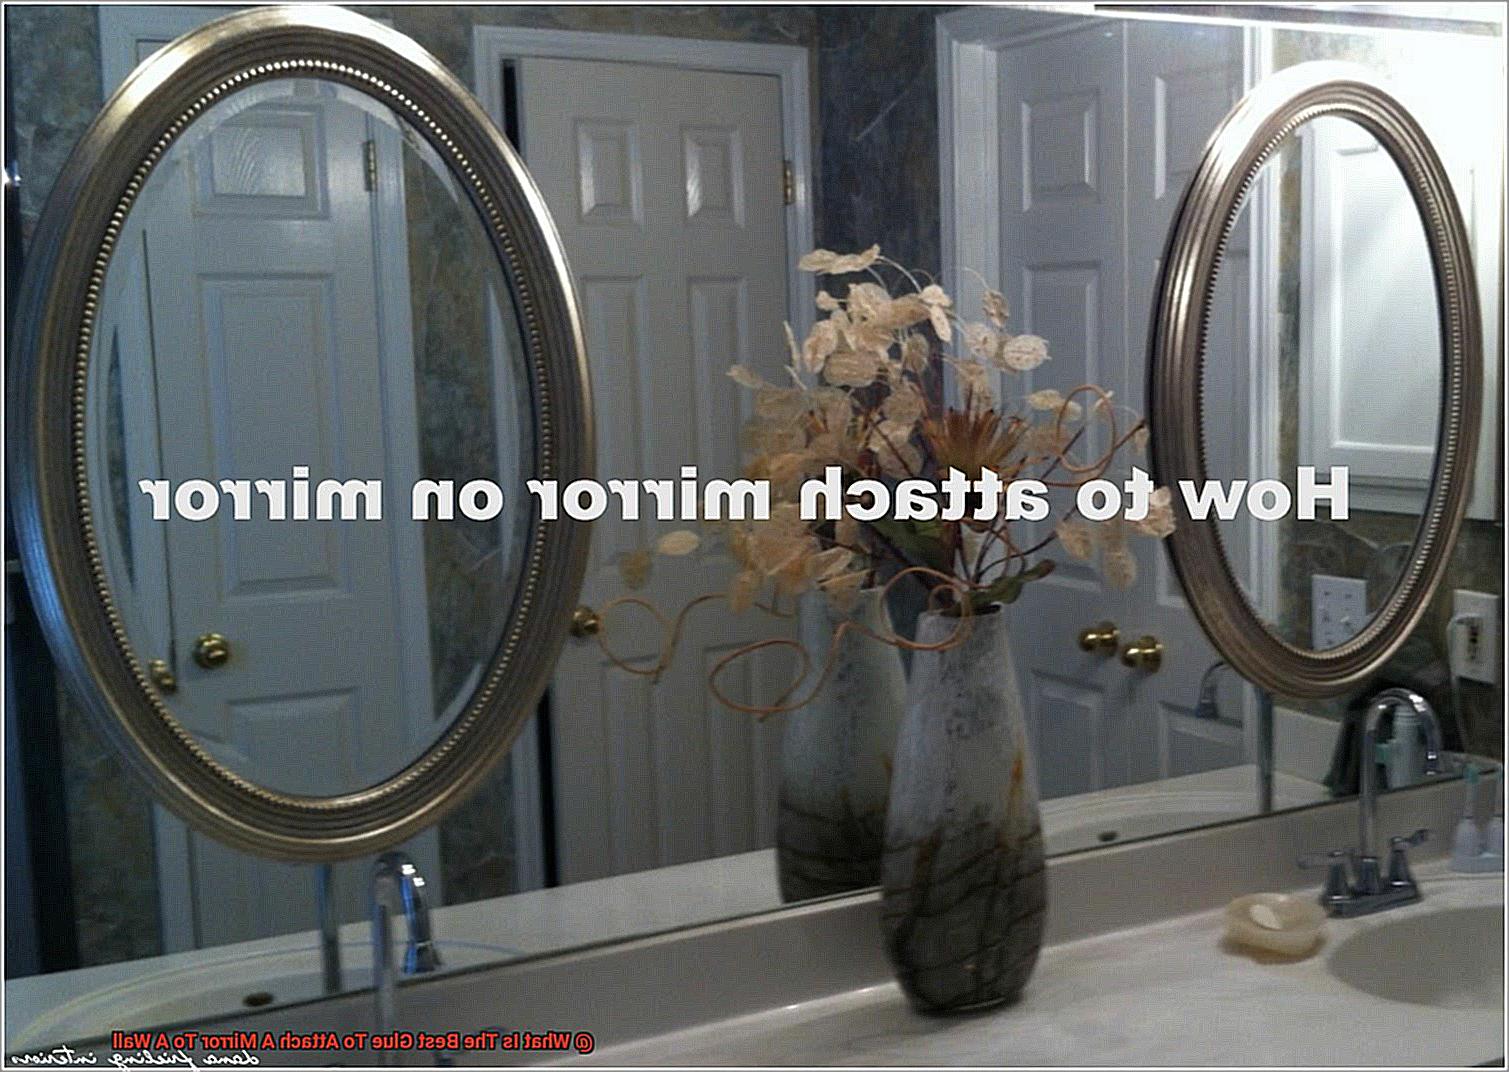
Hanging a mirror on the wall can be quite the challenge, wouldn’t you agree? It’s like trying to find the strongest glue in all the land, just so your mirror stays put. Whether you’re sprucing up your living room or adding some pizzazz to your bathroom, finding the best glue to attach that mirror is absolutely essential.
Think about it – imagine hosting a fancy dinner party and all your guests are mesmerized by a gorgeous mirror seemingly floating on your wall. Little do they know, it’s all thanks to the magic of glue. Today, we’re embarking on an exciting journey to uncover which glues make for the ultimate mirror-wall duo.
In this blog post, we’ll dive deep into what makes a great mirror adhesive. We’ll explore factors like strength, durability, and ease of application – everything you need to ensure your mirrors stay intact. Get ready as we unveil five top contenders vying for the title of best glue for mounting mirrors.
From liquid nails and mirror mastic to construction adhesive, silicone, and double-sided mounting tape – we’ll weigh the pros and cons of each option. By the time we’re done, you’ll be an expert on mirror mounting techniques with no room for cracked or wobbly mirrors in your domain.
So buckle up because we’re about to unveil the secrets behind that unbreakable bond between a mirror and its wall. Get ready to discover the best glue that will not only keep your mirrors secure but also add style and flair to any space. The stage is set, my friend – let’s get started.
Adhesive Glue: A Popular Option for Attaching Mirrors to Walls
Contents
- 1 Adhesive Glue: A Popular Option for Attaching Mirrors to Walls
- 2 Construction Adhesive: Ideal for Heavy-Duty Applications
- 3 Mirror Mastic: Perfect for Smaller Mirrors and Lightweight Applications
- 4 Surface Preparation: An Essential Step Before Applying Any Glue
- 5 Test a Small Area First: To Ensure Compatibility With Both Materials
- 6 Factors to Consider When Choosing the Best Glue for Mirror Attachment
- 7 Types of Surfaces Suitable For Mirror Attachment
- 8 Tips on How to Apply Glue Properly and Avoid Damage or Staining
- 9 Conclusion
Mirrors are more than just reflective surfaces; they have become essential decorative elements in our homes. However, ensuring that these mirrors stay securely attached to the walls can be a daunting task. Luckily, adhesive glue comes to the rescue. In this guide, we will take you on a journey through the world of adhesive glue, exploring its various types and providing you with expert tips for a successful mirror installation.
Choosing the Perfect Adhesive Glue:
Before we delve into the application process, it is crucial to select the right adhesive glue for your mirror attachment needs. Let’s explore some common types:
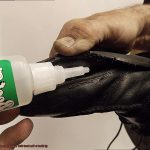
Mirror Adhesive:
Designed explicitly for bonding mirrors to different surfaces, including walls, mirror adhesive is your go-to solution. This robust and durable adhesive provides a secure bond that withstands the weight and pressure of the mirror. Remember to carefully follow the manufacturer’s instructions, which may include surface preparation steps such as thorough cleaning and priming.
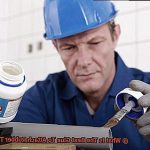
Construction Adhesive:
If you’re dealing with heavy mirrors or unconventional materials like glass, construction adhesive is your ideal choice. Renowned for its exceptional strength and durability, this adhesive ensures a reliable bond between different materials, guaranteeing your mirror stays firmly in place. Keep in mind that construction adhesive may require longer curing times compared to other options.
Preparation: The Foundation for Success:
Now that you have the perfect adhesive glue in hand, it’s time to prepare the wall surface for a flawless bond. Follow these essential steps:
Cleanse and Purify:
Before applying any adhesive glue, ensure that the wall surface is immaculate, dry, and free from any dirt, dust, or grease. Use a mild detergent or suitable cleaning solution to wipe away contaminants that could compromise adhesion.
Say Goodbye to Loose Paint or Wallpaper:
Inspect the wall surface for any loose paint or wallpaper. Gently remove them to create a smooth and even foundation for the adhesive glue. In cases where the wall is uneven, consider sanding the area to ensure a stable surface for the bond.
Application Process: Bringing It All Together:
With the surface properly prepped, it’s time to embark on the exciting journey of applying the adhesive glue and securely attaching your mirror to the wall. Follow these steps:
Construction Adhesive: Ideal for Heavy-Duty Applications
Look no further than construction adhesive, the superhero glue designed specifically for heavy-duty applications. In this article, we’ll uncover the secrets behind this powerful adhesive and explore why it’s the ideal choice for securely attaching mirrors to walls. Get ready to dive into the world of construction adhesive and learn how to achieve a flawless installation.
Unparalleled Strength:
When it comes to heavy-duty applications, construction adhesive reigns supreme. Its exceptional bonding capabilities make it the perfect companion for attaching even the heaviest mirrors to your wall. Say goodbye to worries of your mirror crashing down unexpectedly – this adhesive will hold it in place with unwavering strength.
Precise Application:
No more messy guesswork or uneven adhesion. Construction adhesive is packaged in a convenient tube and applied using a caulking gun, allowing for effortless control and precise application in just the right amounts. With this tool in hand, achieving a flawless installation is a breeze.
Specialized Formulations:
Not all construction adhesives are created equal, especially when it comes to attaching mirrors. That’s why it’s essential to choose a construction adhesive specifically formulated for mirror bonding. Look for labels such as “mirror adhesive” or “mirror construction adhesive.” These specialized formulations provide unparalleled strength and durability, ensuring that your mirror stays securely attached to the wall.
Weatherproof Durability:
Bathrooms or other humid areas? No problem. Construction adhesive is built tough with waterproof properties, safeguarding the bond between your mirror and the wall from moisture damage. Additionally, its resistance to temperature changes means that your mirror will remain steadfastly attached, even in fluctuating conditions.
Installation Tips:
Surface Preparation:
Prepare for success by properly prepping both the mirror and wall surface. Ensure that your mirror surface is clean and free from any dirt, dust, or grease that could interfere with the bonding process. Similarly, make sure the wall surface is clean and smooth, eliminating any loose paint or debris that might hinder proper adhesion.
Application Technique:
Apply construction adhesive evenly across the back of the mirror in vertical lines or dots. Be generous but avoid excess – a little goes a long way. Once applied, press the mirror firmly against the wall, ensuring proper alignment before applying pressure. Don’t rush this step; a little patience now will result in a strong and long-lasting bond.
Mirror Mastic: Perfect for Smaller Mirrors and Lightweight Applications
But what makes mirror mastic truly extraordinary? Let’s start with its superpower – the ability to create a seamless and invisible bond. Say goodbye to unsightly gaps or spaces that can tarnish the look of your mirror installation. With mirror mastic, you’ll achieve a clean and professional finish that will dazzle anyone who sets eyes on it.
To unlock this flawless result, proper surface preparation is key. Clean, dry, and debris-free walls are a must before applying the adhesive. This guarantees a bond so strong, it won’t let you down.
When it comes time to apply the mirror mastic, you have options at your disposal. Whether you choose a notched trowel or a caulking gun, the goal is even distribution of the adhesive onto the wall surface. The choice is yours – just make sure you’re achieving that smooth layer of adhesive to keep your mirror firmly in place.
Now, here’s an insider tip: while the adhesive sets and dries, give your mirror some extra support. Tape or brackets can be used to hold it in position until the adhesive has fully cured. This small precaution will provide peace of mind, knowing your mirror is securely attached.
It’s important to note that mirror mastic isn’t suitable for larger mirrors or heavy-duty applications. For those scenarios, different adhesives or mounting methods may be more fitting. So, remember to choose wisely when determining which adhesive will bring your project to life.
Lastly, be mindful of placement. Once mirror mastic has fully cured, removing it can be quite challenging. Take the time to carefully consider where you want your mirror to grace your wall before applying the adhesive. Trust me, you don’t want to wrestle with cured mirror mastic.
Surface Preparation: An Essential Step Before Applying Any Glue
Before you dive into the world of glues and adhesives, there’s a crucial step that can make or break your mirror attachment. Surface preparation is the secret ingredient that ensures a bond as secure as Fort Knox. In this guide, we’ll explore the importance of surface preparation and equip you with expert tips to achieve a mirror attachment that will withstand the test of time.
The Cleanliness Chronicles
To achieve a bond that’s as strong as the Hulk, start by giving your wall a thorough cleaning. Dust, dirt, and debris can be the Joker to your glue’s Batman. Armed with a mild detergent and water solution, unleash your cleaning powers on the wall’s surface. Use a soft sponge or cloth to scrub away any stains or grease marks that might sabotage the glue’s effectiveness.
Dryness, the Unsung Hero
Moisture is the supervillain that weakens bonds and sabotages attachments. Make sure your wall is bone-dry before applying any glue. Grab a towel and unleash your super-drying skills. Ensure every nook and cranny is free from moisture, as even a drop can compromise the strength of your bond.
Flawless Canvas Creation
Every artist knows that a perfect canvas is essential for a masterpiece. The same goes for attaching a mirror to your wall. Take a moment to inspect for cracks or holes on your wall’s surface. Patch up these imperfections using spackling paste or an appropriate filler, allowing ample time for drying and hardening. This step ensures a seamless canvas for your glue application.
Texture Talk
To give your bond an extra boost, consider adding some texture to your wall surface. Lightly sand the wall using fine-grit sandpaper, creating a rough texture that serves as a gripping agent for the glue. Once you’ve achieved the desired texture, wipe away any resulting dust with a clean cloth or sponge. After all, no one wants dusty glue.
Test a Small Area First: To Ensure Compatibility With Both Materials
As you embark on the exciting journey of attaching a mirror to your wall, we have a crucial tip for you: test a small area first.
Why is this step so important, you ask? Let’s delve into the details.
First and foremost, consider the materials at play. Mirrors are crafted from delicate glass, while walls can be built with a variety of materials like drywall, concrete, or wood. Here’s the catch – not all glues are compatible with every surface. Different glues possess distinct adhesive properties that may work better with specific materials.
To avoid any potential disasters or letdowns, it is highly recommended to conduct a small-scale test before diving headfirst into the gluing process. Imagine this scenario – you apply a small amount of glue on an inconspicuous spot on both the mirror and the wall. Think of locations that won’t catch the eye easily, such as the bottom corner of the mirror or behind a piece of furniture.
Once applied, patiently wait for the glue to dry completely in accordance with the manufacturer’s instructions. Now comes the thrilling part – examine how well it adheres to both surfaces. Keep a vigilant eye out for any signs of trouble, like discoloration, warping, or weakening of either the mirror or the wall material. If you notice any issues or if the bond isn’t secure enough, it’s time to explore alternative options.
But wait, there’s more. Testing a small area also allows you to evaluate the glue’s long-term performance. Some adhesives may initially provide a strong bond but can deteriorate over time due to factors like temperature changes or humidity. By conducting a small-scale test, you can monitor its endurance and make necessary adjustments before committing to gluing the entire mirror to the wall.
Factors to Consider When Choosing the Best Glue for Mirror Attachment
Exciting. But before you dive in, let’s ensure you have the ideal glue. As an expert in this field, I’ve gathered crucial factors to consider when selecting the best glue for mirror attachment. These tips will guarantee a secure and long-lasting bond that even the most experienced DIY enthusiast would envy.
Adhesive strength:
Strength is paramount when it comes to gluing mirrors. Since mirrors can be weighty, opt for a glue with robust bonding properties. Look for adhesives specifically designed for heavy-duty applications or mirror mounting. These glues boast higher adhesive strength, ensuring your mirror stays firmly in place.
Compatibility with surfaces:
Imagine finding the perfect glue, only to realize it’s incompatible with your mirror or wall surface – a disaster waiting to happen. Avoid this nightmare by checking the compatibility of the glue with both materials. Different glues are formulated for specific surfaces like glass, metal, or various types of walls. To make the right choice, read the manufacturer’s instructions and examine the label for compatibility information.
Drying time:
Patience may be a virtue, but waiting around for glue to dry isn’t everyone’s cup of tea. Consider your timeline and choose a glue that aligns with your needs. Some glues require longer drying times, while others offer quick-drying properties. Just remember that quick-drying glues often have a shorter open time, so prepare to work swiftly once applied.
Temperature resistance:
Will your mirror be exposed to extreme temperature conditions? Don’t let your glue melt under pressure. If your mirror will face high temperatures or frequent fluctuations, select a glue with good temperature resistance. This ensures your adhesive bond remains intact, securely attaching your mirror and preventing any potential damage.
Removability:
Life is full of surprises, and you never know when you might need to remove your mirror. Whether it’s for repositioning or replacement, choosing a glue that allows for easy removal is essential. Look for glues designed to be semi-permanent, enabling hassle-free removal without damaging the mirror or wall surface. Your future self will thank you.
Types of Surfaces Suitable For Mirror Attachment
When it comes to attaching mirrors to walls, finding the perfect adhesive is the key to success. Different surfaces require different types of glue to ensure a secure bond. In this blog post, we will explore the various surfaces suitable for mirror attachment and the best adhesives to use for each one.
Drywall – A Stable Foundation:
Drywall, with its affordability and easy installation, is a popular surface for mirror attachment. However, using regular glue can be disastrous when it comes to heavy mirrors. To avoid any mishaps, it is crucial to opt for mirror clips or anchors that evenly distribute the weight and provide extra support. These specialized hardware options ensure that your mirror stays securely in place, even on drywall.
Concrete or Masonry Walls – Strength and Stability:
Concrete walls are known for their strength and stability, making them an ideal surface for attaching mirrors of all sizes and weights. However, using just any adhesive won’t do the trick. To achieve a long-lasting bond on concrete, it is essential to use an adhesive specifically designed for masonry applications. These specially formulated adhesives bond effectively with concrete surfaces, providing the durability needed to keep your mirror securely attached.
Wood – A Solid Choice:
Wooden surfaces, such as plywood or solid wood walls, offer excellent support for mirrors. However, not all adhesives are suitable for bonding wood and mirror backing effectively. To ensure a secure bond between the mirror and the wood surface, it is recommended to choose an adhesive like epoxy. Epoxy adhesives offer exceptional bonding strength and durability, making them an ideal choice for mirror attachment on wood surfaces.
Glass Walls or Tiles – A Sleek Challenge:
Glass surfaces can provide a sleek and modern aesthetic but can be challenging to work with due to their smooth and non-porous nature. Regular adhesives may not bond effectively with glass, leading to mirror detachment. To overcome this challenge, it is advisable to use specialized glass adhesives that are designed to provide a strong and reliable bond. These adhesives ensure that your mirror stays securely attached to glass walls or tiles, adding a touch of elegance to your space.
Concrete or Brick – Rough and Ready:
Concrete or brick surfaces may pose a challenge due to their rough texture. Attaching mirrors to these surfaces requires an adhesive that can withstand the roughness and provide a secure bond. Construction adhesive or epoxy, specifically designed for rough surfaces, are suitable options. These adhesives offer the strength needed to keep your mirror securely attached to concrete or brick walls, ensuring it stays in place for years to come.
Tips on How to Apply Glue Properly and Avoid Damage or Staining
Attaching a mirror to a wall can be an exciting project, but it’s essential to apply glue properly to ensure a secure and long-lasting bond. In this article, we will explore five sub-sections that provide expert tips on applying glue correctly and avoiding any damage or staining during the process.
Clean and Prepare the Surfaces:
To create a strong bond, start by thoroughly cleaning and drying both the back of the mirror and the wall surface. Rid them of any dirt, dust, or grease that could hinder proper glue adhesion. Use a mild cleaner or rubbing alcohol for an effective clean. Additionally, lightly roughen the wall surface with sandpaper to enhance adhesive grip.
Choose the Right Type of Glue:
Not all glues are suitable for attaching mirrors to walls. Look for a high-strength adhesive specifically designed for mirror installations. These solven-based adhesives offer exceptional bonding strength. By selecting the appropriate glue, you can ensure a reliable and durable bond that will withstand various environmental conditions.
Apply the Glue Evenly:
Achieve maximum coverage by applying the adhesive evenly on both the mirror’s back and the wall surface. To accomplish this, use a notched trowel or a putty knife to spread a thin layer of glue across both surfaces. Avoid excessive glue application as this can lead to messiness and excess squeezing out.
Follow Manufacturer’s Instructions:
Each glue product has different curing times and application techniques. Thoroughly read and follow the instructions provided by the manufacturer. Pay attention to important factors such as temperature requirements, drying time, and curing time mentioned on the product packaging. Adhering to these guidelines is crucial for achieving optimal results.
Use Proper Support During Drying:
To prevent damage or accidents, provide support structures while the glue is drying. Secure wooden blocks or braces against the mirror’s edges to offer extra stability and prevent it from sliding or falling off. This precautionary measure ensures a secure attachment during the initial bonding process.
Conclusion
When it comes to attaching a mirror to a wall, choosing the right glue is crucial. You want something that will hold the mirror securely in place, ensuring it doesn’t come crashing down unexpectedly. After all, mirrors can be heavy and fragile, so you don’t want to take any chances.
So, what is the best glue for this task? Well, there are a few options to consider. One popular choice is adhesive silicone. This type of glue provides a strong bond and has excellent adhesive properties. It’s also waterproof and resistant to temperature changes, making it ideal for bathroom mirrors or mirrors near windows.
Another option is construction adhesive. This type of glue is specifically designed for heavy-duty applications and can provide a reliable bond between the mirror and the wall surface. It’s important to choose a construction adhesive that is suitable for both materials – the mirror and the wall – to ensure compatibility.
If you’re looking for a more temporary solution or prefer something less permanent, double-sided mounting tape could be your go-to choice. This tape is easy to use and provides a strong hold without damaging the mirror or the wall. However, keep in mind that it may not be as durable as other glues and might require periodic replacement.
No matter which glue you choose, make sure to follow the manufacturer’s instructions carefully. Clean both surfaces thoroughly before applying the glue, ensuring there are no dust or debris particles that could interfere with adhesion.
In conclusion, when it comes to attaching a mirror to a wall, selecting the right glue is essential for safety and longevity. Adhesive silicone, construction adhesive, and double-sided mounting tape are all viable options depending on your needs and preferences.