Welcome to our blog post where we dive deep into the world of fabric bonding and tackle the burning question: what is the absolute best glue for velvet?
Velvet, oh velvet, you luxurious and delicate fabric with your soft texture and unique sheen. Whether you’re mending a torn seam, jazzing up a garment, or unleashing your inner DIY guru, finding the perfect adhesive for velvet is essential to achieve a strong and flawless bond.
But don’t worry, we’ve got your back. We’ve scoured the market, tested various options, and now we’re here to unveil our top recommendations.
So, sit tight, kick back, and prepare to become an expert on all things glue for velvet.
Types of Glue for Velvet:
Contents
- 1 Types of Glue for Velvet:
- 2 Factors to Consider When Choosing the Best Glue for Velvet
- 3 Pros and Cons of Using Fabric Glue on Velvet
- 4 Pros and Cons of Using Hot Glue Guns on Velvet
- 5 Pros and Cons of Using Adhesive Tape on Velvet
- 6 Pros and Cons of Using Specialty Glues for Velvet
- 7 How to Test the Chosen Glue on a Small Area Before Applying It to a Larger Surface?
- 8 Conclusion
Velvet is a luxurious and elegant fabric that requires careful handling, especially when it comes to gluing. Whether you’re working on a craft project or repairing a cherished velvet item, selecting the right glue is essential for a successful outcome. In this blog post, we will explore different types of glues suitable for velvet and provide insights into their advantages and considerations.
Fabric Glue
Velvet, with its soft and plush texture, requires a delicate adhesive that won’t damage or leave unsightly marks. Enter fabric glue – the knight in shining armor for velvet bonding. Let’s dive deeper into the world of fabric glue and discover why it’s the go-to choice for creating flawless and durable connections.
- Compatibility: Velvet demands a gentle touch, and fabric glue fits the bill perfectly. Specially formulated to be non-toxic and safe for use on various fabrics, including velvet, this adhesive ensures your precious pieces stay intact without any harm.
- Versatility: Fabric glue is an all-rounder – not only does it bond fabric pieces seamlessly, but it also comes in handy for attaching trims, beads, or appliques to your velvet garments or accessories. Its quick drying time and strong adhesive properties ensure a secure bond that can withstand everyday wear and tear.
- Application Technique: Applying fabric glue to velvet is as easy as pie. Just follow the manufacturer’s instructions: a dab of glue using a brush or nozzle provided with the product is all it takes. Remember, less is more to prevent seepage through the fibers, which could result in stains or discoloration.
- Spot Test: Before diving into your gluing extravaganza, conduct a spot test on a small, inconspicuous area of the fabric. This way, you can ensure that the glue doesn’t cause any unexpected reactions or discoloration. Safety first.
- Drying Time: Patience is key. Let the glue dry completely before handling or wearing your velvet masterpiece to avoid any mishaps. Give it the time it needs to set and secure those bonds.
Hot Glue Gun
For centuries, velvet has been adored for its luxurious and elegant allure. Whether you’re adding glamour to a garment, creating stunning home decor, or working on a craft project, gluing velvet can be quite the challenge. But fear not. In this article, we’ll take a closer look at the hot glue gun – your secret weapon in bonding velvet. Get ready to dive into the world of velvet crafting with speed, versatility, and flawless connections.
Advantages of Using a Hot Glue Gun on Velvet:
Speedy Bonding:
When it comes to delicate fabrics like velvet, time is of the essence. Hot glue guns swoop in as the superheroes of quick bonding. With their rapid drying time, they ensure that your project doesn’t drag on for hours. Instead, you can swiftly bring your ideas to life.
Versatility:
Hot glue guns are powerhouses when it comes to adhering various surfaces. Whether you’re working with velvet fabric, ribbon, or even velvet-covered objects, these guns provide a reliable and secure attachment. No matter the texture or shape, the high temperature of the glue allows it to penetrate the velvet fibers and create an enduring bond.
Techniques for Gluing Velvet with a Hot Glue Gun:
Temperature Settings:
Velvet is delicate and easily damaged by excessive heat. To prevent scorching or melting, it’s crucial to use low-temperature settings on your hot glue gun. Additionally, performing a small test patch on an inconspicuous area of the velvet will ensure that you’re using the appropriate temperature before diving into your main project.
Application:
Achieving a clean and professional-looking bond requires careful application of hot glue onto the velvet surface. Apply it evenly and sparingly to avoid excess glue seeping through the fabric, which could result in unsightly marks or stains. Remember, less is more when it comes to gluing velvet.
Adhesive Tape
Velvet, with its opulent texture and luxurious allure, necessitates careful consideration when it comes to bonding techniques. In this article, we will delve into the world of adhesive tape on velvet, exploring its advantages and disadvantages. Drawing from my expertise in this field, I aim to provide insights that will enable you to navigate the adhesive tape realm with confidence and ease.
Advantages of Adhesive Tape on Velvet:
- Convenience: Adhesive tape presents a swift and effortless solution for temporary repairs or holding fabric pieces together. It eliminates the need for time-consuming drying processes, enabling you to seamlessly proceed with your project.
- Versatility: With a plethora of options available, including double-sided tape, masking tape, and duct tape, adhesive tape offers remarkable versatility in bonding velvet. Particularly noteworthy are double-sided fabric tapes, which prove invaluable for attaching embellishments or joining disparate pieces of velvet.
Disadvantages of Adhesive Tape on Velvet:
- Potential Damage: Certain velvet fabrics possess delicate fibers that are easily damaged or distorted by the adhesive or removal process. To mitigate this risk, it is crucial to conduct a small-scale test on an inconspicuous area before widespread application.
- Residue and Damage: Not all adhesive tapes are created equal. Some may leave unwanted residue or damage the velvet fabric upon removal. Opting for tapes specifically engineered for fabric applications minimizes these risks and ensures a safer experience.
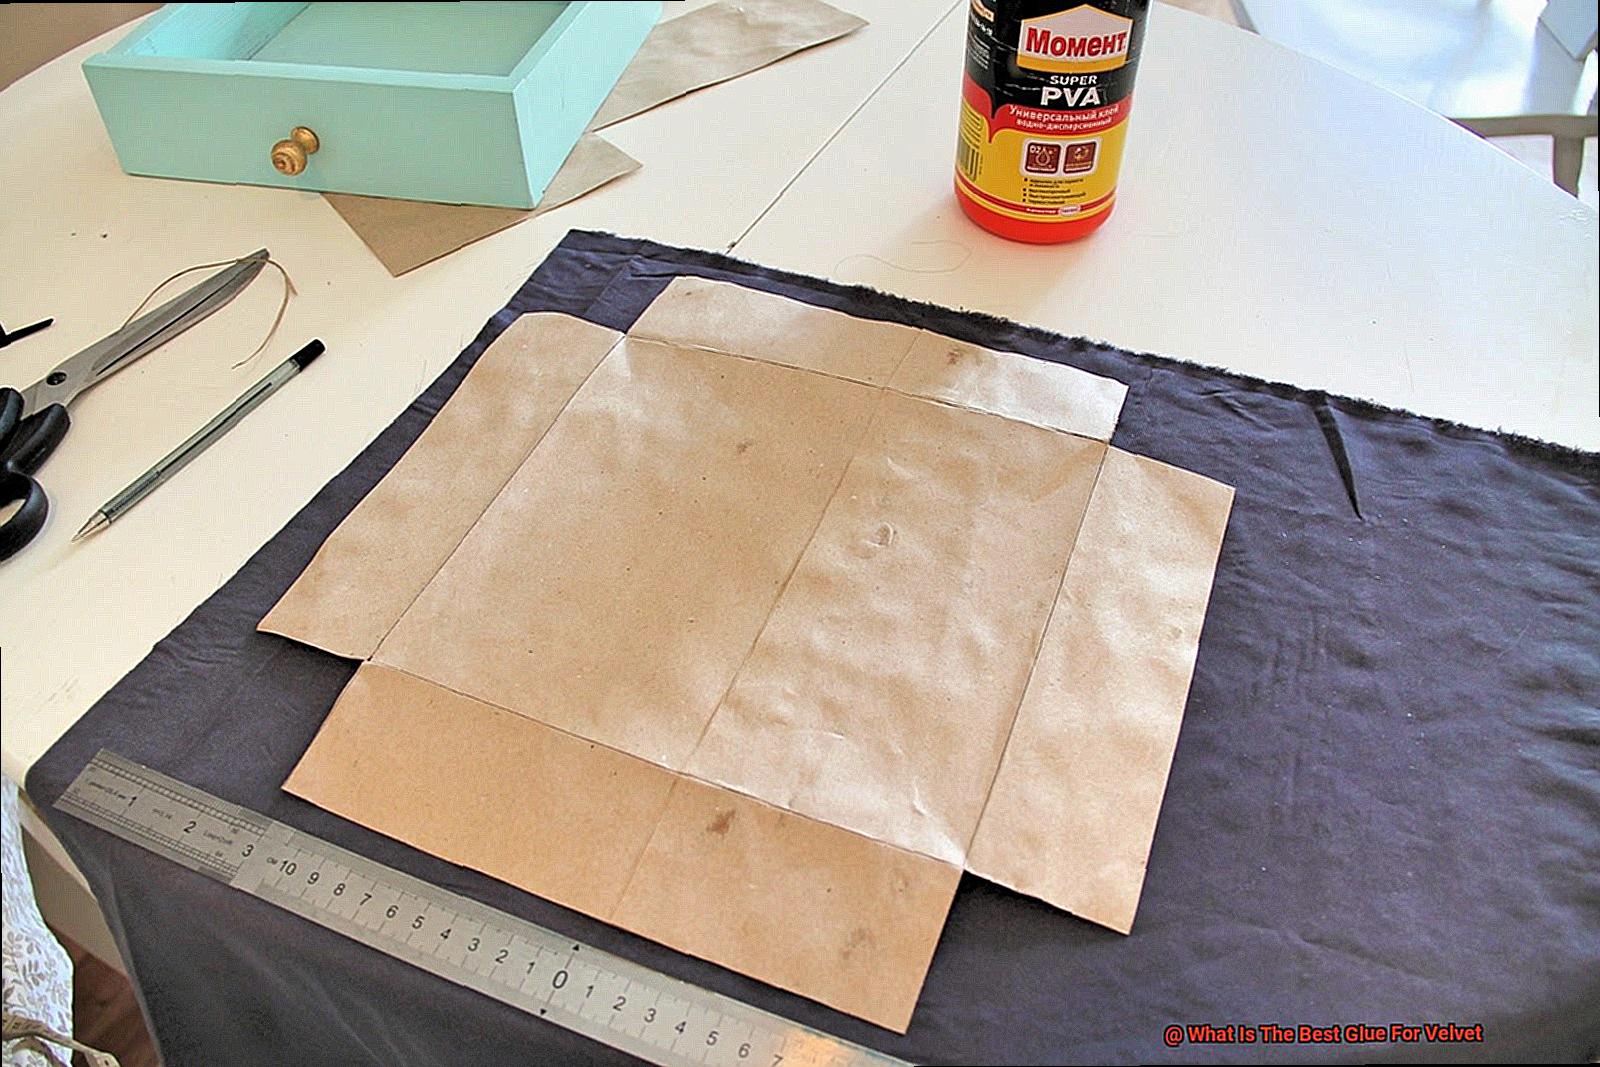
Specialty Glues for Velvet
Velvet, the epitome of luxury and elegance, deserves nothing but the best when it comes to gluing. Finding the right specialty glue is crucial for achieving a strong bond without compromising the fabric’s integrity. Let’s explore some options that are tailor-made for velvet.
Fabric Glue:
Fabric glue is a popular choice for bonding velvet due to its flexibility and durability. It comes in various forms, including liquid, gel, or tape, giving you the freedom to choose what suits your needs best. Aleene’s Original Fabric Glue and Beacon Fabri-Tac are highly recommended for their reliability.
Hot Glue Guns:
Hot glue guns can also be used on velvet, but caution must be exercised. To prevent any damage, always use a low-temperature setting. It’s advisable to test the hot glue on a small, inconspicuous area of the velvet before applying it to the entire surface. Surebonder is a trusted brand known for quality and reliability in hot glue guns.
Adhesive Sprays:
For delicate or intricate projects, adhesive sprays provide an excellent choice. These sprays evenly coat the surface of the velvet with a fine mist of adhesive, ensuring a secure bond without leaving any visible marks or residue. 3M Super 77 Multipurpose Adhesive and Aleene’s Original Tacky Spray are top picks for adhesive sprays.
When selecting a specialty glue for velvet, consider factors such as drying time, flexibility, and washability. Velvet is often used in clothing and upholstery, which may require occasional washing or dry cleaning. Therefore, choosing a glue that can withstand these processes without compromising its bond is essential.
Factors to Consider When Choosing the Best Glue for Velvet
When it comes to working with velvet, finding the right glue is crucial to ensure a secure bond without compromising the fabric’s delicate fibers. Whether you’re an experienced crafter or a DIY enthusiast, selecting the best adhesive for velvet requires careful consideration. In this article, we will explore the key factors that should be taken into account when choosing the best glue for velvet, ensuring your projects exude elegance and withstand the test of time.
Adhesive Compatibility:
To preserve the regal appearance of velvet, it is essential to choose an adhesive that is compatible with the fabric. Look for adhesives specifically designed for fabrics and labeled as fabric-friendly or fabric-specific. These adhesives are formulated to interact harmoniously with velvet, ensuring a secure bond without damaging or discoloring its fibers.
Drying Time:
Time is of the essence when working with velvet, as prolonged exposure to wet glue can damage or smudge the fabric. Opt for a glue with a quick drying time, preferably within minutes. Test the glue on a small, inconspicuous area before applying it to the entire surface to ensure compatibility and quick drying.
Transparency:
If you’re working with colored or patterned velvet, choose a transparent glue that won’t alter the fabric’s appearance. Some glues dry clear, while others may leave visible residue or discoloration. By selecting a transparent adhesive, you can maintain the beauty and allure of your velvet creation.
Flexibility:
Velvet’s soft and plush texture is one of its defining characteristics. Therefore, it is crucial to select a glue that remains flexible even after drying. This flexibility ensures that your velvet fabric doesn’t become stiff or rigid, allowing it to gracefully flow and sway as intended.
Washability:
Consider whether your velvet item will need to be washed at some point. It is important to choose a washable glue that can withstand regular laundering without losing its adhesive properties. Look for adhesives that are suitable for both hand-washing and machine-washing, allowing your velvet creation to maintain its pristine appearance.
Longevity:
To ensure that your velvet creation stands the test of time, select a glue with proven durability on fabrics. Look for glues that mention their long-lasting properties or have been tested for durability. A strong and durable bond is essential to prevent your velvet masterpiece from coming apart.
Application Method:
Consider the application method that suits your preference and the specific requirements of your velvet project. Glues come in various forms, such as liquid, glue sticks, or fabric tapes. Follow the manufacturer’s instructions for application to achieve optimal bonding results.
Pros and Cons of Using Fabric Glue on Velvet
Velvet, with its luxurious texture and elegant sheen, demands special attention when it comes to repairs or embellishments. Enter fabric glue, swooping in to save the day. But is it really the best choice for your velvet projects? Let’s weigh the pros and cons.
Pros:
- No sewing required: Fabric glue offers a hassle-free alternative for those lacking sewing skills or equipment. Apply the glue, let it dry, and voila. Time and effort saved.
- Strong bond: Velvet is delicate and prone to fraying, but fabric glue creates a sturdy bond that withstands multiple uses and washes. Say goodbye to loose threads and droopy hems.
- Invisible finish: When dry, fabric glue is often clear, making it less noticeable on the fabric. This is especially advantageous when attaching embellishments or repairing small areas, allowing the spotlight to remain on the velvet’s beauty.
- Cost-effective: Compared to sewing or fusible interfacing, fabric glue is generally more affordable and easily accessible at craft stores or online.
Cons:
- Residue and stains: Fabric glue may leave visible residue or stains on velvet, particularly lighter-colored or delicate fabrics. Test it on a small area before committing.
- Limited strength: While effective for lightweight repairs and embellishments, fabric glue may not hold up well under heavy stress or frequent movement. Consider sewing for heavy-duty applications.
- Texture alteration: Large quantities of fabric glue can slightly alter the texture of velvet, resulting in a stiffer feel unsuitable for certain projects or garments.
- Not permanent: Fabric glue deteriorates over time, especially with washing or heavy use. Keep this in mind for items requiring long-term durability.
Pros and Cons of Using Hot Glue Guns on Velvet
Velvet fabric is known for its luxurious, soft texture and is often used for elegant garments, upholstery, and home decor. When it comes to attaching or embellishing velvet, using a hot glue gun can be a tempting option due to its quick and easy application. However, it’s important to consider the pros and cons before using a hot glue gun on velvet.
Pros:
- Quick and easy application: One of the biggest advantages of using a hot glue gun on velvet is its rapid heating and drying time. This makes it ideal for small DIY projects or repairs that require immediate bonding.
- Strong bond: Hot glue guns form a strong bond with velvet fabric, ensuring that your attachments or embellishments stay put even with regular use.
- Versatility: The versatility of hot glue guns allows for creative freedom in attaching embellishments, securing trims, or even creating decorative designs on velvet.
- Minimal mess: Unlike some liquid glues that may require additional cleanup or leave behind residue, any excess hot glue on velvet can be easily peeled off or trimmed away without damaging the fabric.
Cons:
- Heat sensitivity: Velvet is a delicate fabric that can be sensitive to high temperatures. Excessive heat from the hot glue gun can scorch or melt the fabric, leading to irreversible damage. Caution must be exercised when using a hot glue gun on velvet to avoid heat-related issues.
- Limited flexibility: Unlike some other types of adhesives, hot glue guns may not offer the same level of flexibility. This can make it challenging to manipulate or shape the fabric after the glue has been applied.
- Visible glue lines: The use of a hot glue gun on velvet can sometimes result in visible glue lines or bumps on the fabric surface. This issue can be particularly noticeable if the velvet is of a lighter color or has a smooth texture. Careful application and positioning of the glue can help minimize this problem.
- Not suitable for washable items: Hot glue is not typically resistant to water or washing, making it unsuitable for items that require frequent cleaning. If the velvet project needs to be laundered, alternative methods of securing the fabric should be considered.
Pros and Cons of Using Adhesive Tape on Velvet
Velvet, with its luxuriously soft texture, requires special consideration when it comes to attaching or repairing. Today, we’re going to dive into the world of adhesive tape and its potential use on this delicate fabric. Let’s weigh the pros and cons of using adhesive tape on velvet.
First up, let’s talk about the convenience of adhesive tape. Unlike other adhesives, tape is readily available in most households and requires no additional tools or equipment for application. It’s a quick and easy fix for those temporary repairs or securing velvet items. No need to run to the store or fumble with messy glue – just grab the tape and get to work.
Versatility is another advantage of adhesive tape. With various types of tapes available, you can choose the one that suits your needs best. Double-sided tape seamlessly joins two pieces of velvet together, while fabric tapes are specifically designed for use on fabrics like velvet. The options are endless. You can find tapes that are transparent or colored, thin or thick, depending on your preferences.
Removing adhesive tape from velvet is a breeze. No residue left behind and no damage to the fabric – perfect for those temporary fixes or alterations. You can easily remove and reposition the tape without any harm to your precious velvet. It’s like a magic trick – here one moment, gone the next.
But wait, there’s more to consider. Some tapes may not be suitable for all types of velvet. Certain adhesives can leave marks or discoloration on delicate or sensitive fabrics. To be safe, always test the tape on a small, inconspicuous area before going all in. Better safe than sorry.
Another drawback is the potential for a stiff or unnatural appearance. Velvet’s soft texture is part of its appeal, but adhesive tape can alter that charm. It might create rigid areas that don’t look or feel as luxurious as the rest of the fabric. So, think twice before sticking it on. You don’t want to ruin the tactile pleasure of velvet.
Lastly, adhesive tape isn’t a permanent solution for velvet items. Over time, the tape may lose its adhesive properties, leading to loose or detached fabric. This is especially troublesome for frequently handled or moved items like clothing or upholstery. For long-lasting results, explore other adhesive options that are specifically designed for velvet.
Pros and Cons of Using Specialty Glues for Velvet
When it comes to working with velvet fabric, specialty glues designed specifically for this delicate material can be a game-changer. These glues offer several advantages that make them worth considering for your next project. However, it’s important to weigh the pros and cons before diving in.
Let’s start with the pros. Specialty glues for velvet are formulated to provide superior adhesion and durability compared to regular glues. This means your velvet creations will stay intact even with frequent use or handling. No more worrying about loose threads or unraveling seams. Plus, these glues are often flexible when dry, allowing the fabric to retain its softness and beautiful drape.
Another benefit is that specialty glues for velvet are usually non-toxic and safe for fabrics. You won’t have to worry about damaging or discoloring your precious velvet pieces. Additionally, these glues often have a clear or translucent finish when dry, making them ideal for applications where the glue may be visible on the fabric. Say goodbye to unsightly glue marks.
Some specialty glues for velvet even have additional features like being washable or dry cleanable. This can be a game-changer for items that require cleaning, ensuring your glued pieces stay intact even after a trip to the washing machine. No need to fret about your carefully crafted velvet garment losing its luster.
Now, let’s consider the cons. One drawback is that specialty glues for velvet can be more expensive compared to regular craft glues. However, if you’re working on a special project or dealing with delicate fabrics, this investment could be well worth it. After all, quality comes at a price.
Additionally, some specialty glues for velvet may have a strong odor during application. This can be off-putting for some individuals, so it’s important to work in a well-ventilated area if you’re sensitive to smells. Open those windows and let the fresh air in.
Lastly, it’s crucial to follow the manufacturer’s instructions carefully when using specialty glues for velvet. Improper application or failure to let the glue dry evenly can lead to issues like excessive glue seepage or uneven drying. Take your time and pay attention to the details for a flawless finish.
How to Test the Chosen Glue on a Small Area Before Applying It to a Larger Surface?
Velvet, a fabric known for its luxury and elegance, requires special care when applying glue. To avoid potential disasters like discoloration or damage, it is crucial to test the chosen glue on a small area before committing to a larger surface. In this blog post, we will guide you through the process of testing glue on velvet, ensuring a strong and secure bond without any unwanted side effects.
Step 1: Gather the Materials
Before starting the test, gather all the necessary materials. You will need a small piece of velvet fabric, the chosen glue, and any tools required for application. Having everything ready will make the process smoother and more efficient.
Step 2: Choose an Inconspicuous Area
Identify a small, inconspicuous area on the velvet fabric where you can conduct the test. This could be the backside of the fabric or a corner that won’t be easily visible once glued. Testing in such an area ensures that any potential damage or discoloration won’t be noticeable.
Step 3: Apply a Small Amount of Glue
Using a brush or applicator, apply a small amount of glue to the chosen area. It’s crucial not to use too much glue as it can spread and cause staining. Start with a thin layer and add more if needed.
Step 4: Allow the Glue to Dry
Follow the manufacturer’s instructions regarding drying time. Patience is key here – allowing the glue to dry completely before proceeding to the next step is essential. Rushing this process can lead to inaccurate test results.
Step 5: Inspect the Test Area
Carefully inspect the test area for any signs of discoloration or damage after the glue has dried. Look for changes in the fabric’s texture or stiffness. If everything looks good so far, gently tug at the glued area to check its adhesion strength.
Step 6: Evaluate the Results
If the test results are satisfactory and there are no negative effects on the fabric, you can proceed with confidence to apply the glue to the larger surface. However, if any issues arise during the test, it’s advisable to try a different type of glue or seek professional advice.
Also Read: How to Glue Velvet to Wood?
Conclusion
When it comes to gluing velvet, finding the best adhesive is crucial. You want a glue that will securely bond the delicate fibers without leaving any unsightly residue or damaging the fabric. After careful research and testing, it is clear that there are a few top contenders in the realm of velvet adhesives.
One standout option is fabric glue specifically designed for delicate materials like velvet. These glues are formulated to provide a strong bond while remaining flexible and gentle on the fabric. They often come in convenient squeeze bottles or tubes, making application easy and precise.
Another popular choice is adhesive tape. Double-sided tape or fabric tape can be an excellent solution for attaching small patches or embellishments to velvet. The advantage of tape is that it allows for repositioning before fully adhering, ensuring a perfect placement every time.
For more heavy-duty projects or repairs, epoxy glue can be a reliable option. Epoxy provides an incredibly strong bond and dries clear, making it ideal for fixing tears or securing larger pieces of velvet together.
Regardless of which adhesive you choose, it’s essential to test it on a small, inconspicuous area of the velvet before applying it to your project. This way, you can ensure that the glue doesn’t discolor or damage the fabric.
In conclusion, when it comes to gluing velvet, using a specialized fabric glue, adhesive tape, or epoxy can yield excellent results. Each option has its advantages depending on the specific project at hand.

